|
So in the midst of all my Fallout building and Mass Effect weapon orders, I received a commission for Caliburn, Saber's sword in Fate/Stay Night. I was really excited for this one, since it is one of my favorite series, and it gave me a chance to test out some new tools I hadn't used before. Now, I was only commissioned to make the blade, since she was going to do the details and painting, but she posted pics or her progress that I am happy to share (especially since I gave some suggestions that she ended up using). Anyway, here's a random awesome shot of the sword for reference: 
...and an awesome wallpaper of Saber if you want to trace back the original link. ;) I was able to find a really high quality image online rather than having to whip out Illustrator, and printed it out full size for this one. Here is where we find my first problem: what to make it out of. Originally, I was intending to start thick and carve down each piece as I thinned, so we got a ten foot piece of pine two inches thick. Unfortunately, the wood was TOO thick and started to do a number on my little bandsaw. Here is a shot after I gave up on this piece: 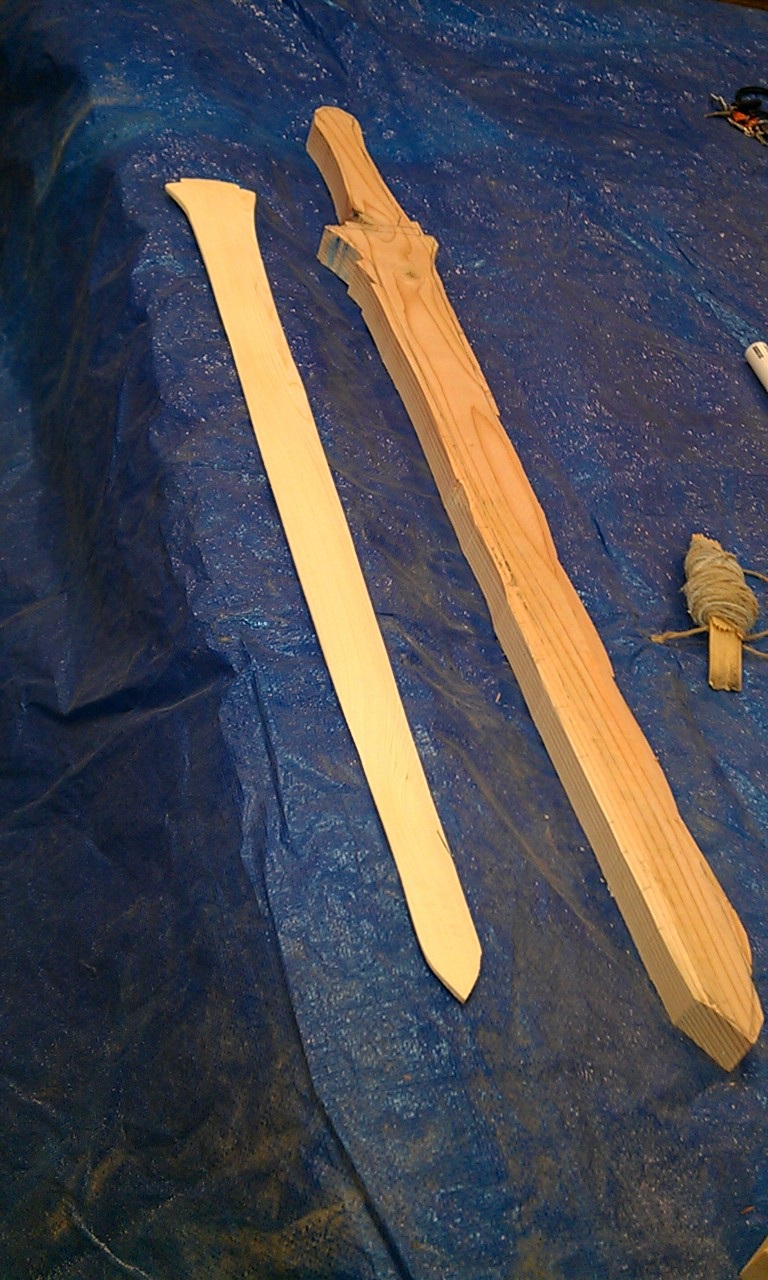
Here you can also see my failed second attempt. I was having so much trouble with the first one that I went and got a jigsaw. The wood, however, was still way too thick, and it barely did anything. Luckily, my commission-er (lol), who is also my new landlord, found another random plank of wood that had room enough for three or four attempts (should I mess up). Bad as I felt for wasting the wood she supplied, I started work on the second blade. Rather than cut the grip out of the same piece, since the new board was a whole lot thinner, I did it with the blade on its own (with a bump at the top as a registration insert for the hilt). I got to try out a spoke shave for the first time, and man was it awesome! Took down the wood like a hot knife to butter. Here, though, is why the second attempt also failed: I got too excited and exuberant with the spoke shave, and took too much off. Can't see it in the pic, but while one side is shaped well, the other is flat and has no more that can be taken off. So now we come to attempt number three. Blargh. I was feeling really bad. Really bad. Twice now I had wasted wood that wasn't even mine to waste. Wasn't allowed to give up, though, since it needed to get done, and ordering one from someone else wouldn't make it in time for what she needed it for. I cut another piece out and started with the spoke shave again, this time taking small amounts out. Very small. And this time, it worked. 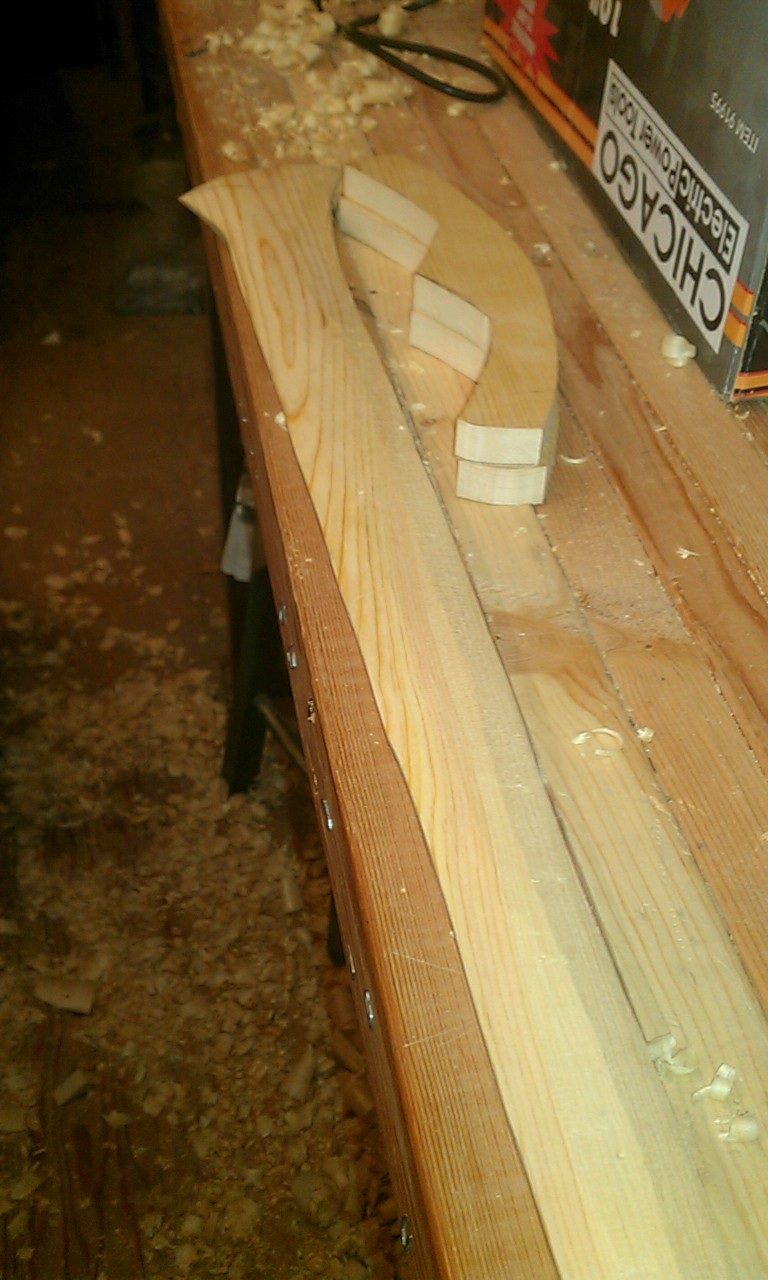
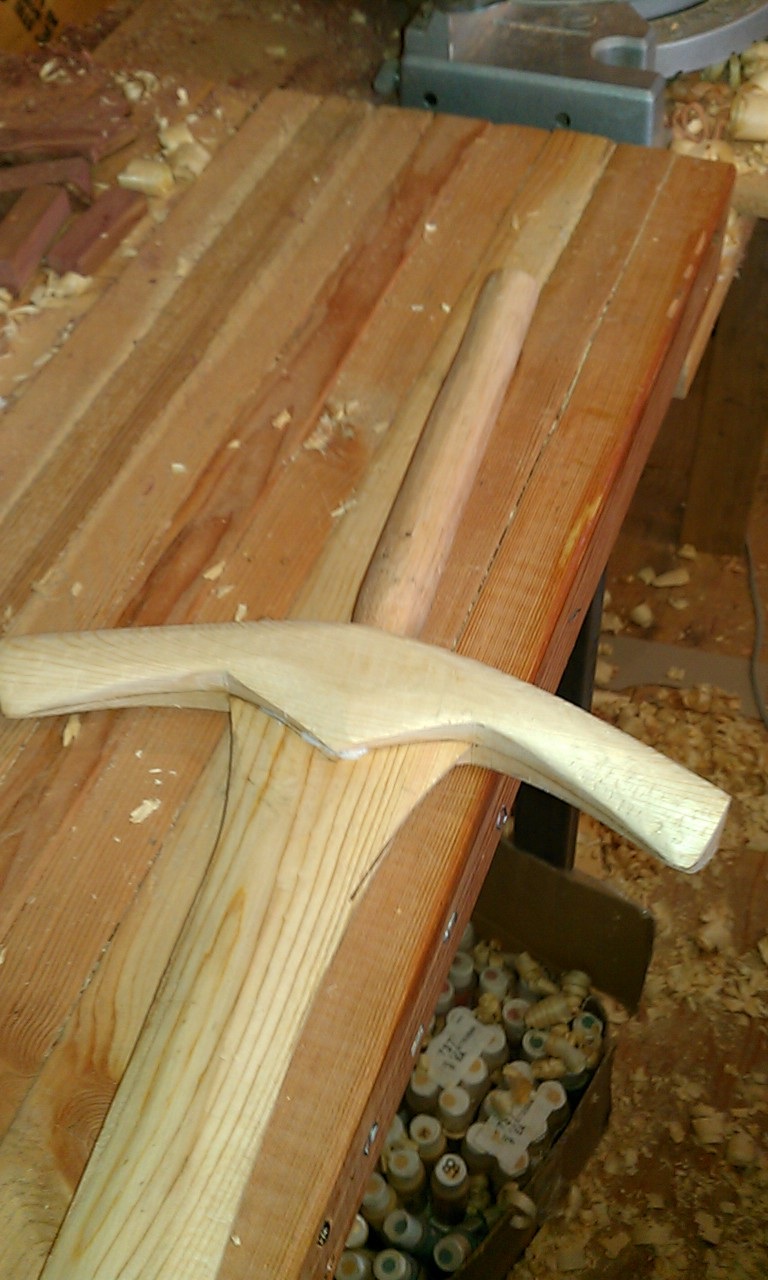
Made a huge mess, but holy hand grenades, batman, it worked. I didn't add the insert at the top this time, because I realized by the shape that it already had an insert: the blade itself sat inside the hilt. You can see the start of the hilt above, cut from the same board in two pieces. This was the original plan for it anyway, so I'm glad it turned out so far. For this, I took a chisel I got from my wife for work (yes, I work on Violins for a living), and started carving out the hilt. 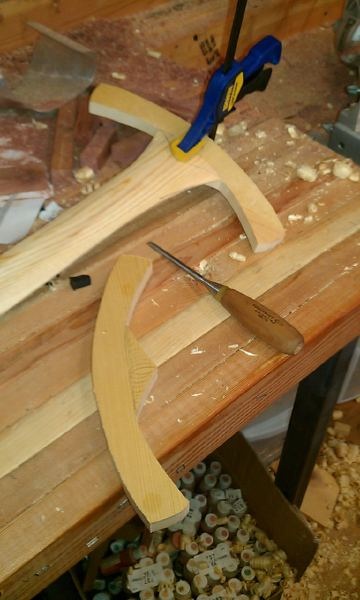
You can see the mark where I took off the chunks on the one not attached. For the glue, I used the absolutely amazing Titebond 3, which set strongly in 30 minutes and held like cement after 24. If I ever do something like this again, I'm definitely using it. Anyway, got both sides done and glued: 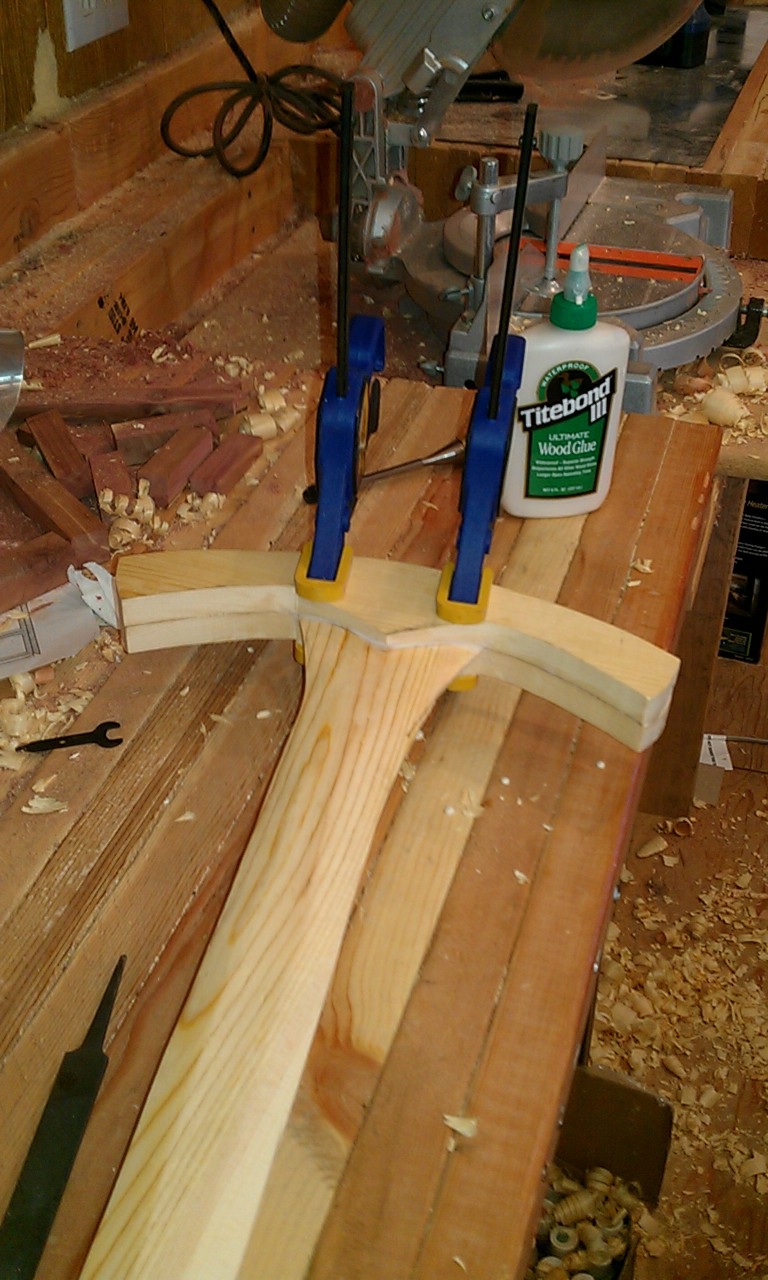
Good shot of the glue, should any of you want to get some! I gave this bit a half hour, came back out and started on the spoke shave again for the cross guard. The glue held strong the whole time. I still took great care and went slowly, since I really didn't want to do this again. 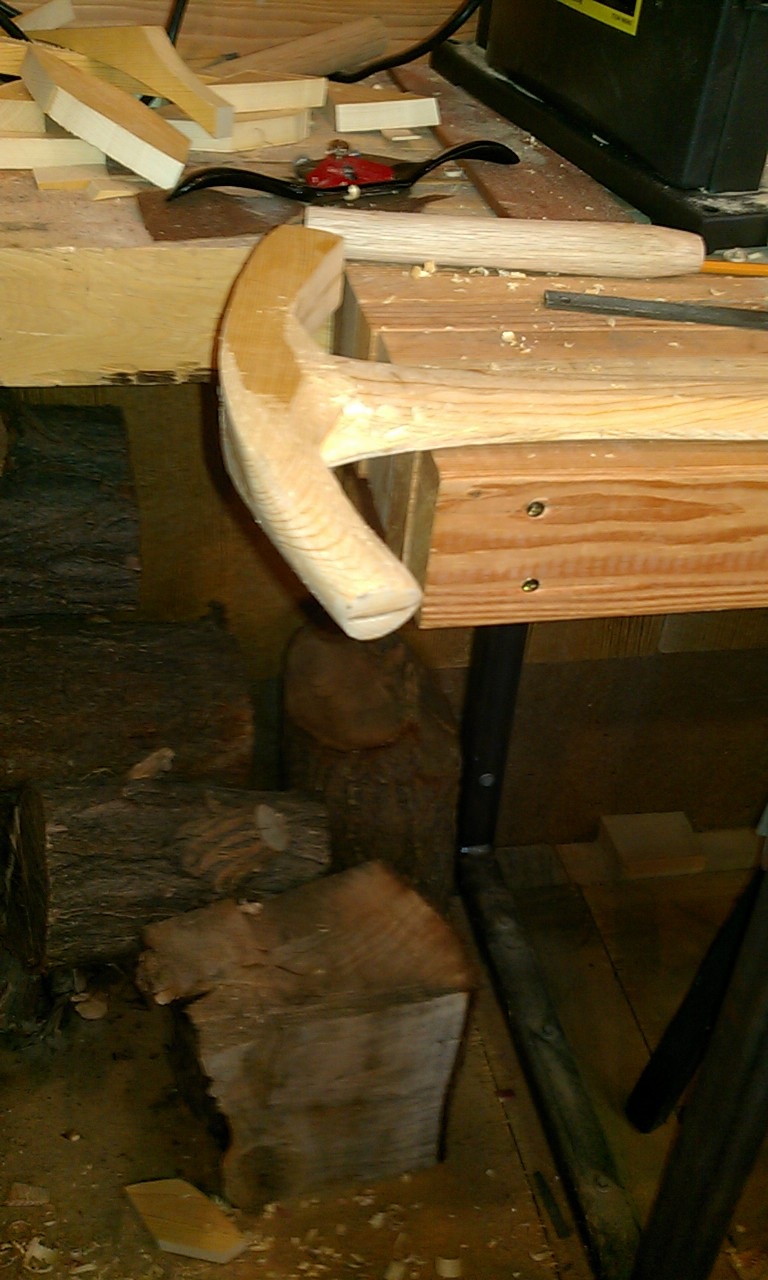
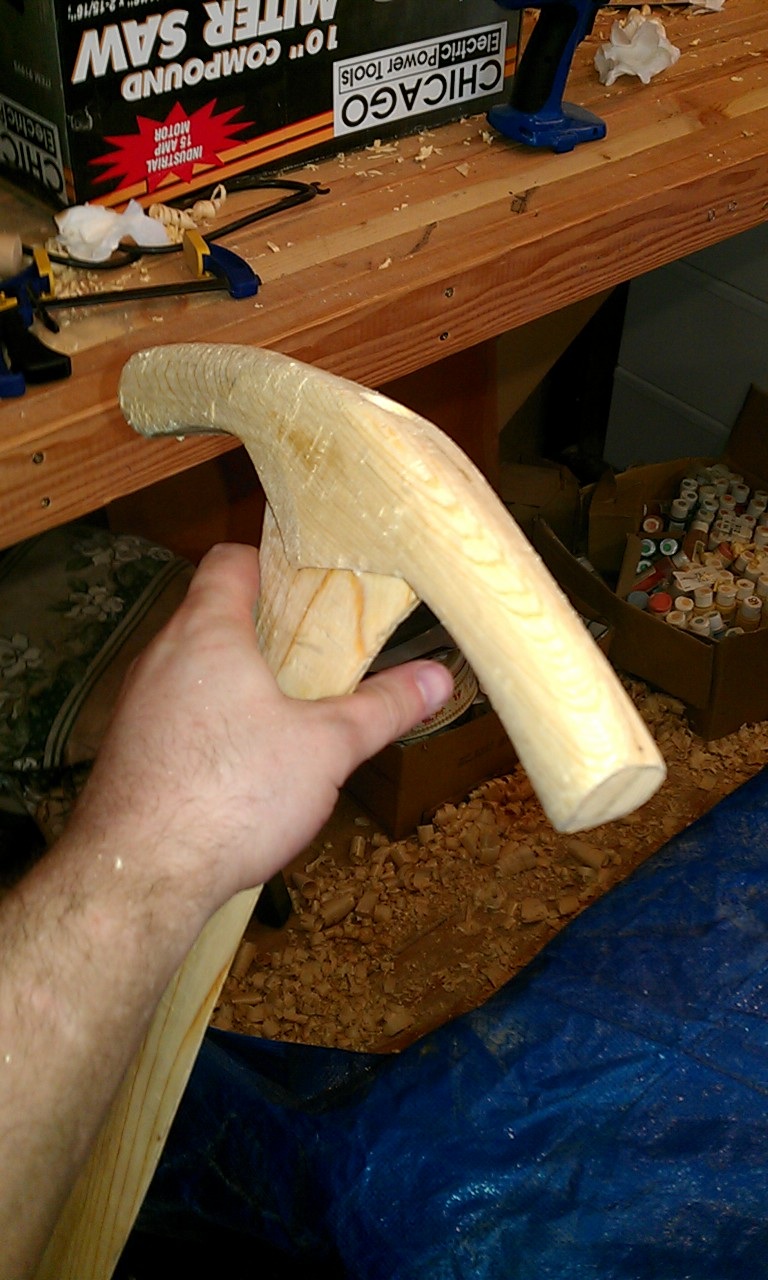
This next bit was the absolute scariest thing I have ever done. I had to attach the grip, which I had made with a dowel that I thinned, to the rest of it. The best and strongest way I knew was to insert a rod as the "tang" of the blade, which meant drilling a hole a ways into the blade. My third attempt. After all this work finally looking like I wanted, I risked starting all over again. After nerve wracking minutes, here's the final verdict: 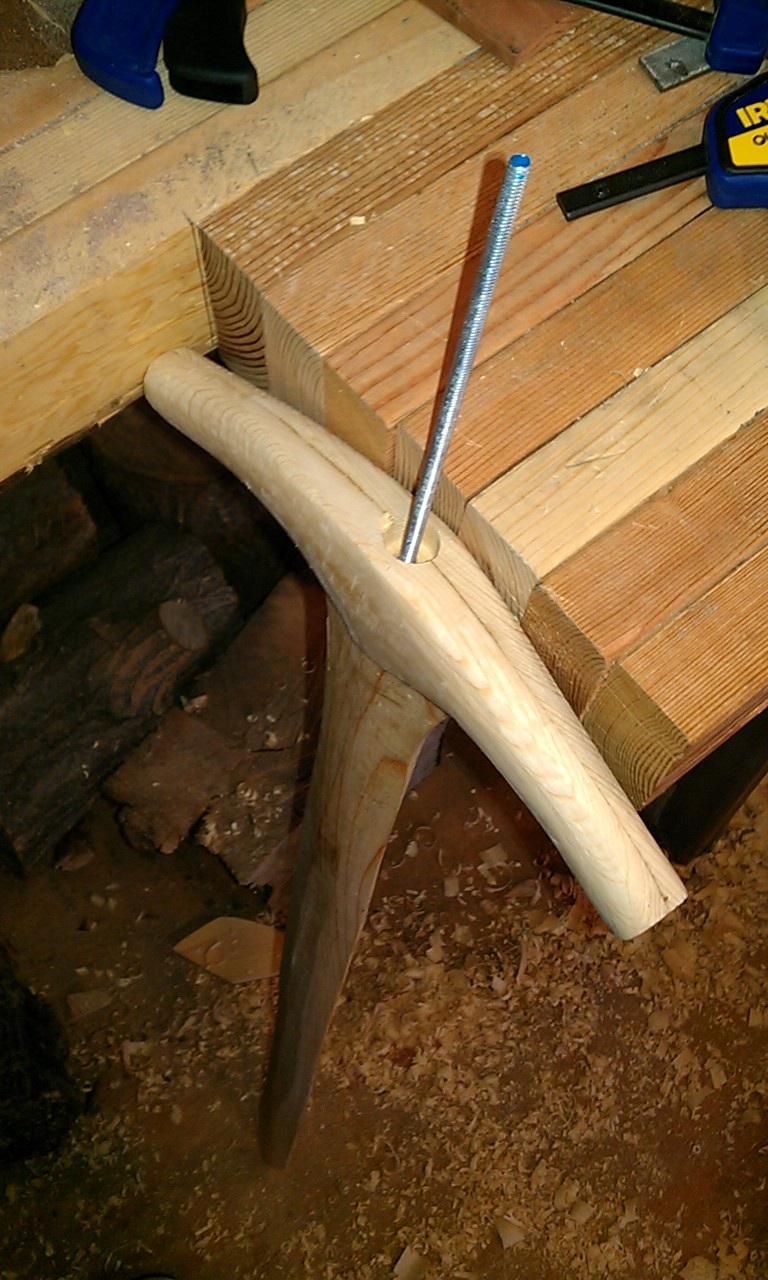
Caliburn, I so win this one. I had to do the same to the dowel, which wasn't as scary but just as hard, and I secured it once again with the Titebond 3. 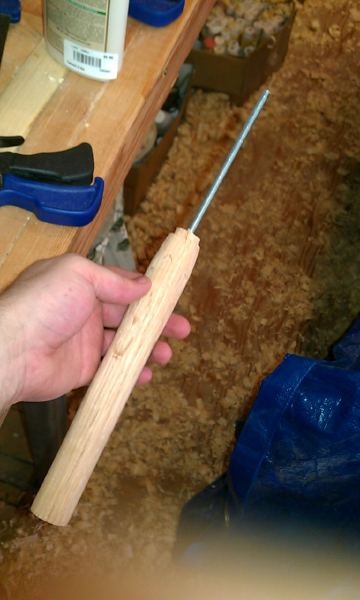
I used some spackle to fill the bumps and some wood putty to fill mistakes, then grabbed a wooden washer and doll head ball from Michaels and attached them. My part was done! 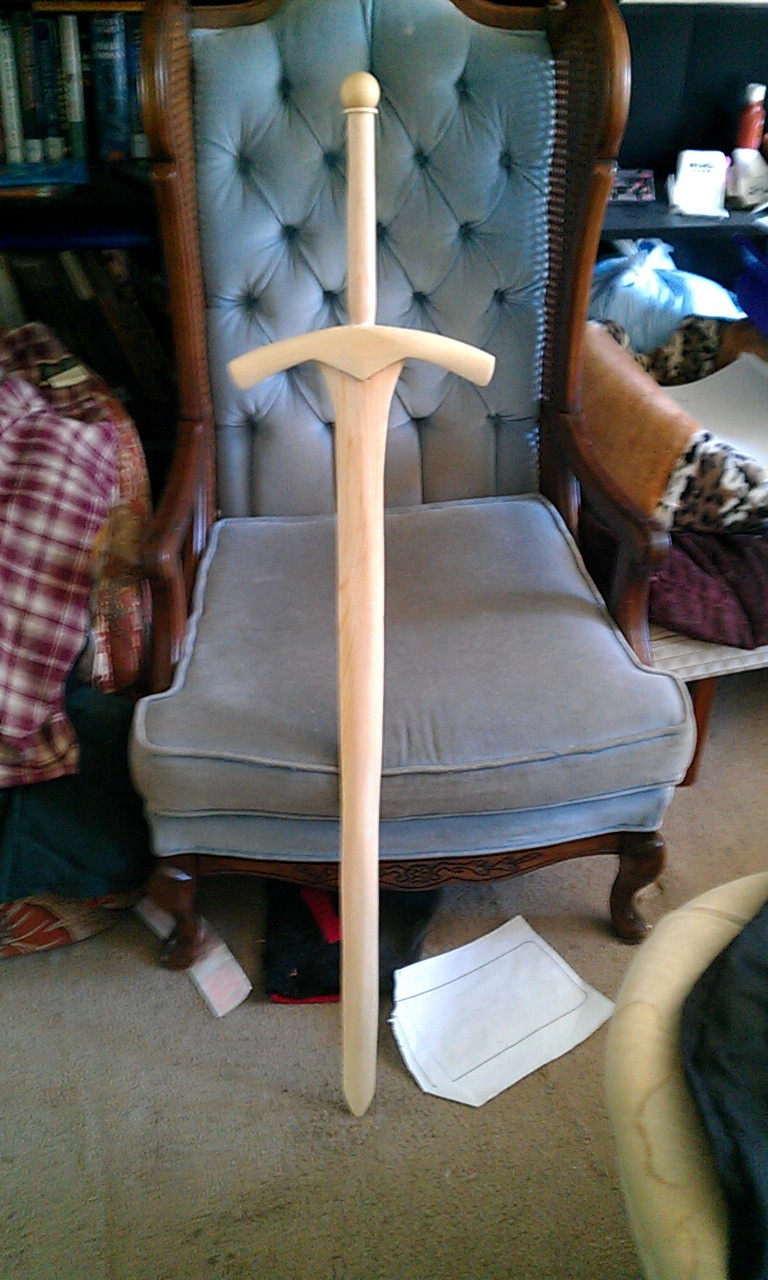
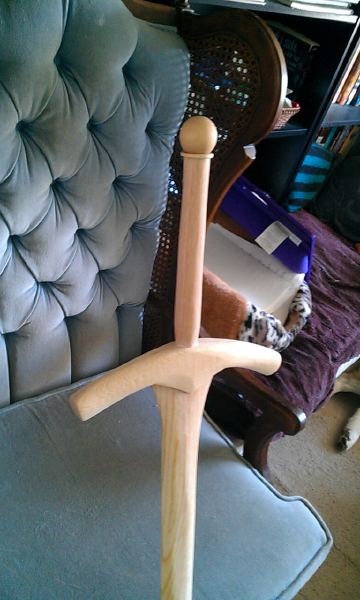
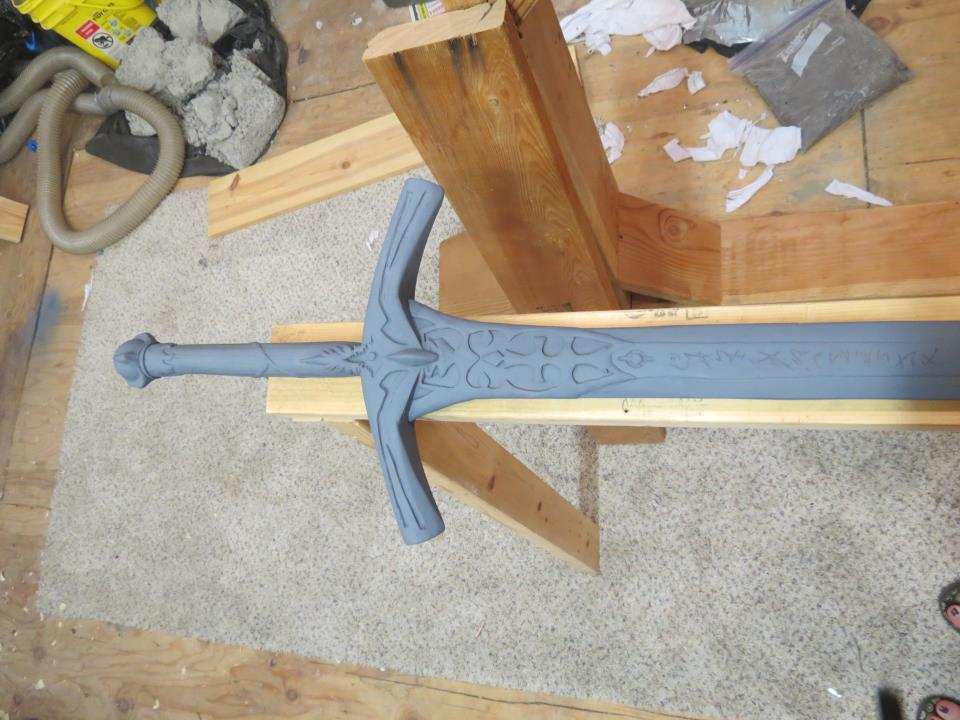
Absolutely ecstatic how that turned out! From here, she took over, built up the details in wood putty, sealed and primed it, then painted: 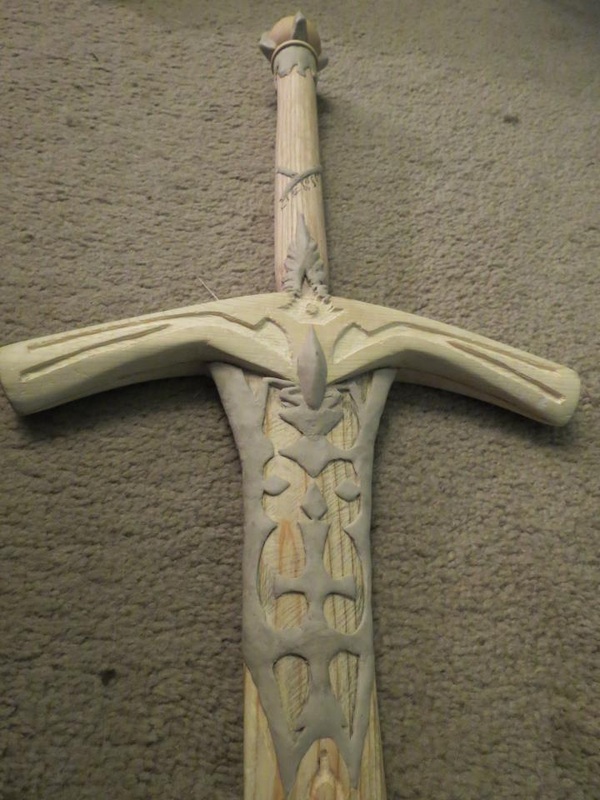
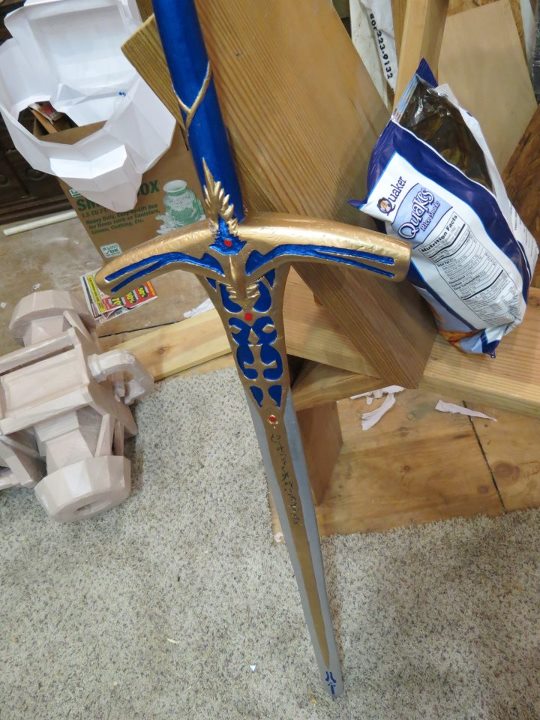
I think it turned out awesome. Haven't seen it finished in person, since I'm on my way to work and it's on its way to Nihon Matsuri, the SLC Japanese Festival. Pretty soon I'll be doing the sheath with her, but that one is done! Woo!
6 Comments
7/17/2012 10:33:40 am
not everyone would require a nose job but my girlfriend truly needs some rhinoplasty coz her nose is kind of crooked-
Himoteph
12/26/2012 03:46:23 am
Hey Matt, I have a question. for the succesful third version of this sword, did you use pine or some other wood? Also if you did use pine, where did you get such a nice knot-free plank?
It turned out to be pine, though I was unsure at first. As for where I got it, it was a random board found in the woodshed, not warped and very few knots (which I traced away from). You can get good quality boards from places like Woodcraft or other specialty lumber places (the kind that sells to cabinet makers and whatnot), though you can occasionally get lucky at Lowes/Home Depot. Leave a Reply. |
|
 RSS Feed
