|
Well that took longer than it should have.... Think I still owe you guys a few write-ups, but this has been a long time in waiting. Got a commission mid to late 2012 for this beast, and dear oh dear is it truly one. First up, a reference pic: 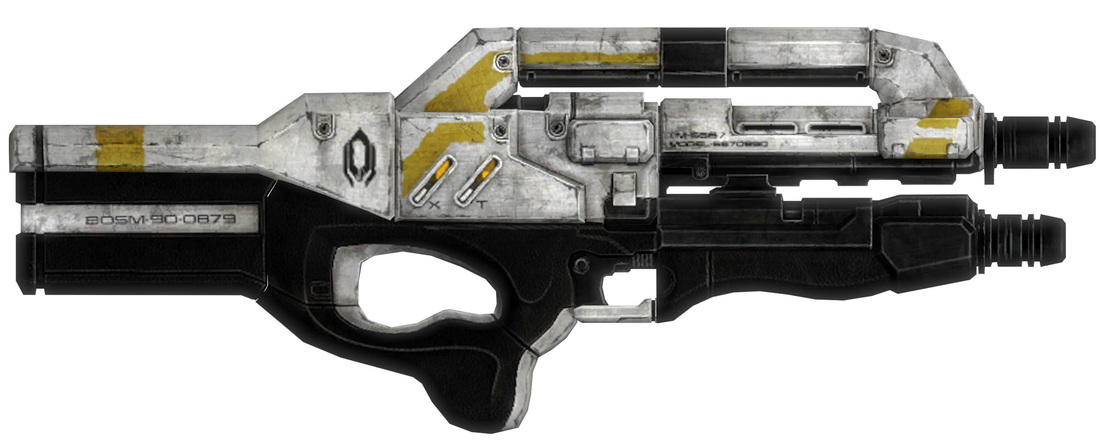
Have I mentioned how annoying the bright colors are before? Lol anyway...... So as before, as it goes now with all my foam builds, I printed it out twice and cut out sections to be built separately. This was a good lesson in layering, which I will start doing with wooden ones I use as mold masters (see my Twitter/Facebook feed for my current attempt), though with the foam I just cut it all out together. So, to keep from boring you with the details: 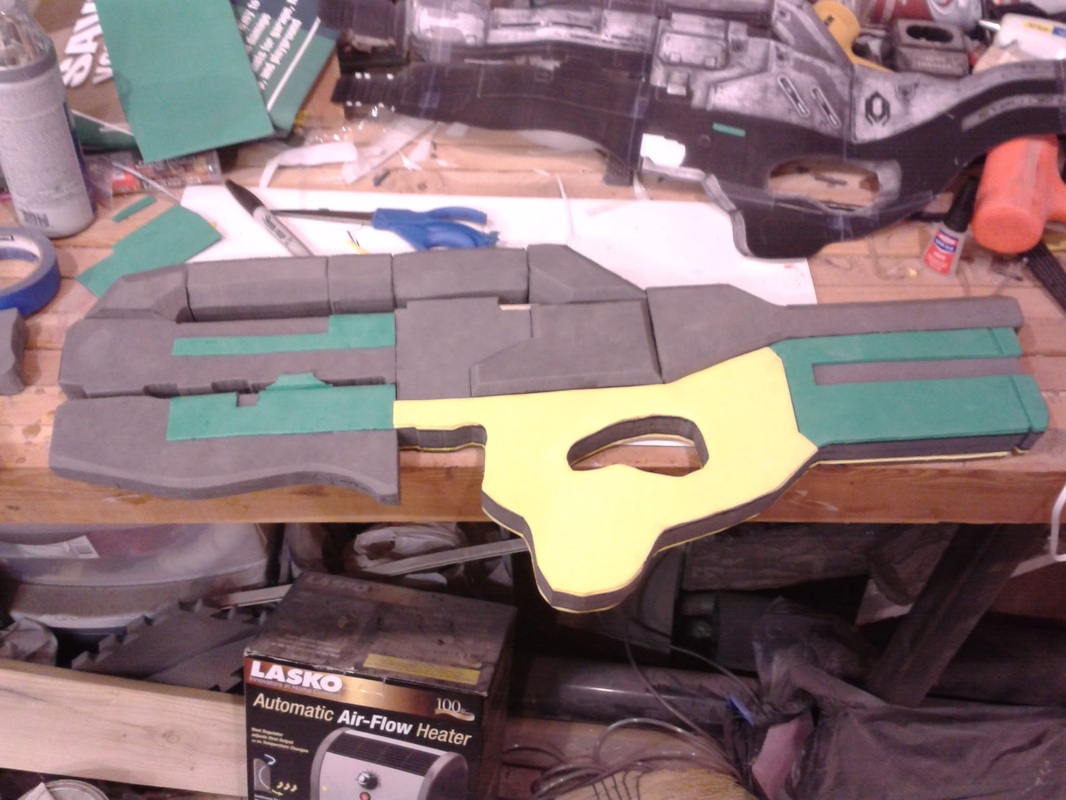
Each piece was cut out with the band saw (layers glued beforehand), beveled with the mini sander I used on the tomahawk, and glued together. On some sections I added craft foam in 1 or 2 layers, to get the raised bits. After that it was a lesson in ergonomics with the dremel. 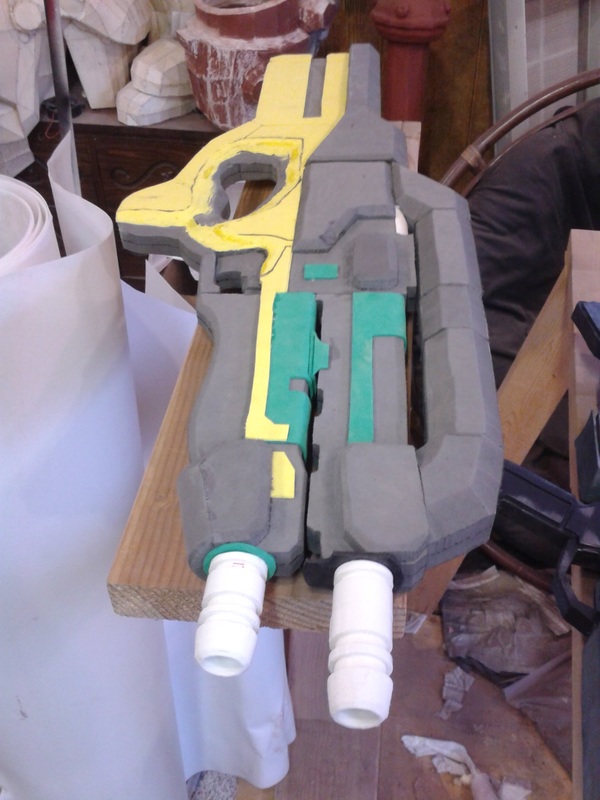
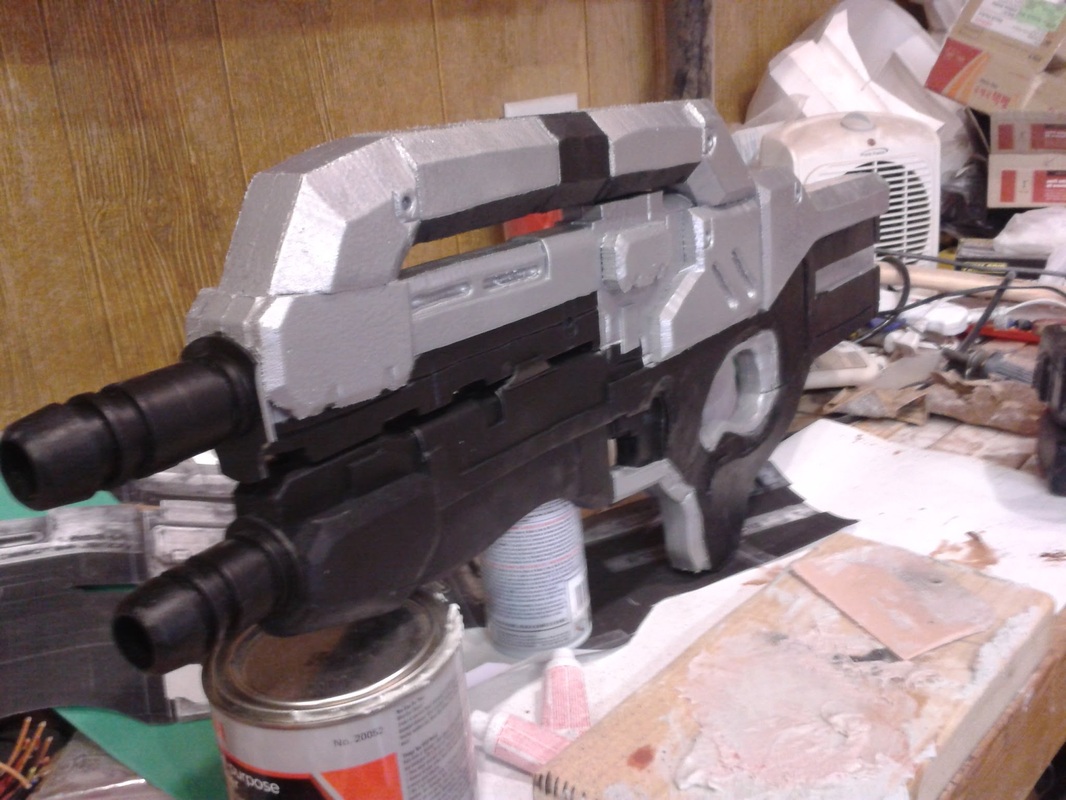
Grip is mostly shaped in this shot, and I've added the trigger and barrels. The barrels are PVC pipe with segmented connectors added over top in place (best I could do without a lathe), and the ends are beveled with the sander again. The top one has a rubber gasket I cut to shape. You can also see a few larger raised bits I added with the foam, for the grip at the front and the box things in the middle. After that came etching and detailing. 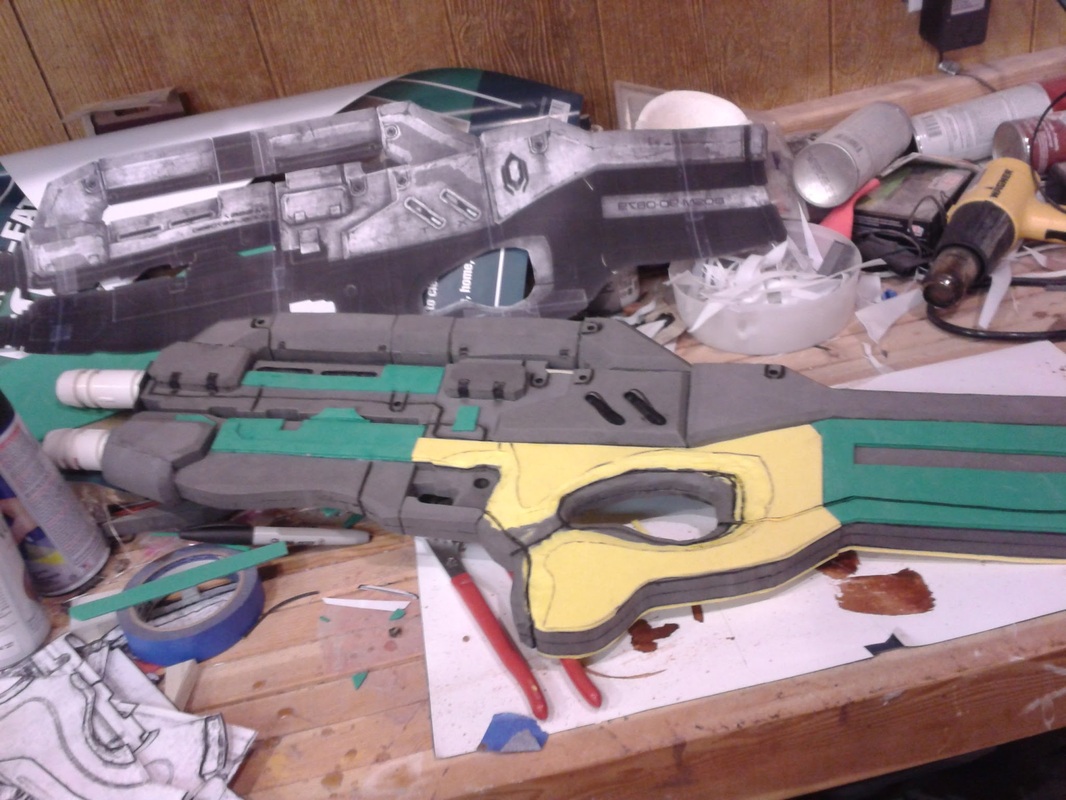
Doesn't look as sharp as it turns out, mostly because that craft foam was a pain to dremel. A few times some of it ripped off, though luckily none past the edge of where it needed. It'll look better later. At this point, it's ready for paint, but here's a shot of it next to my M8 Avenger for size comparison: 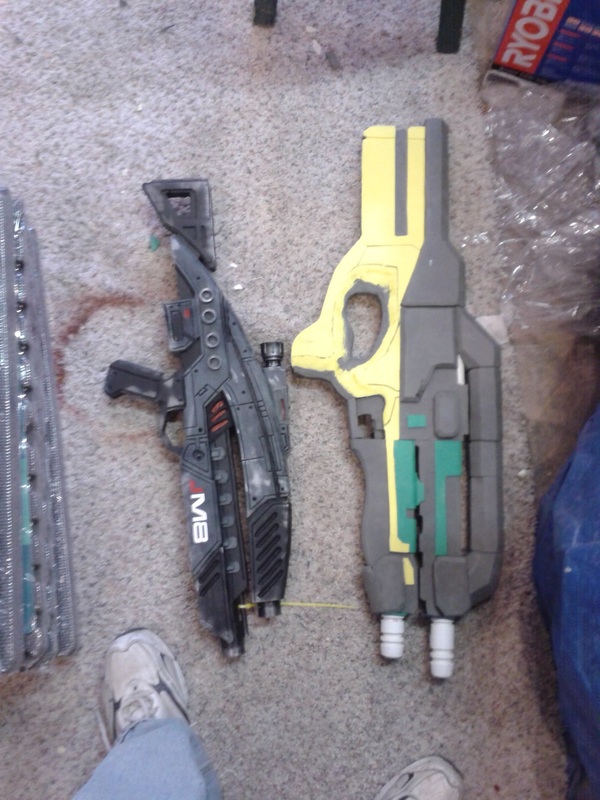
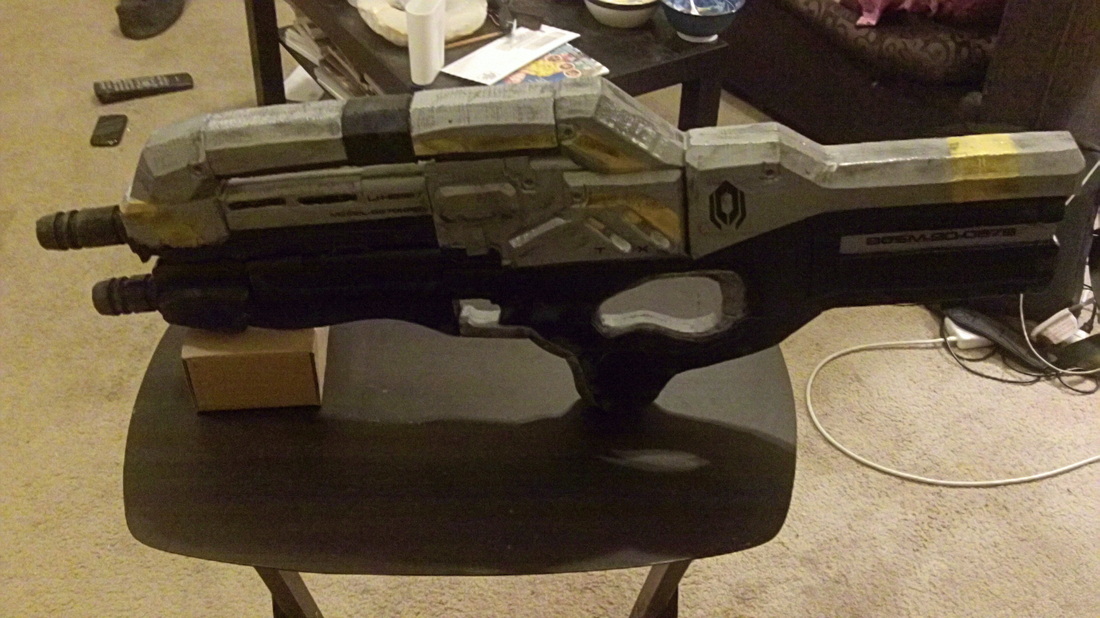
As you can see, this thing is a beast. Only lately have I decided it was too big, and will be shrinking it when I rebuild it for molding, but I still like it quite a lot. So anyway, spackled the seams, and then it's off to paint. Once again, base coats of Plasti Dip, to seal the foam. 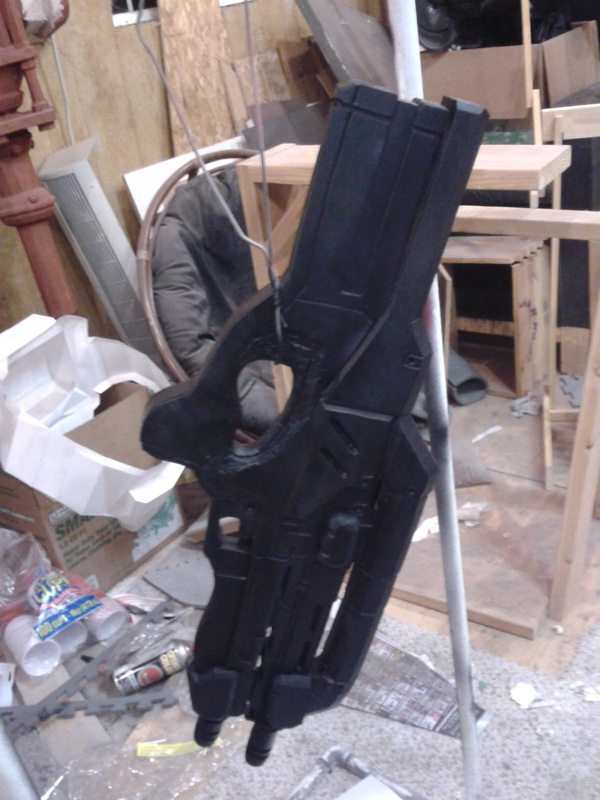
For the grey/silver, I decided to try out Rustoleum's Hammered texture spray. It was an interesting experience, to say the least. I taped off the parts that were staying black, which was easier than normal thanks to all the straight lines. 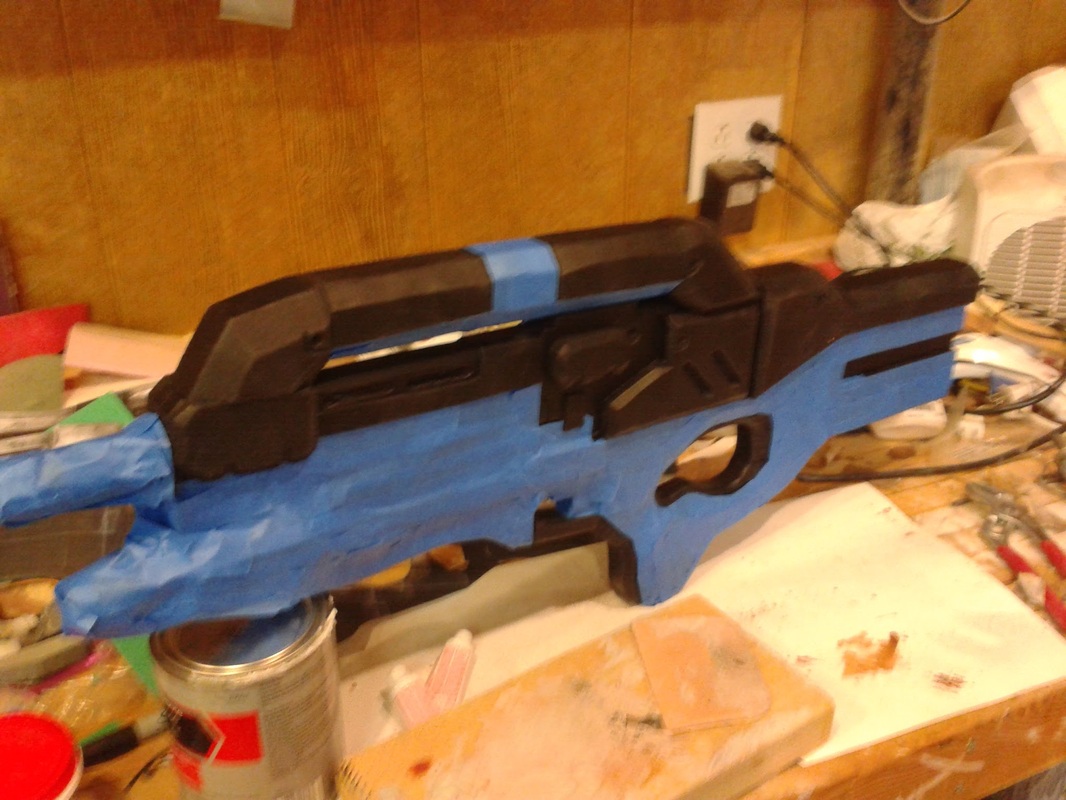
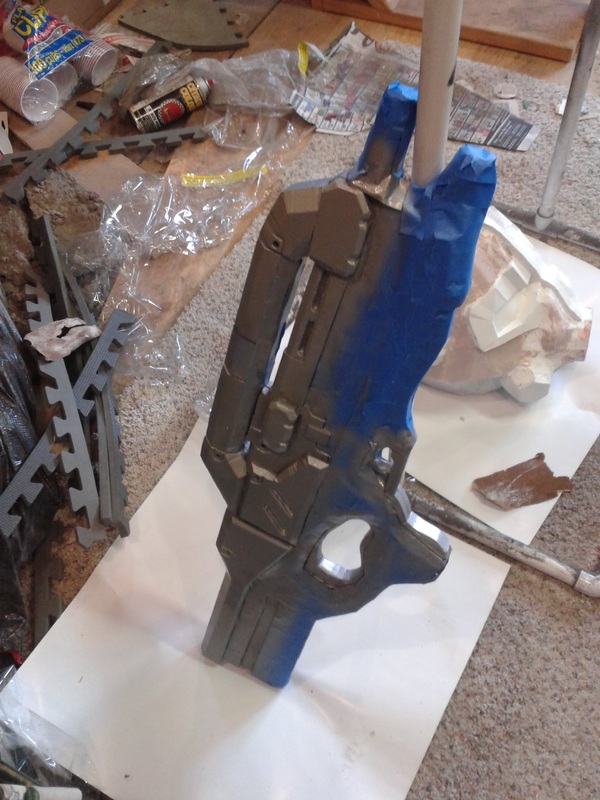
I did a few coats, partly for thickness and partly because I learned that the Hammered spray has to be taken slower than normal. If you spray quickly over, it'll just be straight color, but if you bite your cheek and slow it down enough for some to pool, it'll really help the texture pop. Didn't have a proper camera at the time, otherwise I'd show a great close-up of it. Maybe for the next one - or the Fallout helmet I used it on as well. Here's a shot after removing the tape: 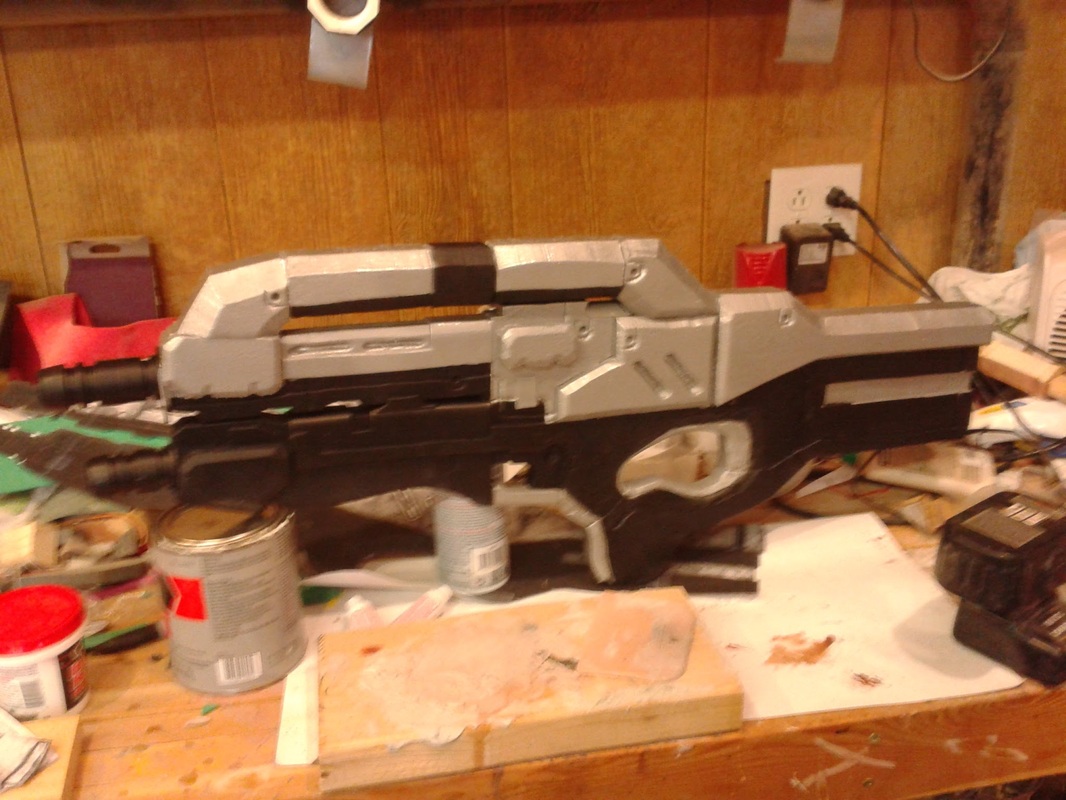
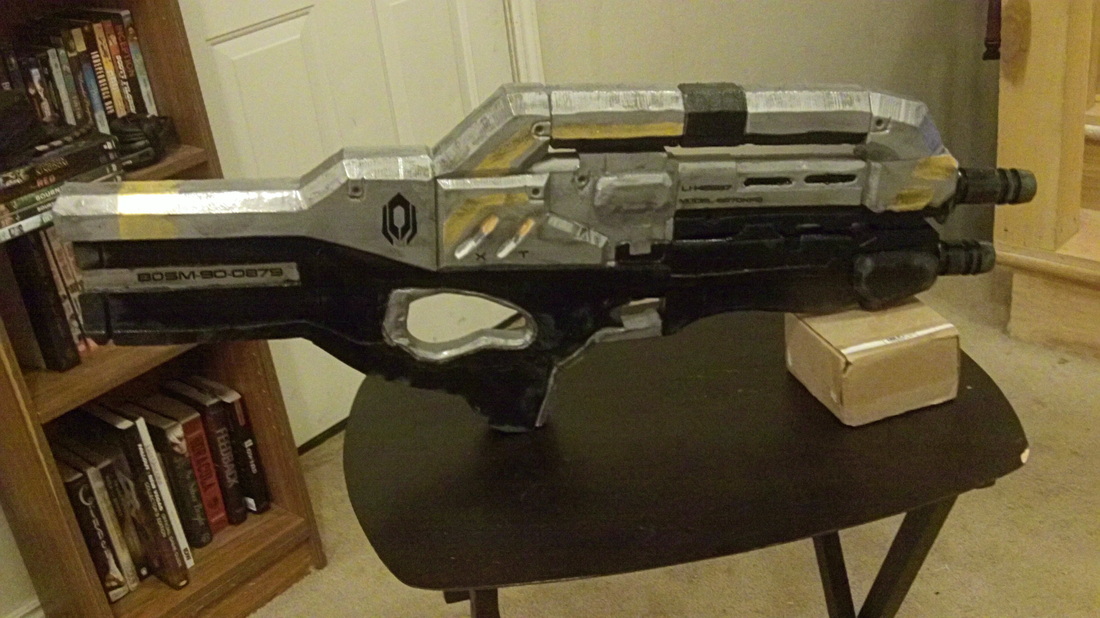
After that came the details! 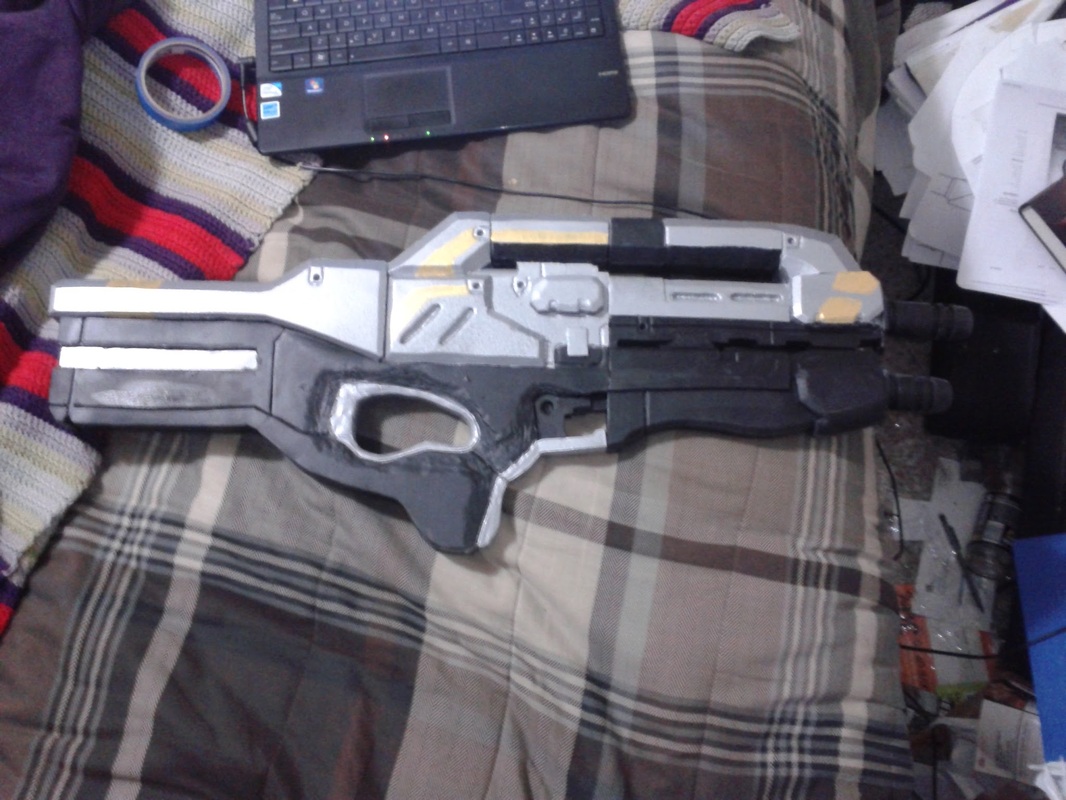
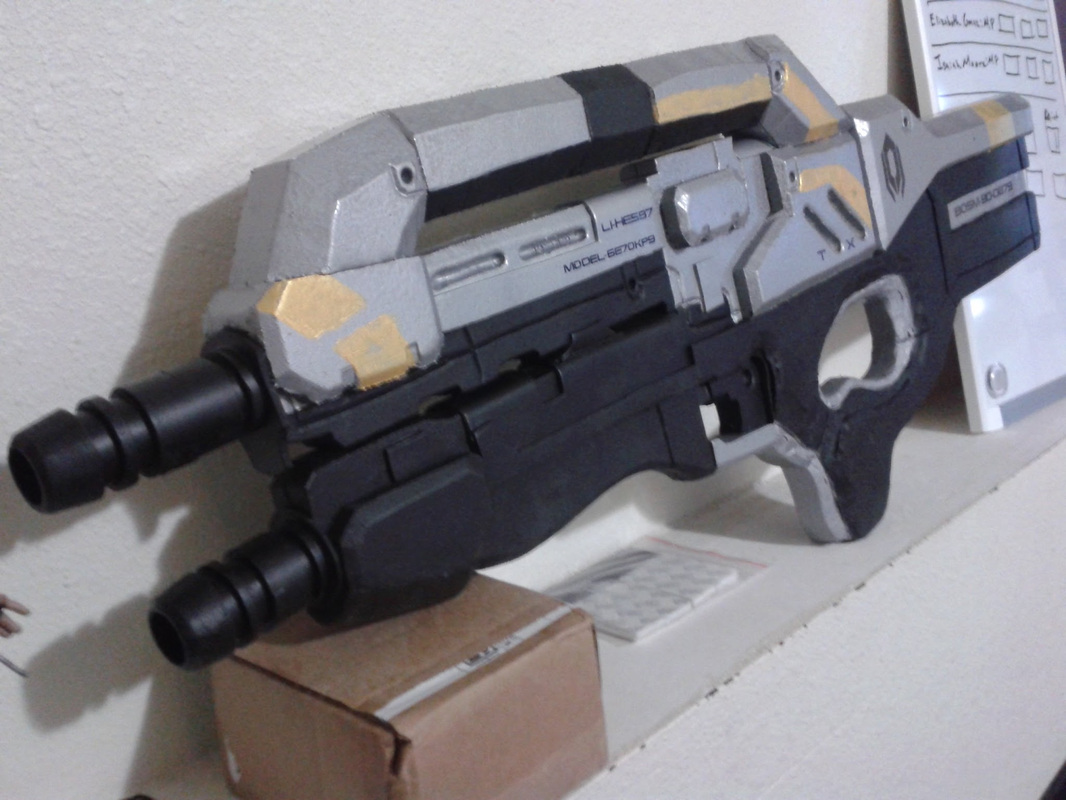
Vinyls brought to you by the wonderful guys over at Deft Perception on Etsy! After I muddied out what letters were what (and I'm still not sure what they are), they printed them out for me in record time. I highly recommend them for custom vinyls and whatnot. These aren't coming off, like ever. After that came the final, most important, and absolutely funnest step of all: weathering! I used similar techniques that I used on the tomahawk, especially since it added depth to the yellow bits and went right over top of the vinyls. Again, all I have at this point is a camera phone, so apologies for the low quality pics. 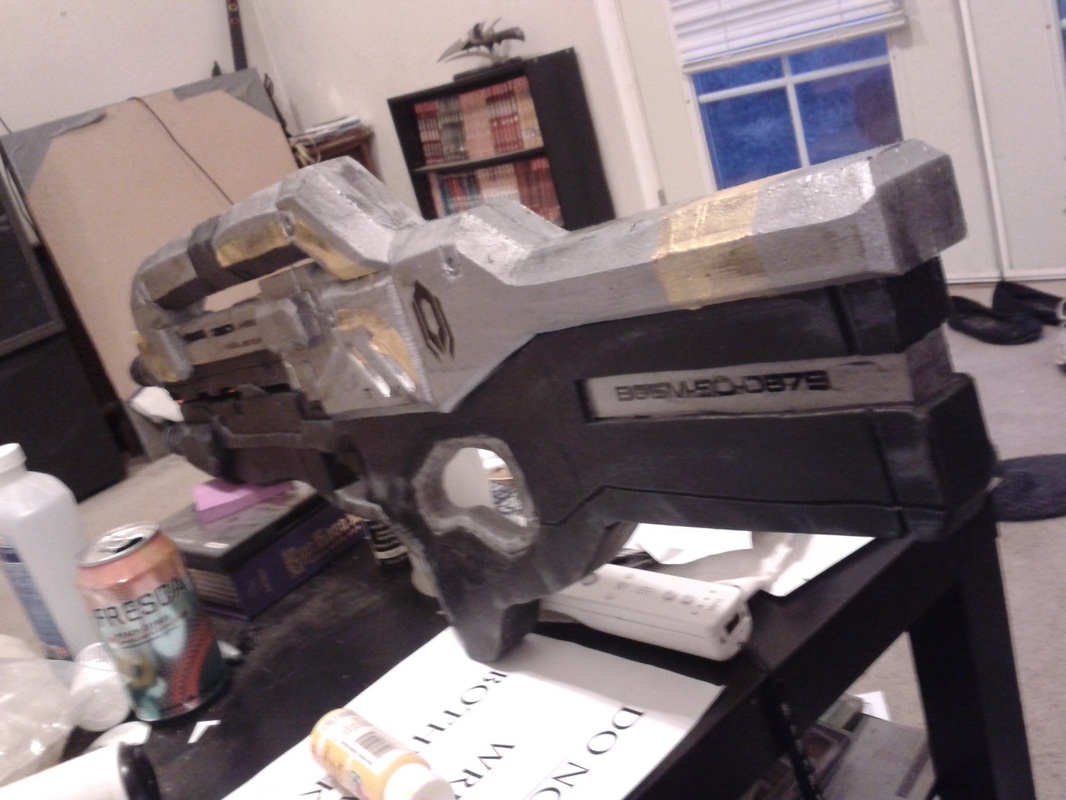
And a couple fun little pic I took for Mass Effect Marathon to send you off with. See what I mean? This thing is a beast! Hope you enjoyed! 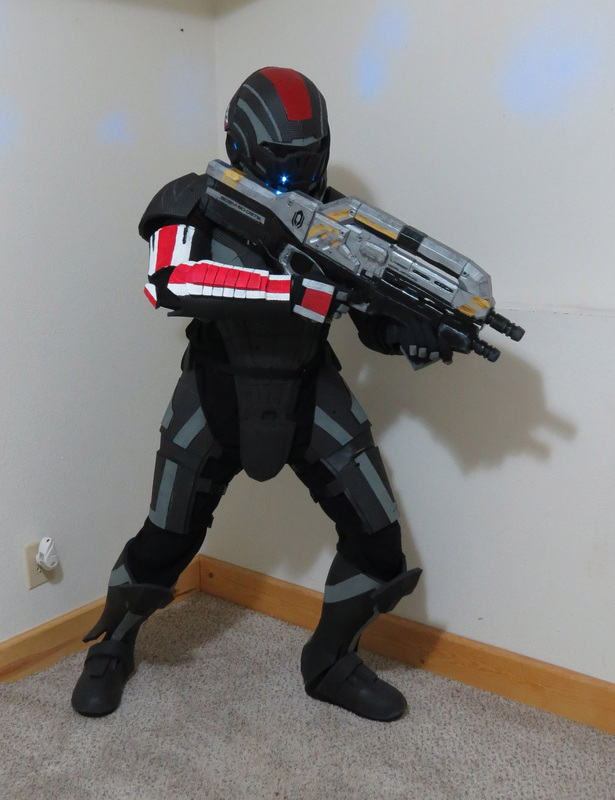

2 Comments
5/28/2013 06:39:47 pm
I really enjoyed reading this post. I congratulate you for the terrific job you’ve made. Great stuff, just simply amazing!Thanx for this post. 5/28/2013 06:42:15 pm
Nice post I Like your site very well and continue to do so. I have bookmarked your site. Leave a Reply. |
|
 RSS Feed
