|
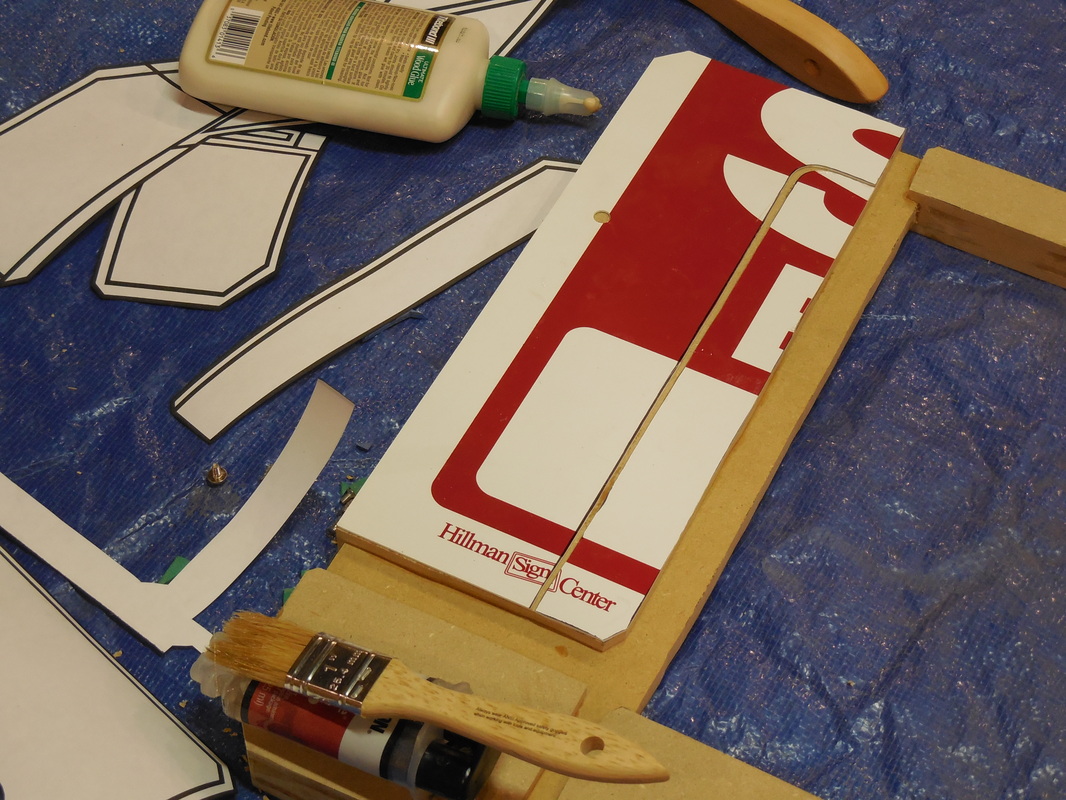
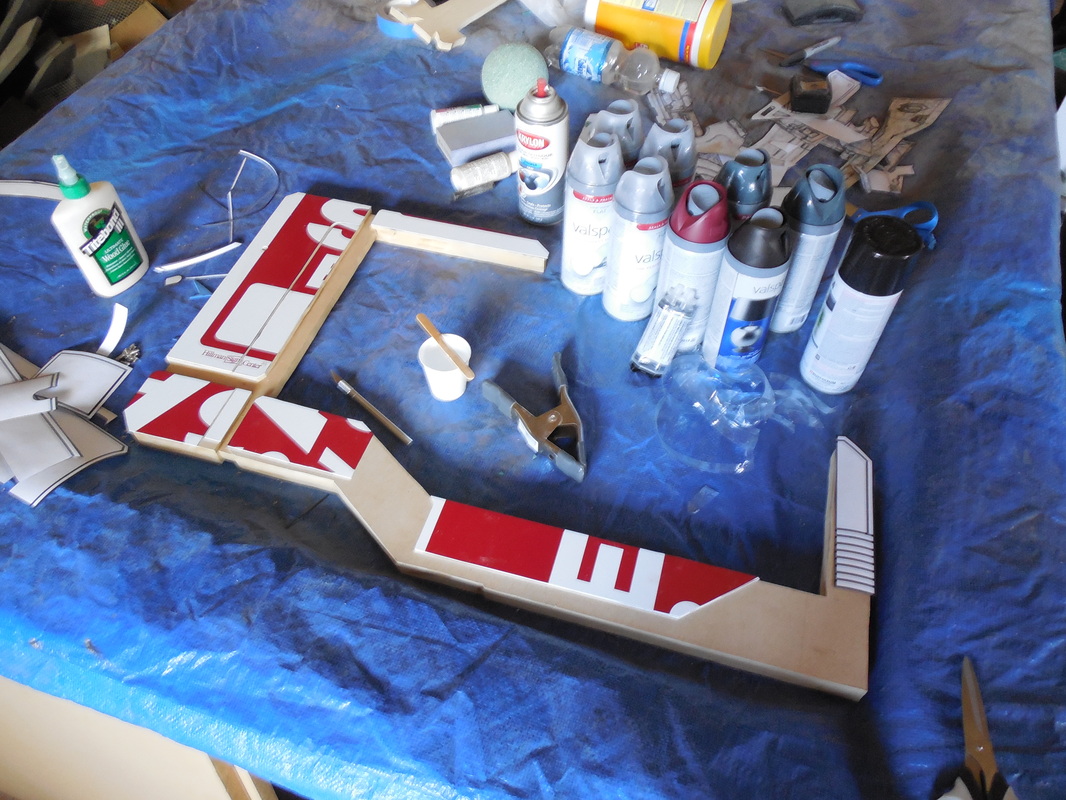
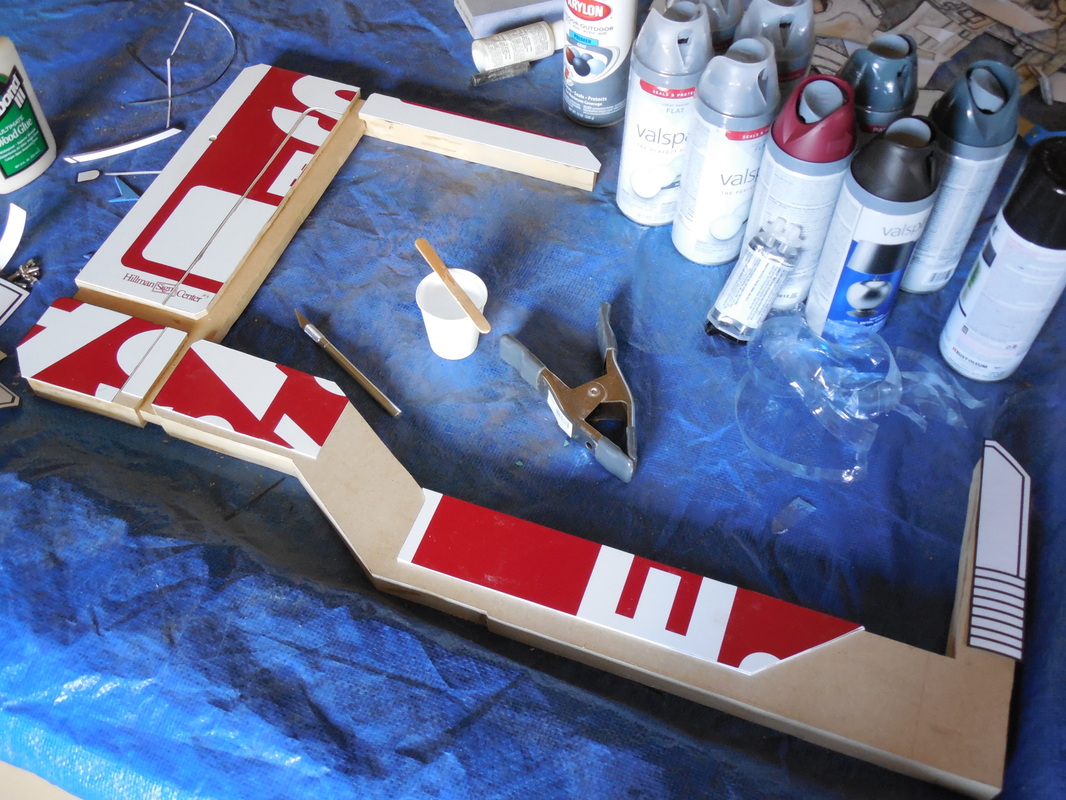
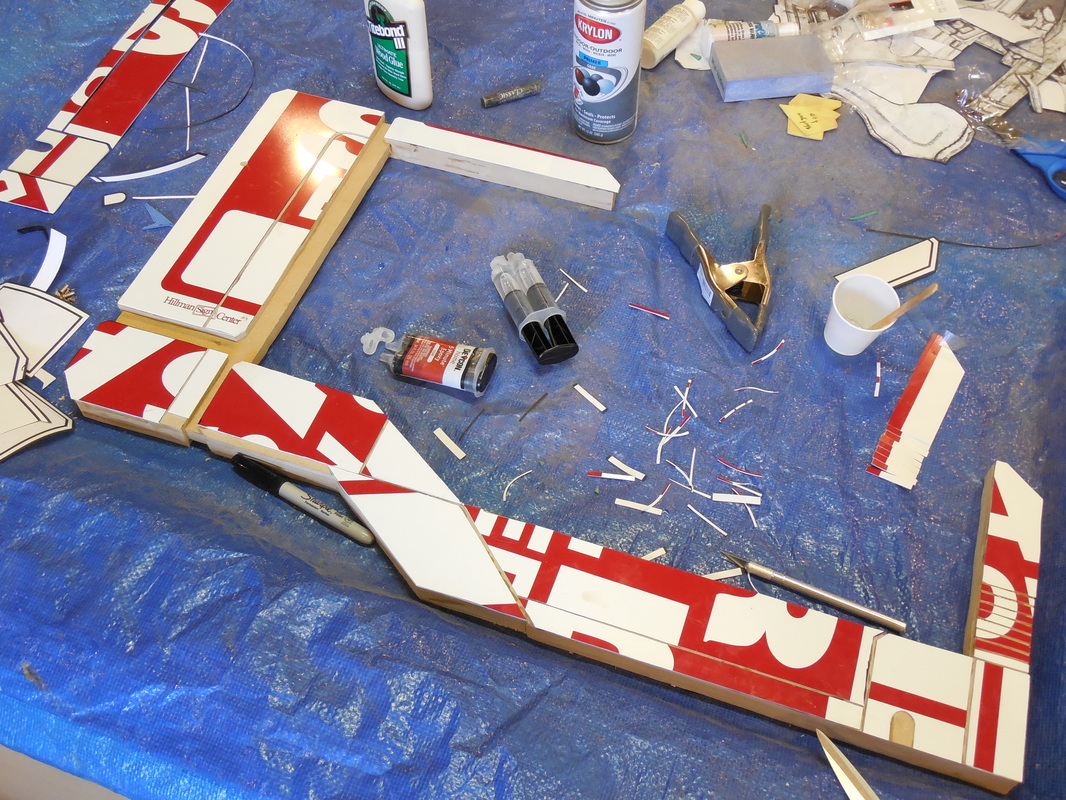
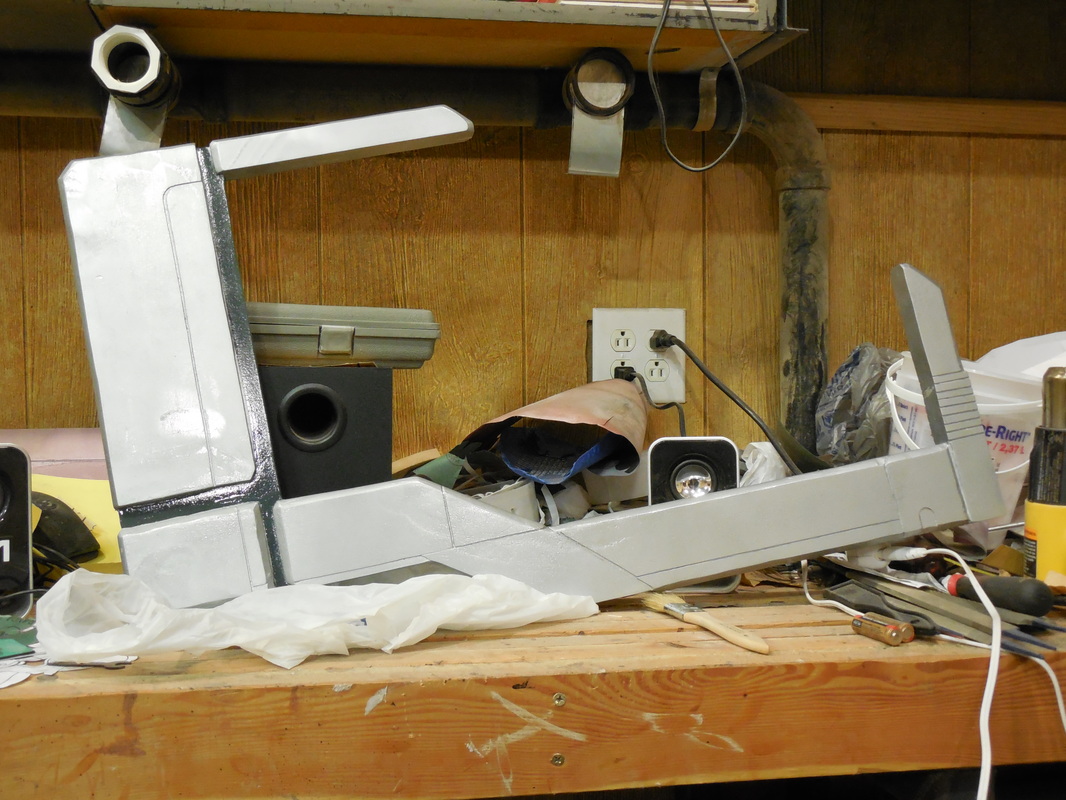
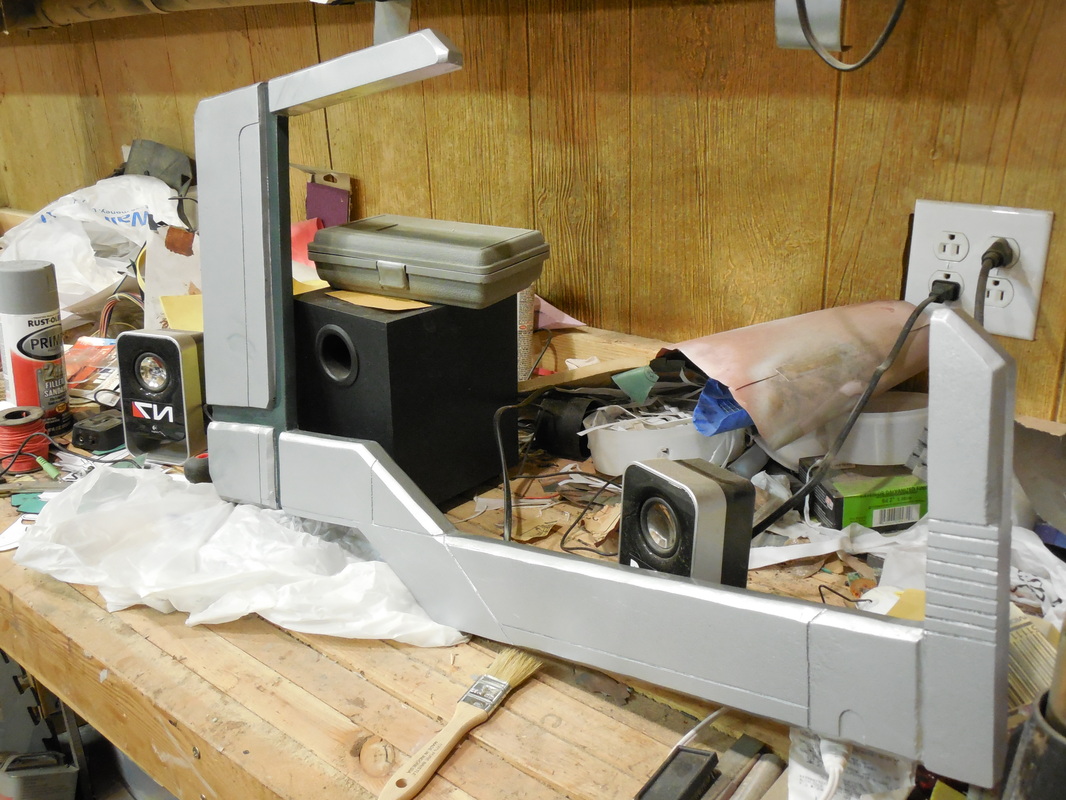
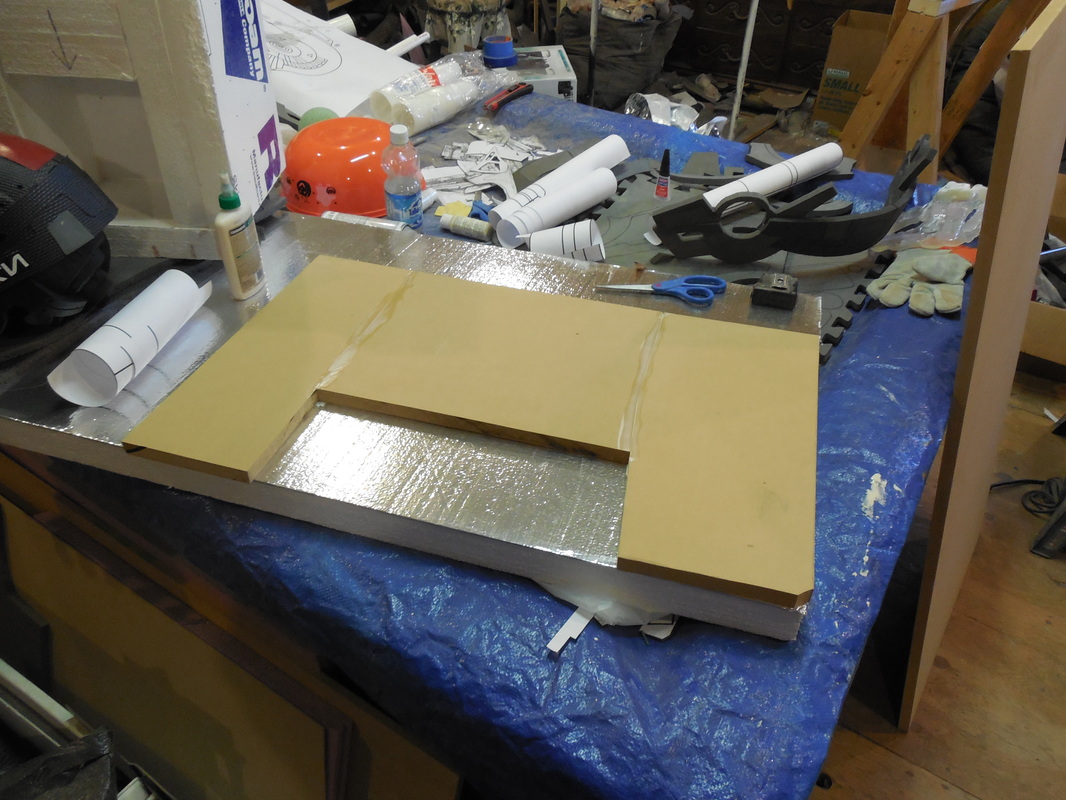
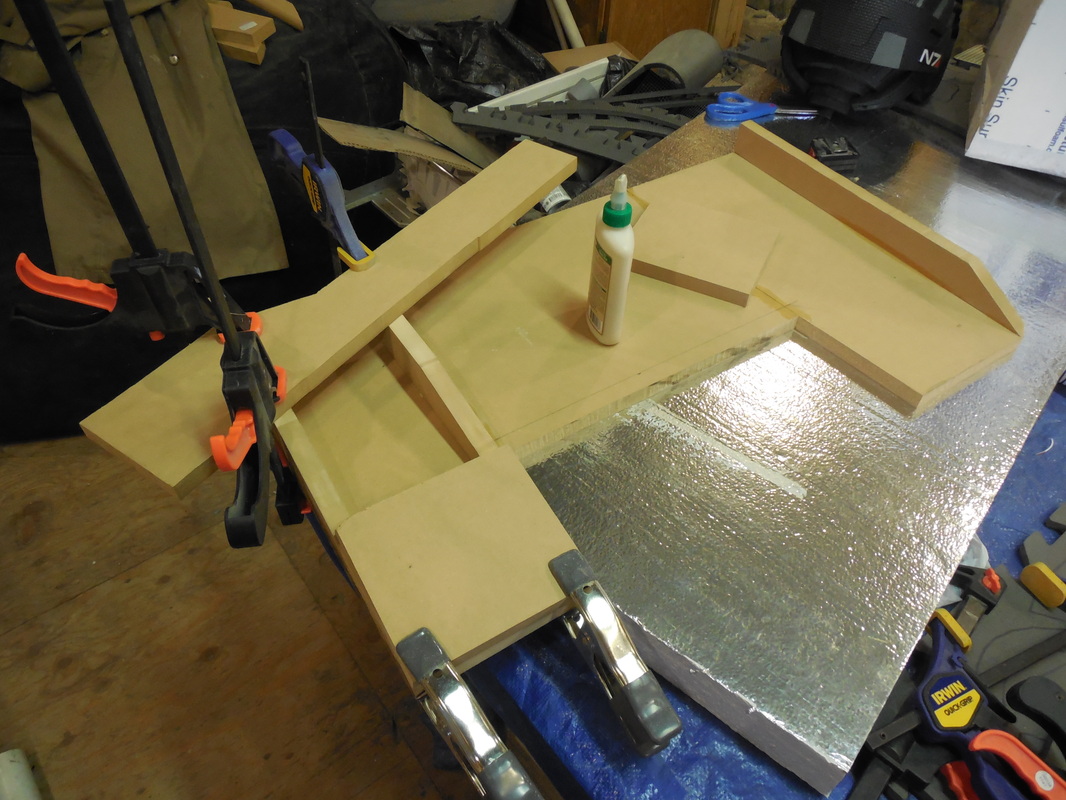
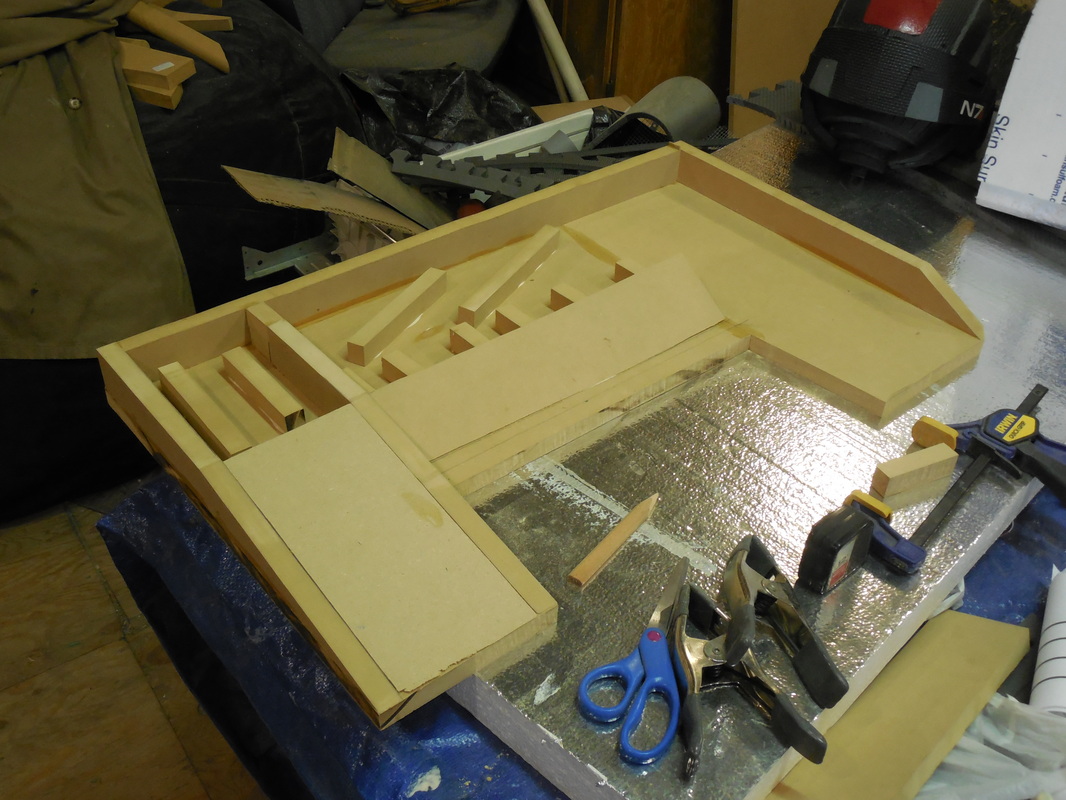
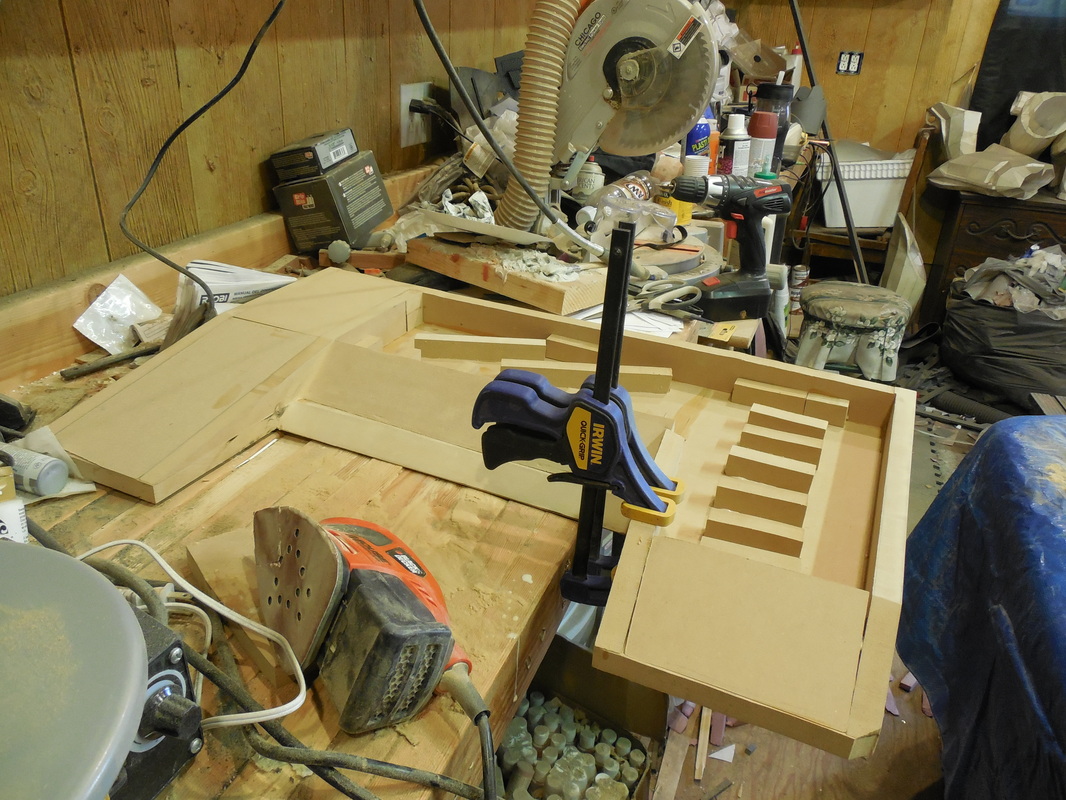
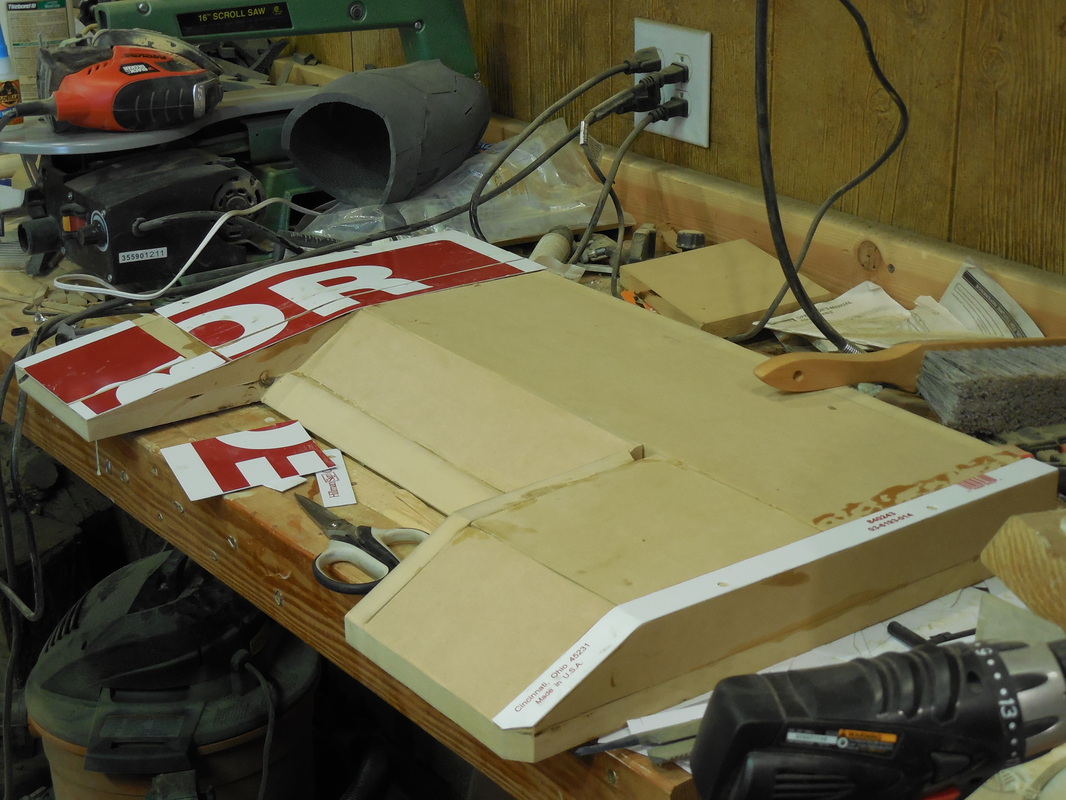
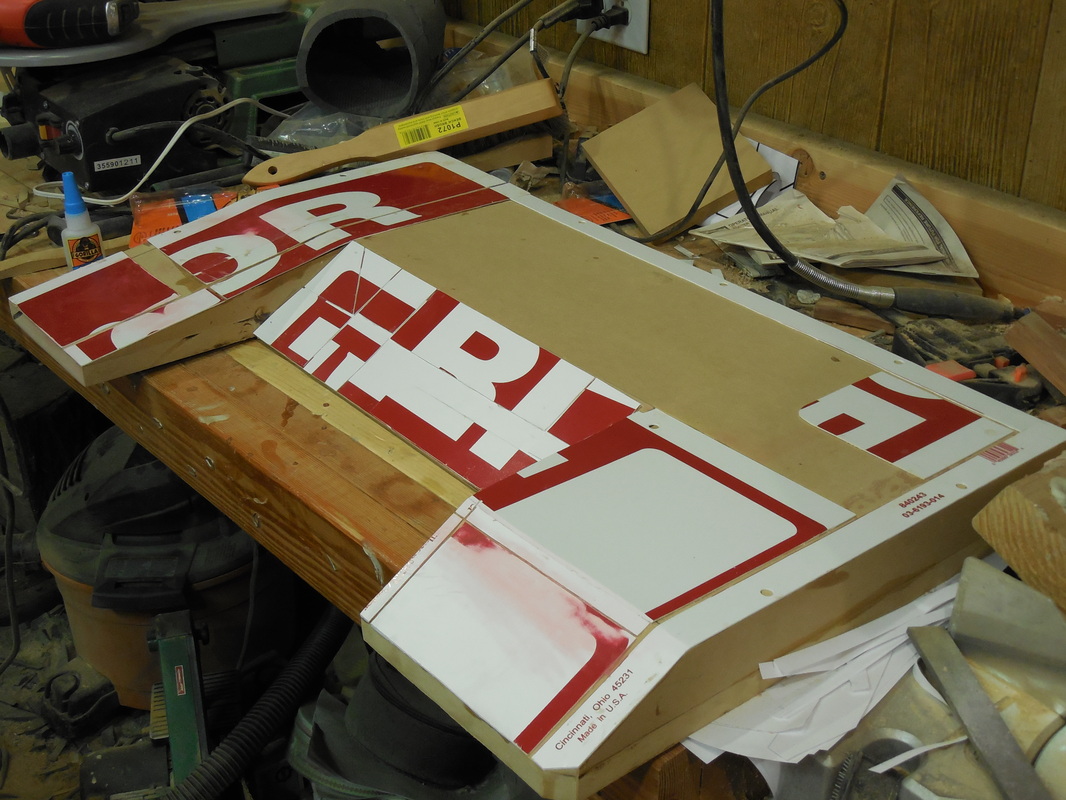
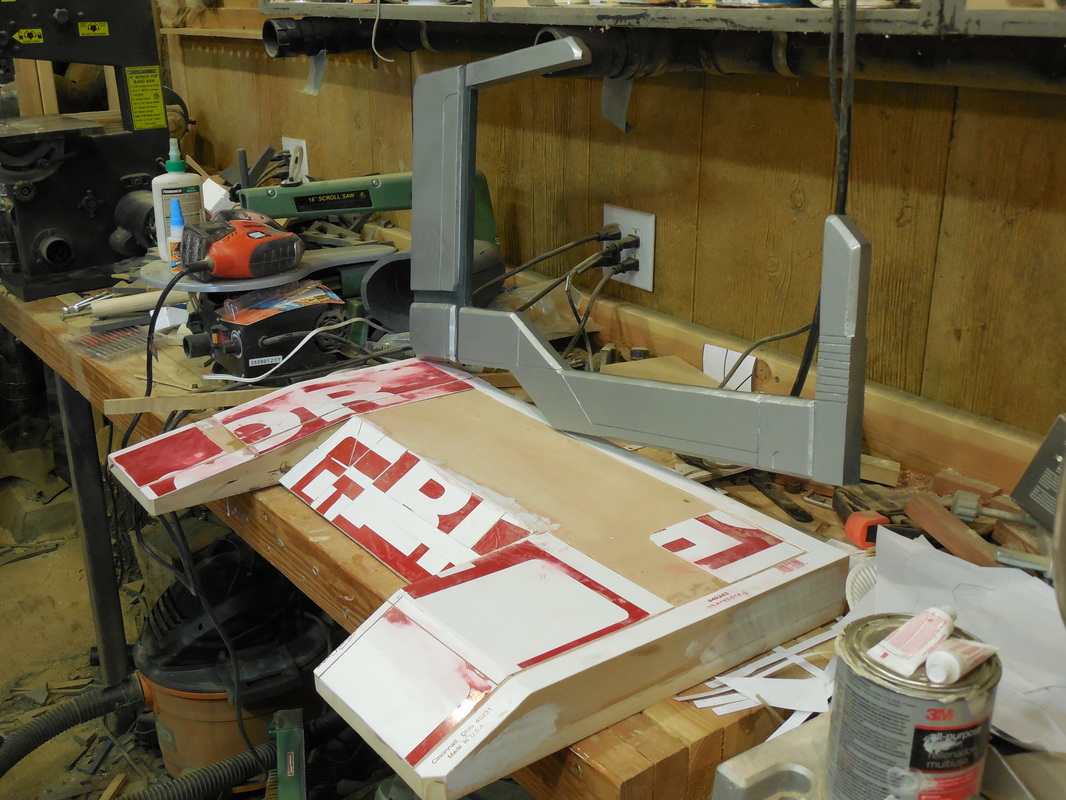
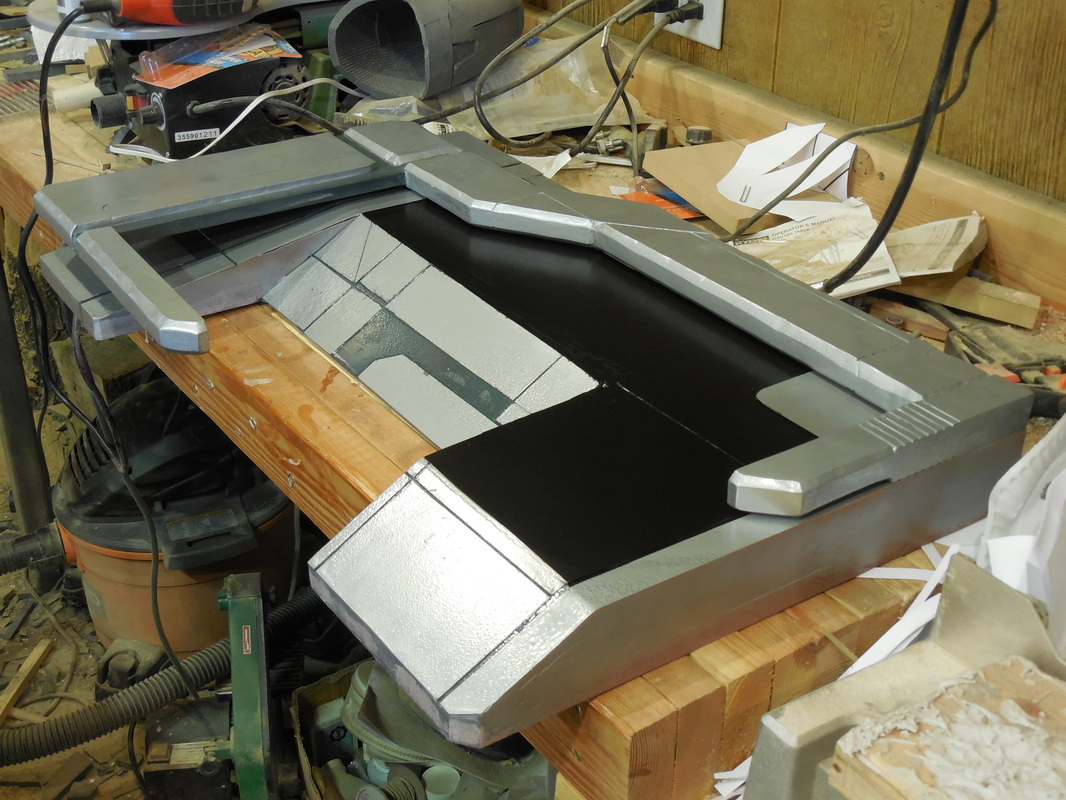
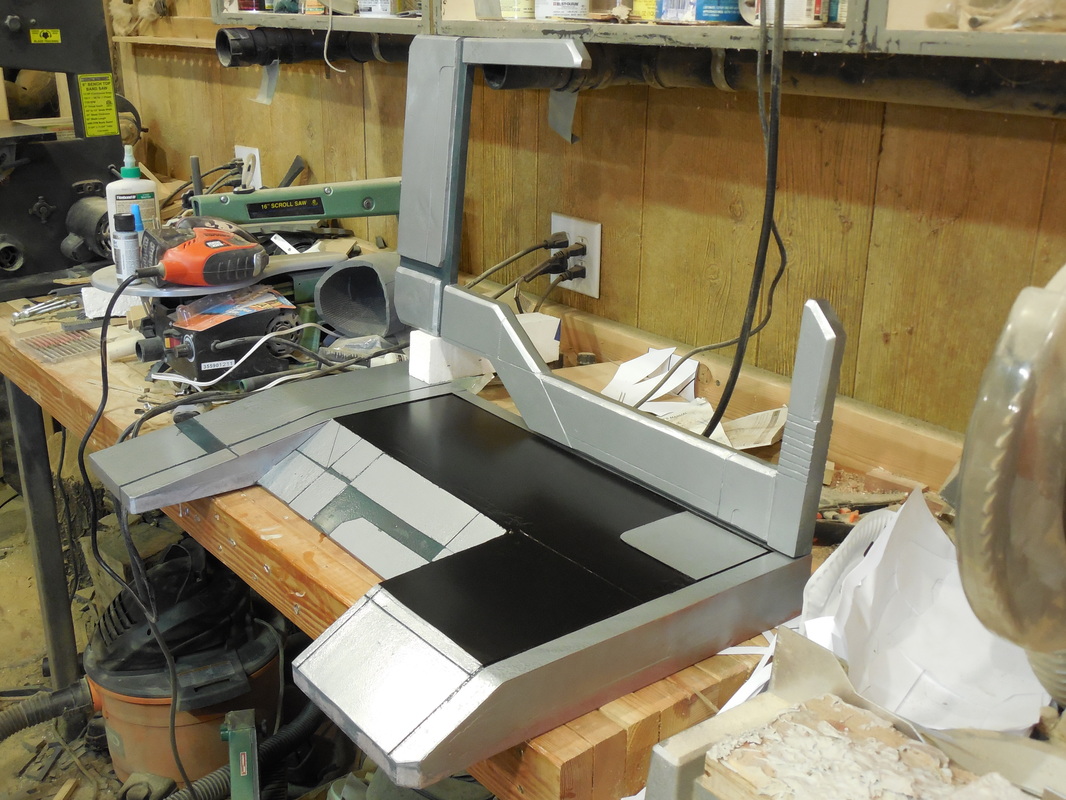
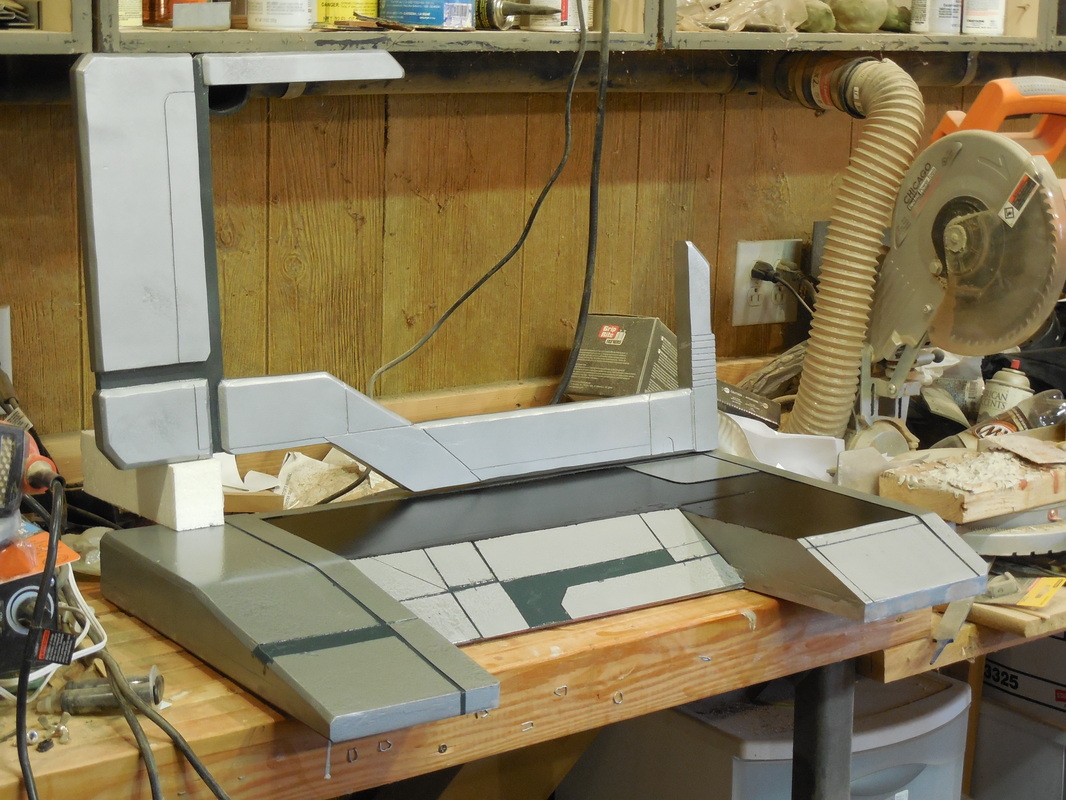
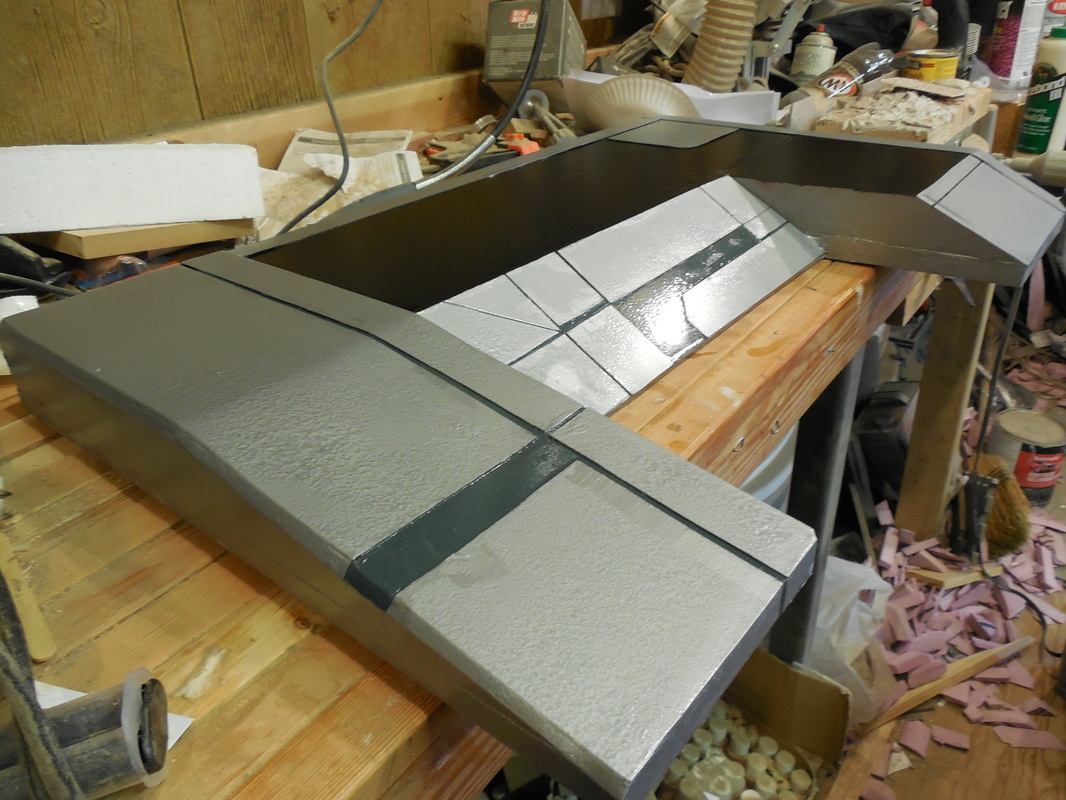
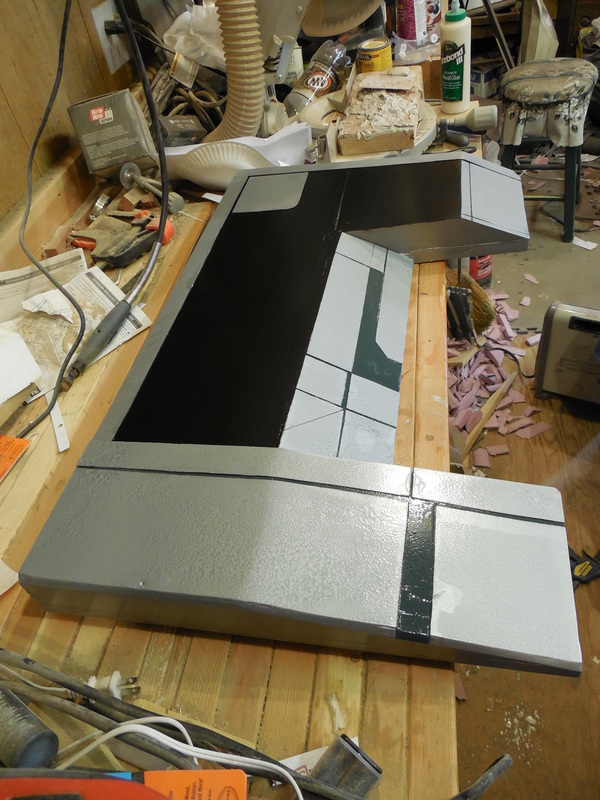
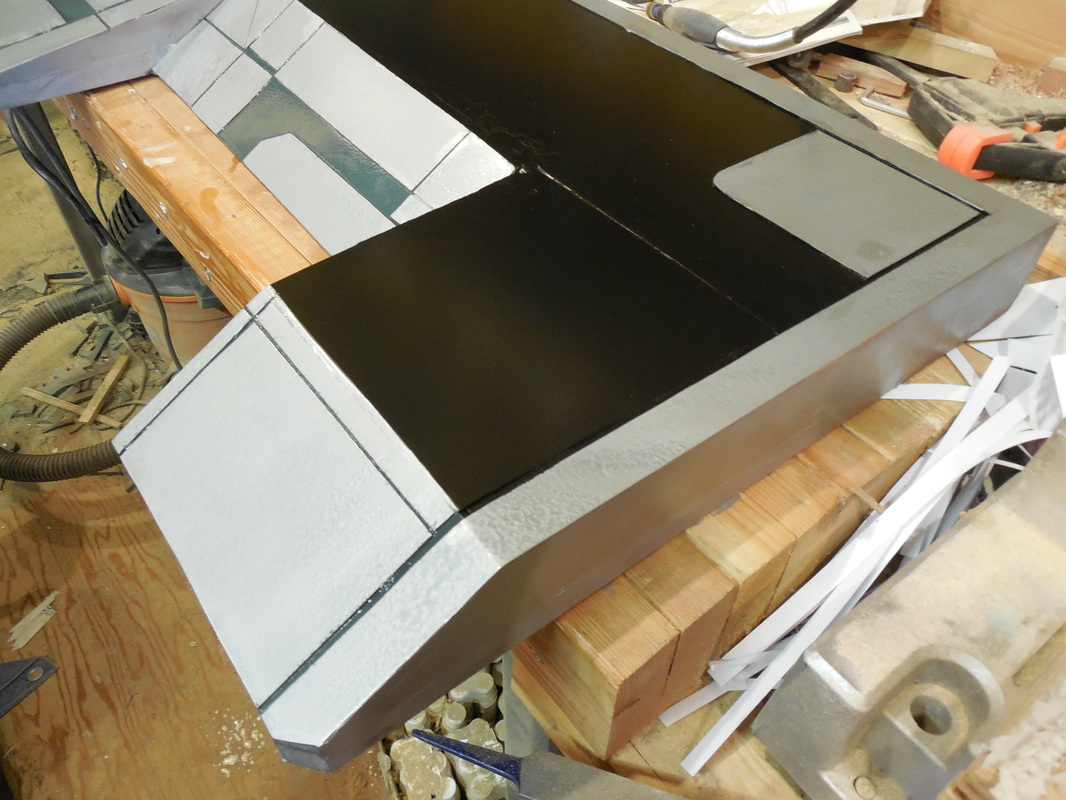
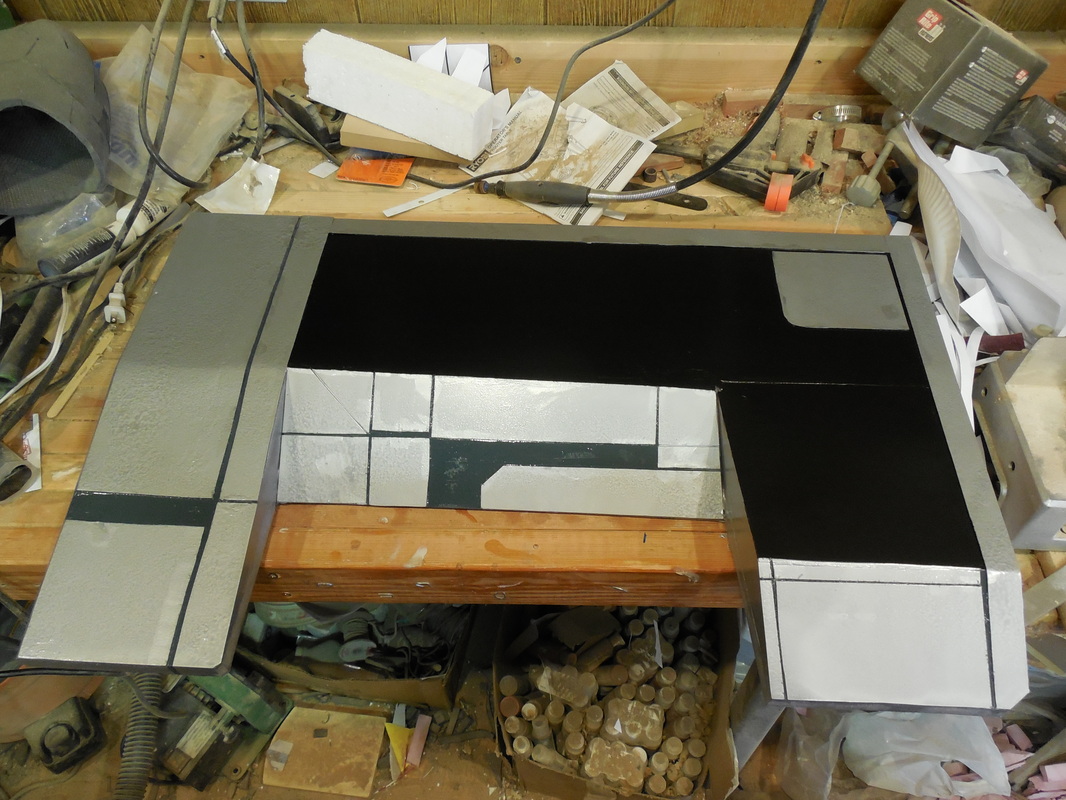
Welp, it's been a long while and I'm not feeling well, so time to catch up on write-ups! First up is a huge build I made for a little fan film called Embrace Eternity. The Personal Terminal they asked me to make is featured all over Mass Effect 2 and 3, most prominently in the loading screens: 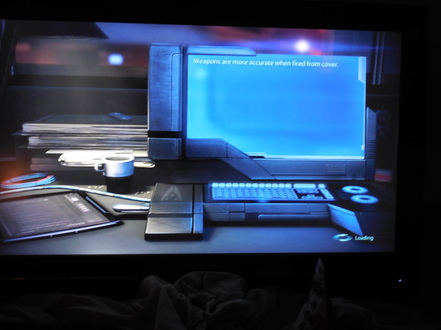 ...and from the menu screen when you first load up the games. Since I couldn't get any really good straight on shots of it, not even from the in game models (which ended up being much smaller), I had to make a set of blueprints for it. The terminal blueprints were actually a blast to make, with lots of interesting bevels and inset details that made me even more excited to build it. Of course, since I based the size entirely off a standard keyboard, it ended up being approximately the same measurements as a 24 inch monitor - just for the visible screen section! This thing is gonna be massive.... Once I had that finished, I printed the huge page out (yay FedEx Office), cut out what I needed, and started on the screen section. 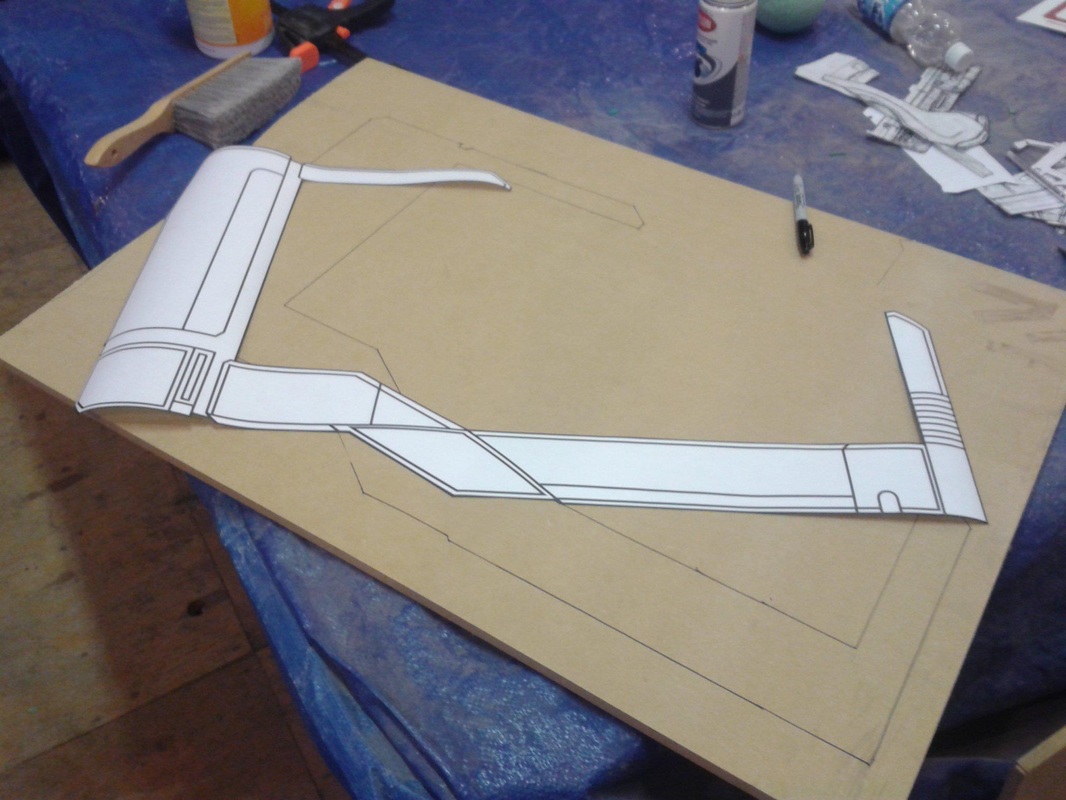 As you can see, this thing is massive. I wanted it to be sturdy, since it was being used in a film and, to make things easier on the filmmakers, I had only charged material and shipping cost and it was being returned after film completion. That meant it had to be strong enough to survive the actors, set crew, and shipping twice. Unfortunately, that also meant I had to use MDF, since nothing else I had at the time would have been strong or durable enough to survive. This also meant it ended up being extremely heavy. :( Anyway, I cut this out of 1/2" thick MDF using my trusty scroll saw. When that was done, I cut the blueprint up even further, and started on the raised bits. 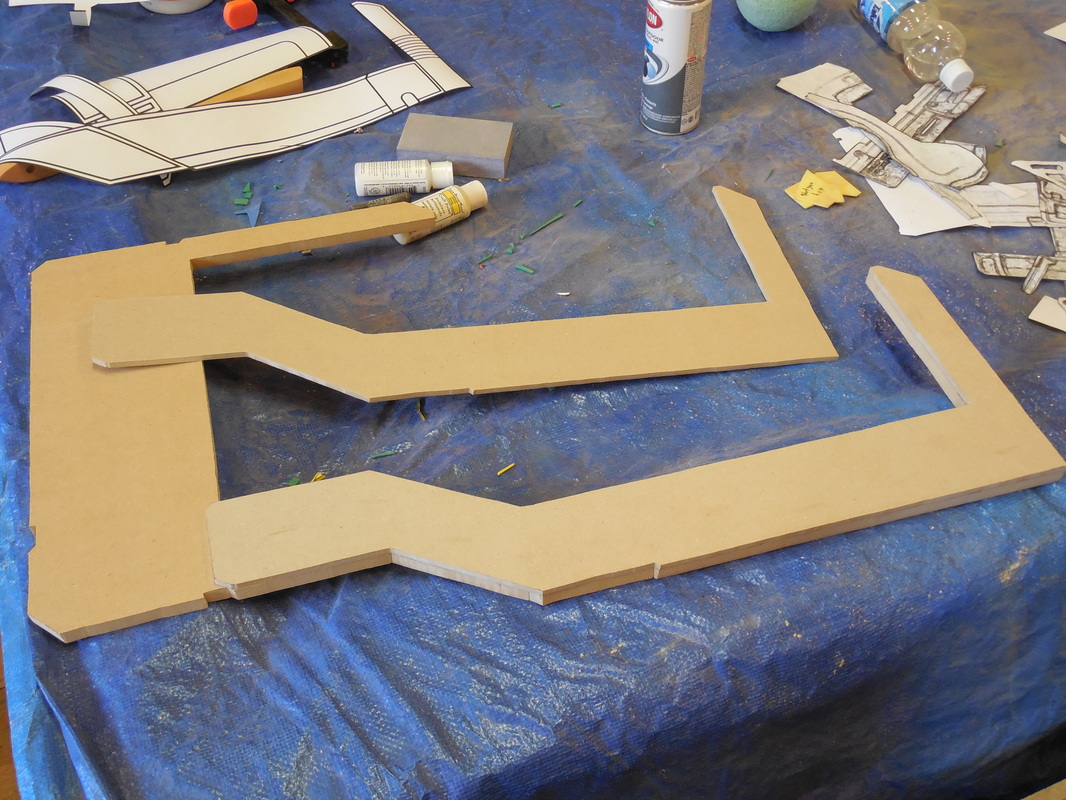 I cut these out of 1/4" thick MDF, two at a time (just like the raised sections on the Phalanx build), though this time I used two sided tape so that the parts wouldn't shift on me. I did it on both sides rather than just the one, since they wanted shots of it open and closed. Already this was looking exactly like I wanted it. 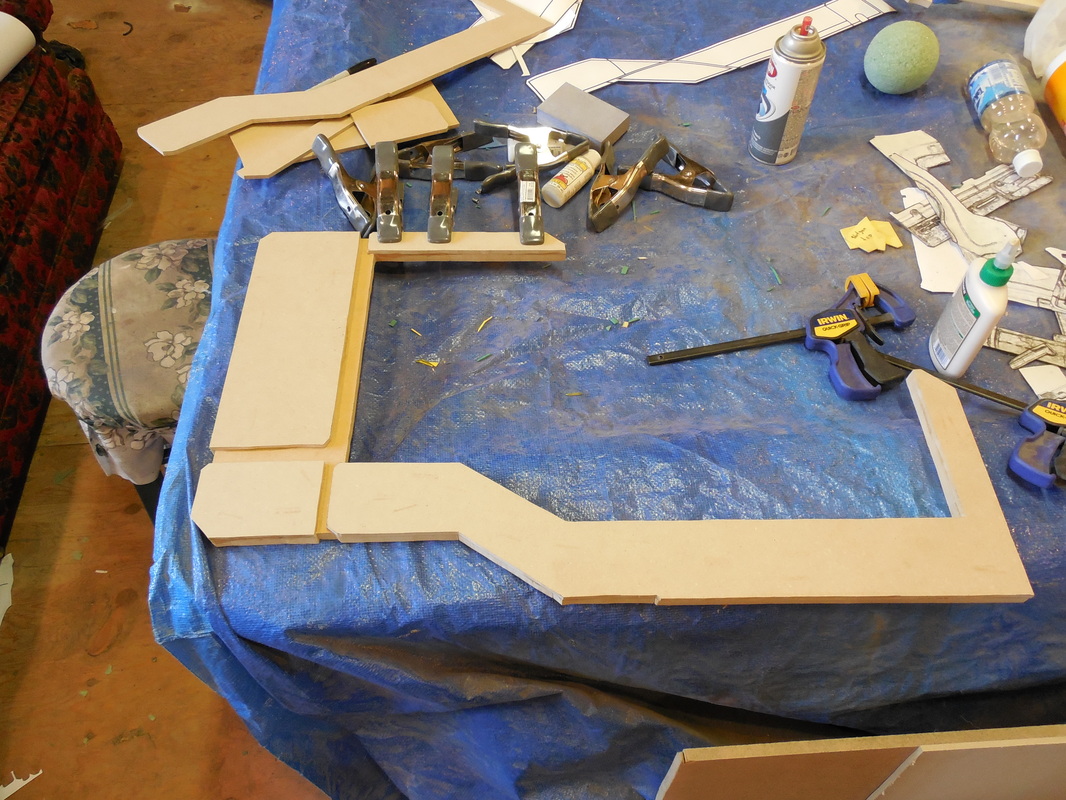 Now was when the real fun began. To get the added details in, building it up a little for the beveling, I started slinging 1/16" styrene (in the form of For Sale signs) left and right. This is what I had planned to use on a couple sections of the Phalanx, and as you will soon see would have really helped pop the details. For now, though, with all the red and white everywhere, it won't make much sense at first. As you can see, I cut up the blueprint even further (nearly confetti now) and used it to make each section. I used a 2 part epoxy to secure these, since naturally the wood glue won't work for plastics. I also did the reverse side since, again, it all had to look proper! Now that this was done, I threw on the ever handy Krylon Ruddy Brown primer, and started sanding. 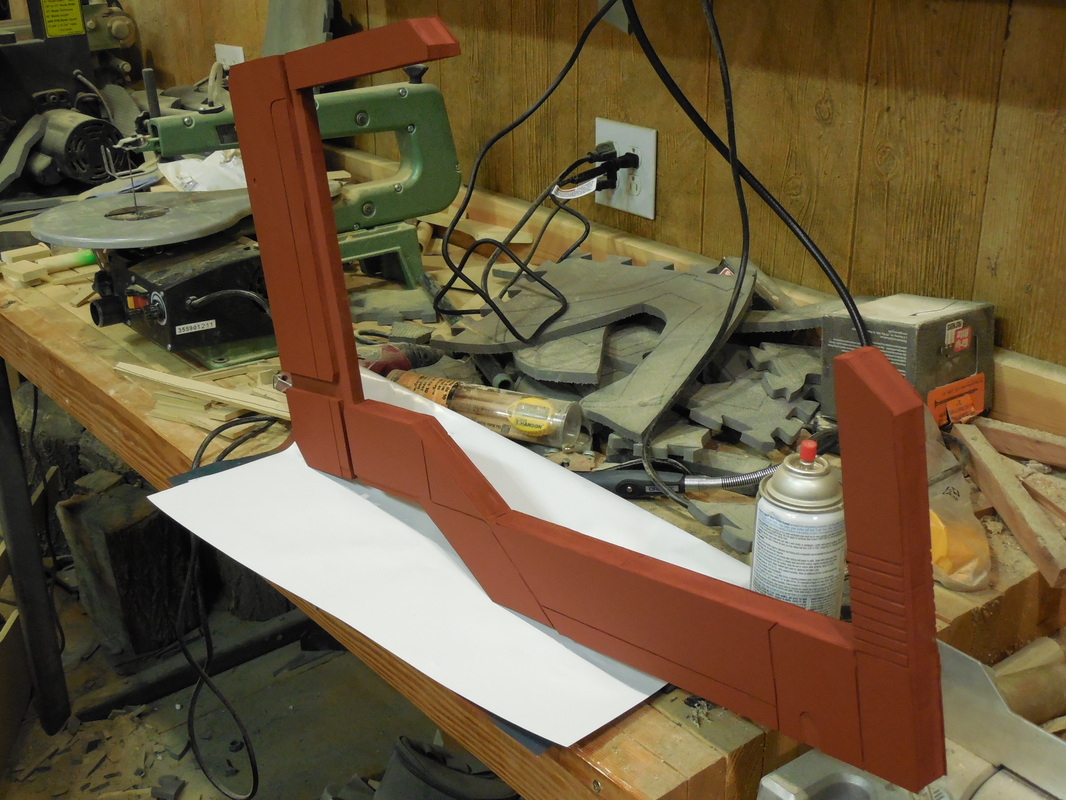 Doesn't that just look awesome? Only a little ways in and I'm already super happy with this. I was having some problems with the paint sinking in at the edges, which at the time I had no idea how to fix, though I do know now and am no longer having issues on other builds. It's as simple as rubbing super glue along the rough side edge and sanding. Who knew? :) I started by sanding everything down to make it even, and used the dremel to bevel all the things. Nearly every edge of everything Mass Effect is beveled. Oy. 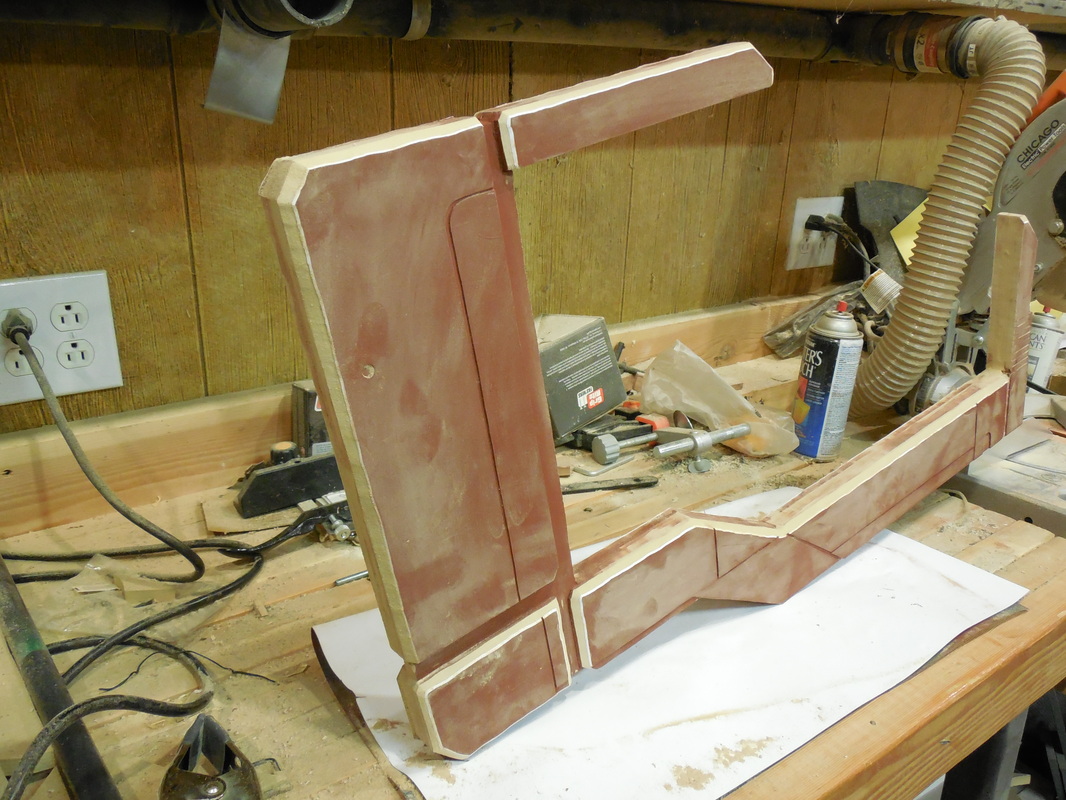 Still some rough spots on the bevels, so I took a sanding block and smoothed those out, then primered everything again and sanded some more. 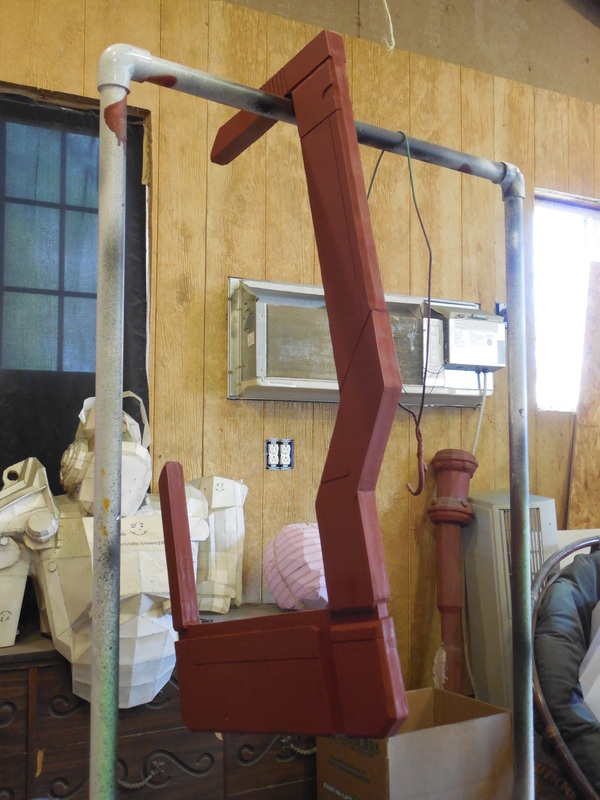 Now we're getting somewhere. Really starting to come together - and this is just the screen section. Took some filler to clean up the bevels, and to fill a couple of holes punched into the signs. 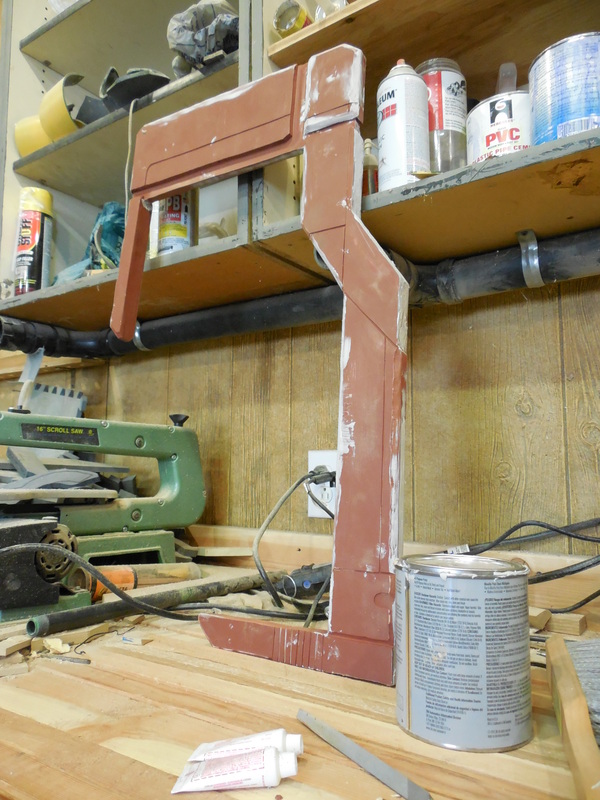 Sanded those down, cleaned everything up, and it was time for paint! Yes, yes, I know, the base hasn't been started yet. We'll get to it, I promise! First up, a few good coats of silver primer. 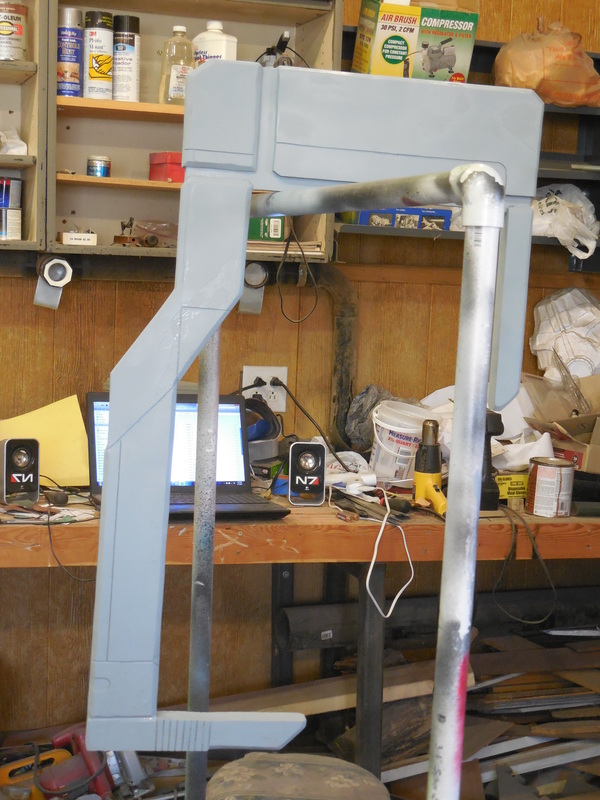 Admittedly, now that I know a bit more about colors and paints, I should have used black to help pop the metallics of the silver top coat, but this worked well enough. Once the primer dried, I did the main coat, again like the Phalanx with Krylon's Hammered Silver. I didn't go heavy on it, so that in certain lighting it would look clean and smooth, much like in game, yet in others it would look a bit tarnished and beat up, just in case they needed it in action scenes and whatnot. Thinking ahead! :D 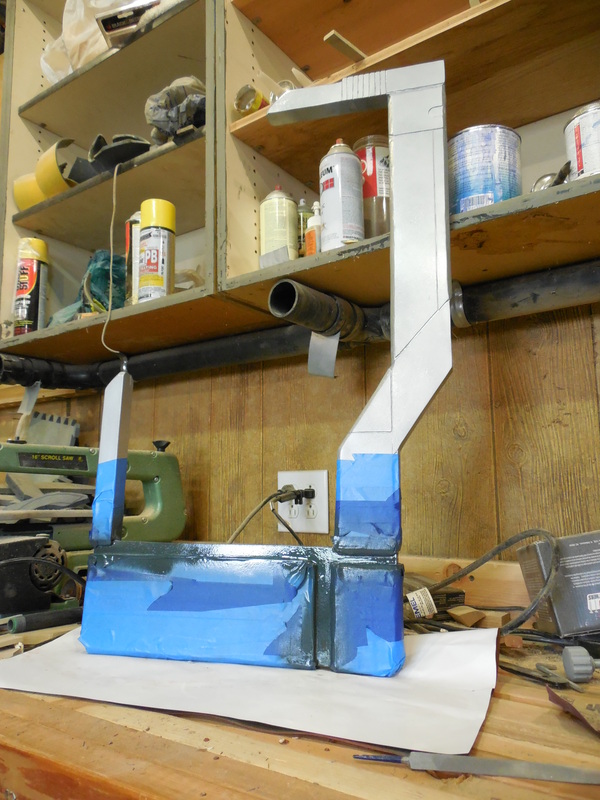 I also blocked off the lower sections for the darker color, this time using a dark green-gray. Terrible picture, but again it'll make sense later. Once that was dry, though, the screen was done! Now that this bit was done, I could contemplate how I would make it open and close properly while I made the base/keyboard section. This was made pretty much the same way, though the bottom and sides were made with 3/4" MDF, again to make it more sturdy and durable. I also made it hollow, to save as much weight as I could. Larger beveled areas I made with angled sections of wood. Seams abounded, but would be fixed later. After all that was filled in, in came the signs again! That last shot has the screen section to, once again, show off the scale. This thing is, quite literally, massive. Once again, it was time for primer. 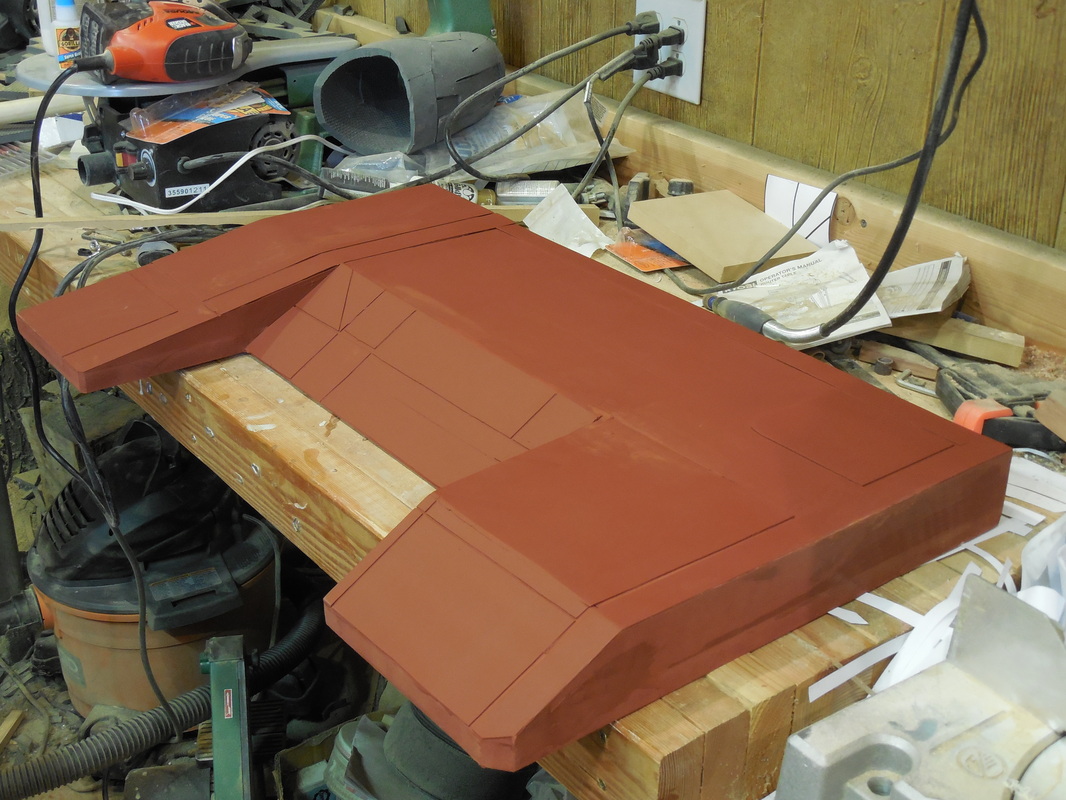 Don't have a lot of pics for this part, so please bear with me. After that was on, more sanding, beveling, filling, and tons more sanding happened. After that, another full coat of gray primer. Now was where the real fun began. I wanted the area where the keyboard and mouse-thing to be completely smooth, which meant I couldn't get any of the hammered paint on there at all. I had to go about things quite a bit differently here, first taping over the smooth section and putting the Krylon Hammered Silver everywhere else. 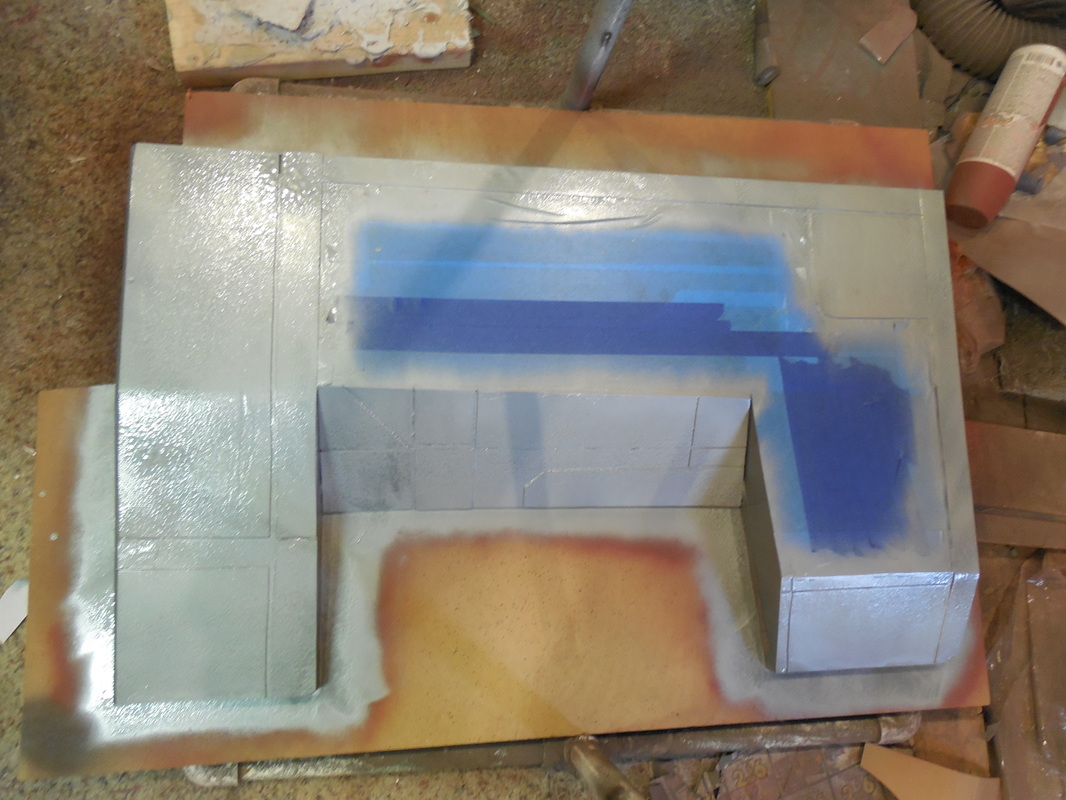 You can even see some of the texture really well here. Once that was dry, I added more tape to cover the silver, so that I could get the lower sections with the darker spray I used on the screen. Then I took the first tape off...  ...taped over the darker sections, and hit that smooth area with several coats of a metallic black. Tape comes off, and the magic happens! 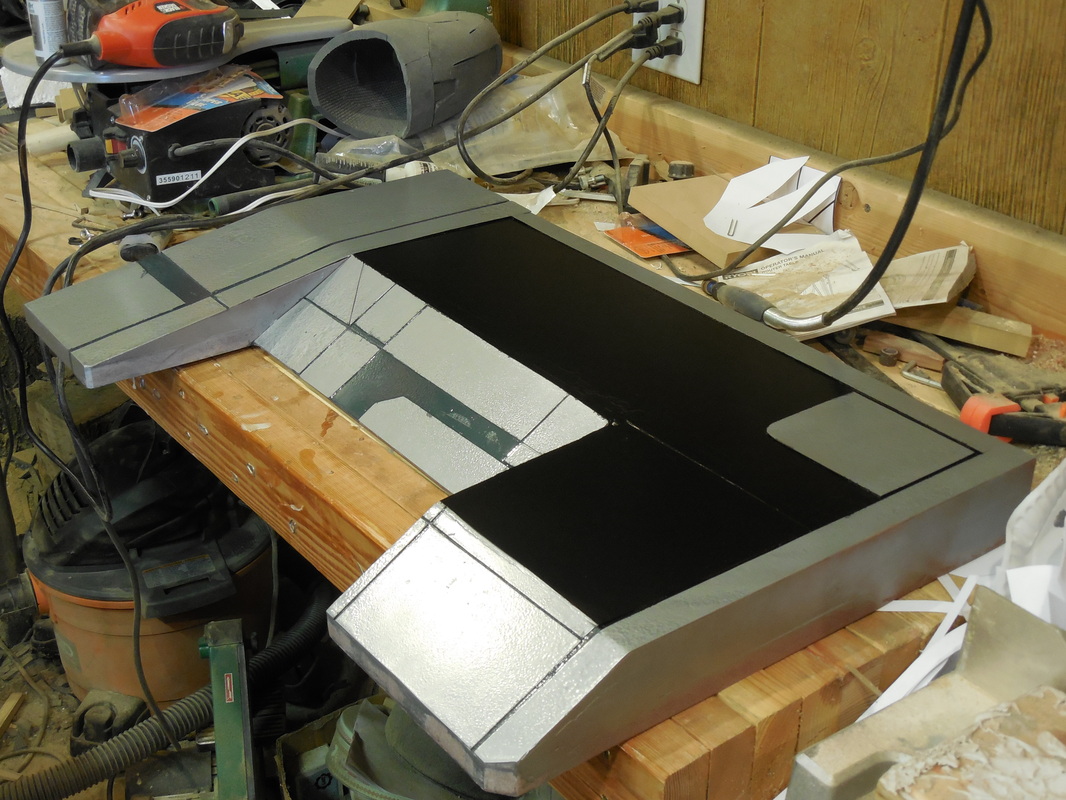 A few spots needed touch-up with the paint, since apparently blue tape doesn't like me (I use green automotive tape now, happens much less often), but once that was done I was in the home stretch! Now the crazy bit was about to go down: how to hinge the screen. You see, in the game, when the screen is open, the back section is flush with the rear portion of the base. When it is closed, it pivots, and the base of the screen is now flush. In order to get this effect, I had to drill a long hole in each side of the screen base, and cut a slot partway in at two points. 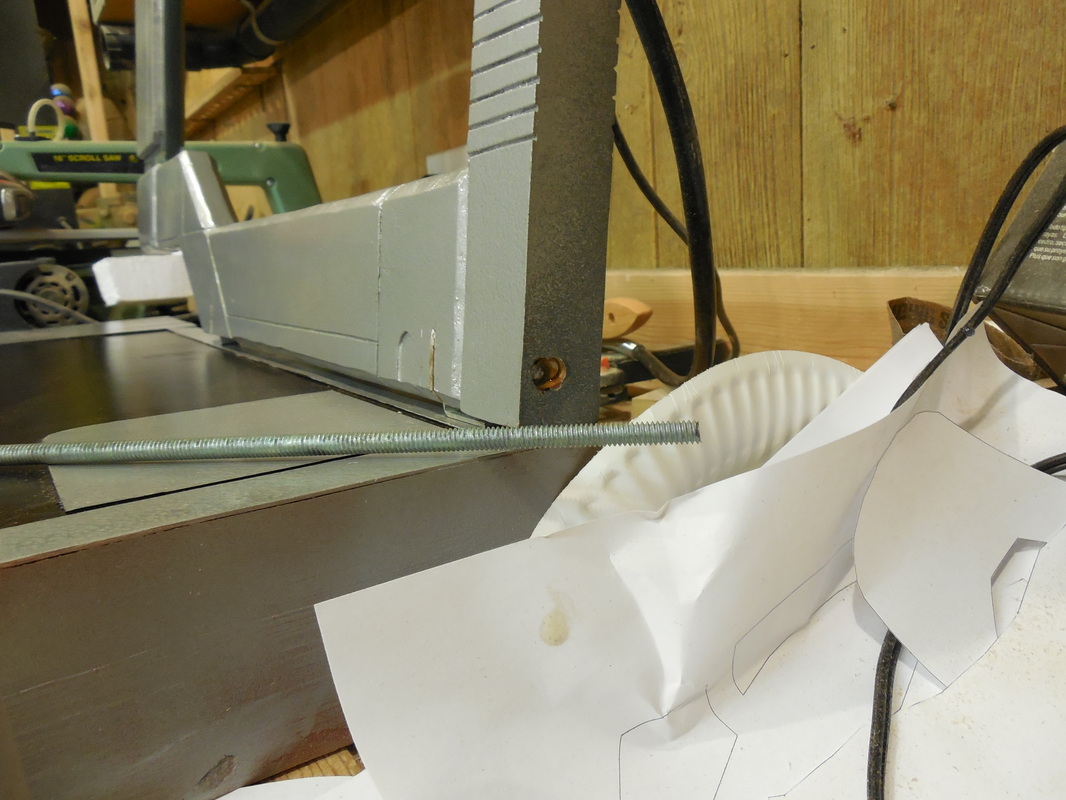 Into the slots, secured by a long screw in the base, I put two corner brackets, and, through the drilled holes I put in a threaded rod. The back of the slots were angled slightly, giving the screen a proper tilt. The holes I covered again with bondo, then painted over after a bit of sanding. Not exactly invisible, but the hinge blends well enough that it doesn't distract. And that, as they say, is that! 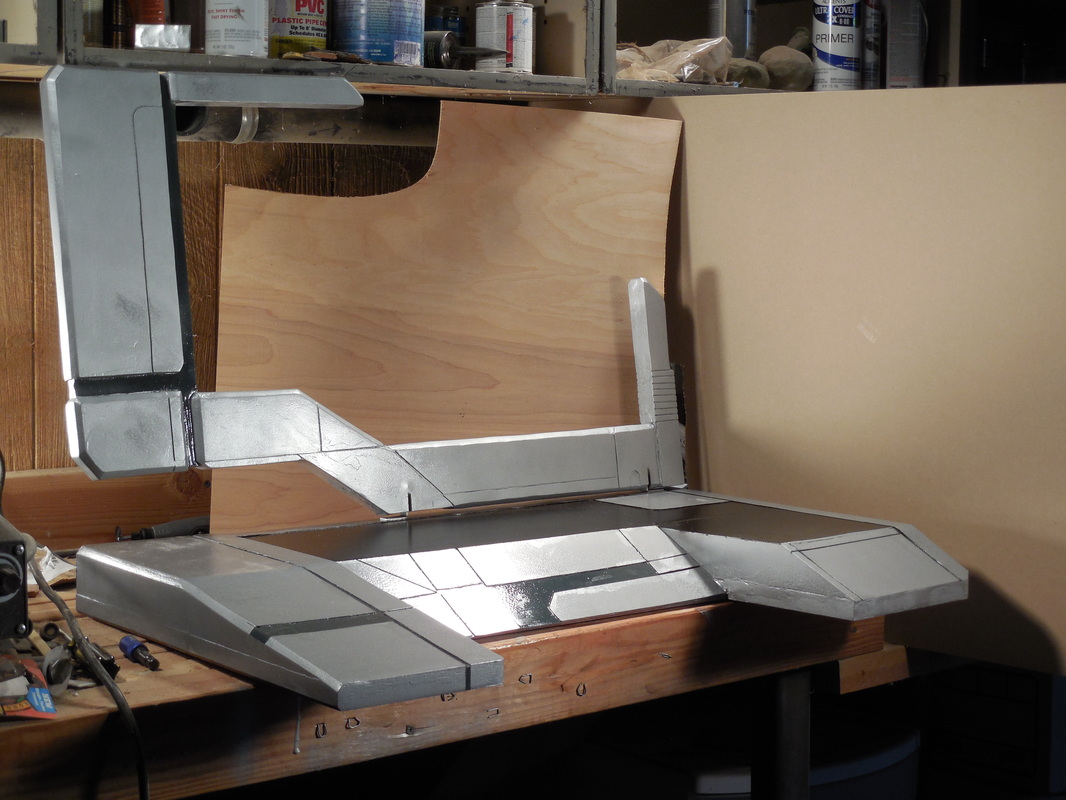 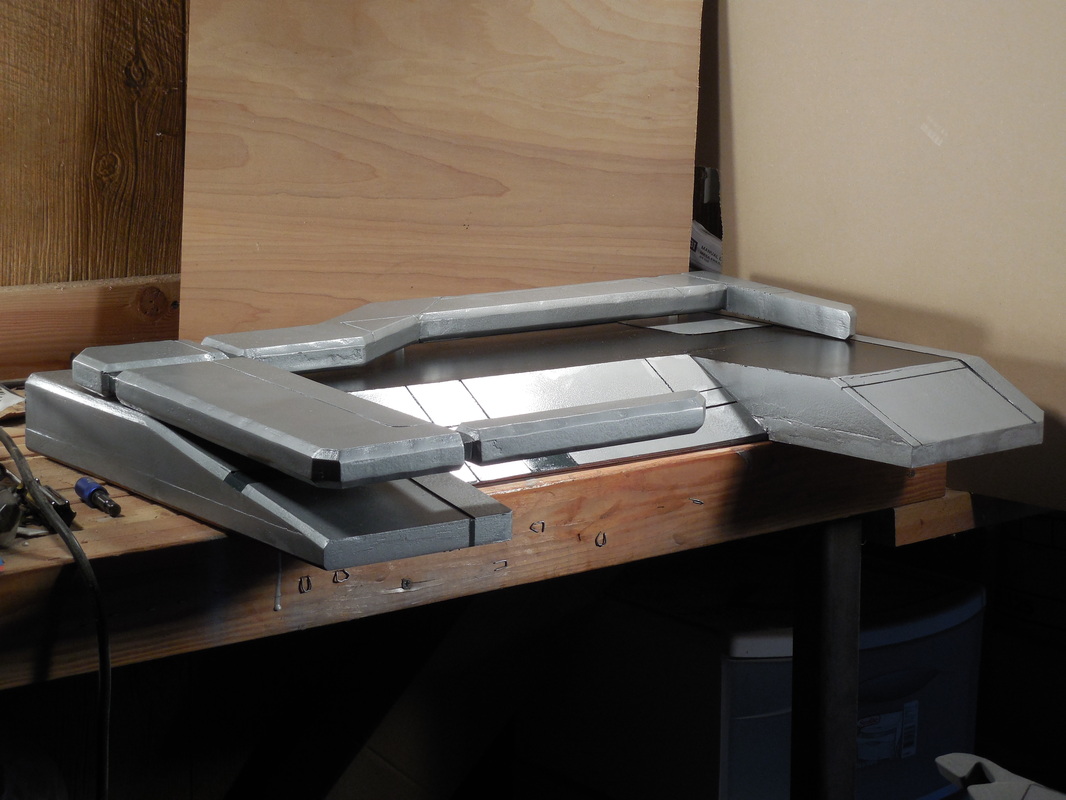 I didn't have a good spot to take pictures in, so apologies for the rushed glamour shots. I also haven't seen it in use in some of the teaser shots the film's page have shared, otherwise I'd show it off a bit. Oh well! Super excited to see it soon!
0 Comments
Leave a Reply. |
|


 RSS Feed
