|
So Mass Effect 3 is coming out in a couple of weeks. I preordered the collector's version because the game is that awesome. I decided to bust out a set of armor to commemorate the occasion. It was a great way to learn a new medium, and I can honestly say now that foam is my new best friend. Those of you following me on twitter can attest to this. ;) I based how I did things using Volpin's methods, who based his off Evil FX's. Both did amazing jobs, so I highly recommend checking them out. As a warning, I took these pics with my phone, so they aren't the best quality. I have a friend who needs lots of photographs for a class, so I'll have pics to post from a photoshoot with her later. First up, the medium! 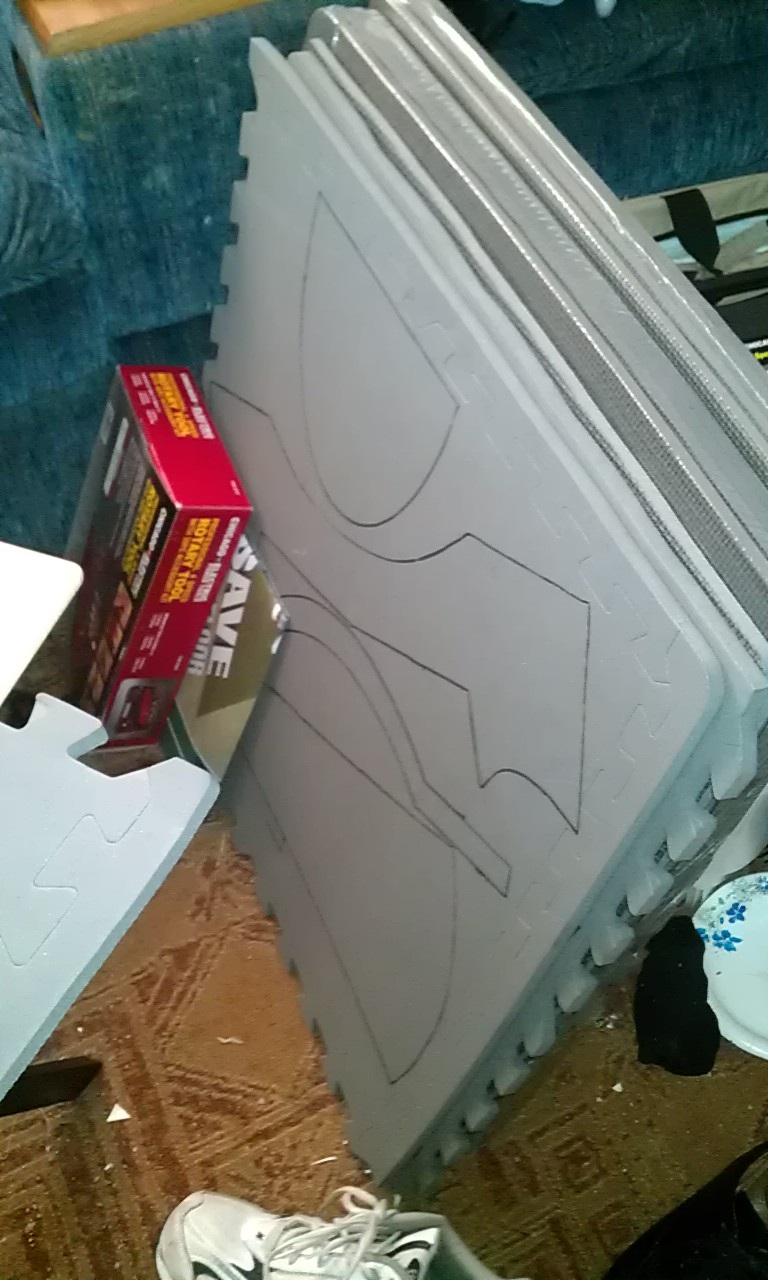
Yes, I used floor mats. Harbor freight has them for $10 for a pack of 4 2'x2's - one side flat, the other side patterned in a way that looks like carbon fiber weaving. It's easy to mark, moderately easy to cut (I used four exacto blades for this), and it's light and durable. Did I happen to mention it's cheap? No? Okay. Well it's cheap! I didn't make my own pattern, mostly because I don't have paper rolls handy yet. I used one from Ithica, found on the 405th.com forums. It was a pretty basic pattern, admittedly, but considering how much time I had I didn't want to get too fancy. After completing it I can tell you every problem it has, but I was more concerned about getting it done in the meantime. First I assembled the arms: 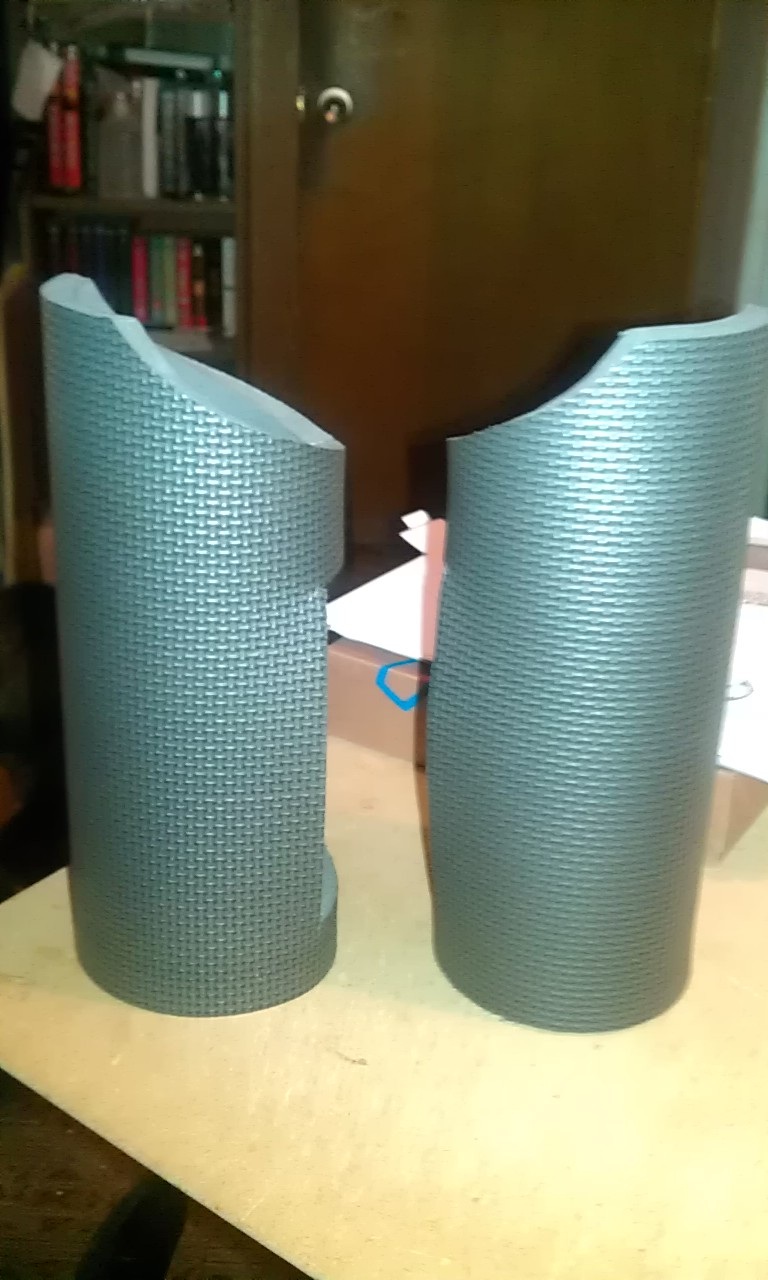
Or at least the main section. Had to use a dremel to round out the part near the elbow, then later I cut the connecting sections and strapped it better. More pics later for that. After that I cut out the chest and got to work with a wood burning tool to etch in the details. 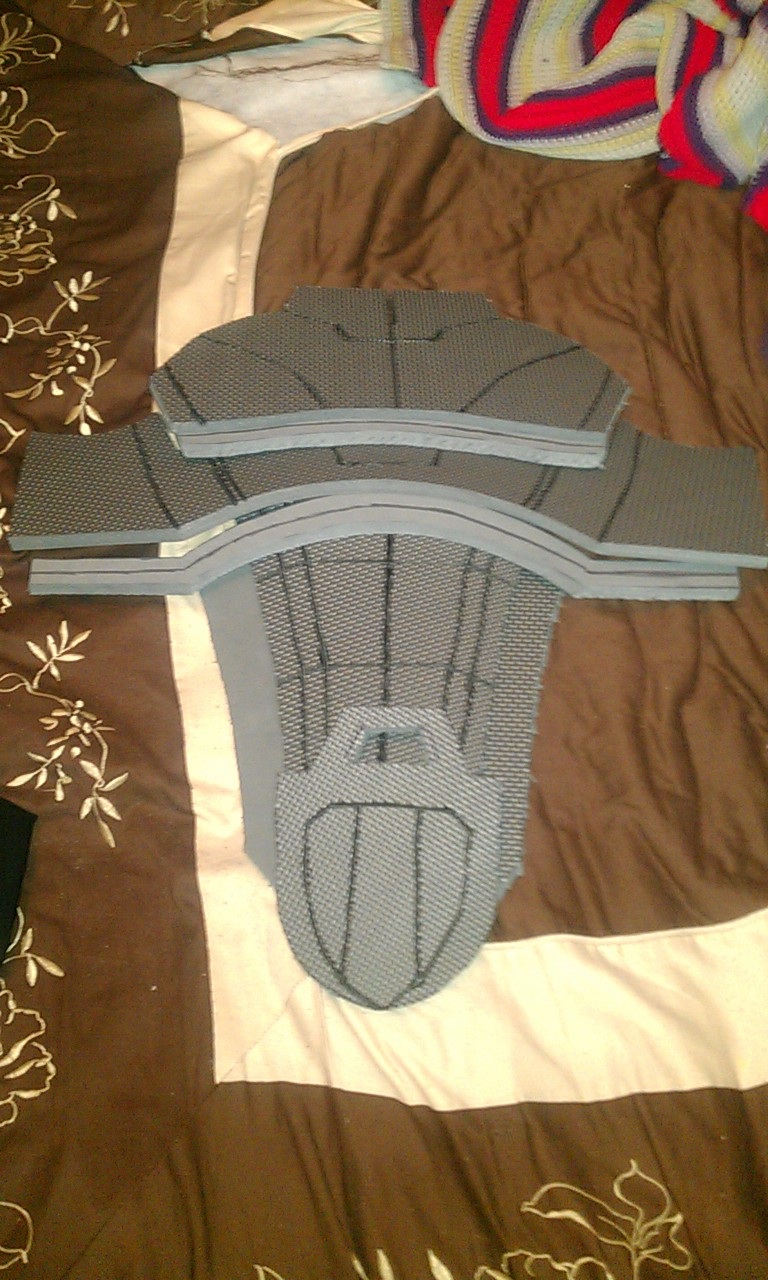
It was at this point I started seeing how little room I have to work, let alone store this stuff. Our little shed outside is cramped, due to it being filled with model train stuff from my wife's grandfather, leaving a small path for extracurricular working (you saw it with the sledge). I also noticed the connection pieces for the front were way too thick and I didn't like them. I tossed them and grabbed some craft foam from Walmart to use, which you'll see later. In the meantime, I used my trusty dremel and sanded down key spots:  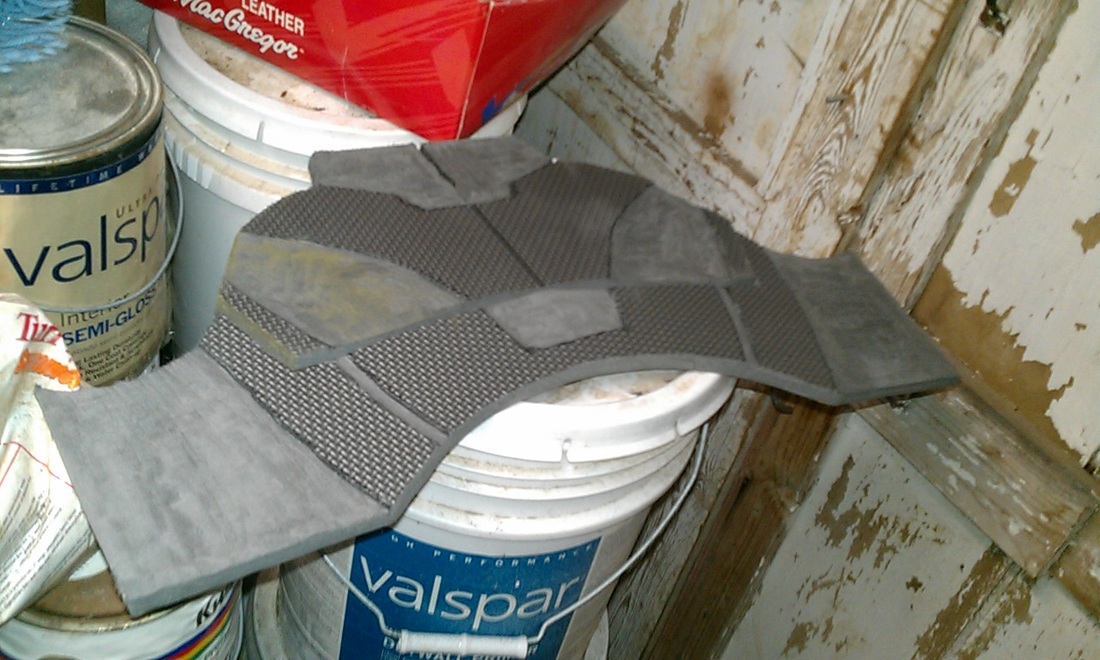 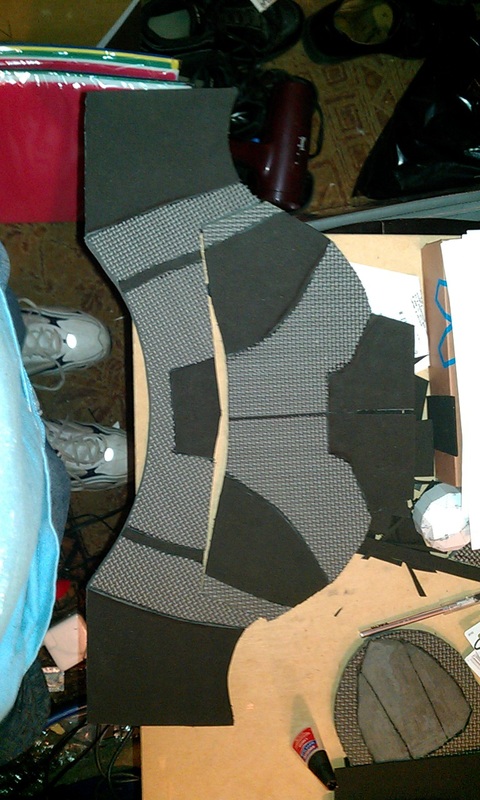 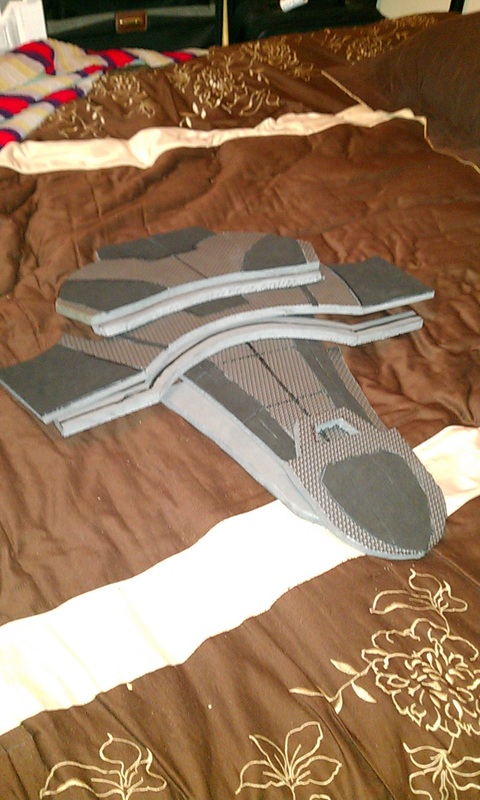 ...and added that same craft foam to make the section smooth rather than spend hours learning how to smooth it evenly with the dremel. That's one technique I stole from Volpin, and it was much easier than learning the latter and having to cut a new piece or six. I assembled those, swapping a couple more detail pieces with craft foam, then shaped it using the oven (no heat gun yet - taxes soon!). 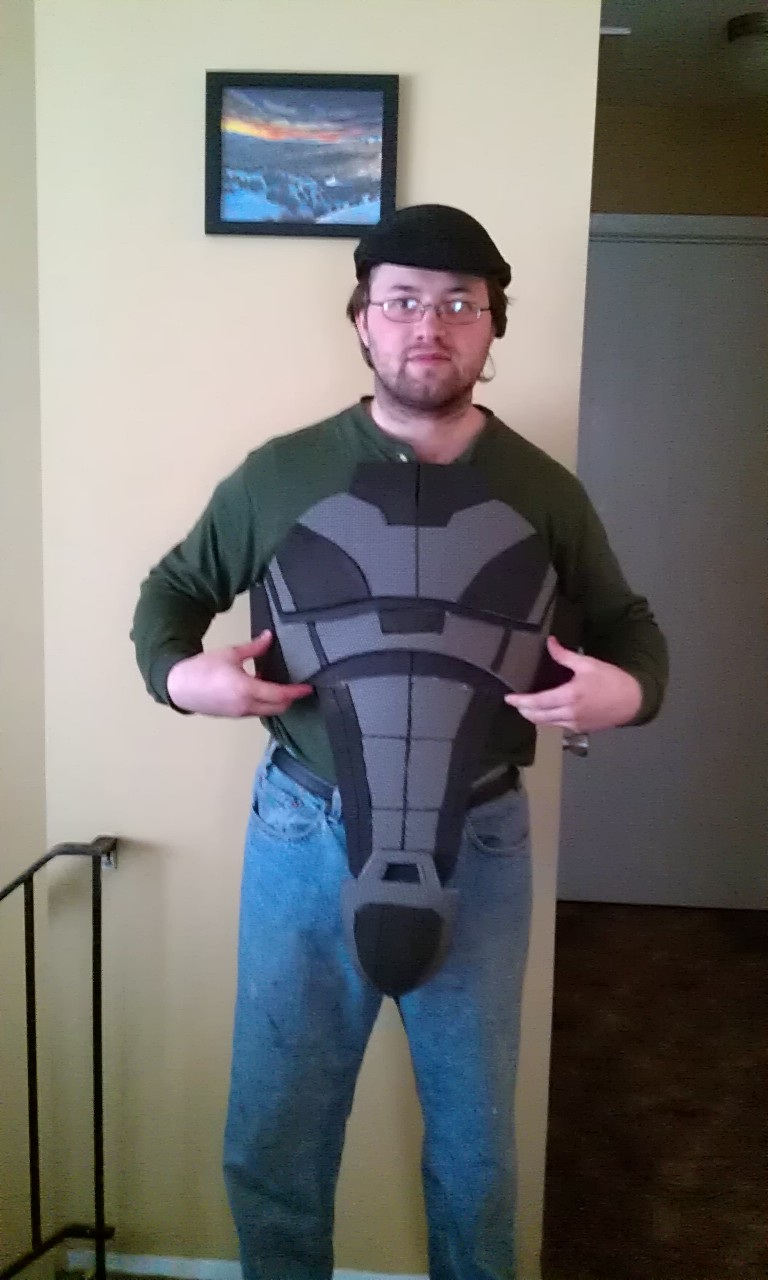
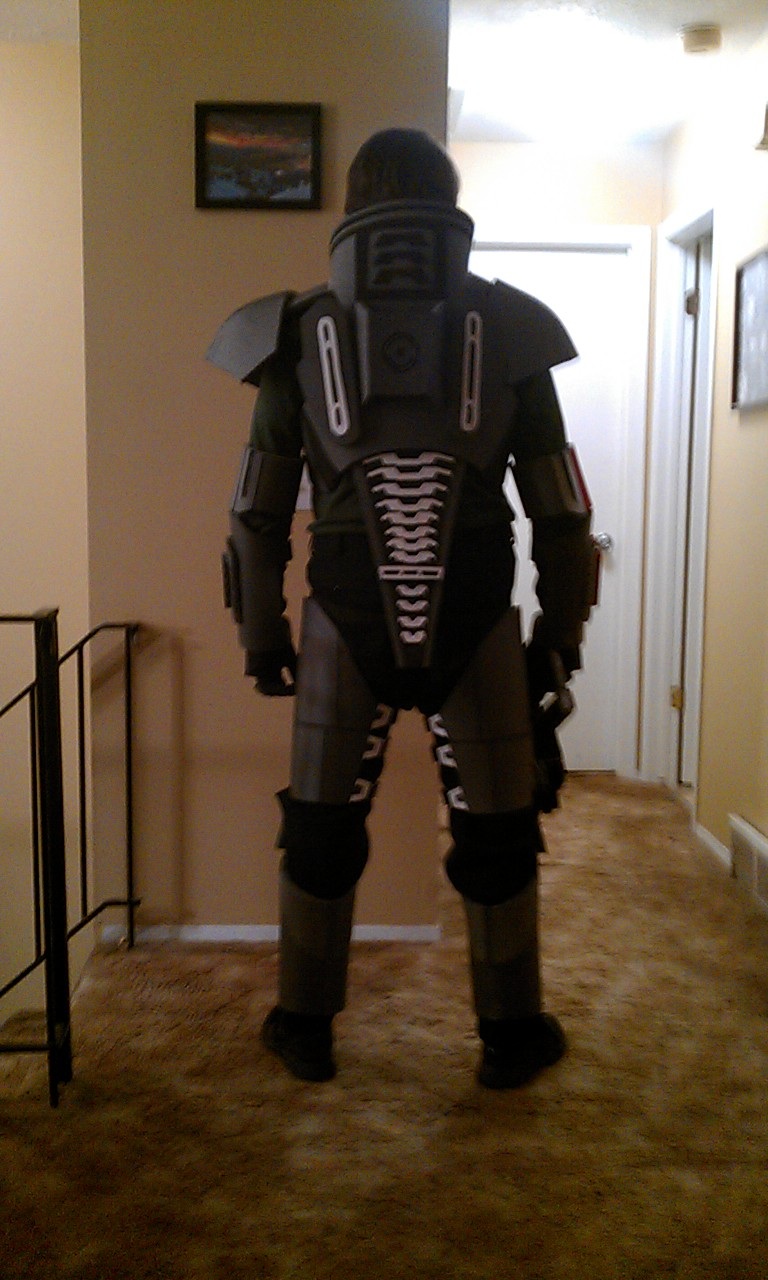
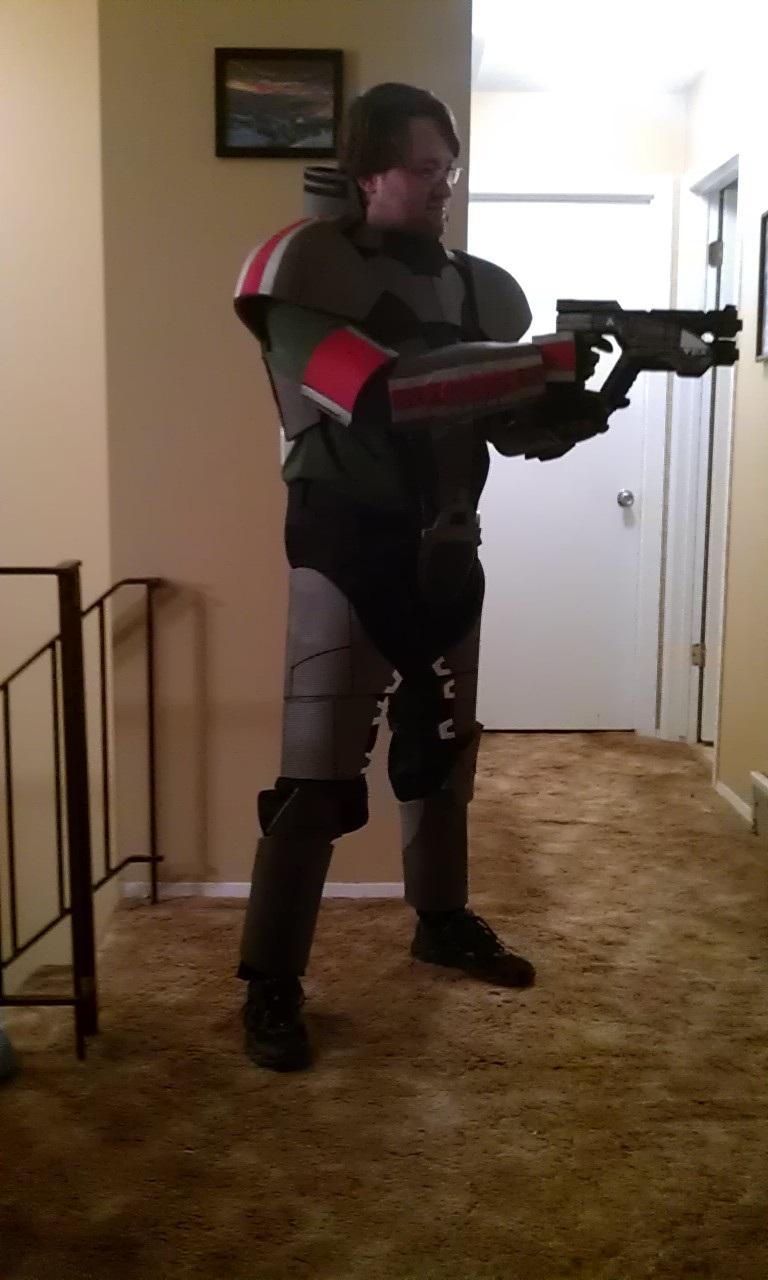
The back, by far, is my favorite section. Here's a play-by-play: 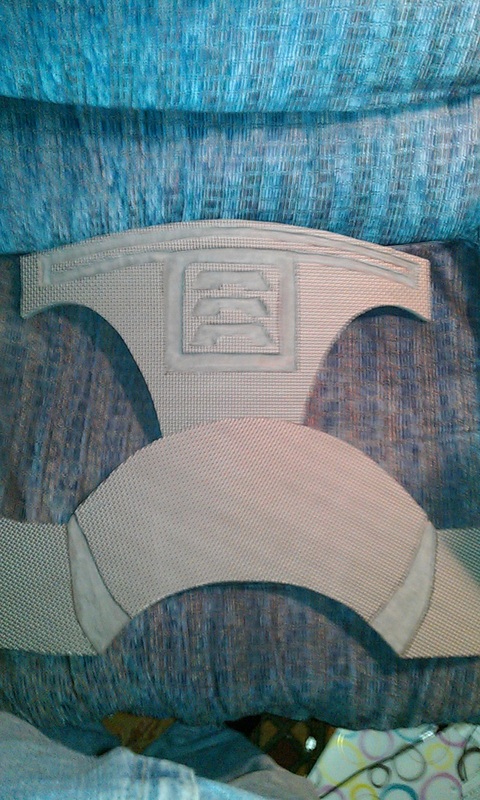 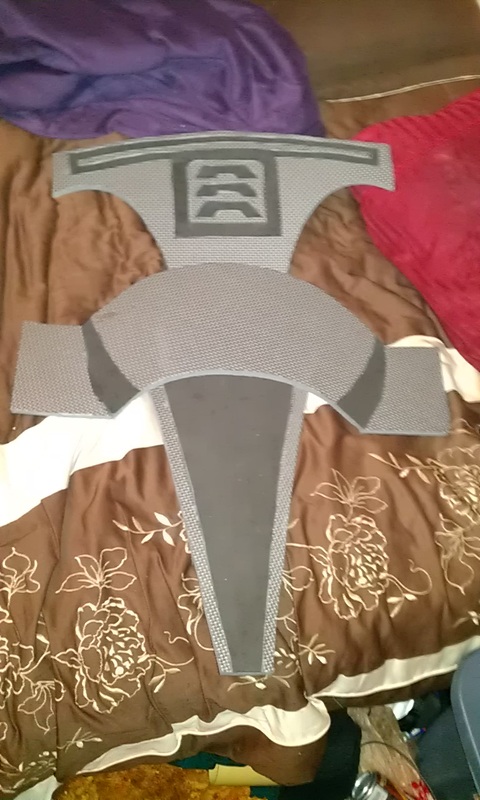 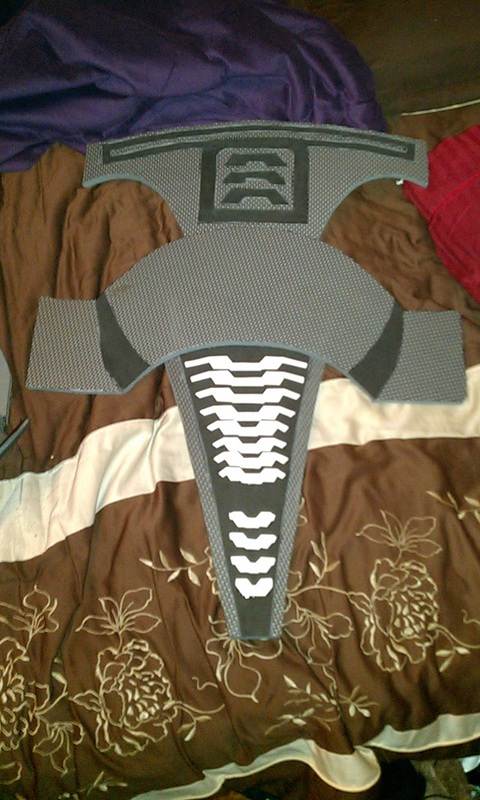 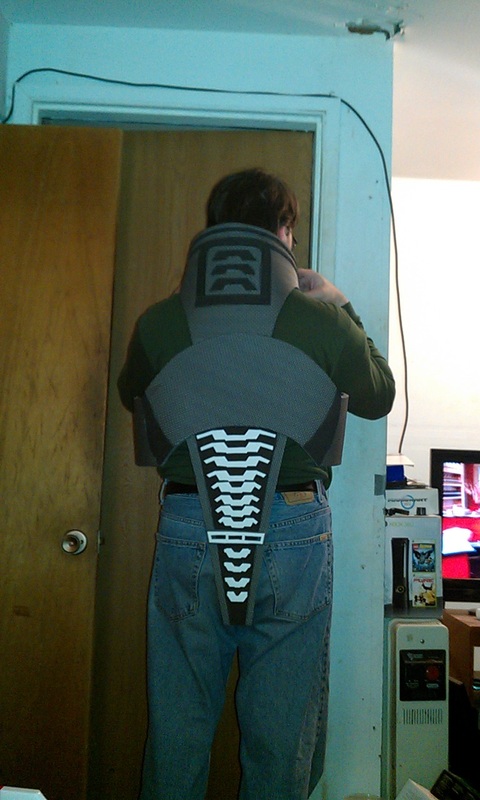 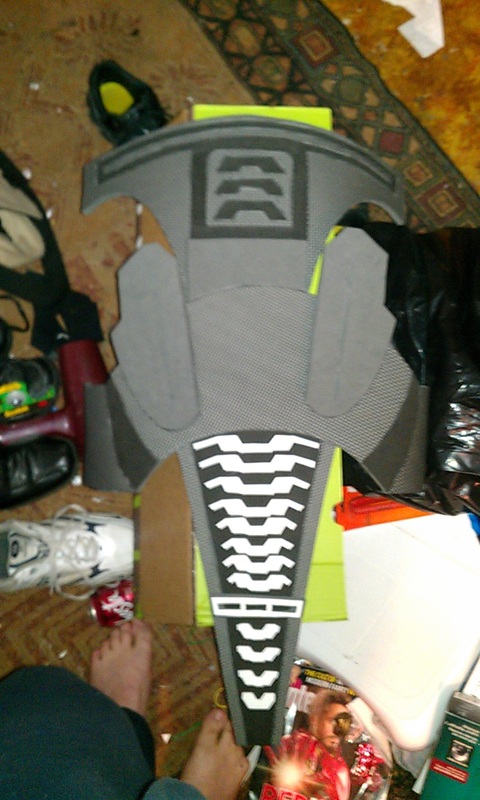 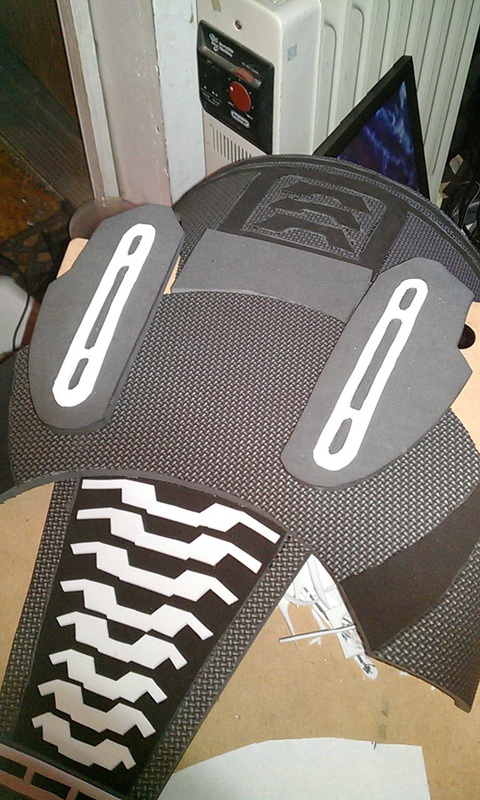 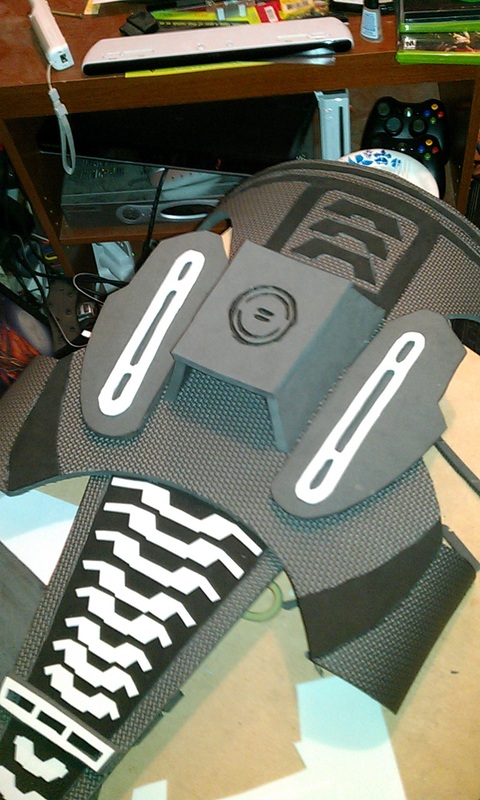 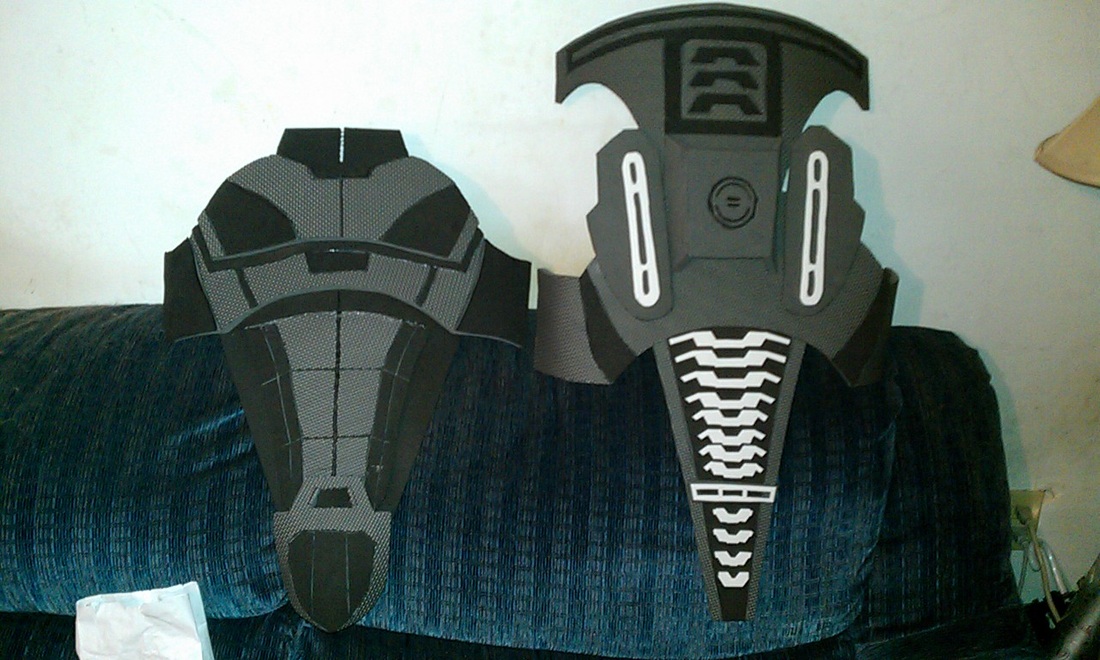 I'm really proud of how the back turned out. I was getting frustrated there, what with work and the lack of time I had, but that made me push even harder to get things done. Of course, at this point I had to wait for the straps, so I started working on the other parts. I won't go into detail on those yet, but I will show you the pistol I made! It's the M-3 heavy pistol. Yes, I know, the M8 rifle is the classic one, but I wasn't sure how much foam I would have left. I used the same foam for this and, though it didn't turn out 100% the way I wanted, it still turned out pretty friggin' awesome. I used another simple template: same forum, from GeneticSpartan. Here's the rundown: 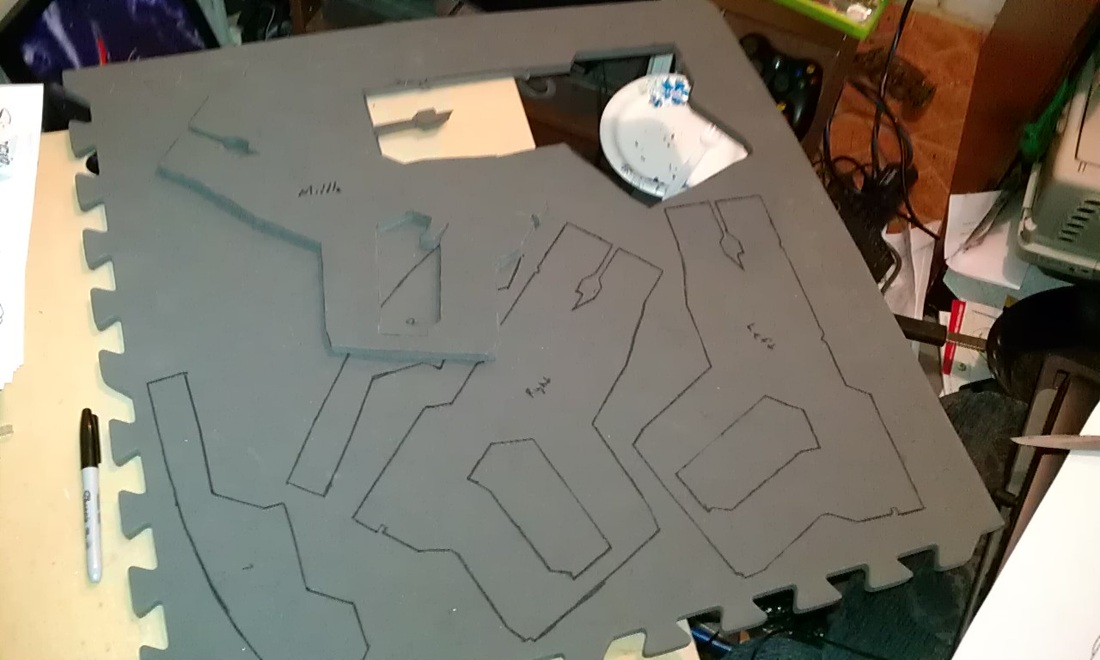 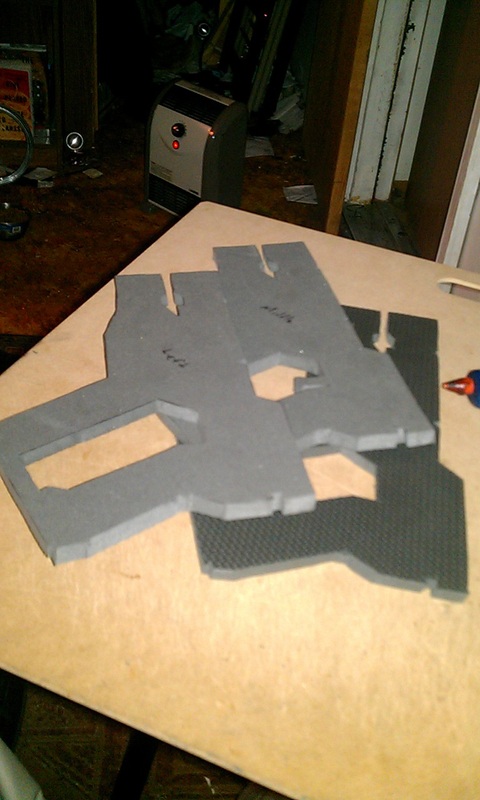 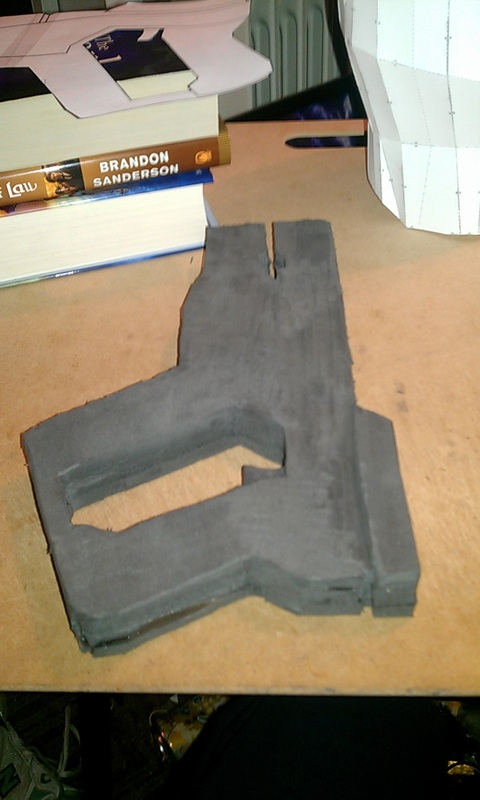 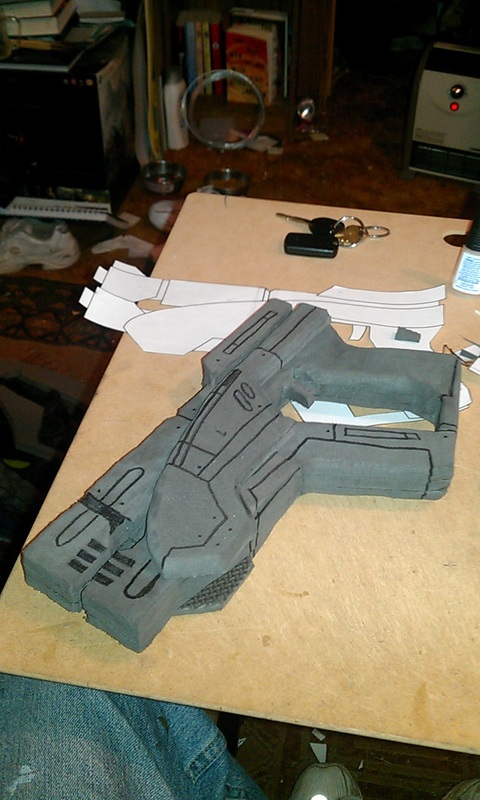 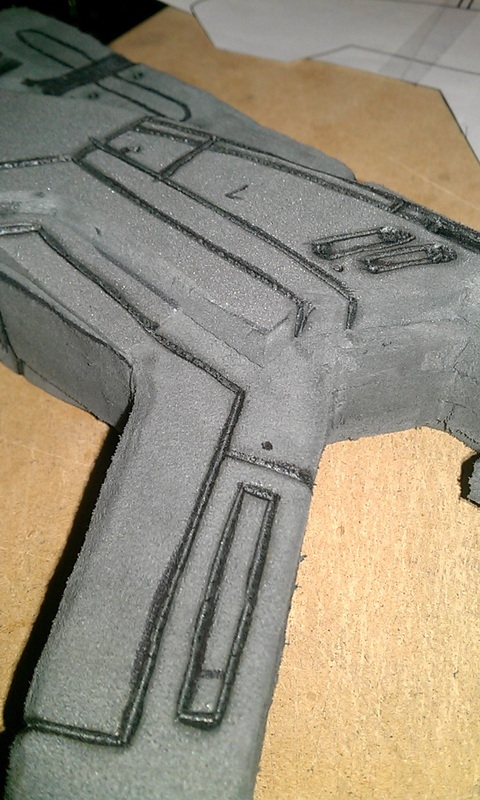 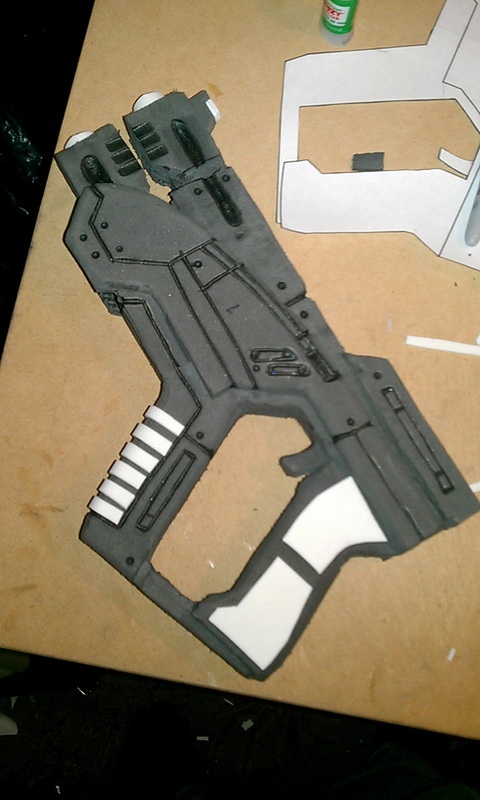 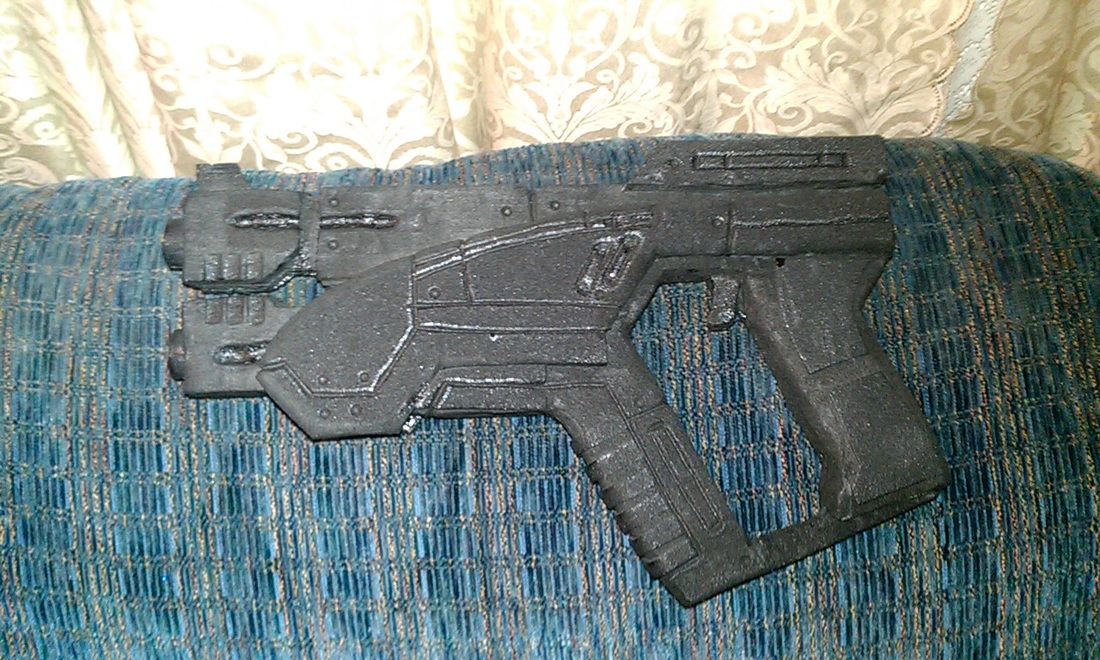 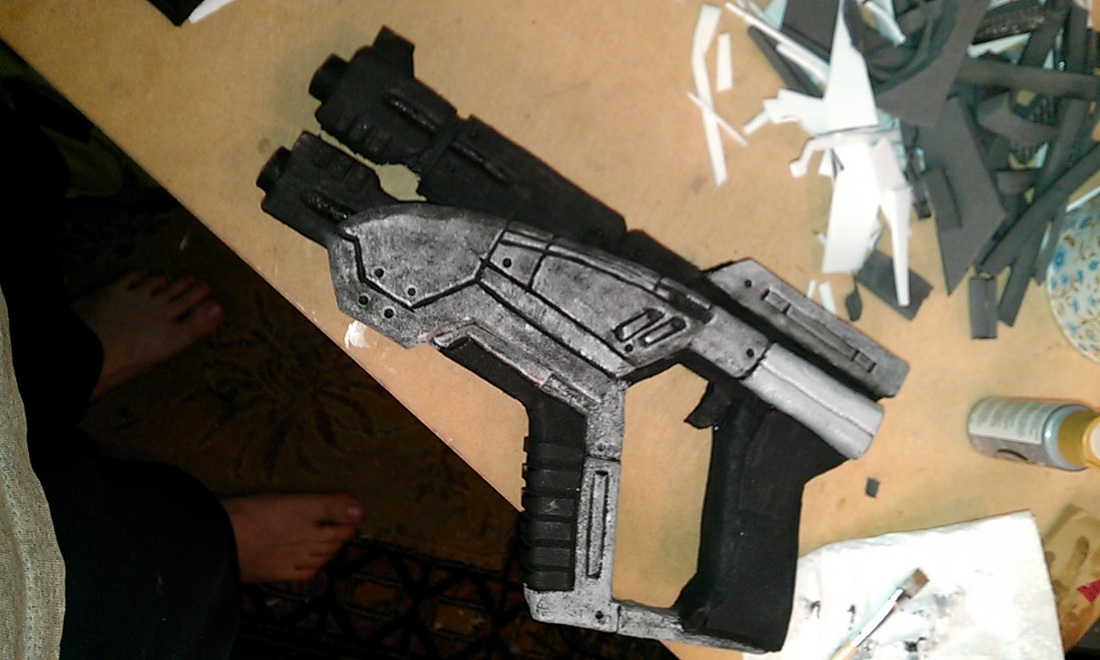 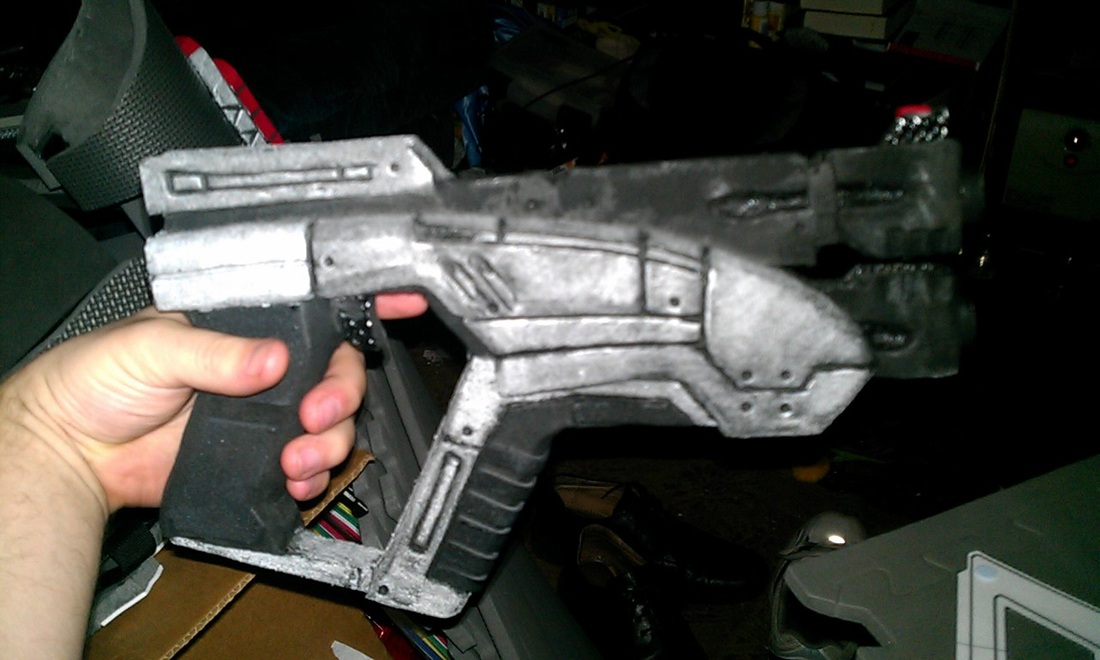 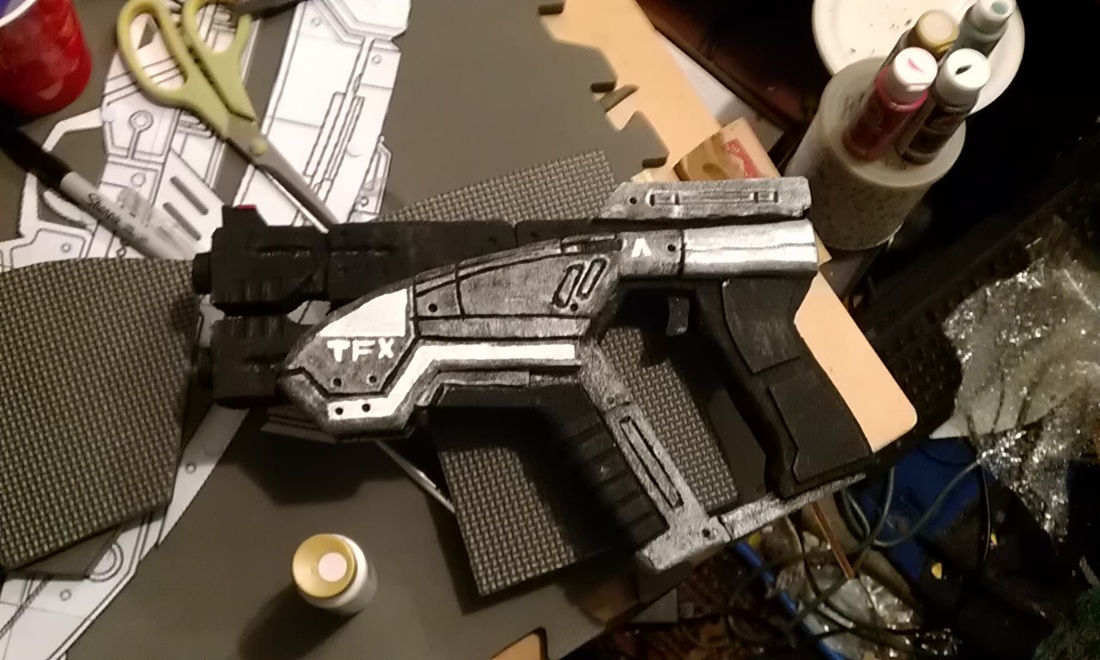 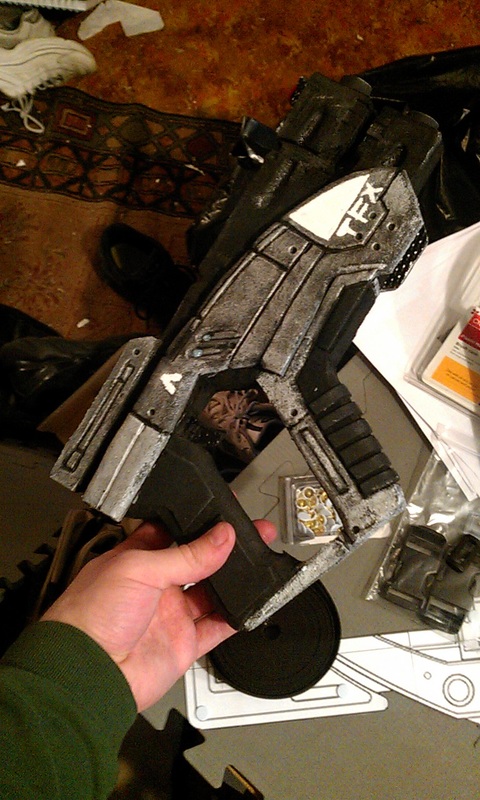 Same tools: dremel, exacto, wood burning tool, and hot glue (those books I used for weight). I think it turned out very nicely. Next one I make, though, will be cut out with a band saw - cleaner, more even, and I can cut out all three layers at once! :D Of course, during all this the straps came in, so I was working on both about halfway through the pistol. Here's me strapping the chest and back together: 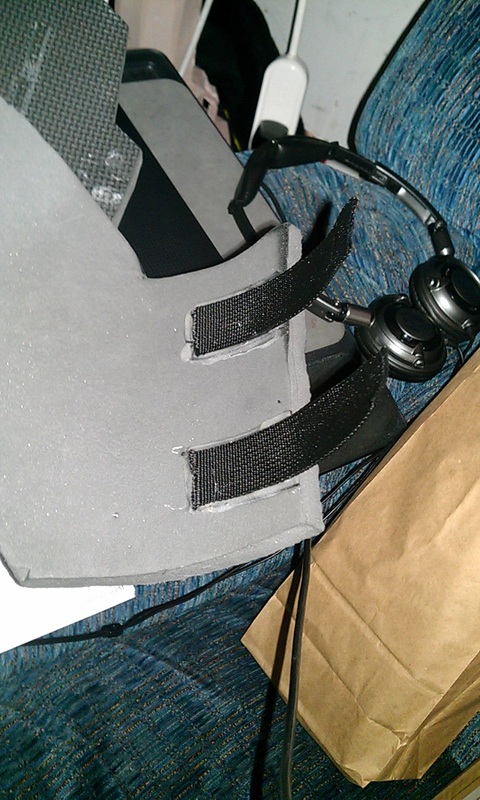 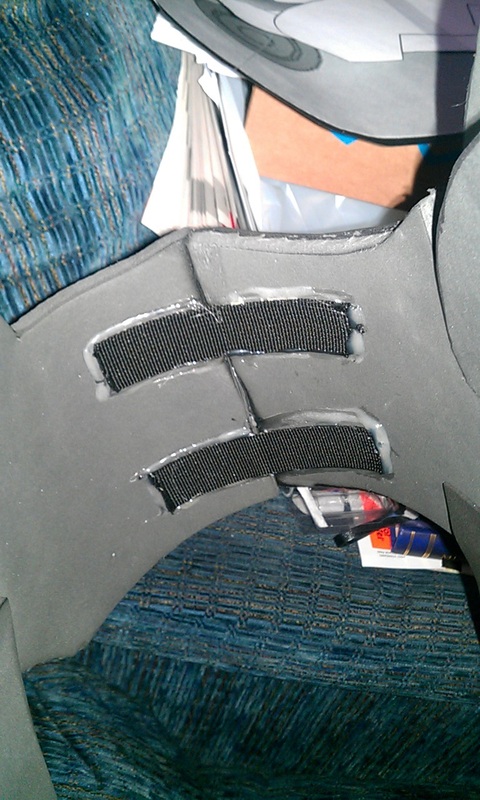 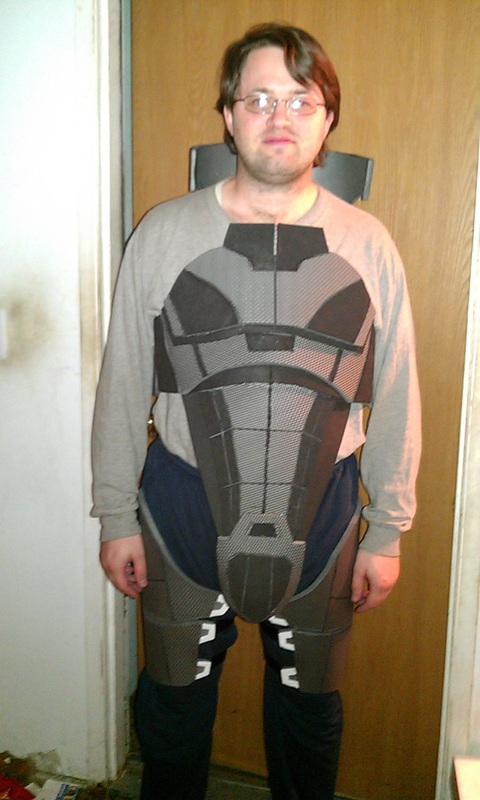 I overglued the straps, to make sure they didn't fall apart on me. They may still, but at least it'll last the two or three hours I'll be wearing it for the release party. I put buckles on the other side, so I could get in and out easier. I also strapped the thighs with buckles, which turned out decent (I only liked the detailing and the buckle sections, so I won't bore you with the rest of it). Now that the hard stuff was done, I started pumping out the last bits! 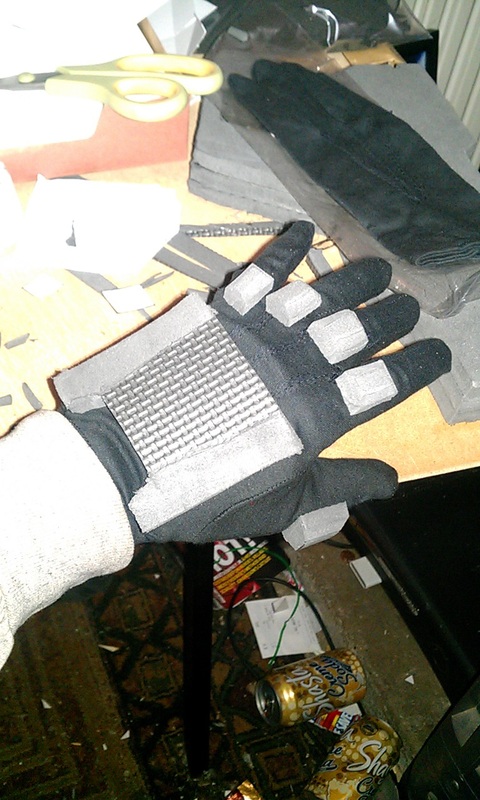 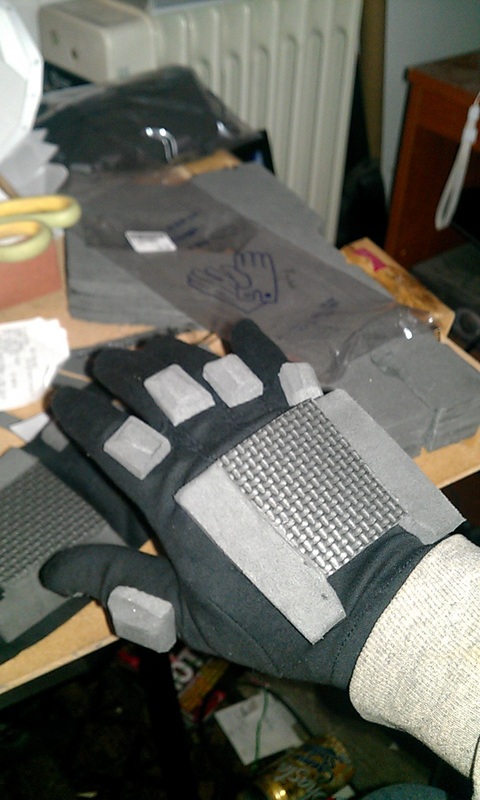 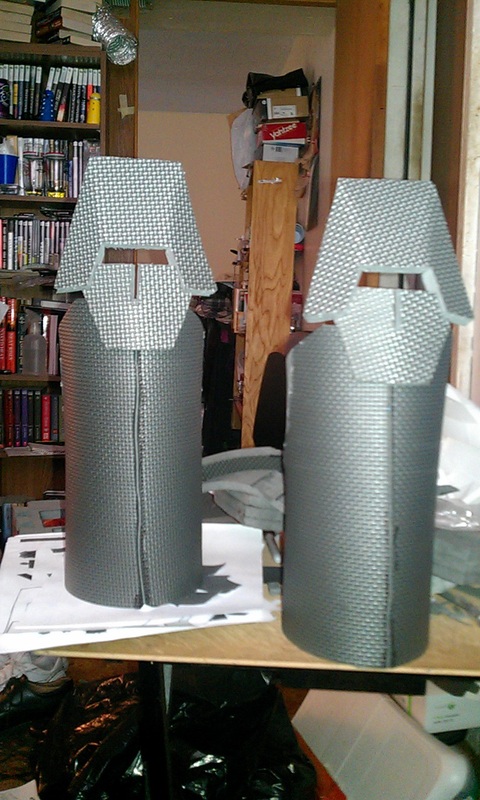 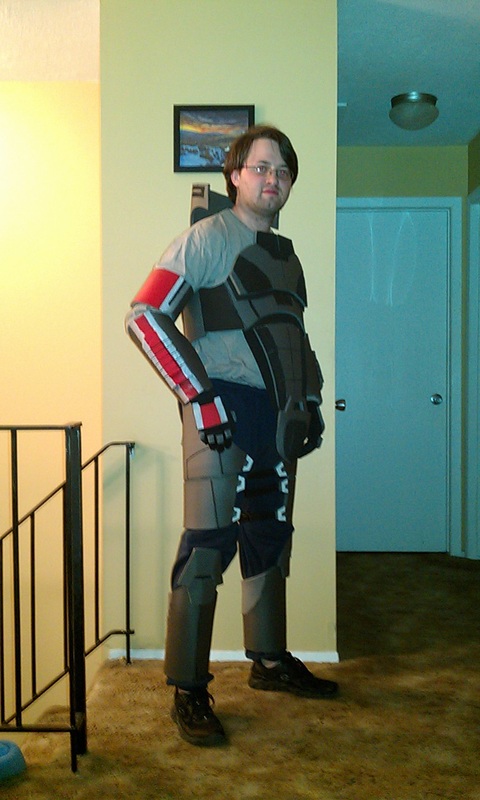  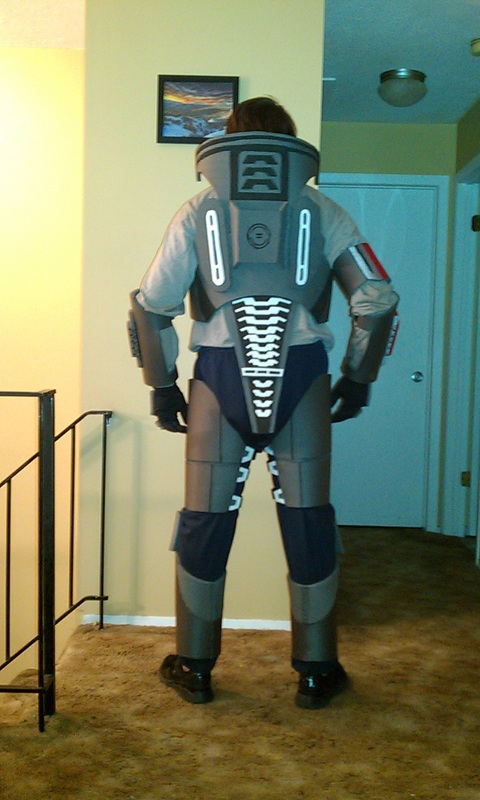 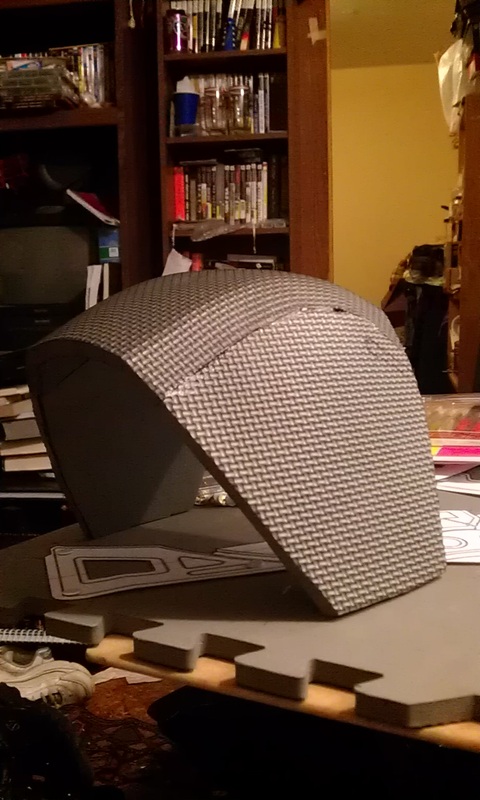 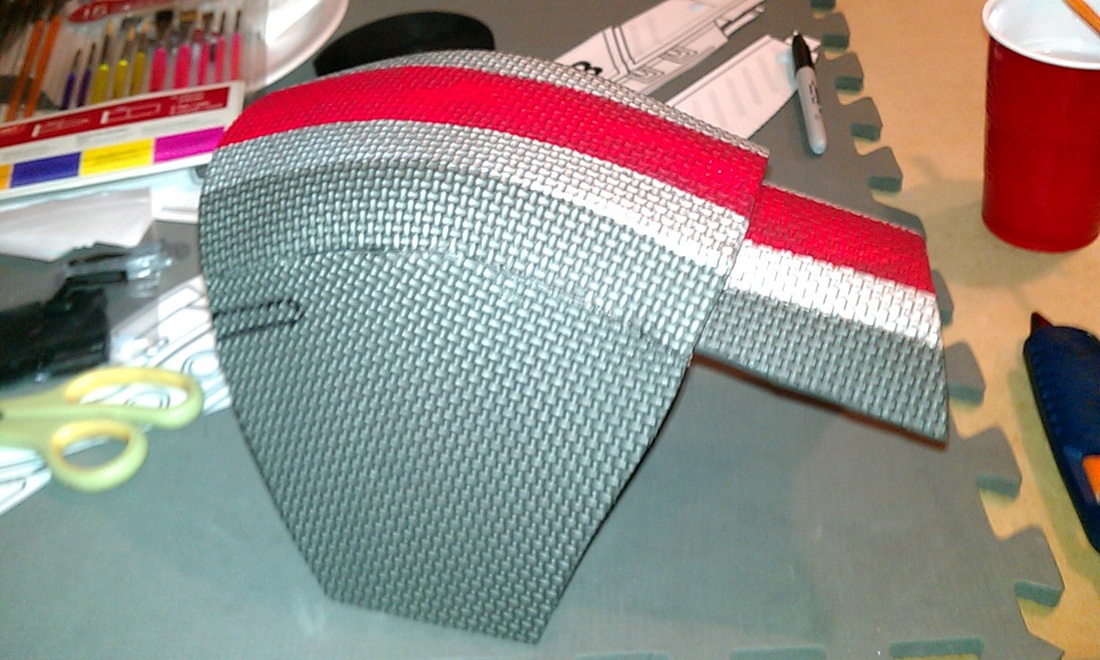 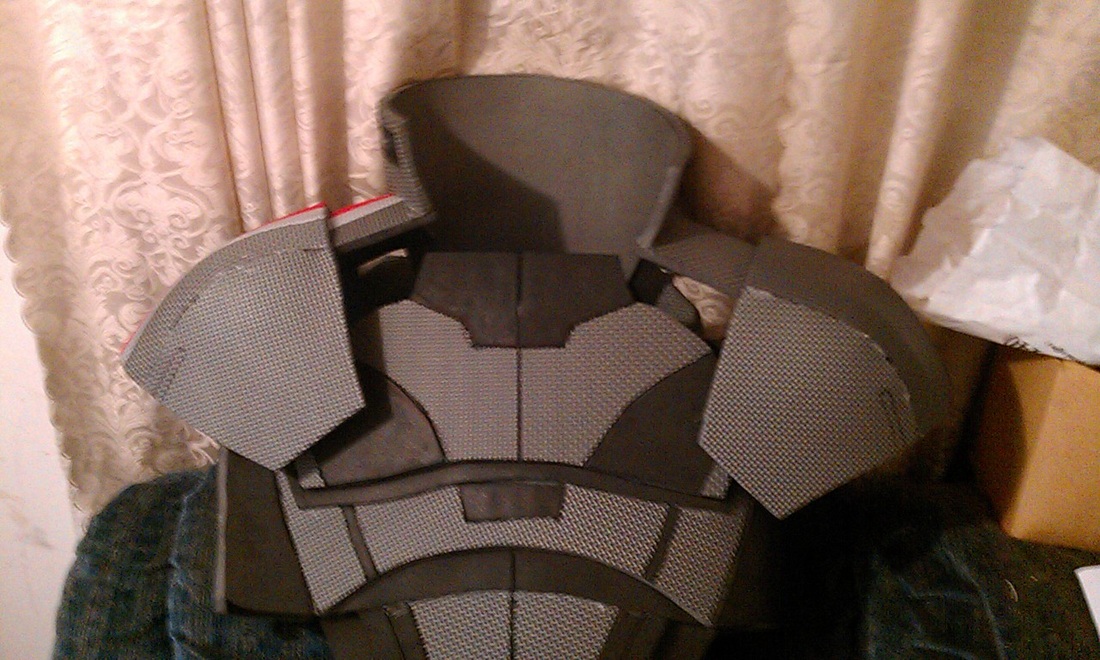 I used some basic acrylic to paint the stripe, all by hand since I don't have anything else. I have a red spray can, but no tape at the moment for a clear line with no overspray. The pattern is a great guide, though, so there were no problems keeping it straight. I know there are also better, more permanent ways to color the foam, but again, as this is only going to be used for a few hours at most, I'm not worried. And now, for the final shots! I only need to burn in some small details on the shoulders and add a strap to the biceps, but besides that the pistol and armor are complete! 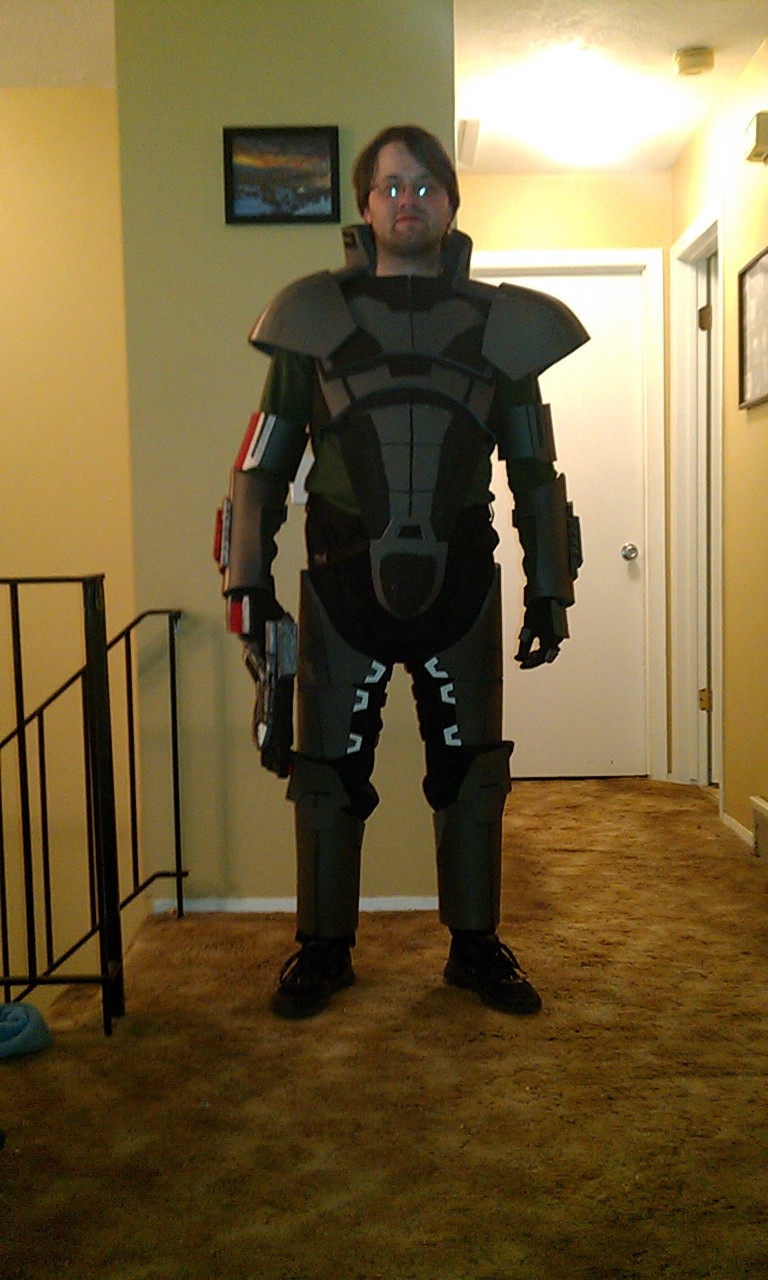
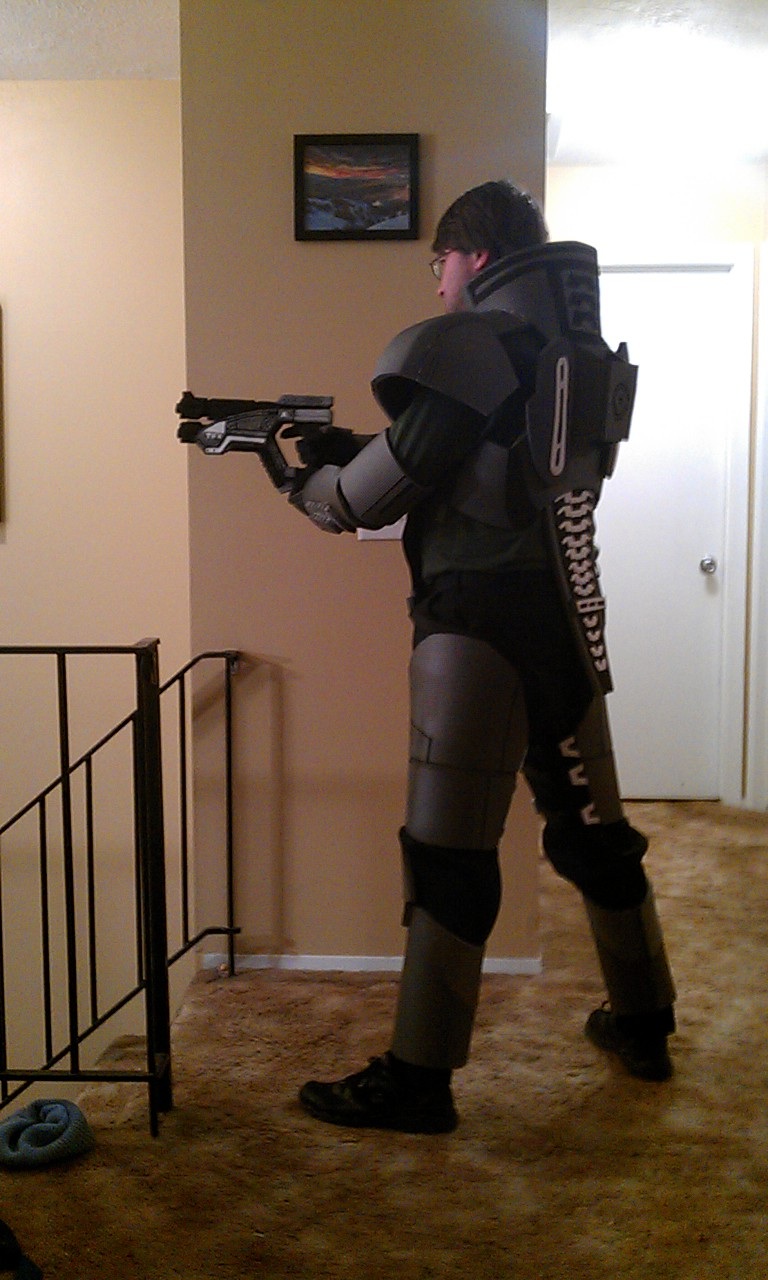
Couple of silly poser shots there at the end. I'll have a post soon with the photoshoot and higher quality pictures. Meantime, let's see if I can bust out the M8 in time!
7 Comments
ChaosModifier
2/23/2012 12:58:25 am
Lol, 'Poser Shots'. Seriously dude, this looks awesome, The gun looks amazing in the photos!
Matt
2/23/2012 01:00:36 am
:D Yeah kinda had to say it soon as I thought of it. Thanks! Can't wait to see the look on those gamers' faces! It's gonna be awesome!
BERTtheQuarian
5/31/2012 11:22:57 am
Outstanding work, man! However, I noticed that there was some serious asymmetry in the shoulder pads, you may want to fix that. Will these be one-size-fits-all, or will you be taking custom orders? Also, you maybe could include the option for blank ones- so people can color it themselves. I think people would love if you included a mix and match option, like including the other costume options from the game. People say I often give unneeded advice. I really have no idea why.
Thanks for the compliment! Actually the shoulder pads are identical. The problem came from the back/neck, which was off-center. This was a quick build, meant for release night and not for any true accurate cosplay, though I plan to upgrade to a much better detailed suit. 9/7/2016 02:37:21 am
Great post. I think it is good for visitors. I like this kind of website where has a lot of real information, It proved to be very helpful. Thanks for admin, His creativity, Presentation, Information and all is good. Leave a Reply. |
|
 RSS Feed
