|
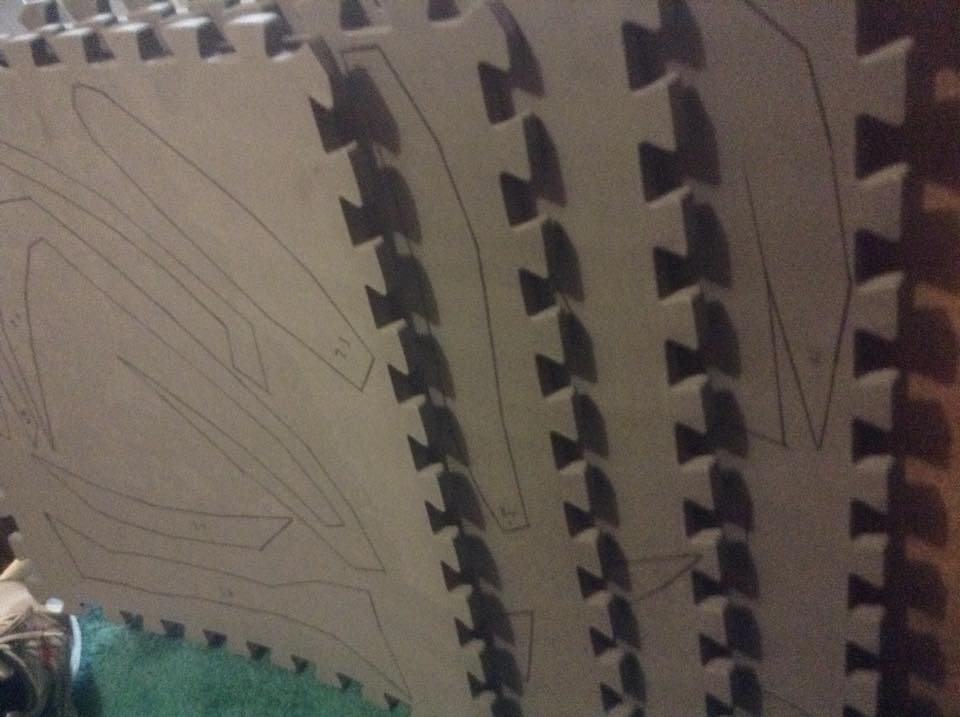
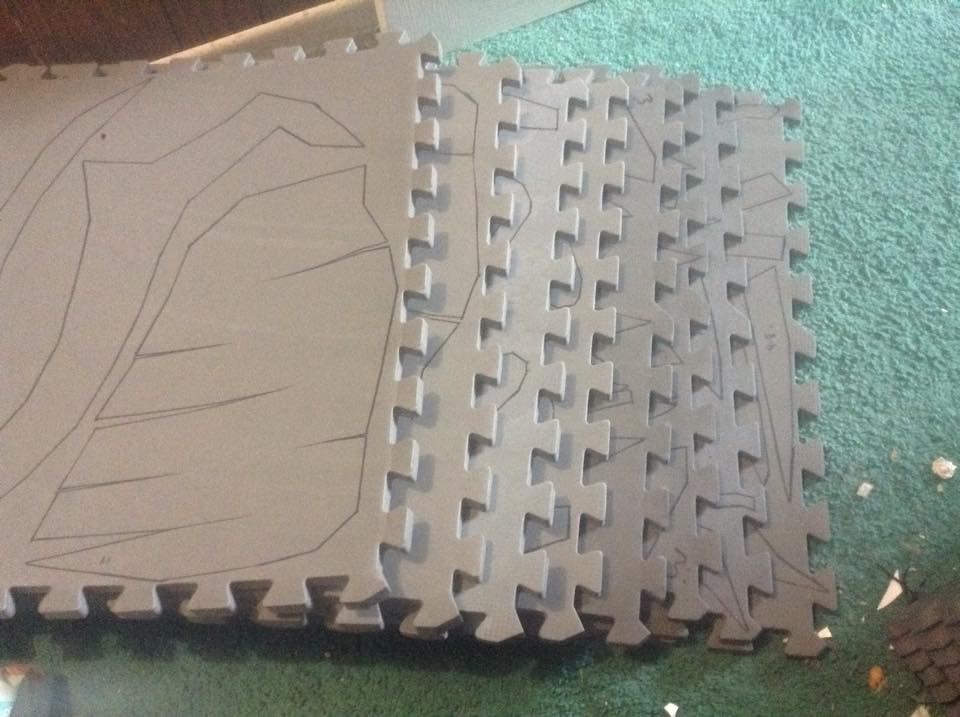
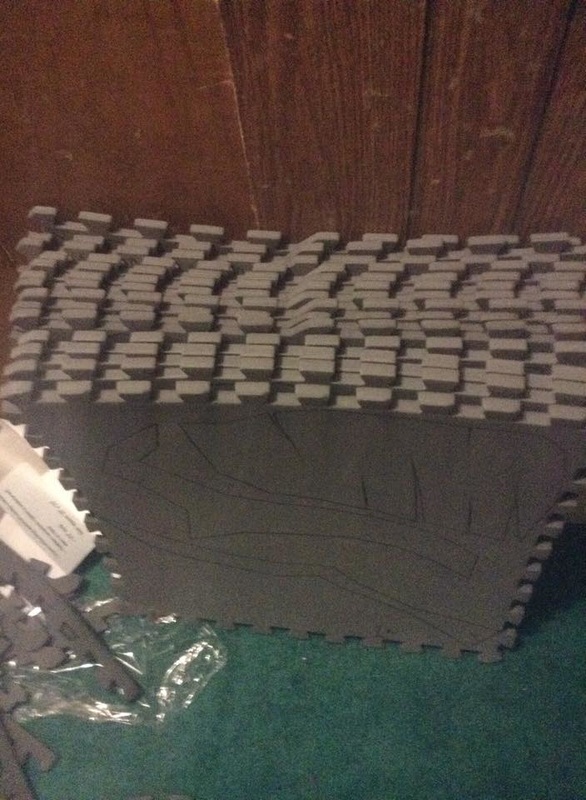
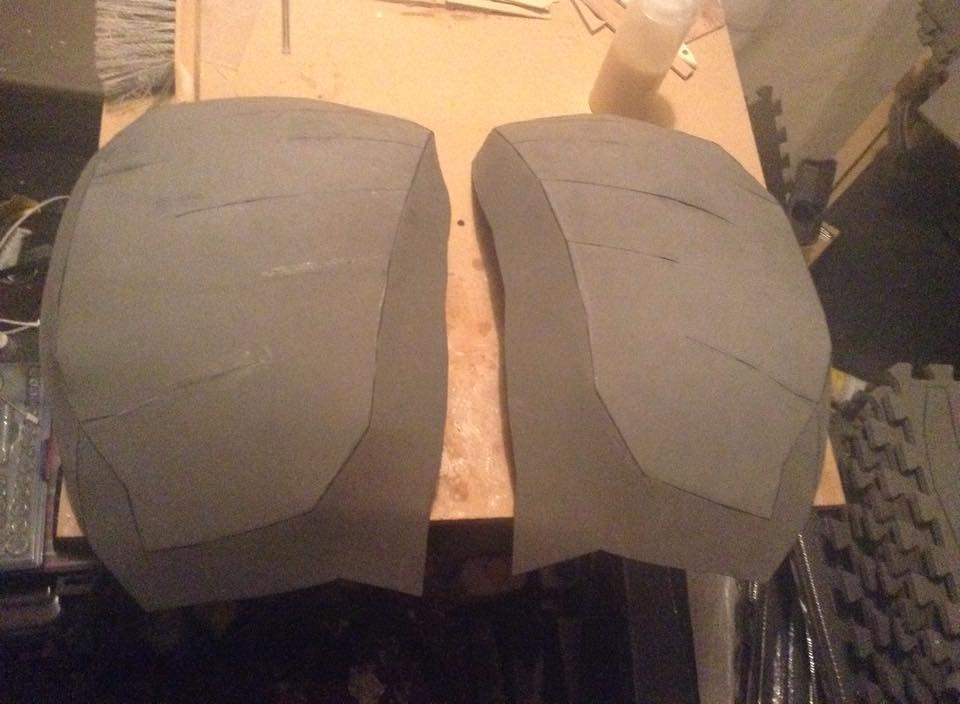
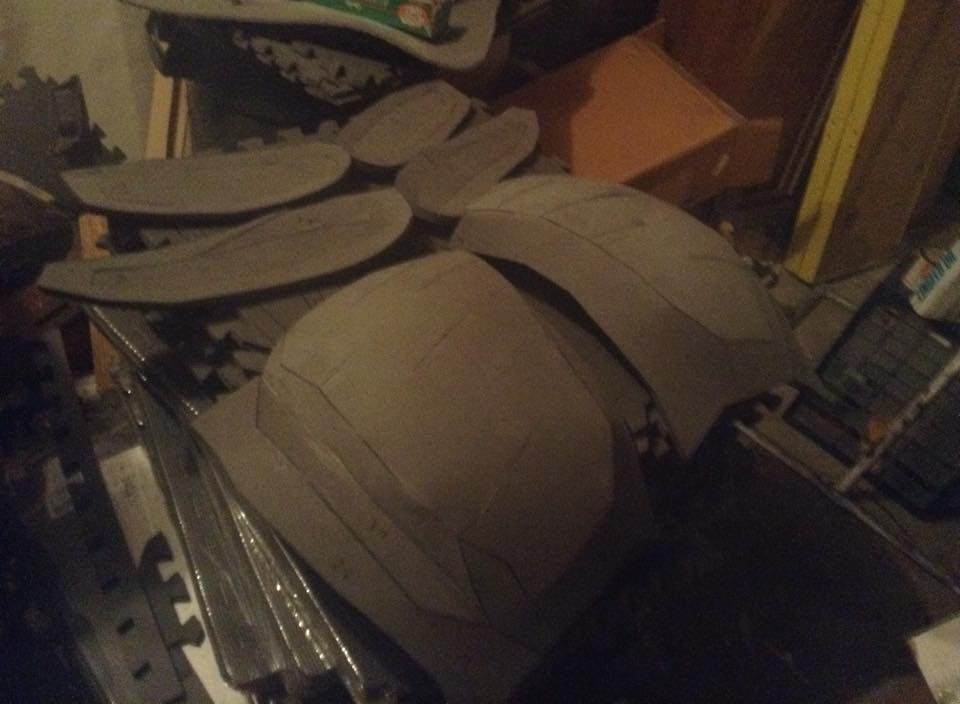
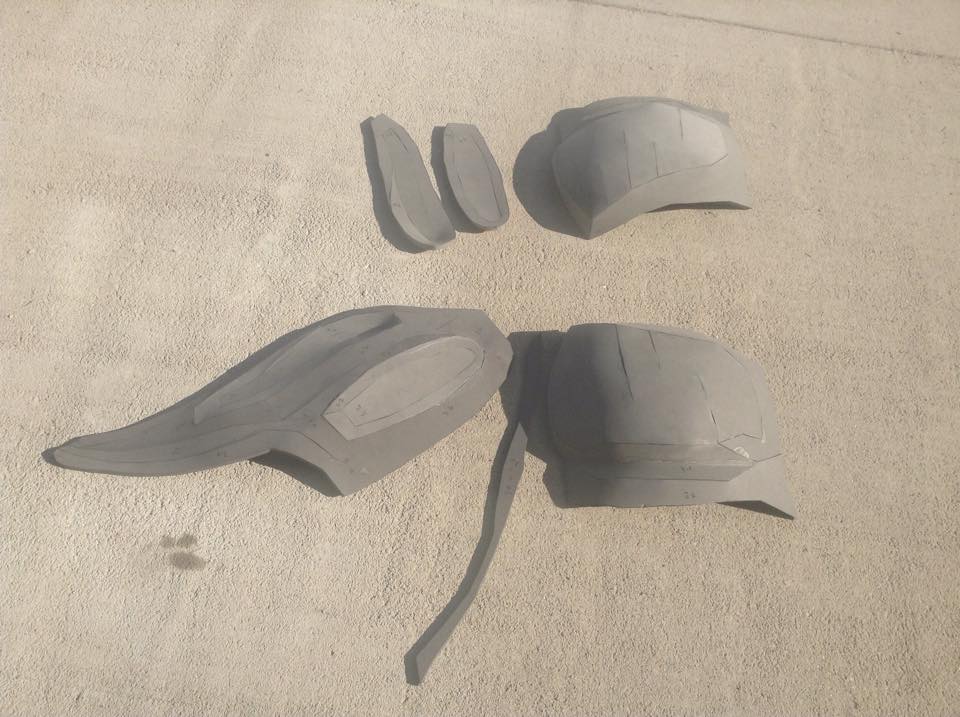
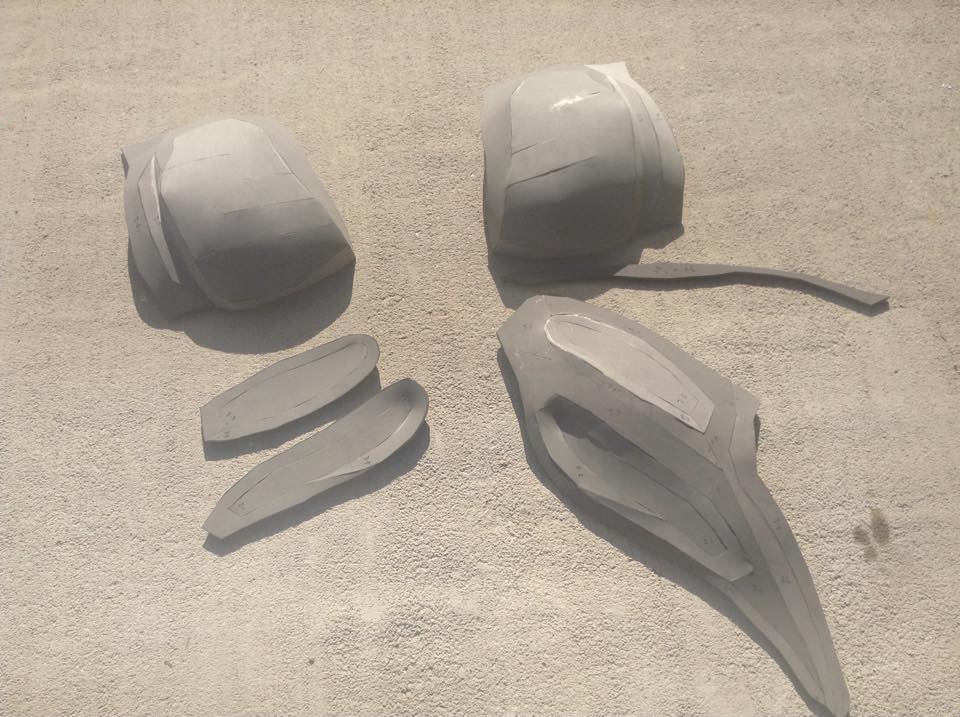
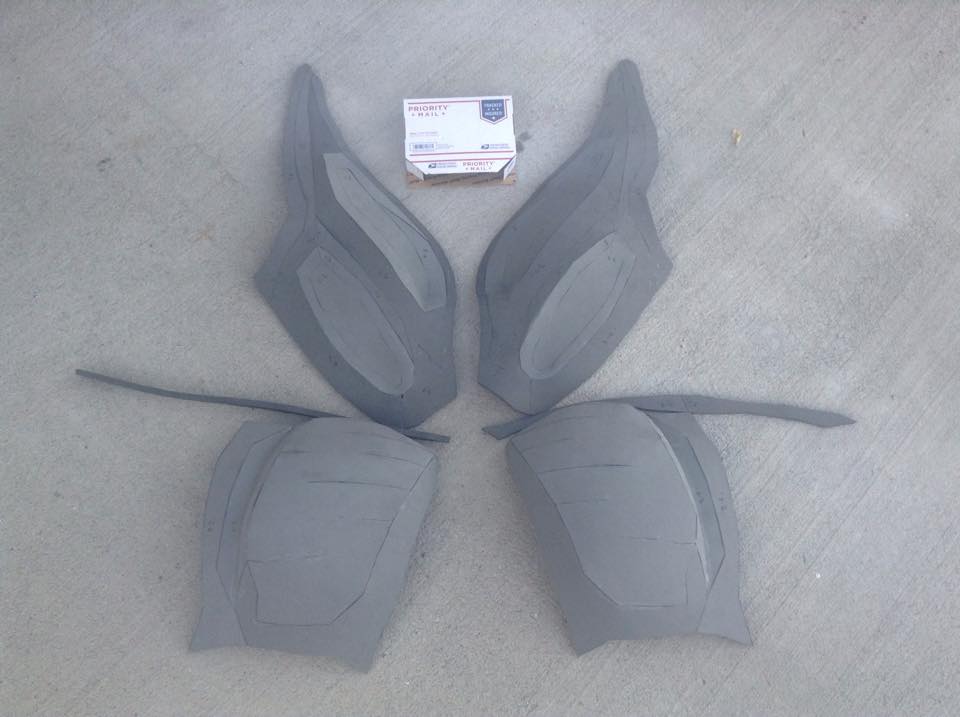
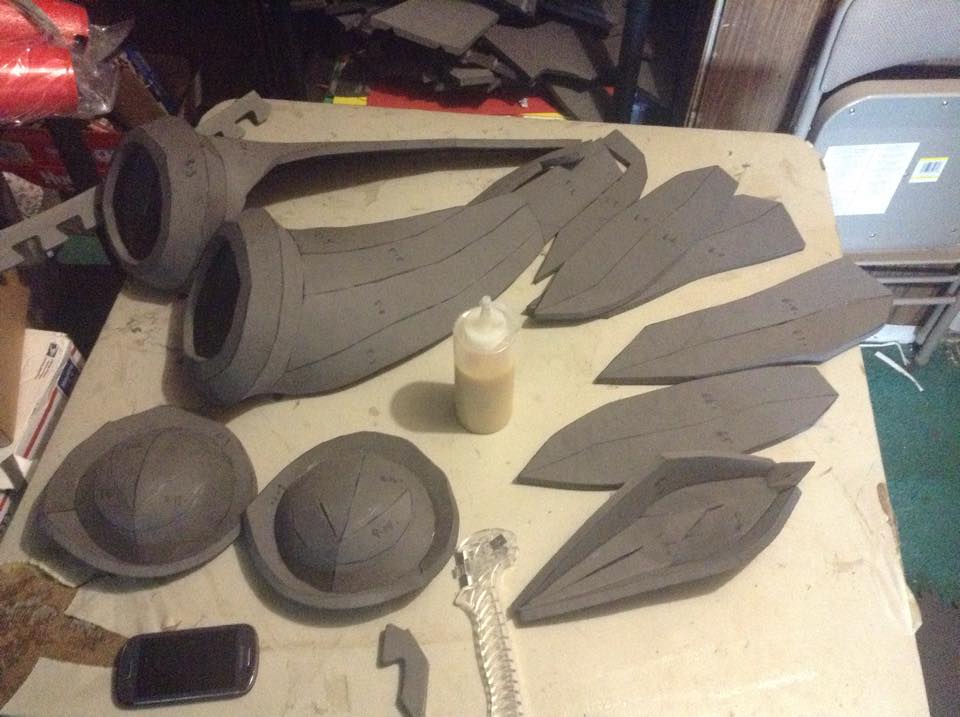
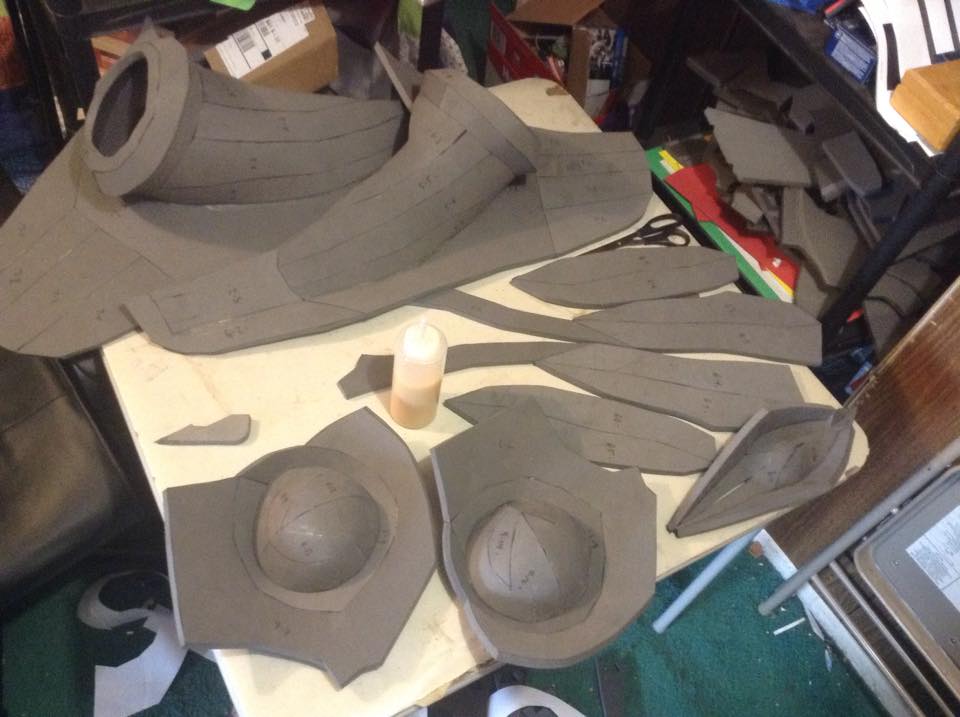
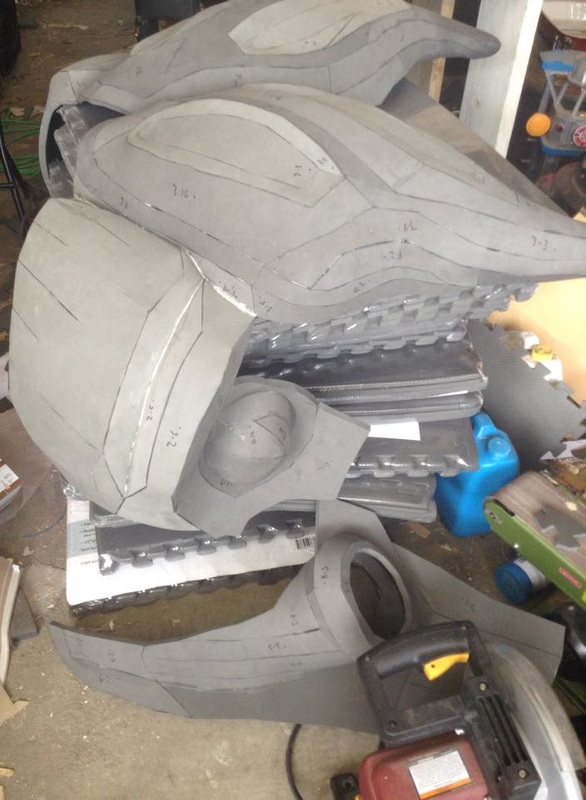
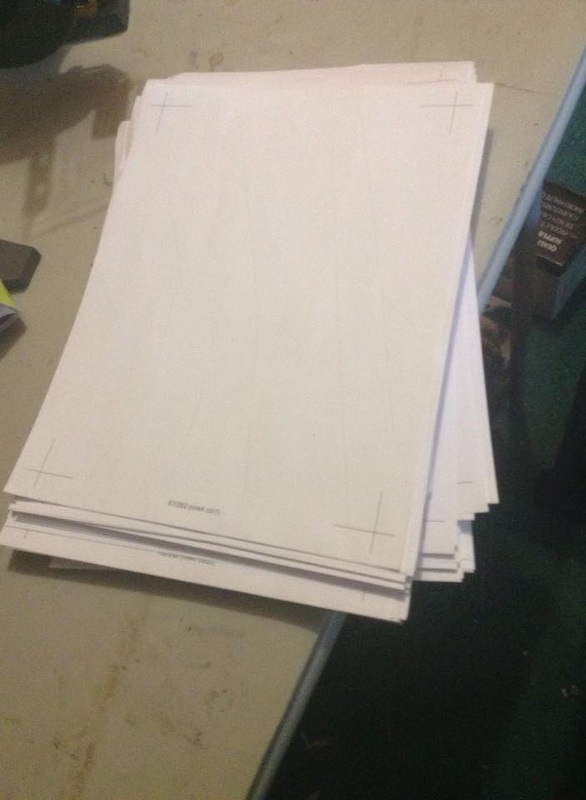
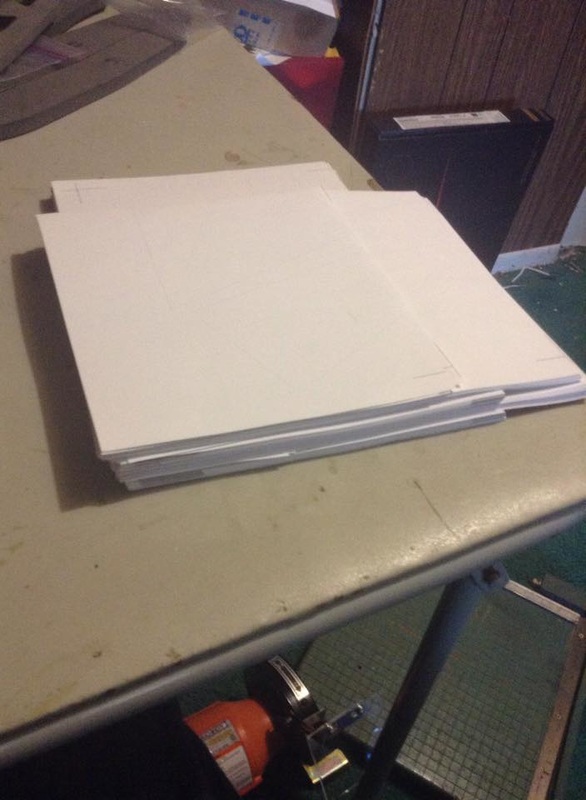
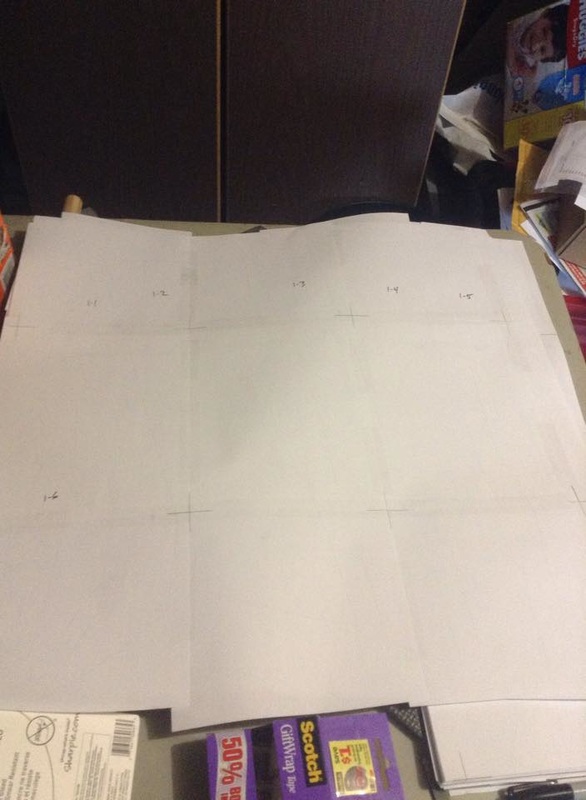
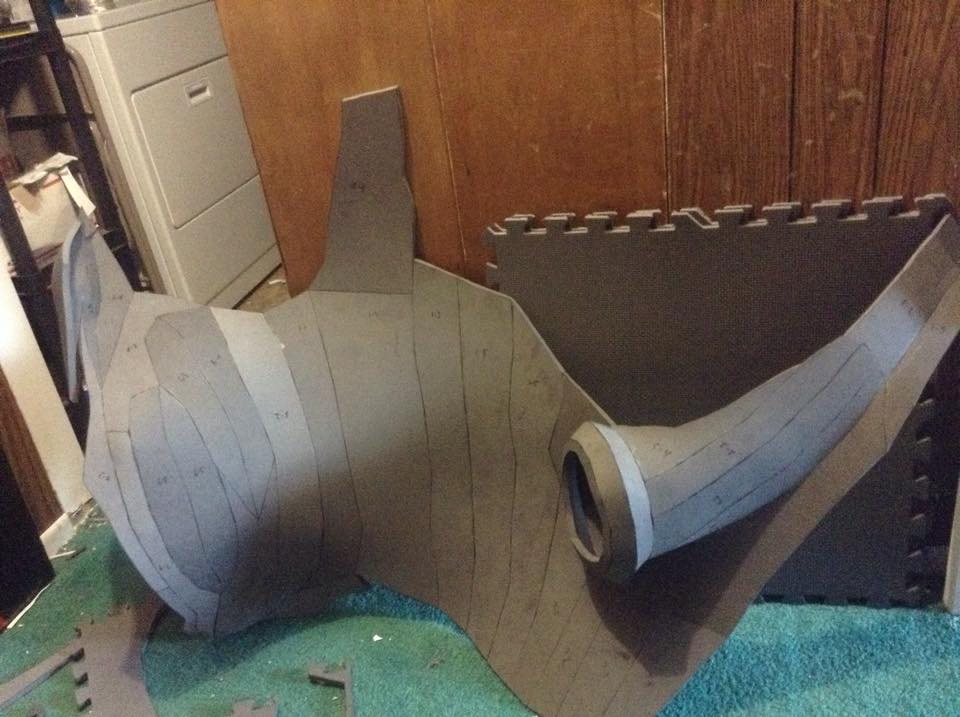
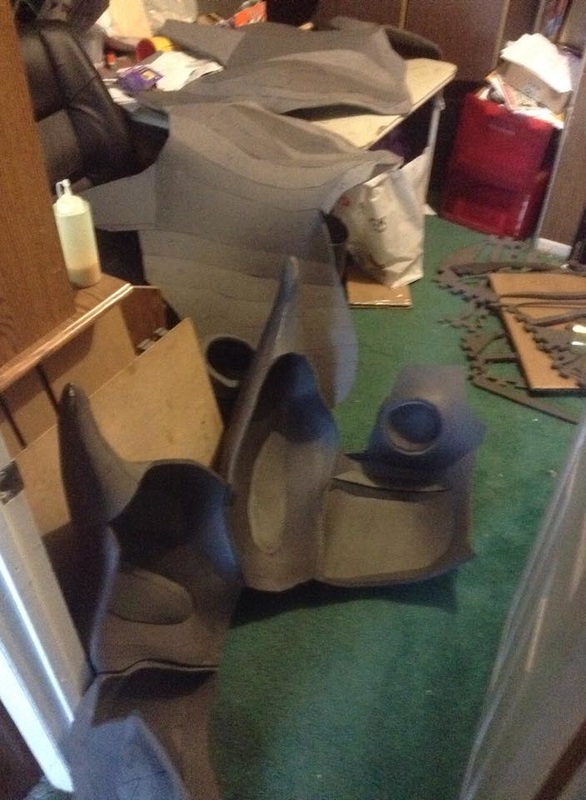
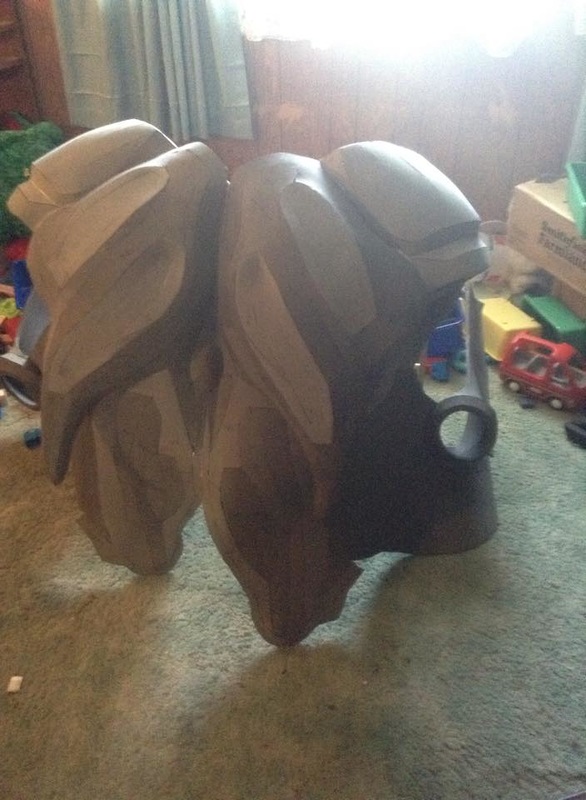
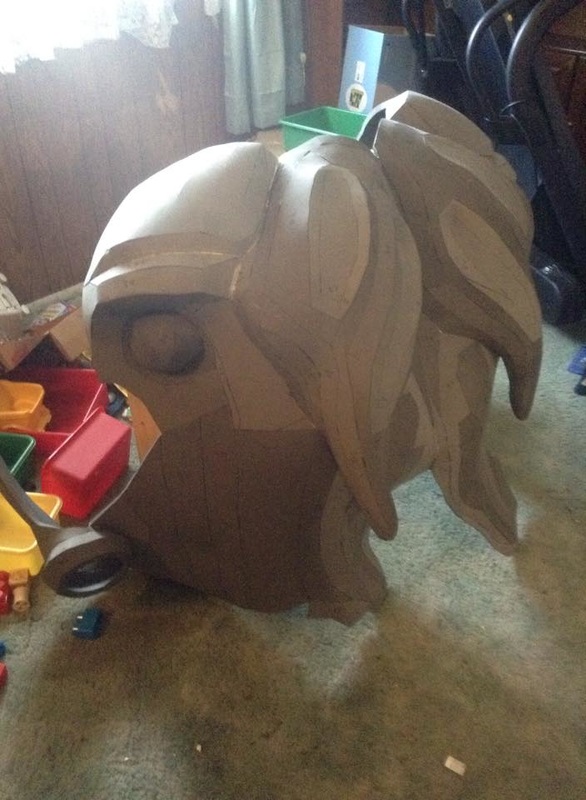
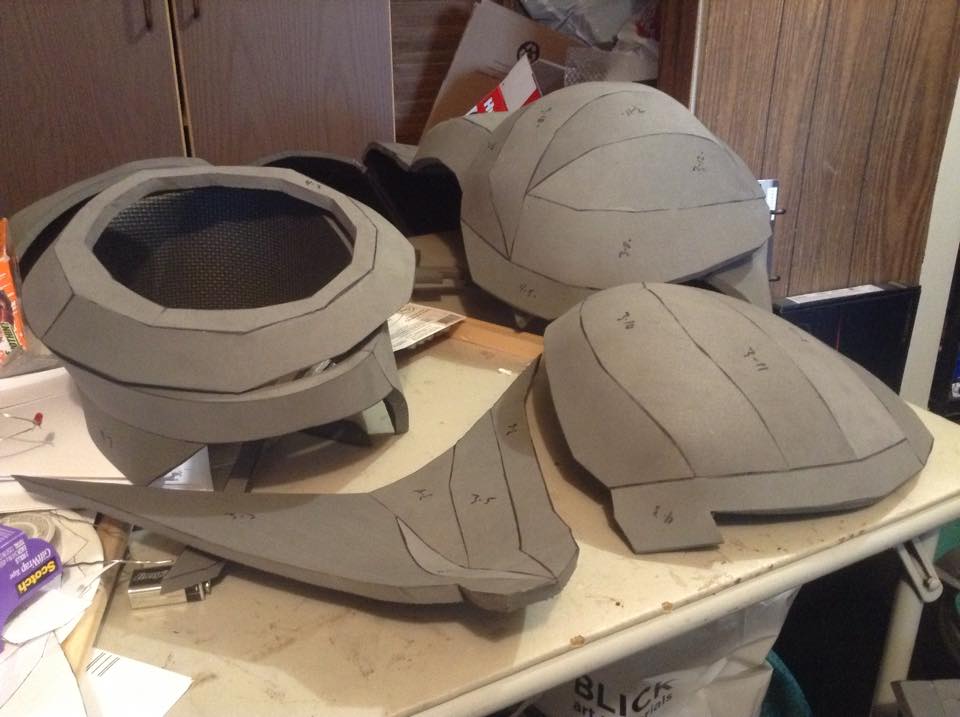
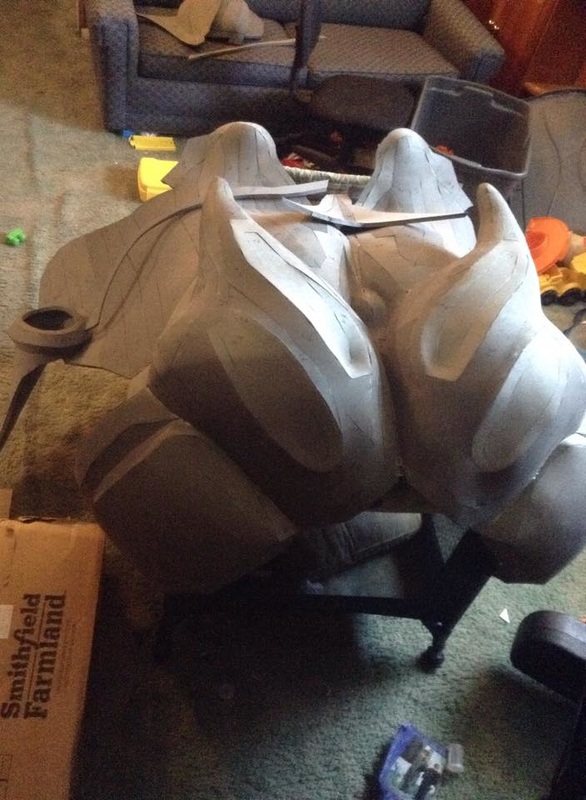
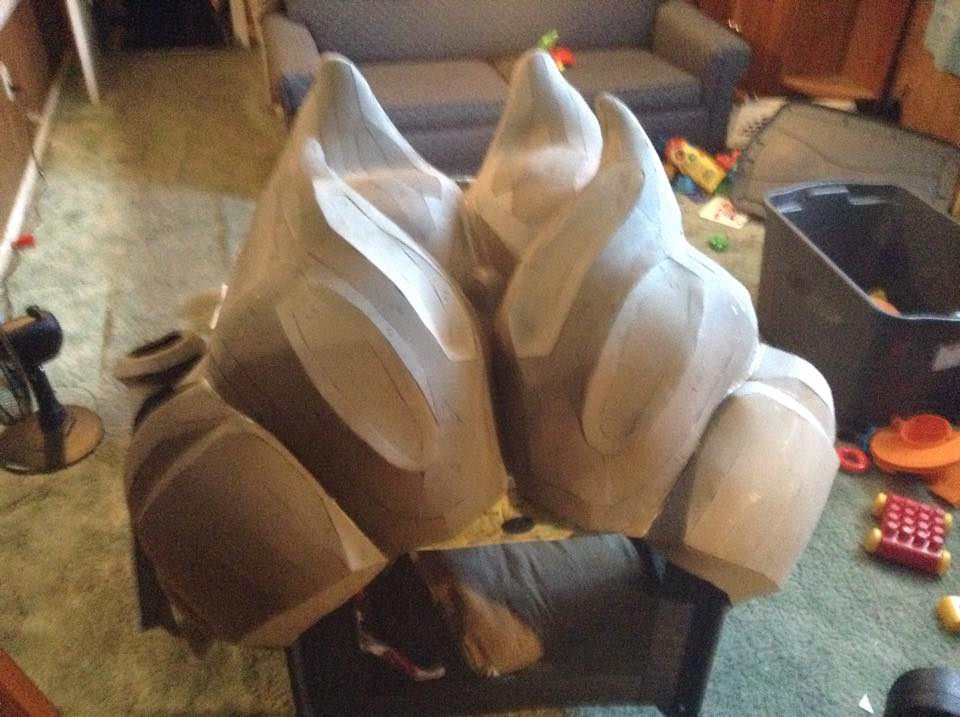
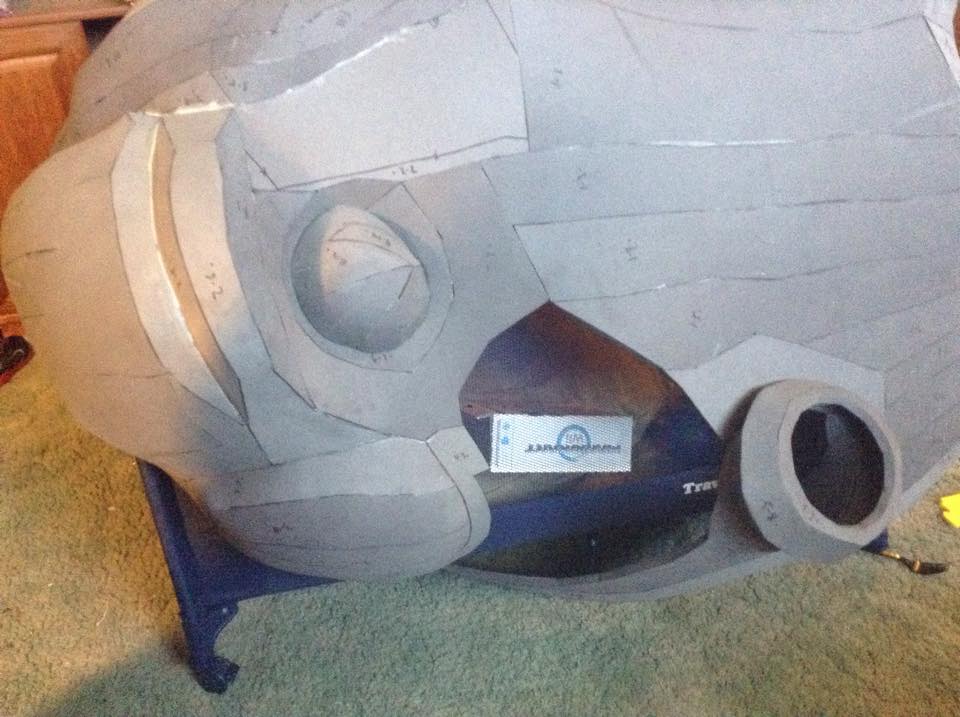
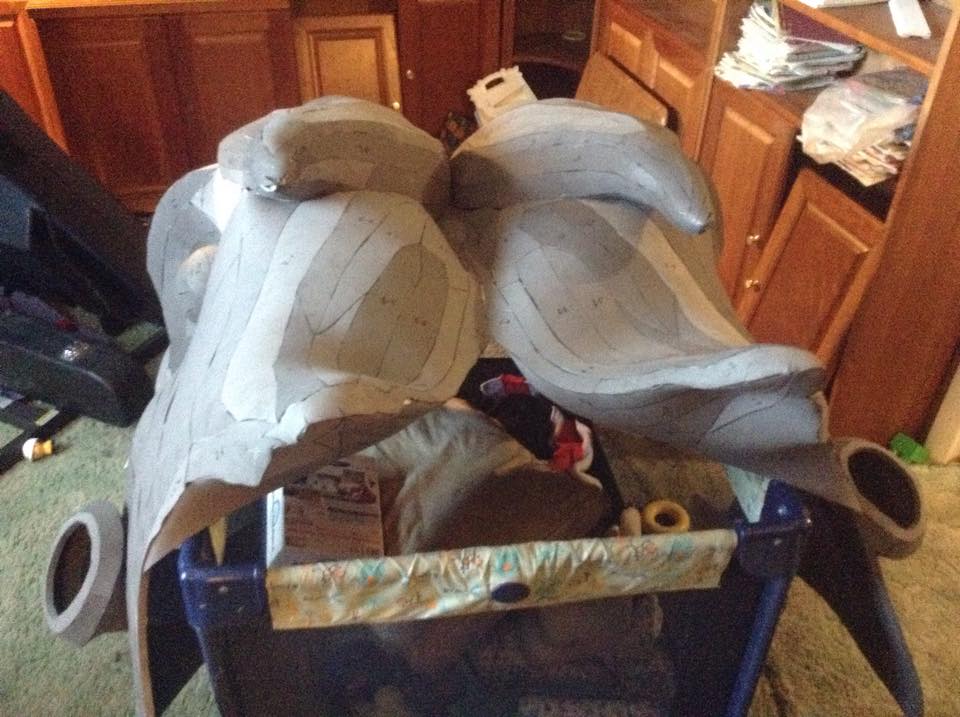
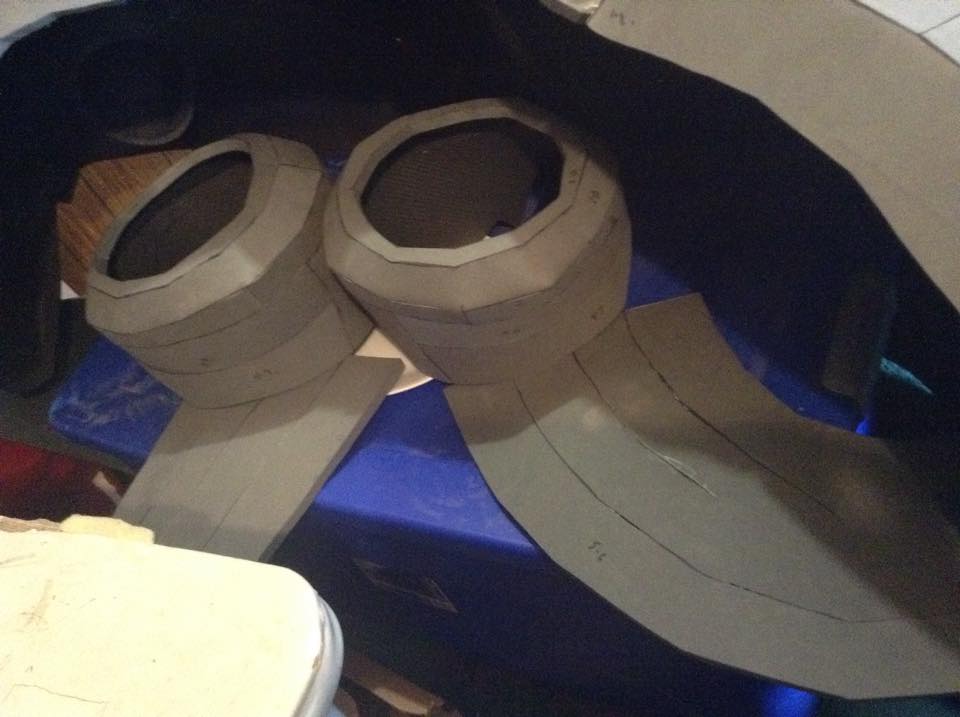
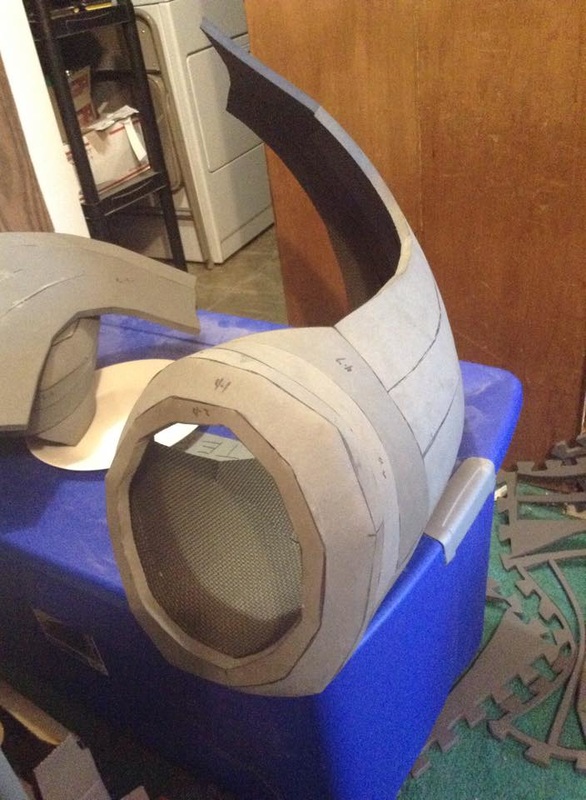
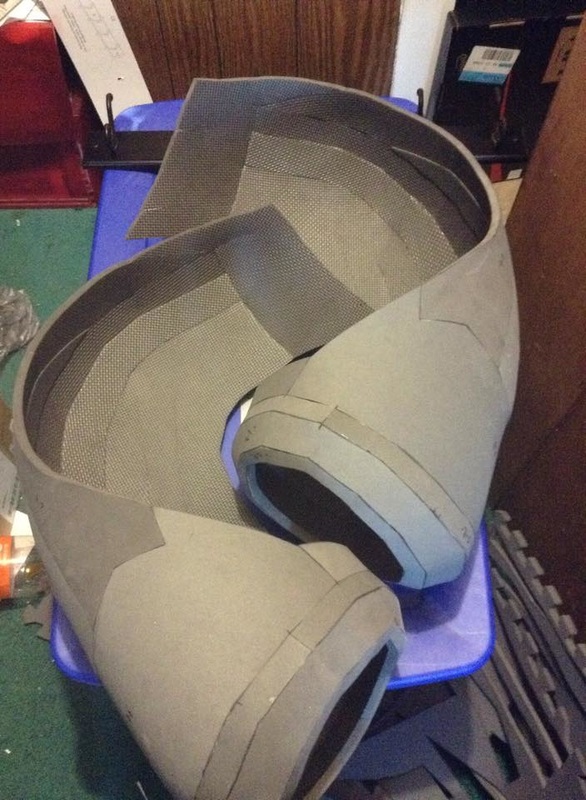
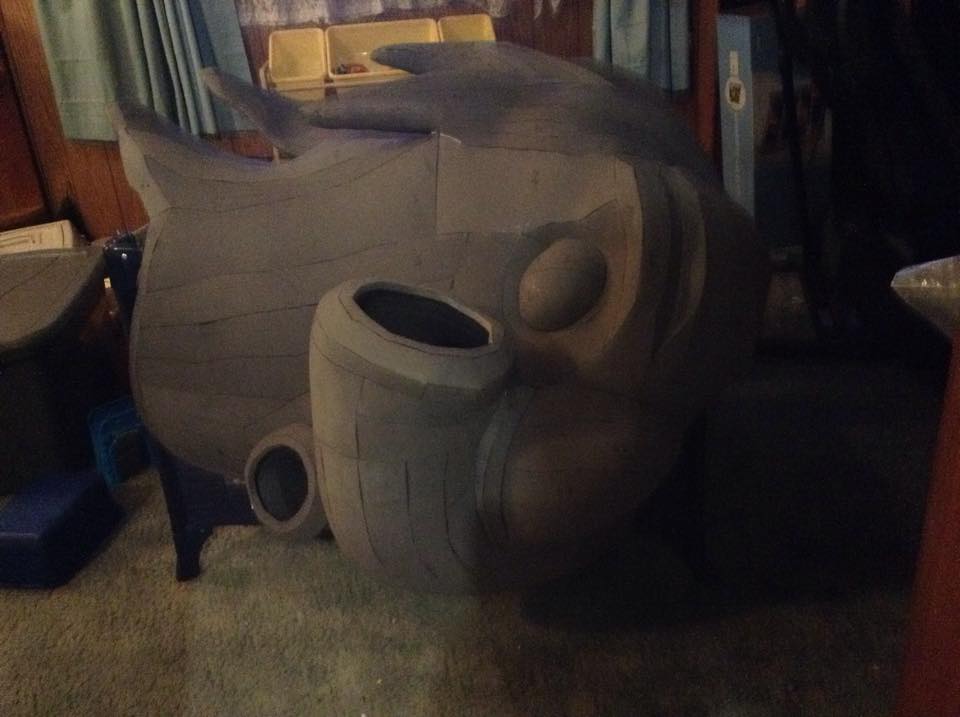
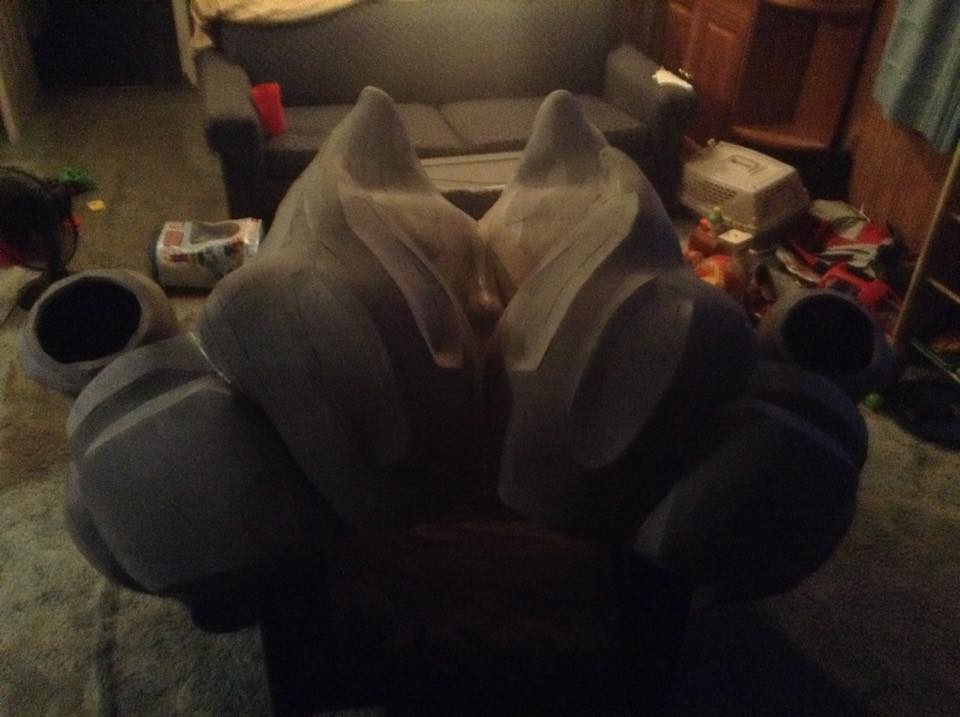
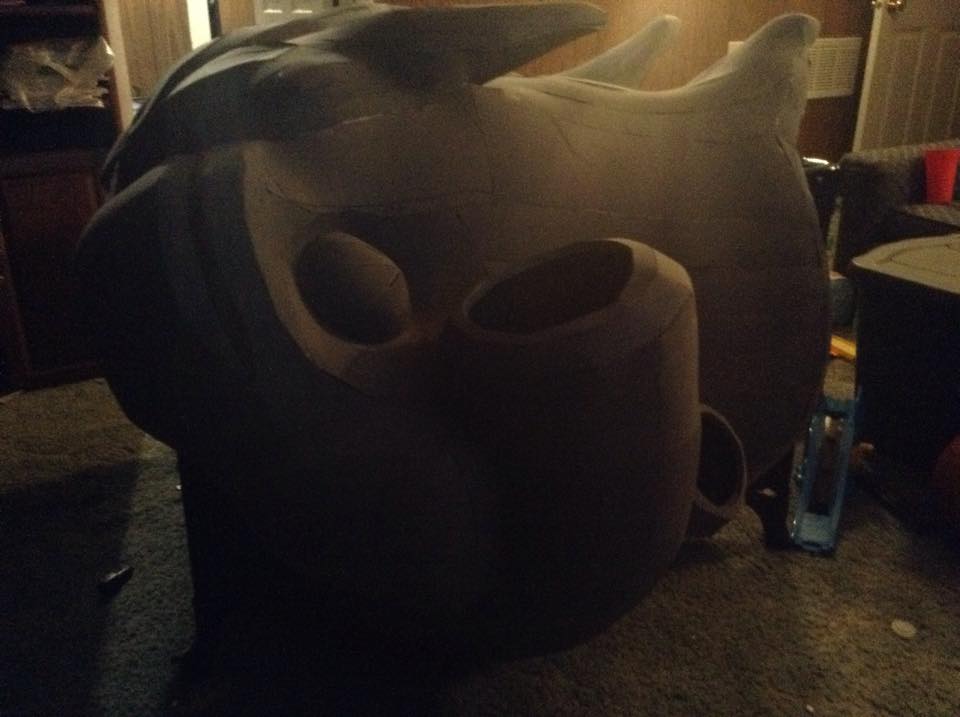
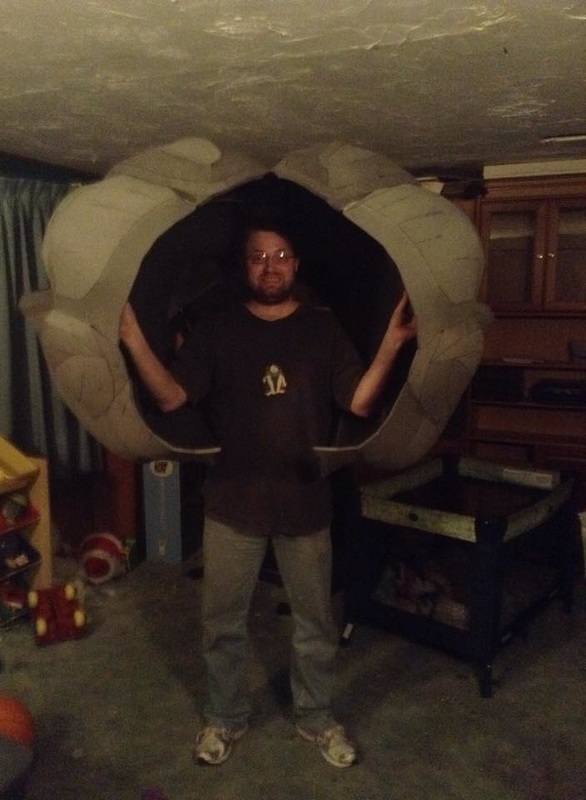
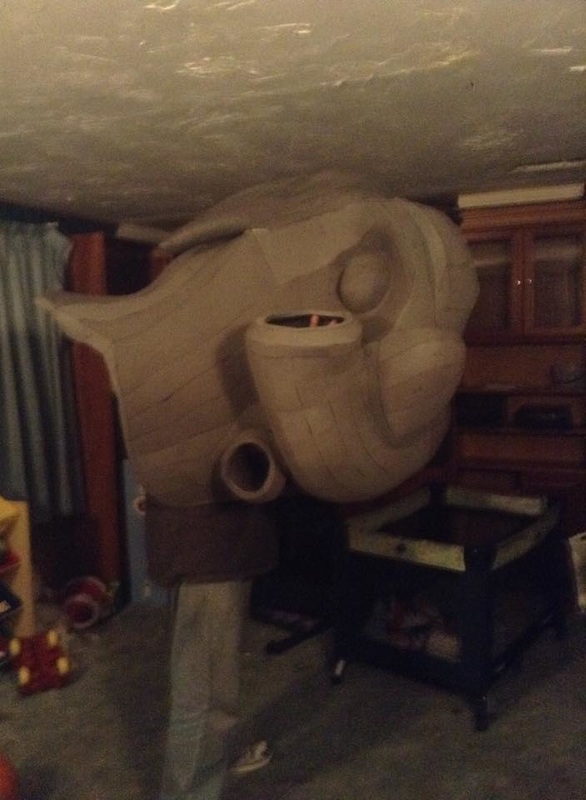
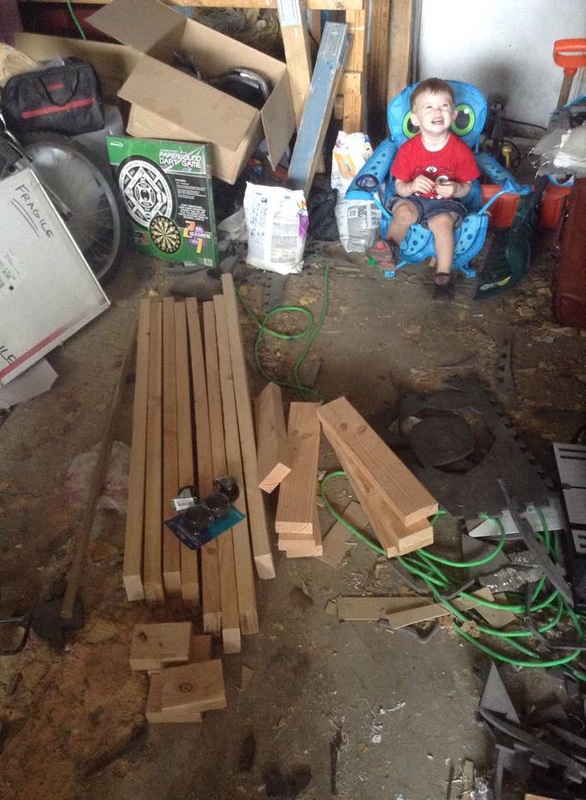
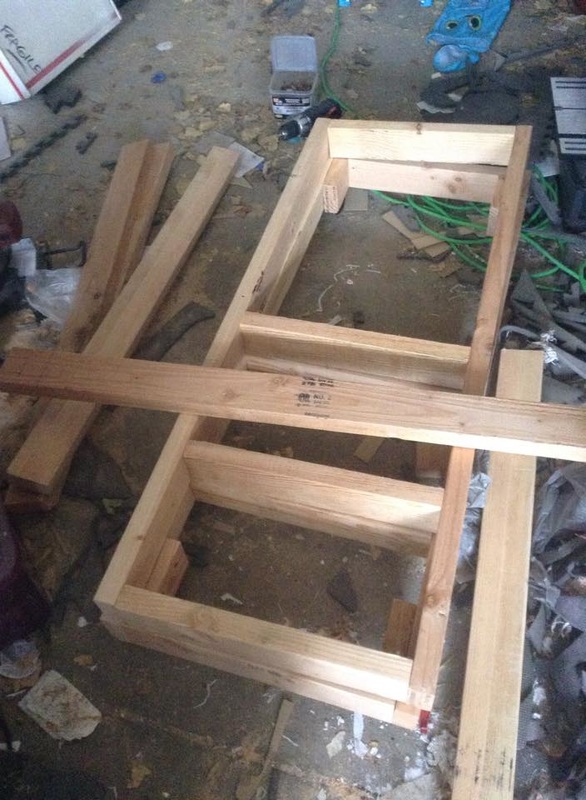
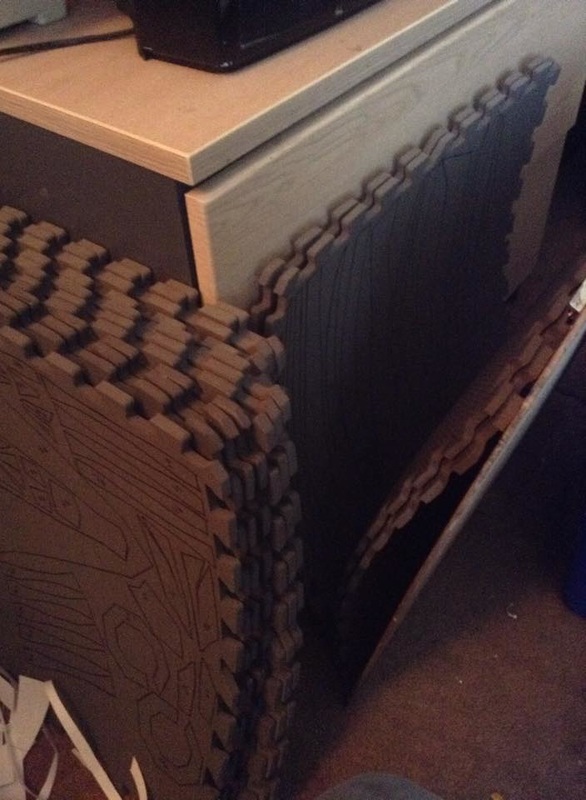
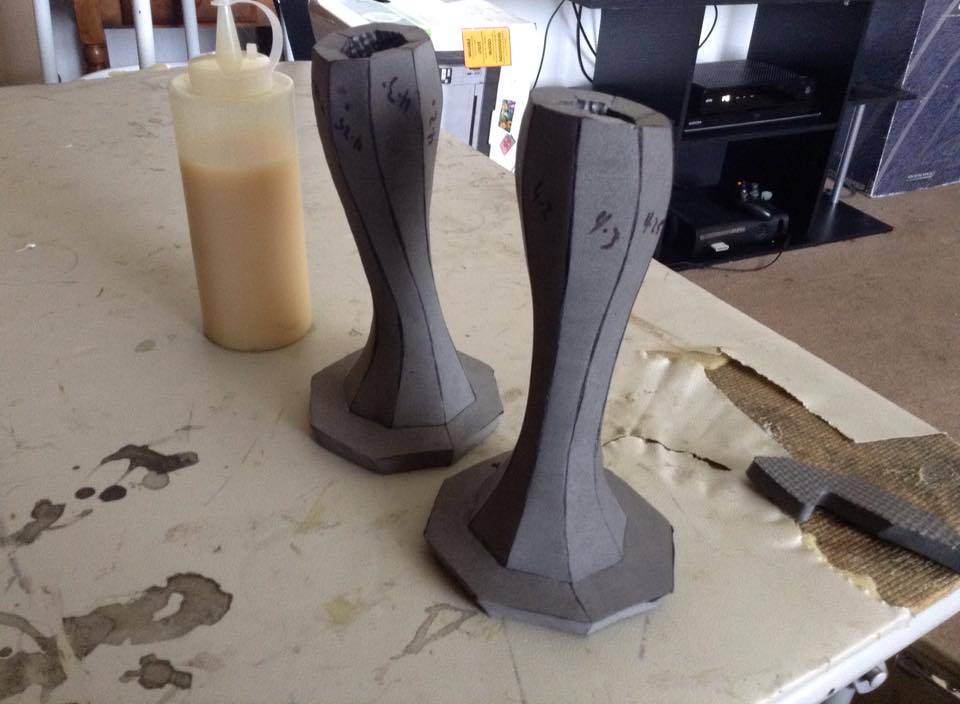
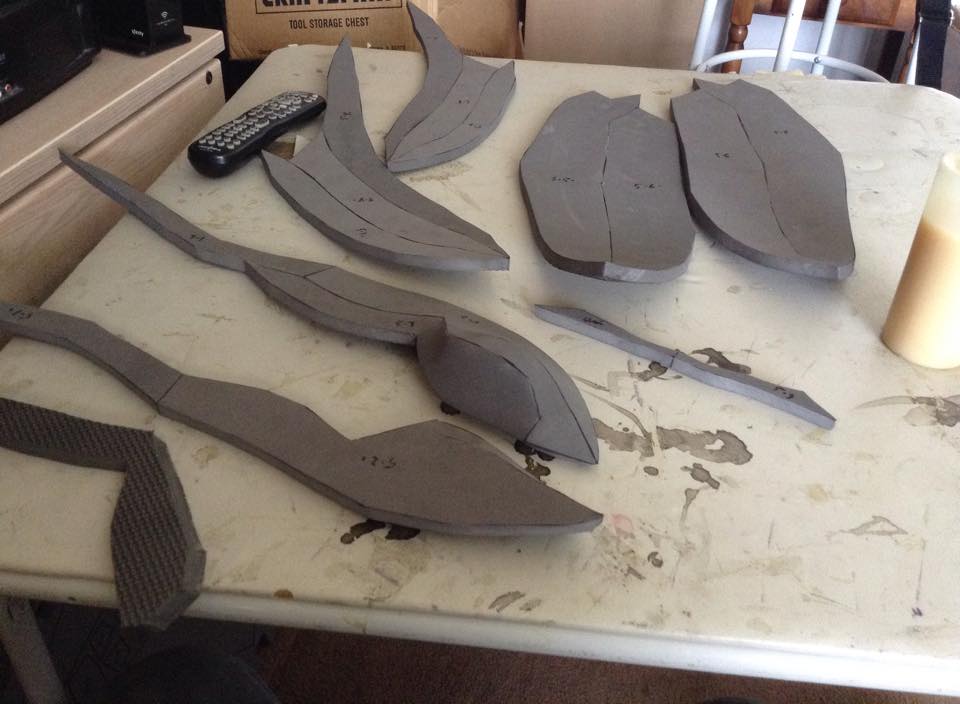
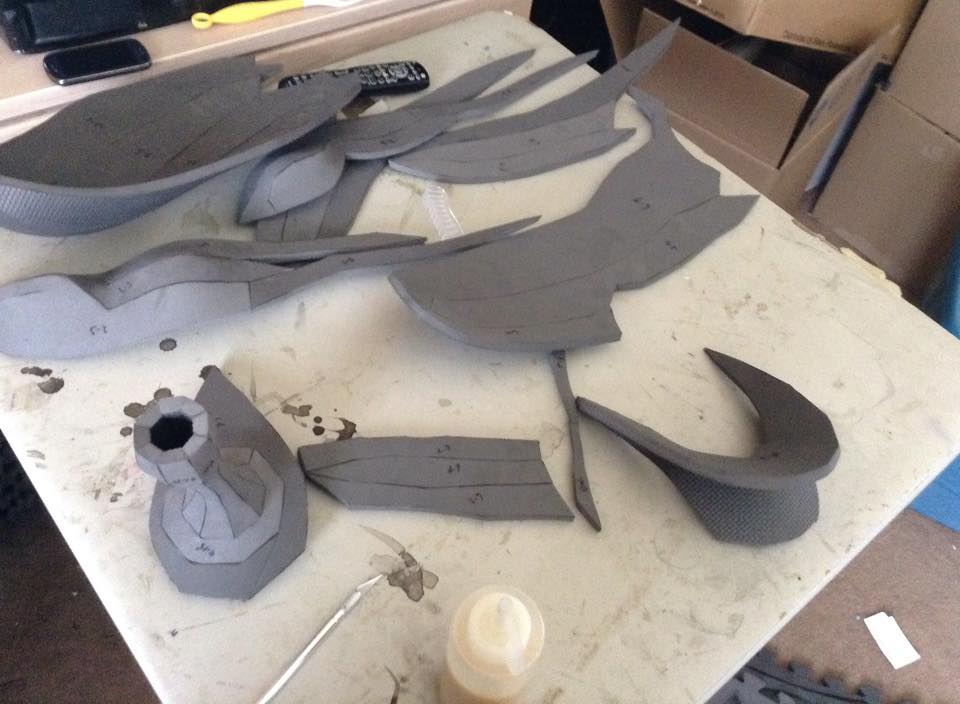
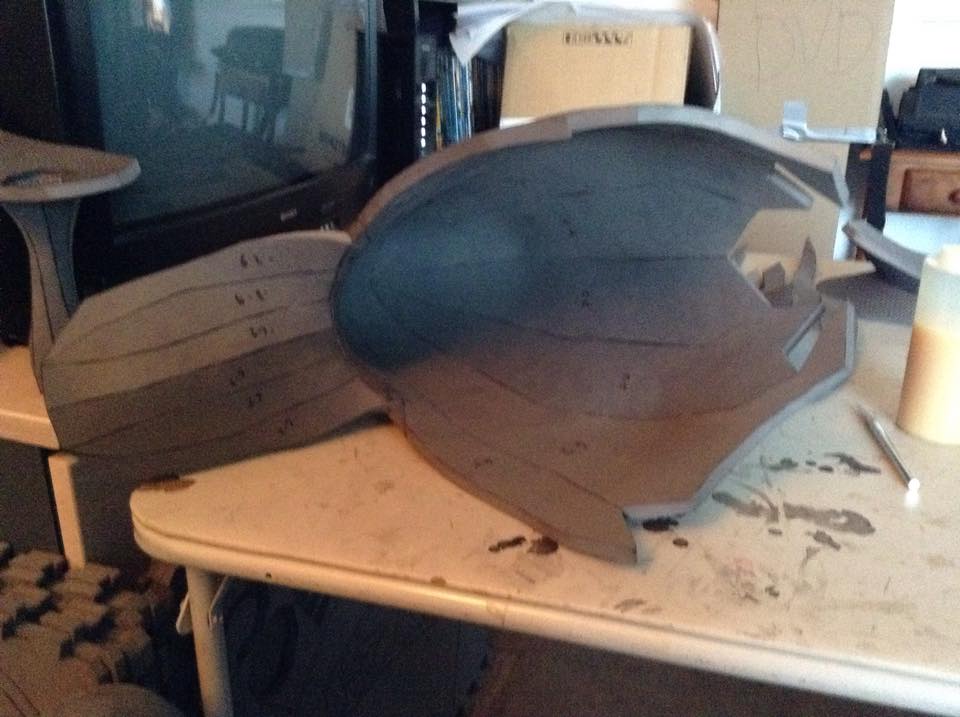
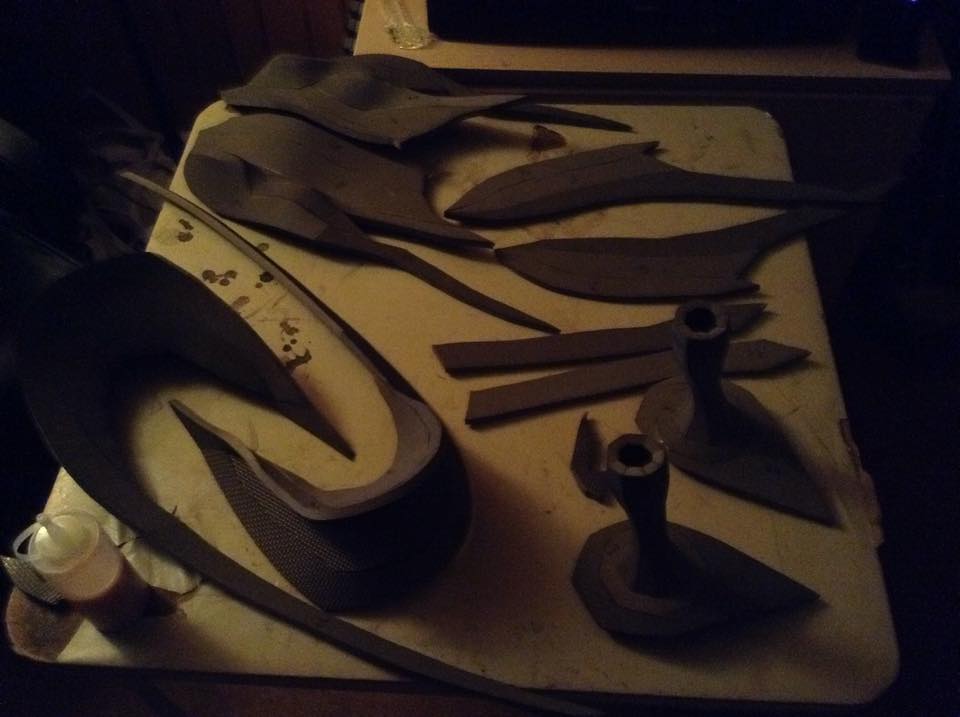
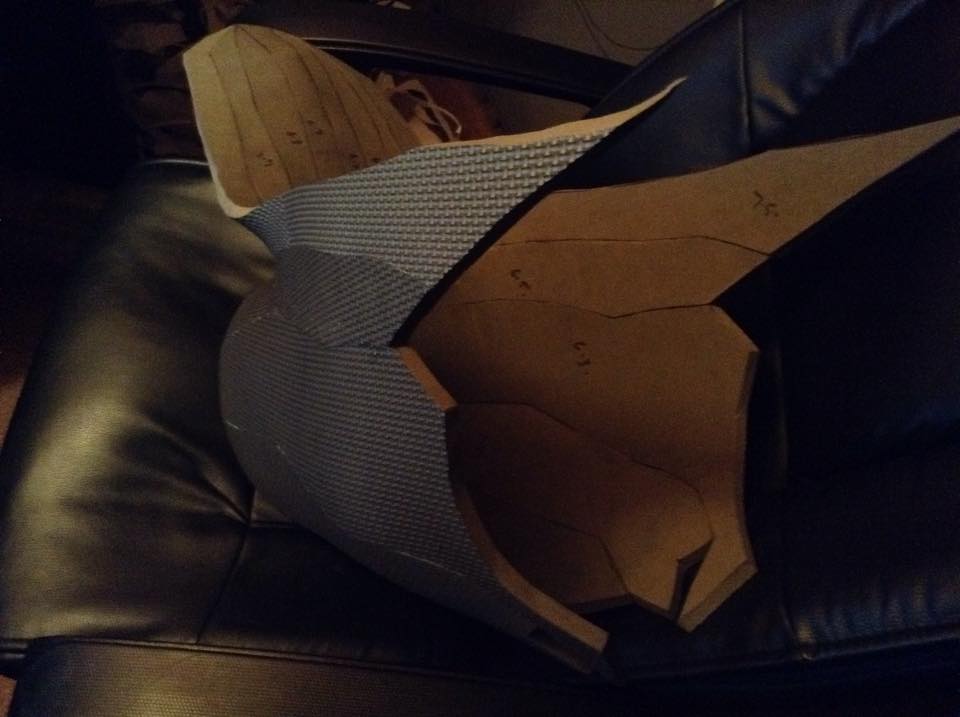
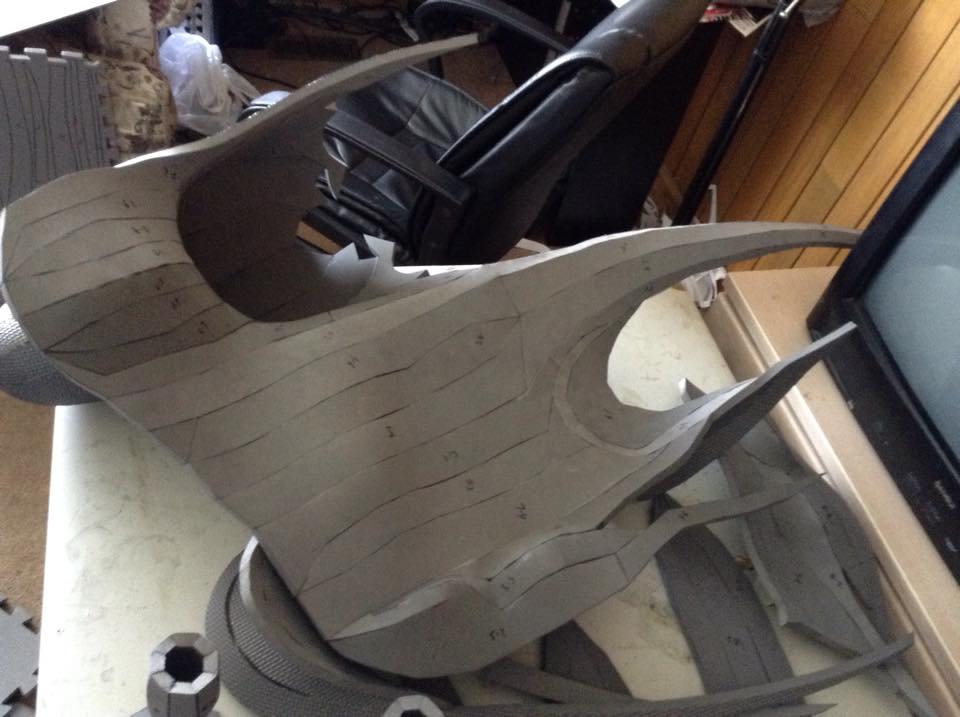
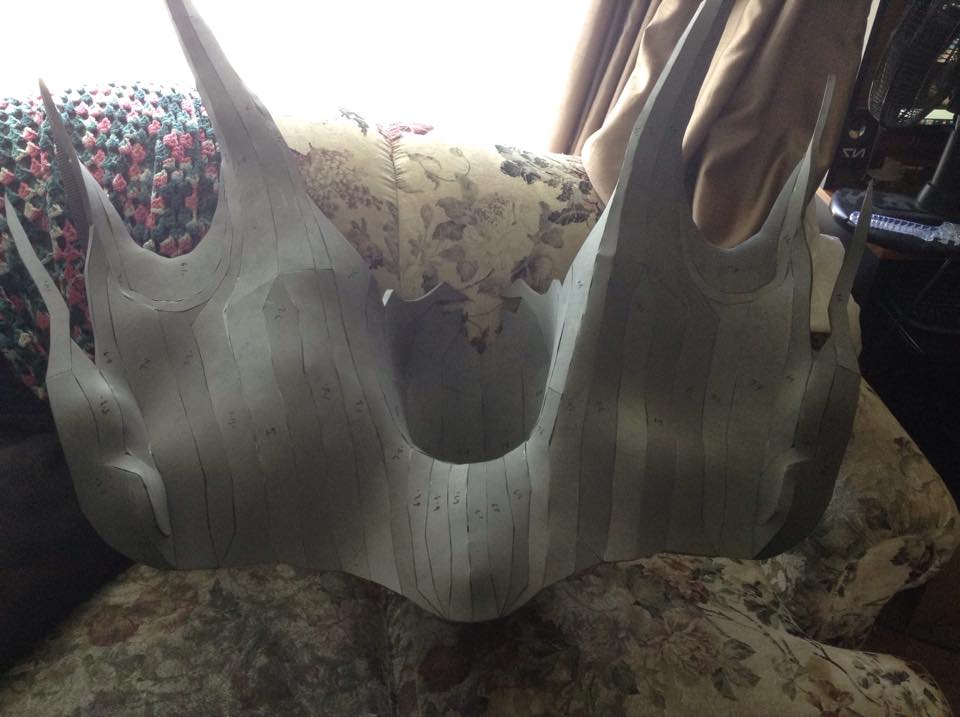
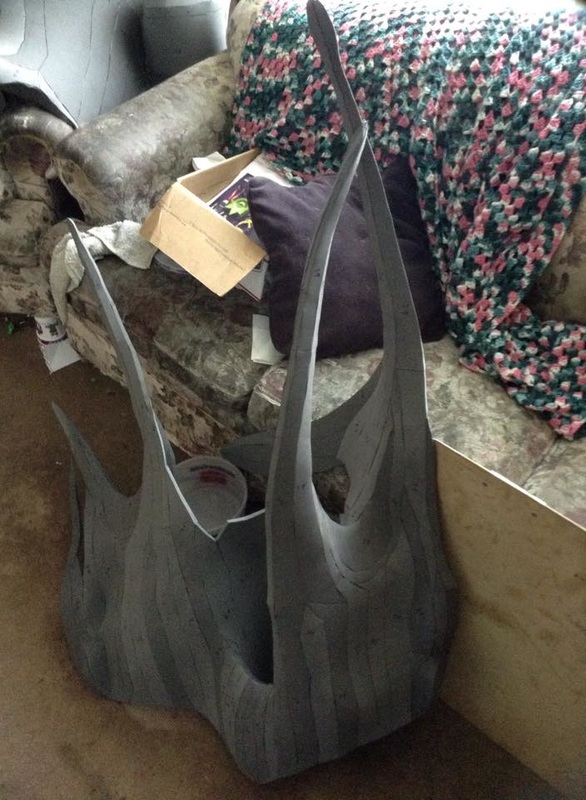
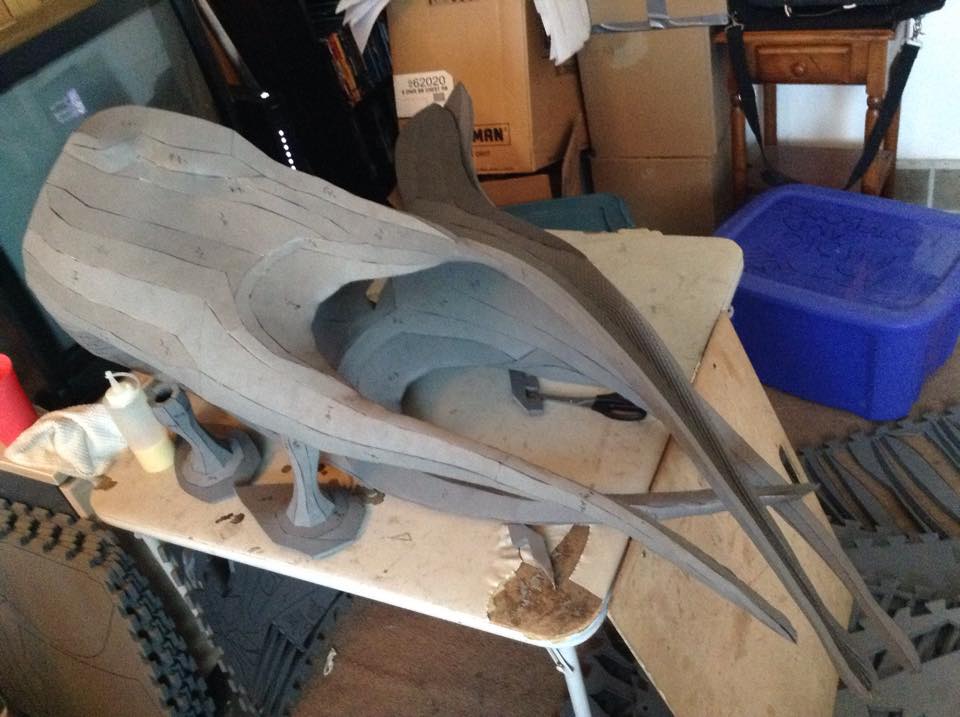
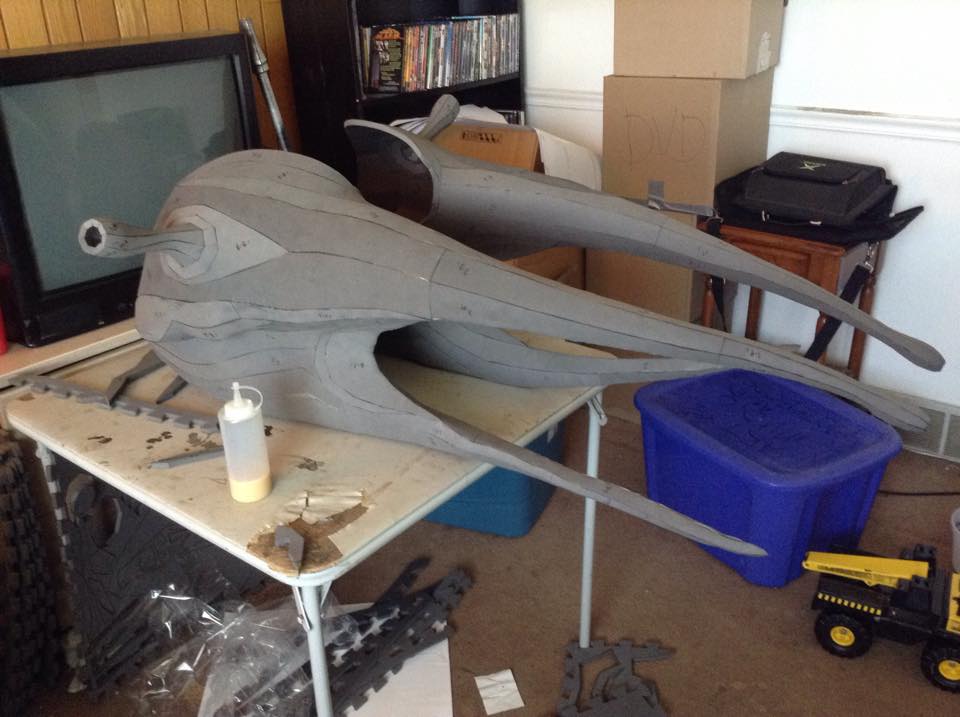
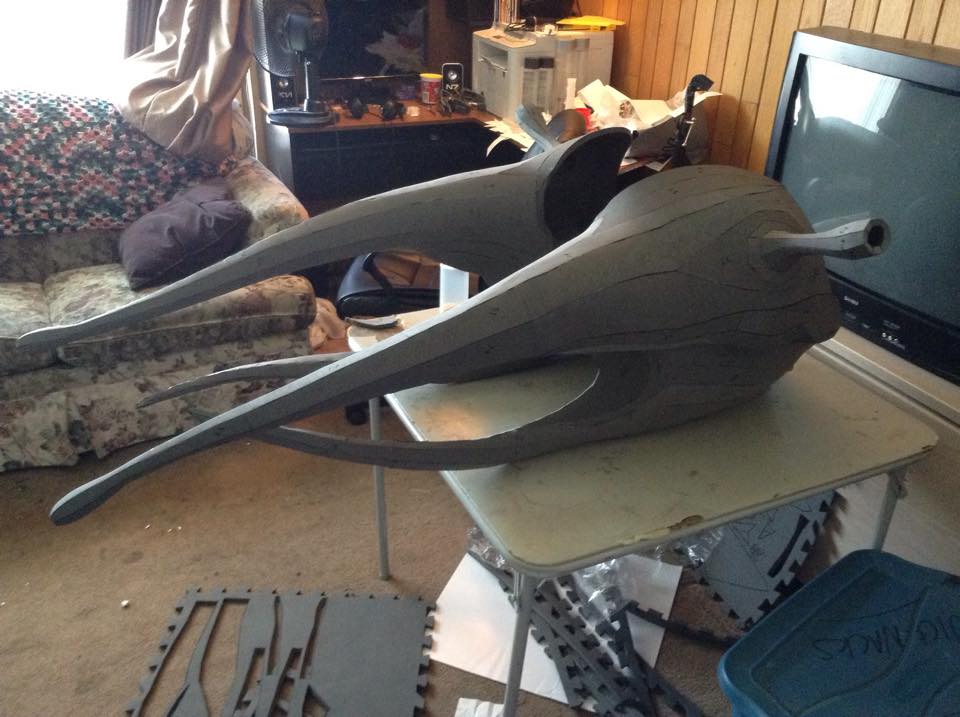
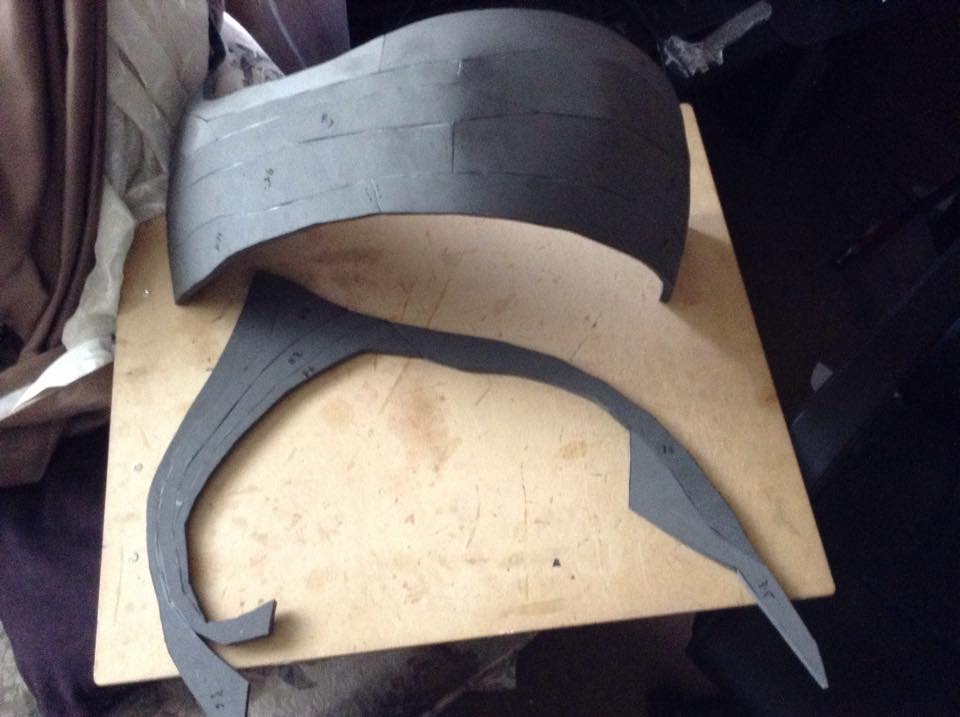
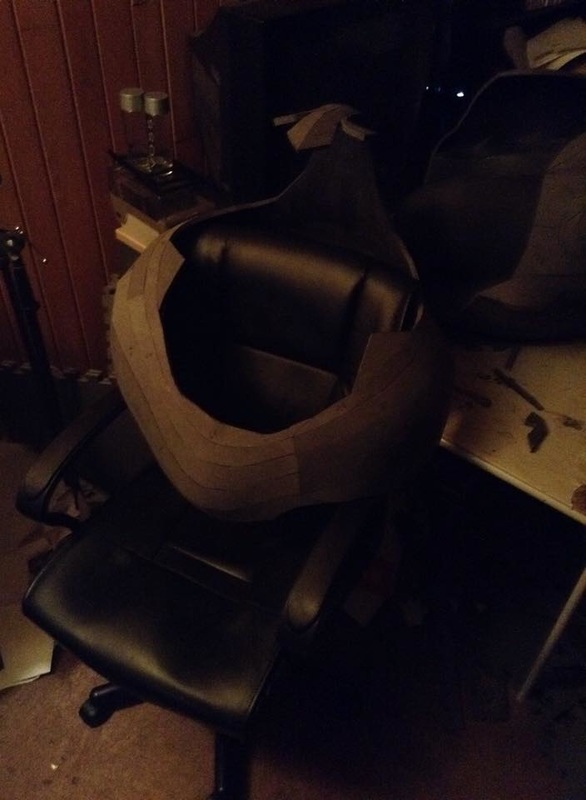
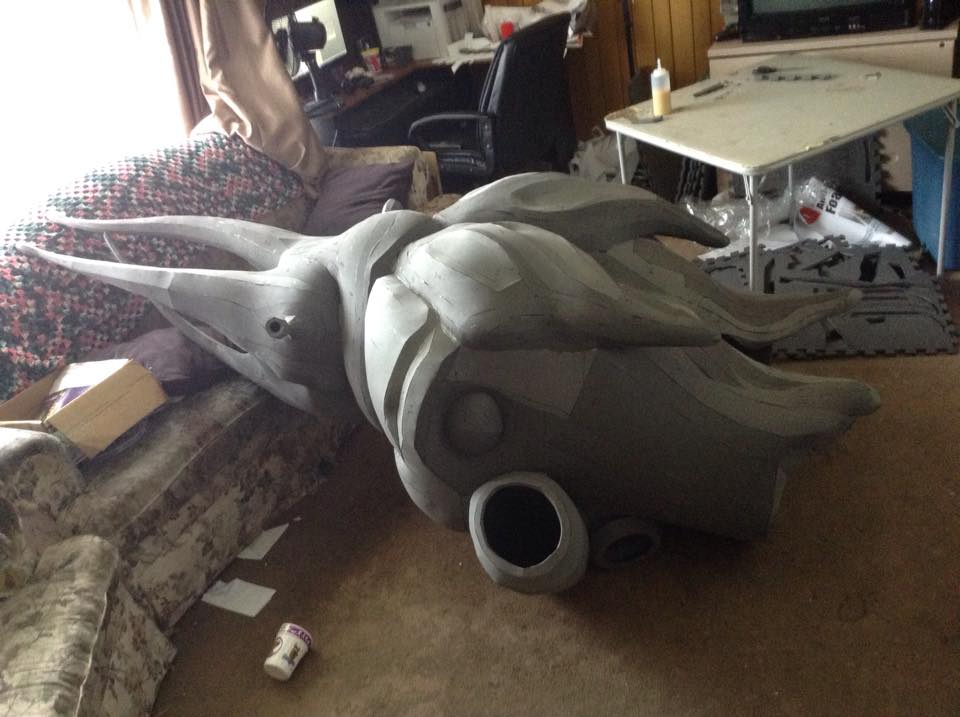
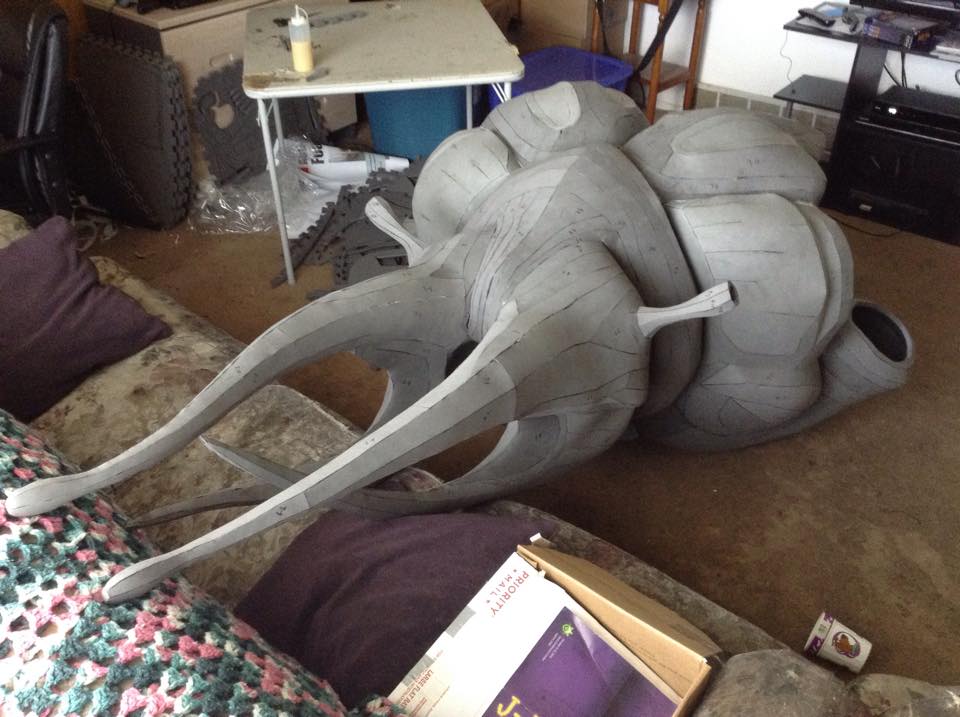
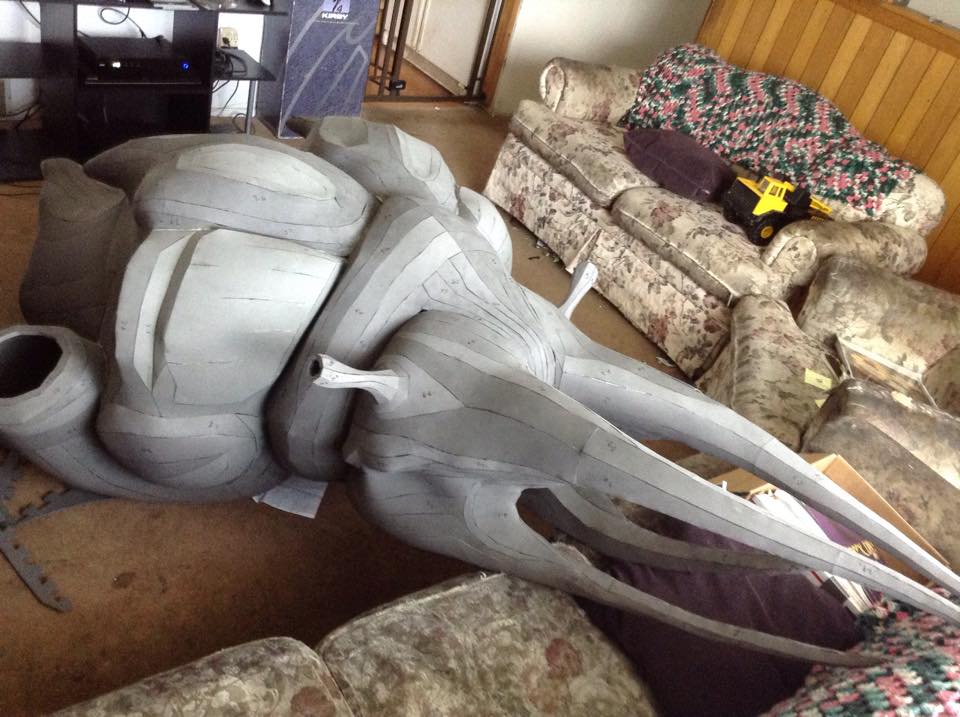
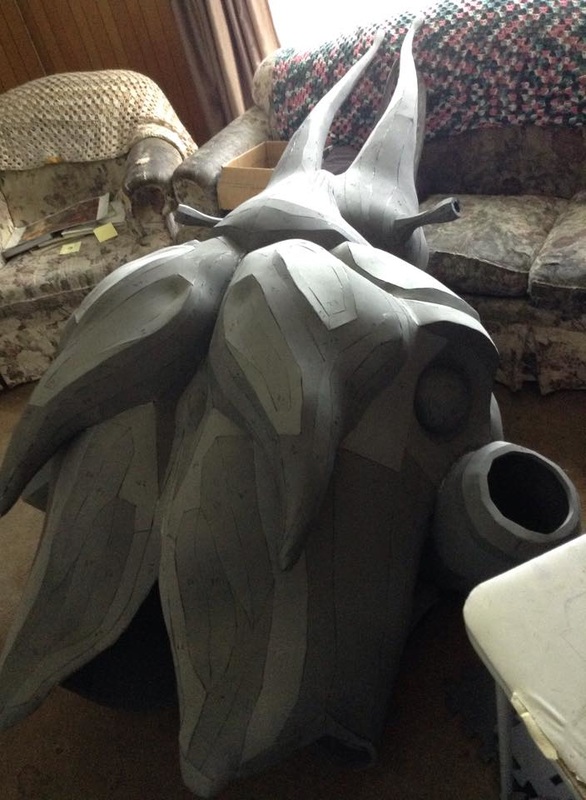
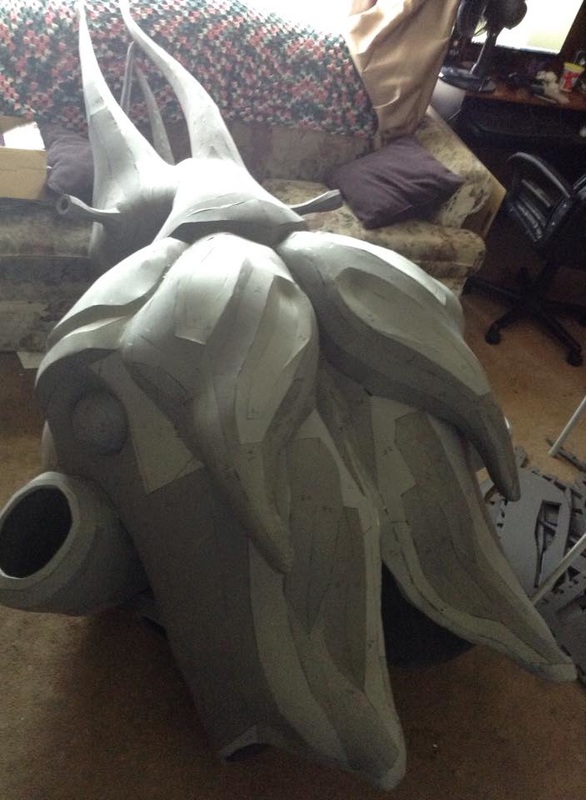
Here it is, the moment you've all been waiting for. If you followed along on my Facebook page, you saw firsthand how intensive this build was, and if you followed along on the RPF thread I made you got some insight into the build. Now, though, it's time to do the write-up here, where you can finally see the inner workings of my honest-to-goodness lack of sanity. This write-up will be in multiple parts, due to its length. 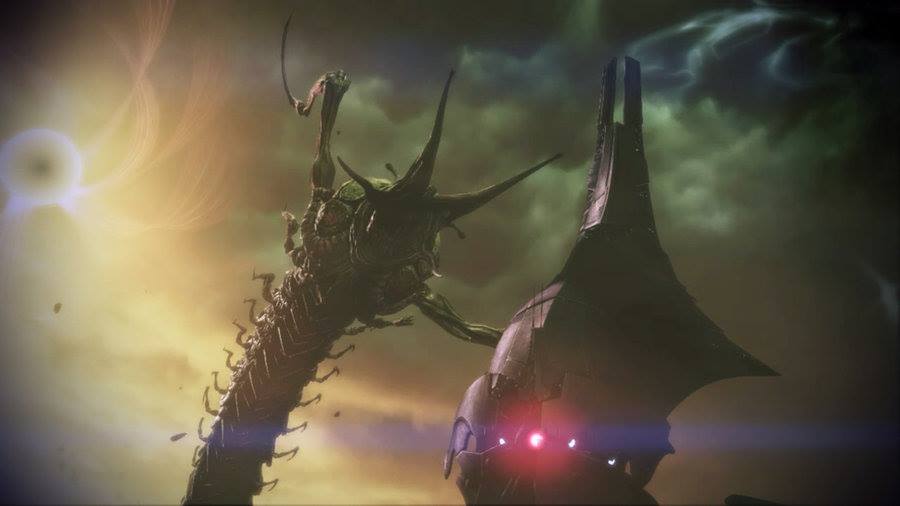 2015 was the first year I attended DragonCon, and I wanted to make something epic for it so that I wasn't just wearing my Terminus armor (so that I wouldn't die in it in the Atlanta heat). At the same time, the N7 Elite Costuming Group, after seeing the amazing Zakuba foam dragon head, wanted to do a Thresher Maw like that in a Chinese dragon style. I opted to take up the challenge, since I've been wanting to do a giant build ever since I had to take apart the Giant Robot, but since the convention was two months away, and I didn't trust my freehanding skills enough with that little of time, I managed to find a 3D file and adapt it for foam pep. 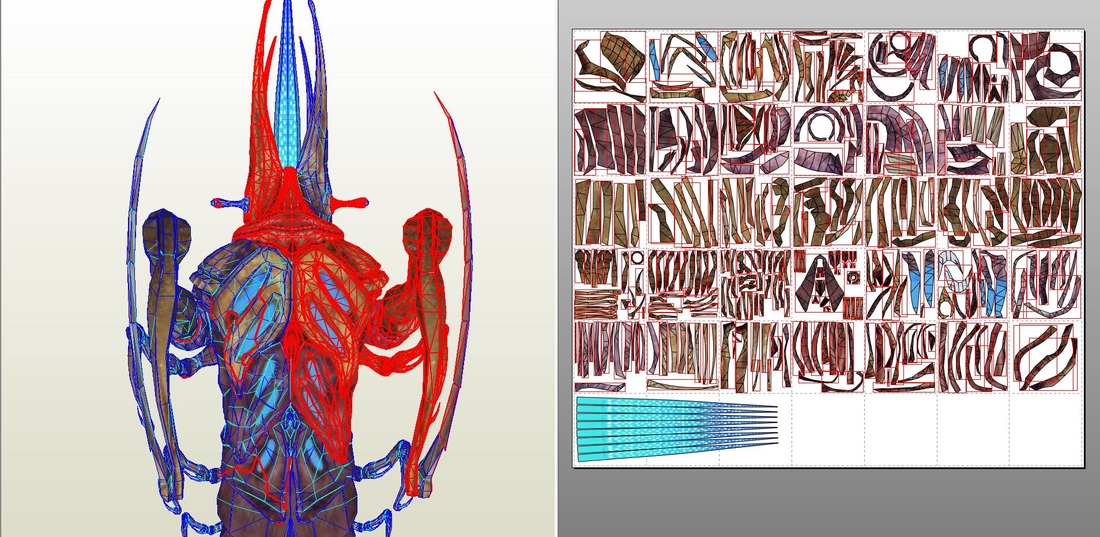 Recently I discovered that you can adjust the dimensions of the printout in Pepakura Designer, which made layout so much easier. I was able to make the dimensions the same size as the foam, then cram all the pieces in as tight as they could get, readjust the dimensions to letter paper, print it out, and tape/cut in such a way that not only saved foam, but saved paper. It still ended up being 264 sheets of paper, with a grand total of 70 sheets of floor mat foam after accounting for all the doubled-up parts. 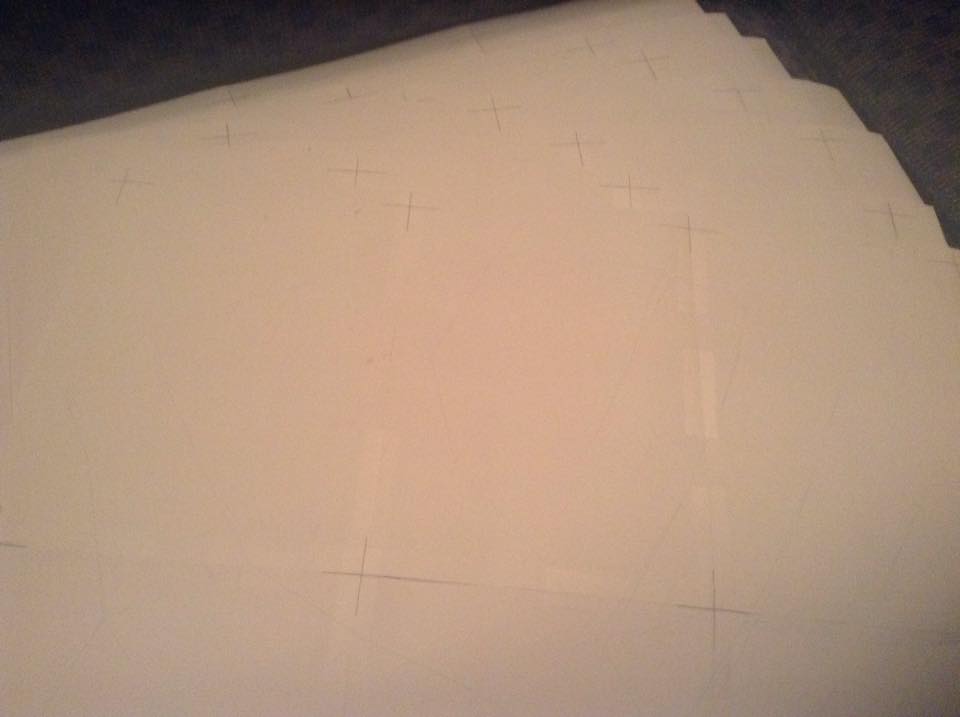 For those wondering, that translates into 18 packs of foam. And over a ream of paper. 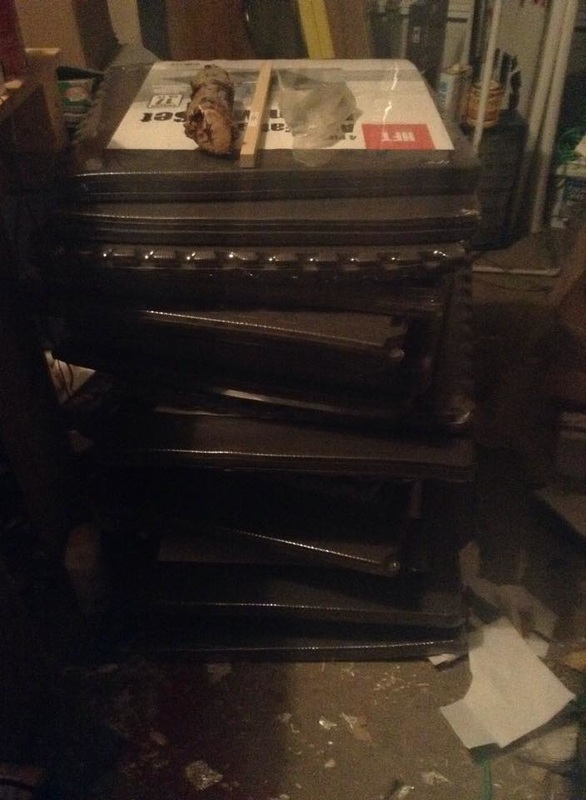 Since my wife works during the day, and I have to watch our son, I was forced to work inside the whole time, rather than out in the garage with all my power tools. He's still too young to take care of himself, unfortunately. This meant, of course, that instead of using the band saw to cut out all the pieces, I had to cut each and every piece out by hand, with an xacto knife. As I cut and traced, I kept track of the parts with a simple numbering system: what number the sheet of foam was in the row, and the part number on that sheet. 1-1, 3-10, that sort of thing. To keep track of the mirrored pieces, a simple dot was added to each number: 1-1*, 3-10*, etc. This greatly helped keep track of pieces, especially if one ended up not being connected until later. Another thing that helped was tracing the entire row, rather than doing one page, cutting, assembling, then moving on to the next. Had I done it that way all I would have had was a mess of pieces that wouldn't fit together until the next sheet was done. Once the first row was traced, it was time to start the upper carapace! You'll see me use a lot of the tricks for foam here that I detailed in the Terminus armor write-up and many others. Angled cuts make sharper corners, under cuts save seams and add detail. The first few parts I initially thought were the eyes of the Thresher Maw - really great lesson in natural survival traits. The small flat-rate box in the last pic should give you a good idea of the scale of Threshy - absolutely massive. 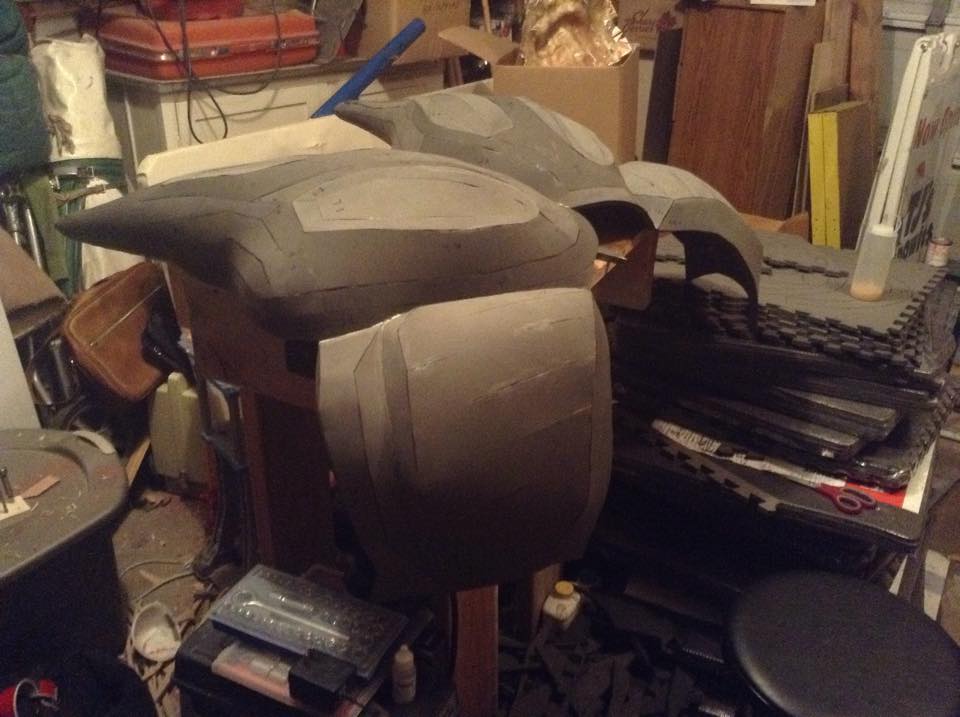 Bit by bit the parts come together, some needing heat forming, others bending the foam naturally. As I went I was able to hook areas together, though as you can see storage immediately became a problem. And, of course, as the first row continued, a lot of the parts couldn't quite go together yet, since several other parts needed to be done first so they had a place to hook onto. From what *could* go together though, Threshy's head was beginning to form quite nicely. Here you see the end of Row 1, of 5. 14 foam sheets down, 56 to go. Row 2 begins with a new ink toner, and the rest of the pages printed out and organized. I was trying to get through at least the first couple of rows of foam as quickly as possible, since I needed to get the measurements of the back done for my partner in crime, Keelah Monster Cosplay. She was doing the fabric tail portion, to once again go along with the Chinese parade dragon theme, and DragonCon was nearing closer and closer. Thankfully, the second row came together extremely quickly, but was a literal pain in the ass to attach to the rest. There were a few close calls, where parts wanted to go one way but needed to go another. I was literally on my own, with no one else able to help - and no frame to hold it in place yet, since the garage at this point was completely full. Eventually though I got it all together. Look at how massive this thing is! 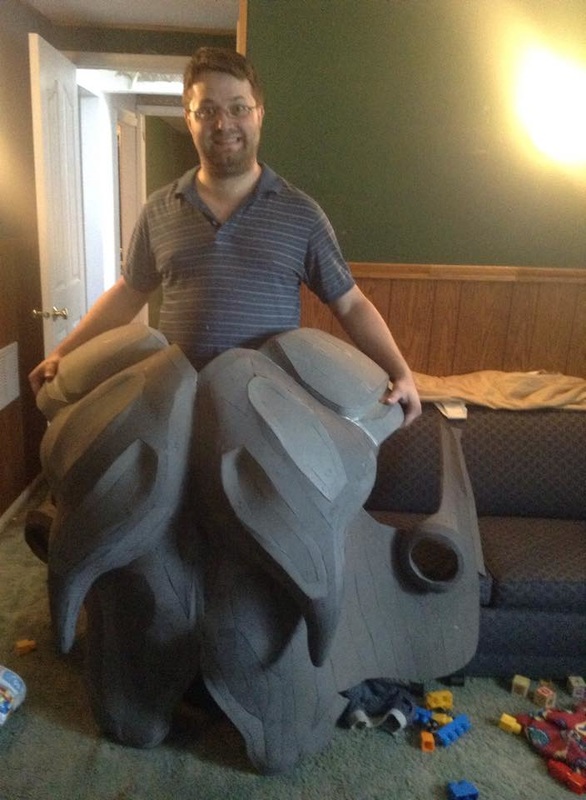 Over the next week and a half, my parents needed help moving from this house into their new house. We stayed here to rent the place from them, and even though them moving took up a lot of precious build time, it opened up more space in the garage to work in. I did have time to put some "smaller" parts together and attach them, which really started to flesh out Threshy and start adding those details that we love to hate. Threshy was so massive at this point I literally had to steal my son's crib/playpen during the day just to hold the mass of foam up so I could work. When things finally got back to normal (ish), I got the large claw holes done in record time. For being much smaller and technically more manageable than the entire back half at this point, it sure was harder getting those attached. Thankfully I got them together, then my wife came in and took some better pictures for me, with me wearing it. And thus ends Row 2. Well, sort of, and for the same reason we're moving on to the middle of Row 4: the last two sheets of 2, all of 3, and the first 3 of row 4 are all the claws and I wanted to do them last. At this point I still held out hope of having enough time to add some articulation to the claws, so I was saving those until the body was done up enough for a proper frame. Speaking of frames, I made a frame/cart I could both store Threshy on but also cart him around if I needed to. Never been to Atlanta, wasn't sure what to expect really. Well, I started to anyway. Needed to know how high up Threshy would need to sit without being smashed into the bottom half of the cart first. So, back I went to building! Once again, new discoveries with this build. Had I not attempted it, I never would have learned about those tiny stalks you see in the third picture - those are the *actual* eyes, not the glowing blue things on top of the carapace. I'd never seen them before, mostly because I was too busy dodging plasma acid spit and massive claws in the Mako and not paying as much attention to the finer details of a thresher maw. Still though, learning! The next day I made absolutely massive progress, as Bill Doran over at Punished Props was doing a 16 hour livestream build of his Destiny armor. I stayed on the whole time while they worked, which gave me enough motivation to not only finish Row 4, but 5 as well! This put me a few days, possibly a week ahead of schedule, which is perfect - I don't think it would have been done in time otherwise. Regardless, it's time for the most difficult part of all: Mass Assembly! 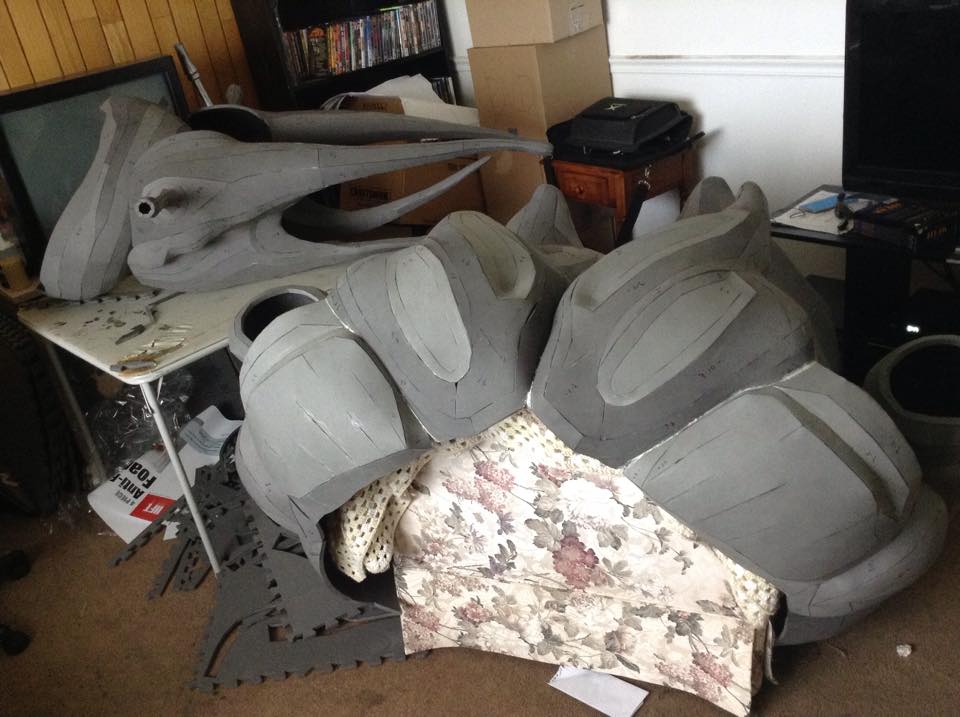 First I put together the front two bits, the face and the neck scarf thing. I thought it would be easiest, and would make assembly easier when attaching everything to the big carapace. 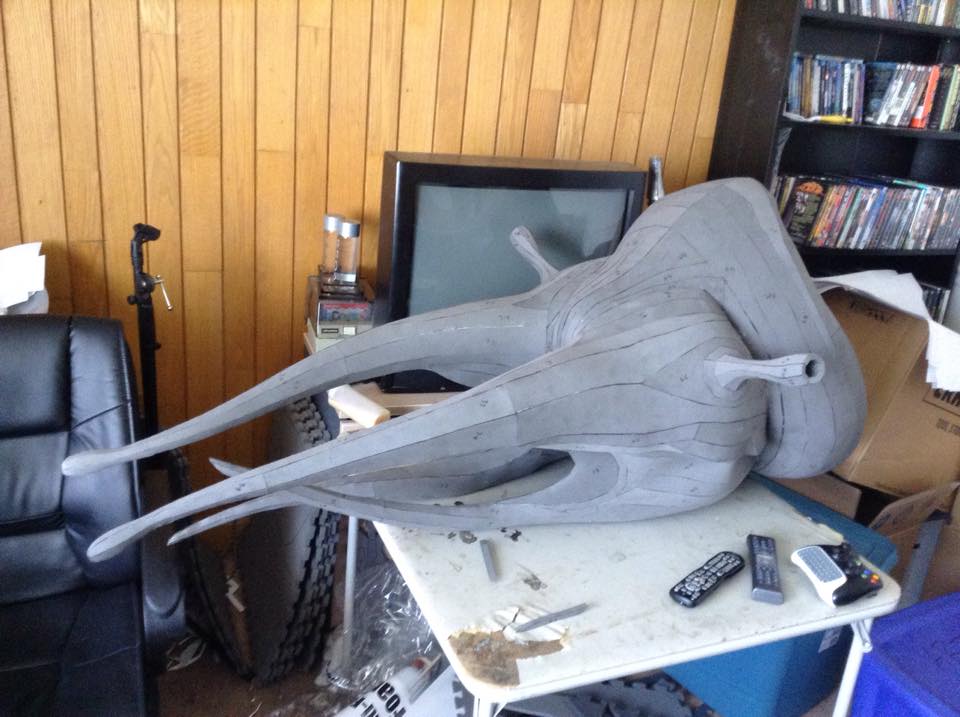 To be fair, it probably would have been just as hard either way, though admittedly this wasn't nearly as hard as the back half of the carapace or the large claw hole things. Ladies and Gentlemen, meet Threshy the Thresher Maw. Threshy, please don't eat the nice people. 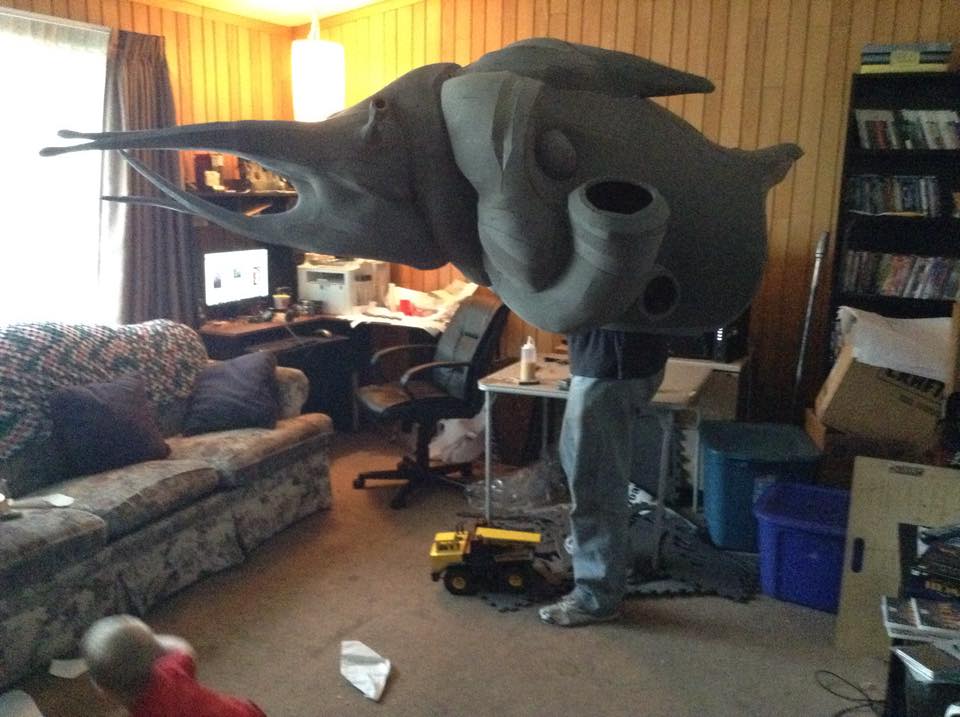 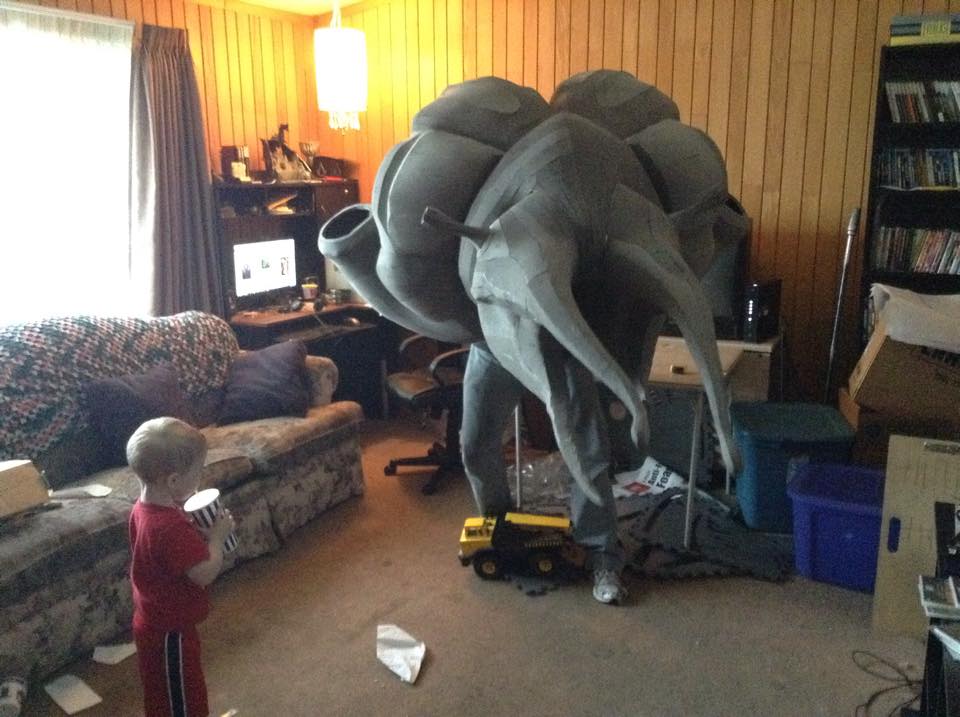 Now that he's all together, I could finally get a proper measurement of him. He's just under 8 feet long from the tip of the upper tendrils to the back point of the carapace, and just a smidge over 5 feet wide at each end of the claw holes.
Because this post is so long and intensive, this marks the end of Part 1. Part 2 is coming soon, and due to the length there may even be a Part 3. Stay tuned!
0 Comments
|
|


 RSS Feed
