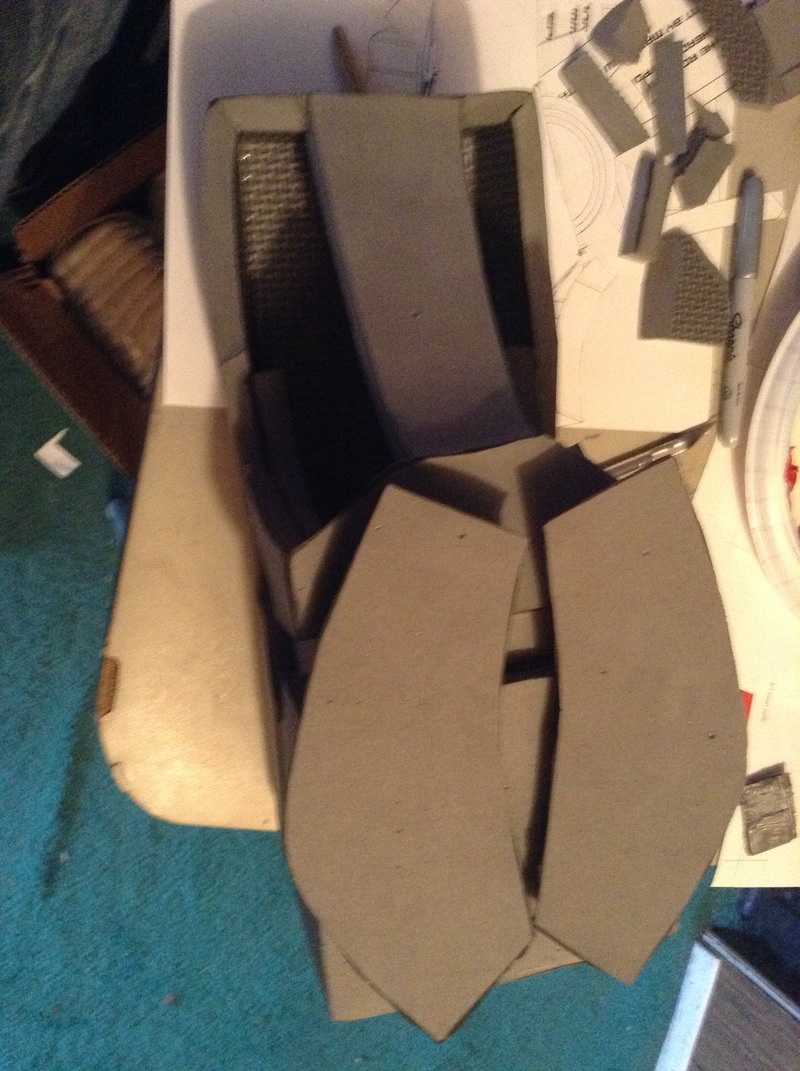
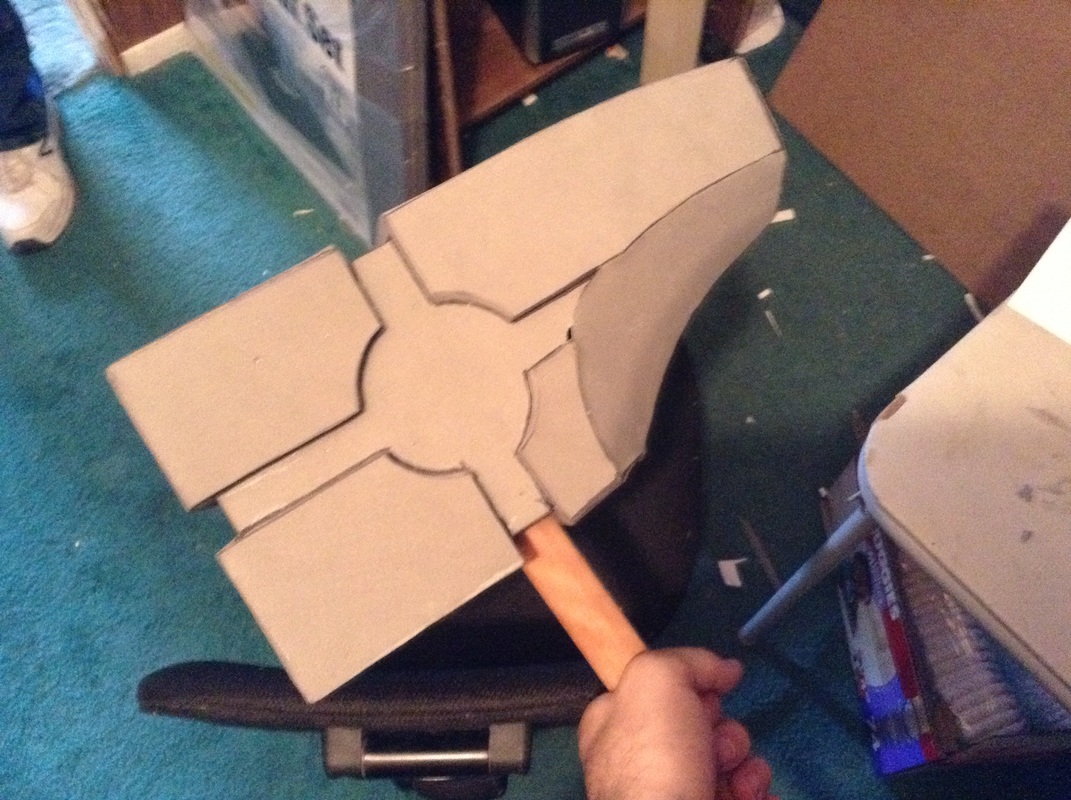
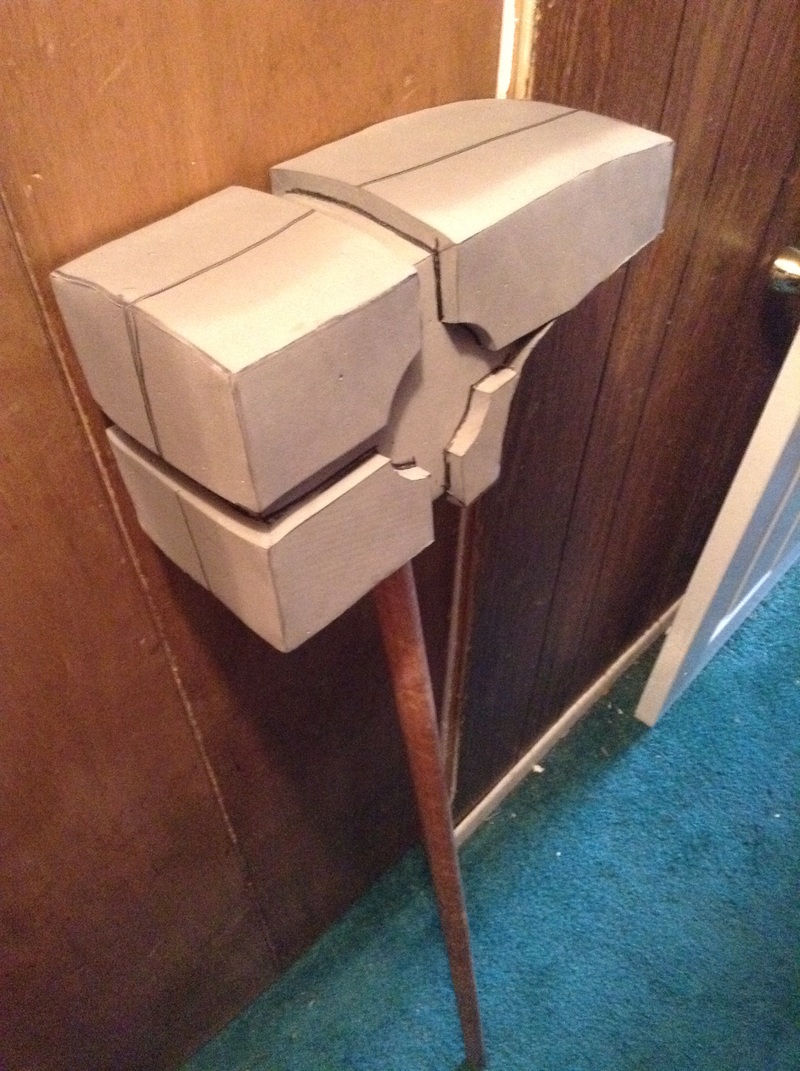
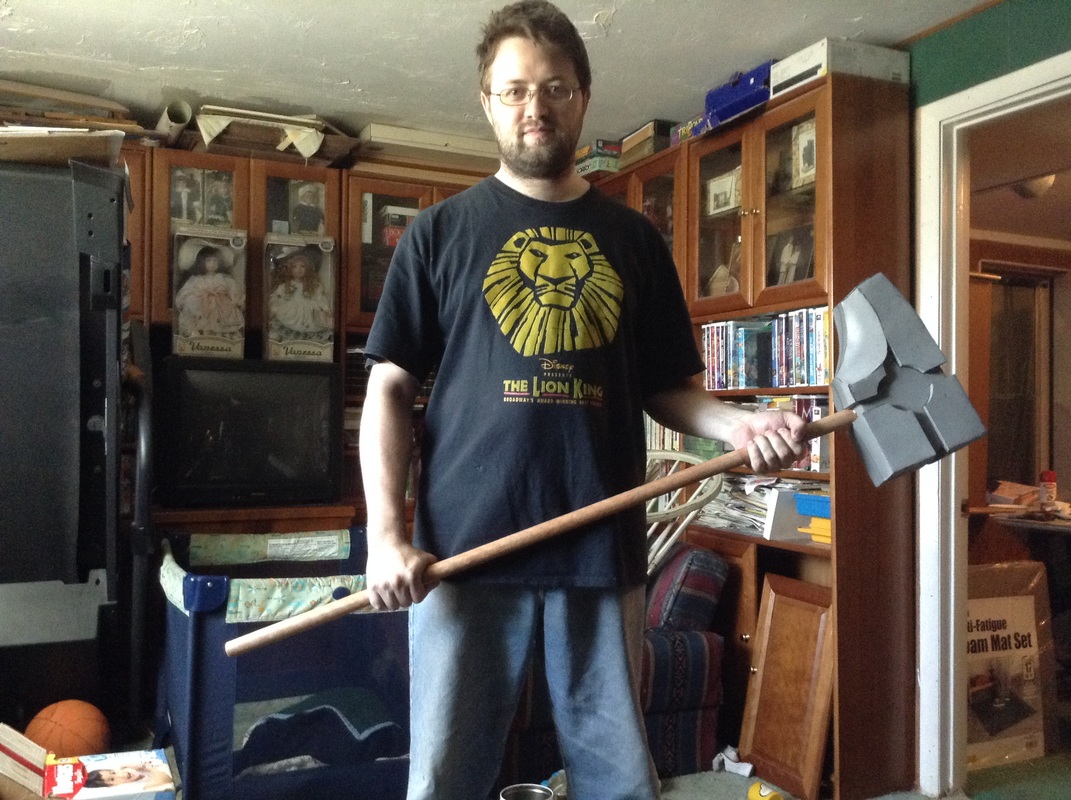
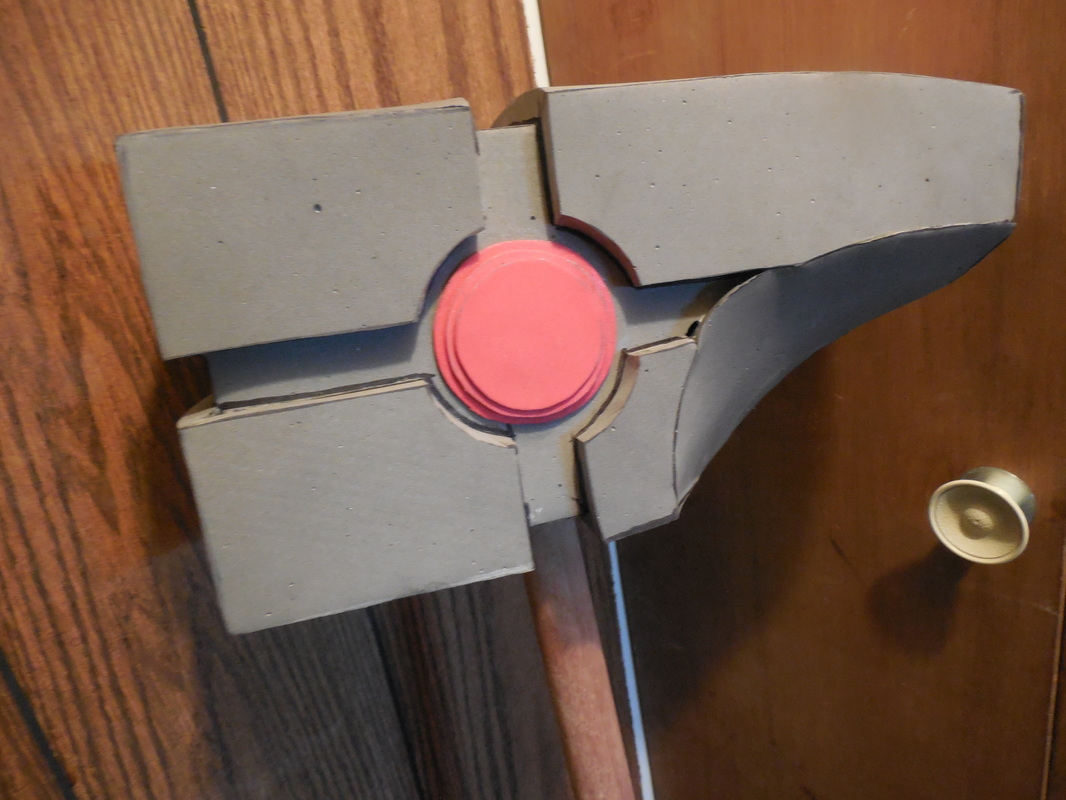
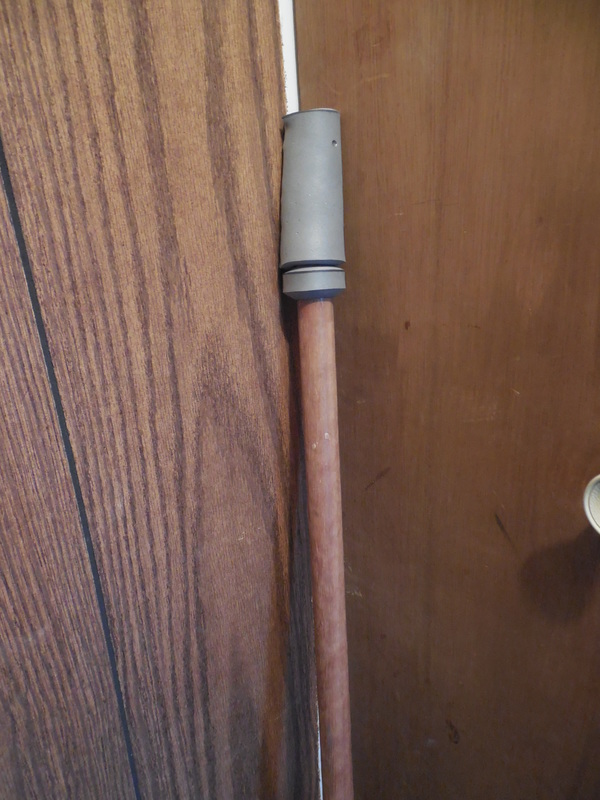
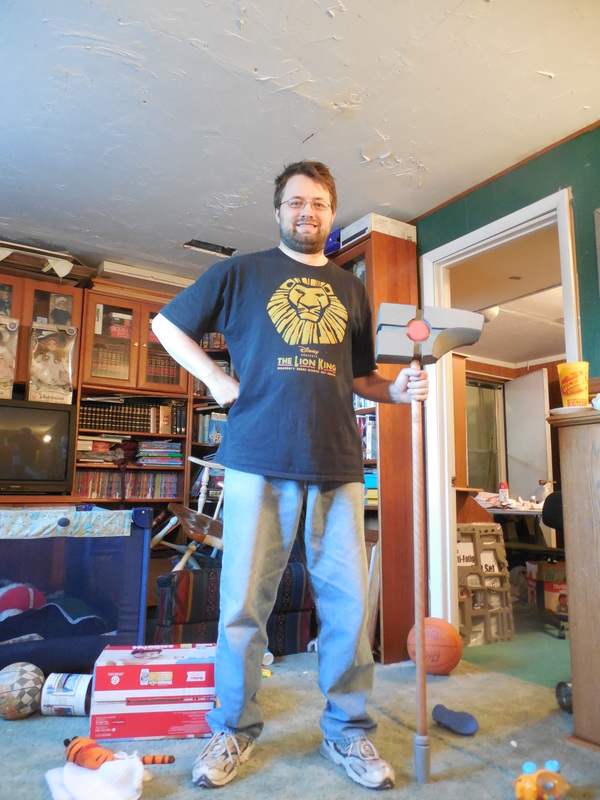
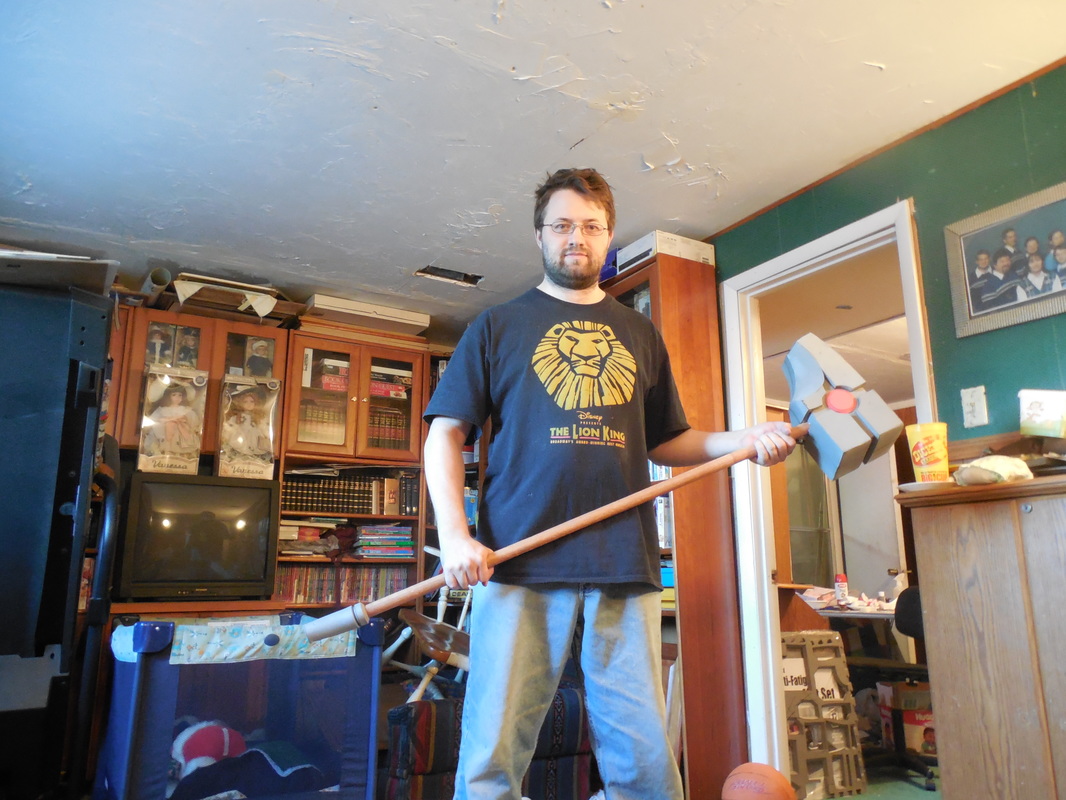
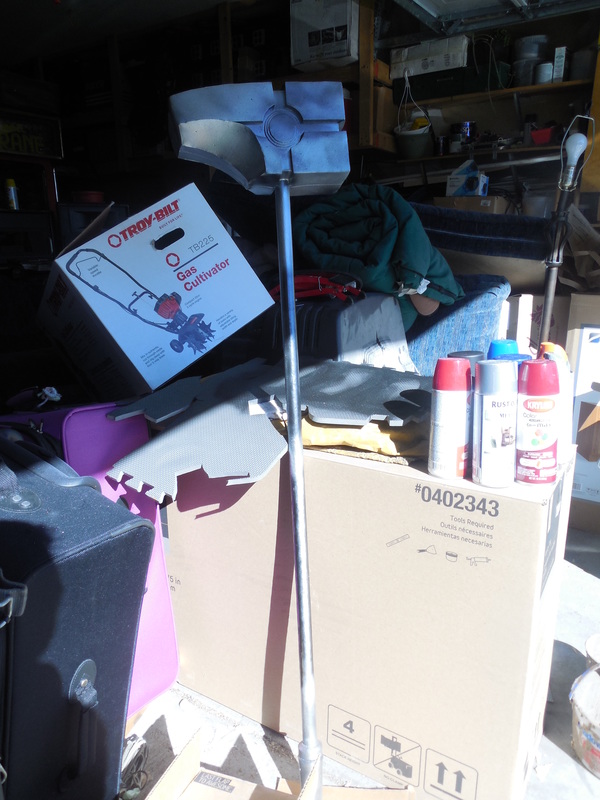
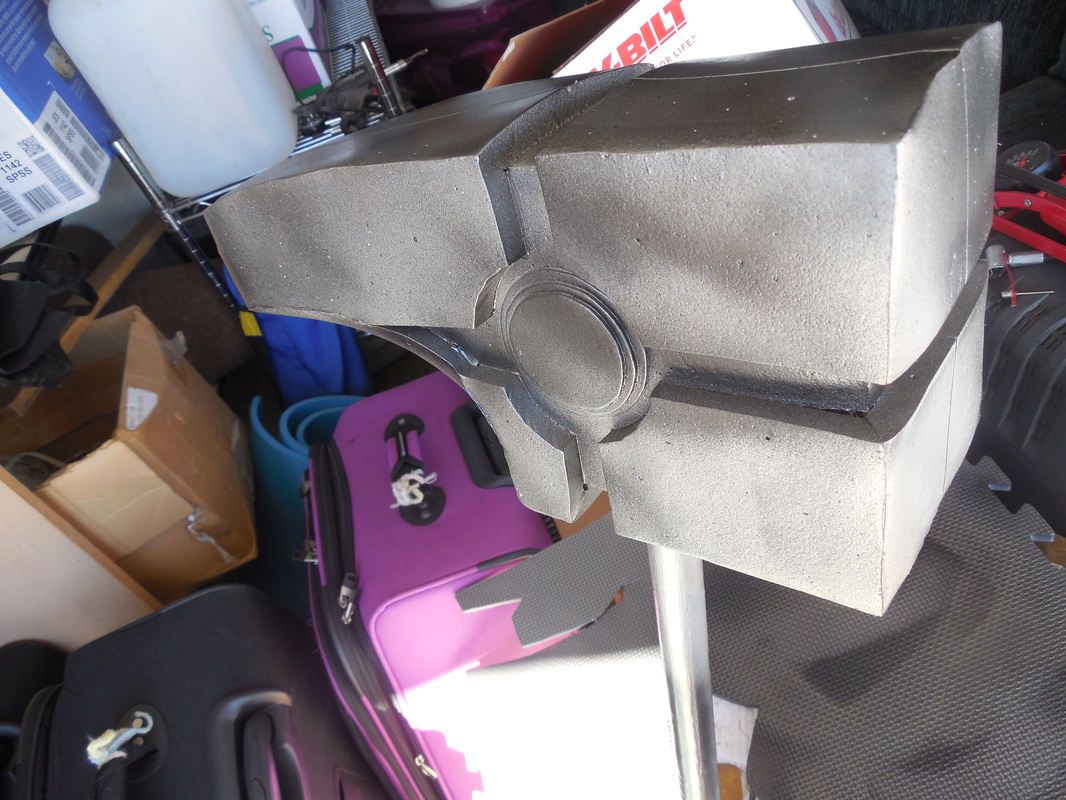
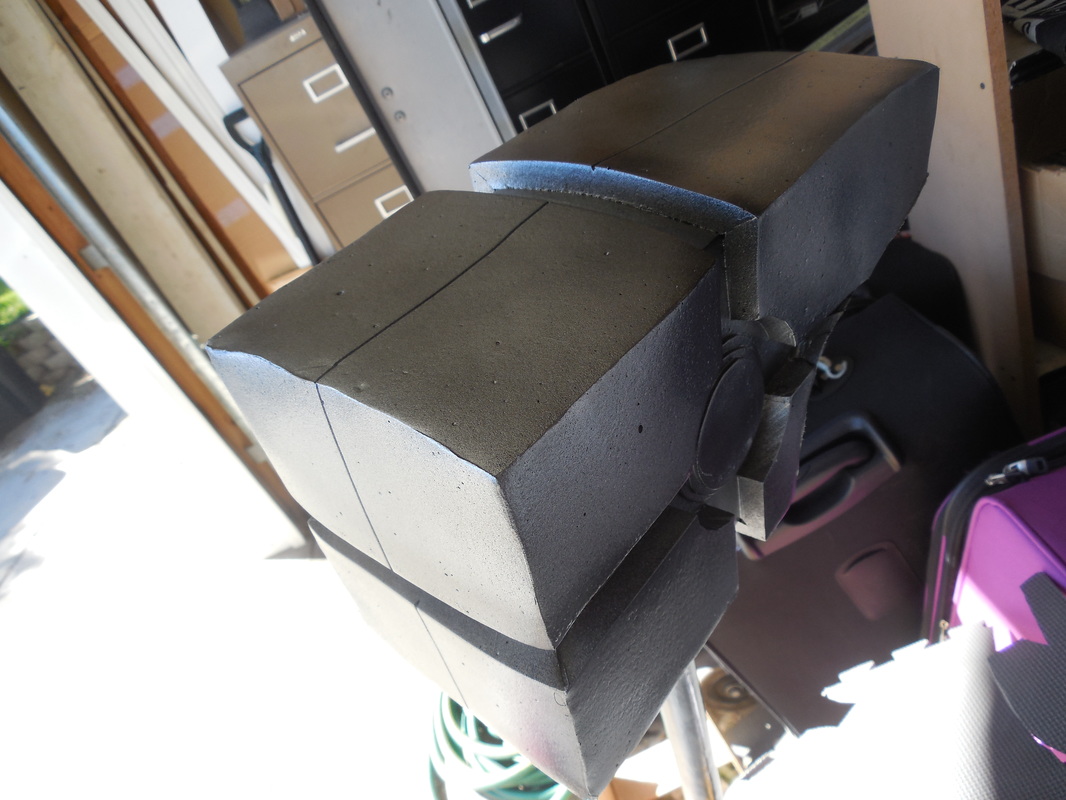
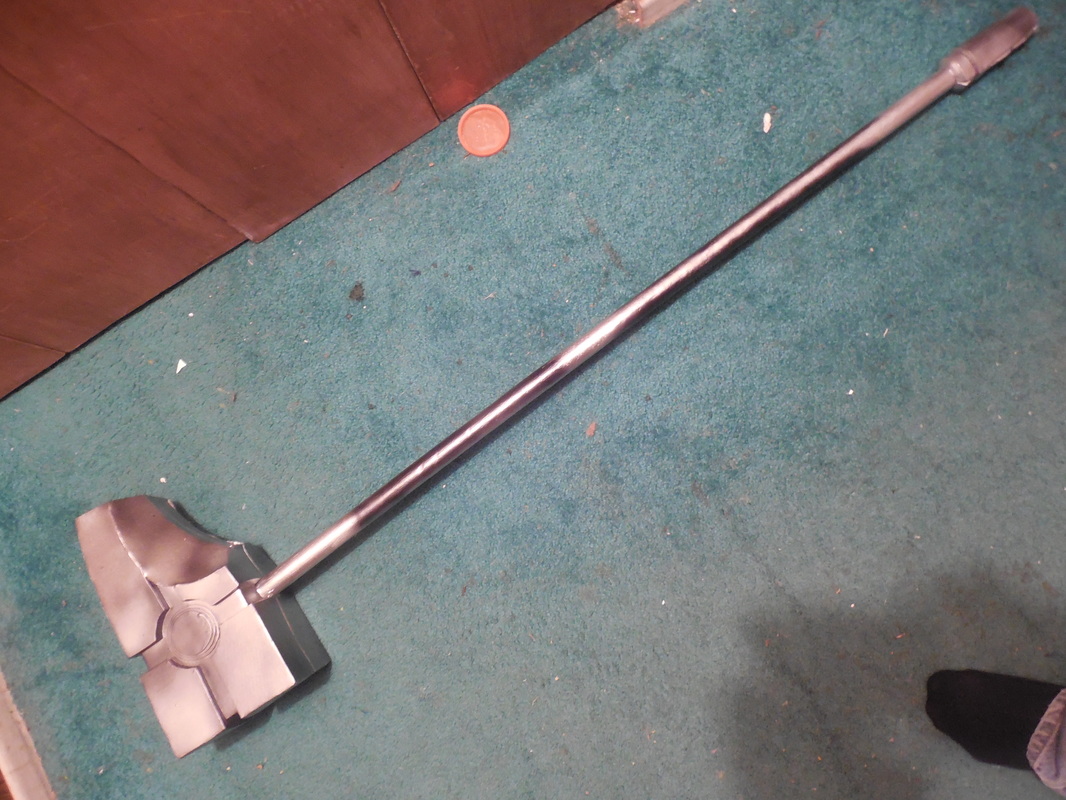
 The final of the mass cram session before Anime Banzai, to give me a wide variety of things to show. Only had a few days left, so I couldn't make this as correct as I could, but for a speed build I think it turned out great! Let's get started. I started out by making a blueprint of the hammer head, so that I could size it out to the staff I was going to use. 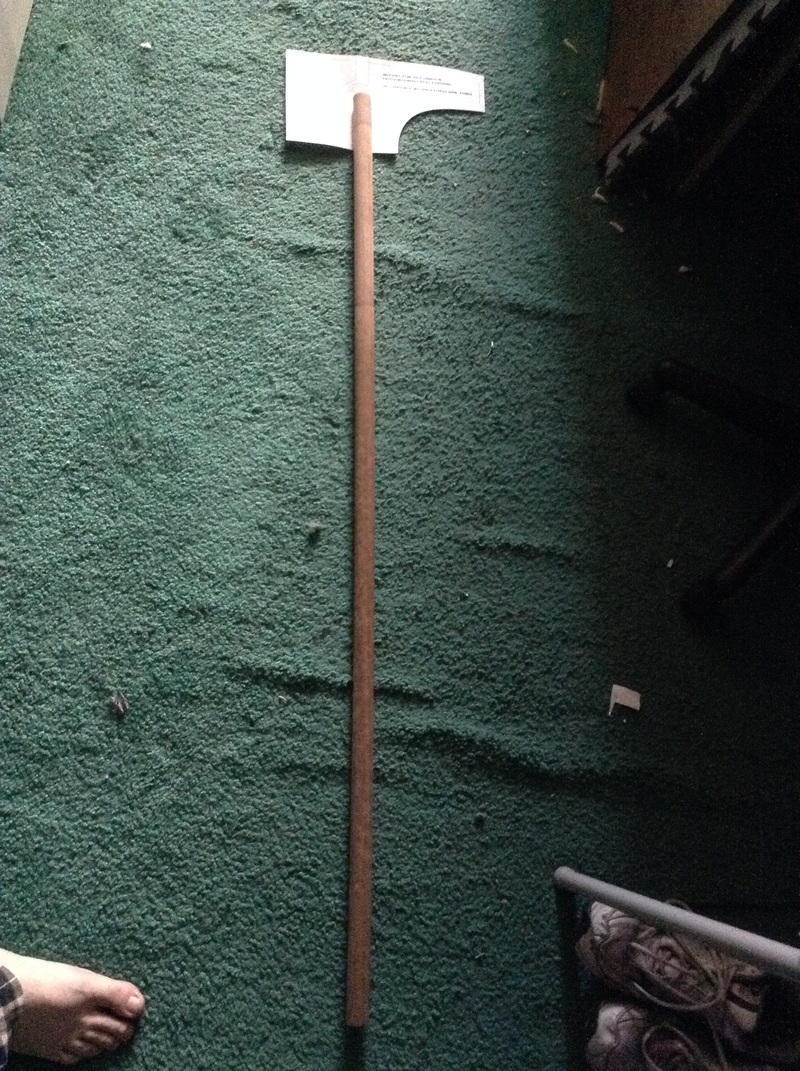 The staff is a 1.25" dowel, four feet long - a remnant of back when I was part of a medieval sword fighting group. That means it's got the scars of battle behind it, what with all the dings and dents! Perfect height for the warhammer. The hammerhead may look small in this shot, but I didn't have anything to scale it to nearby. Once the scale was set, I started cutting parts out! 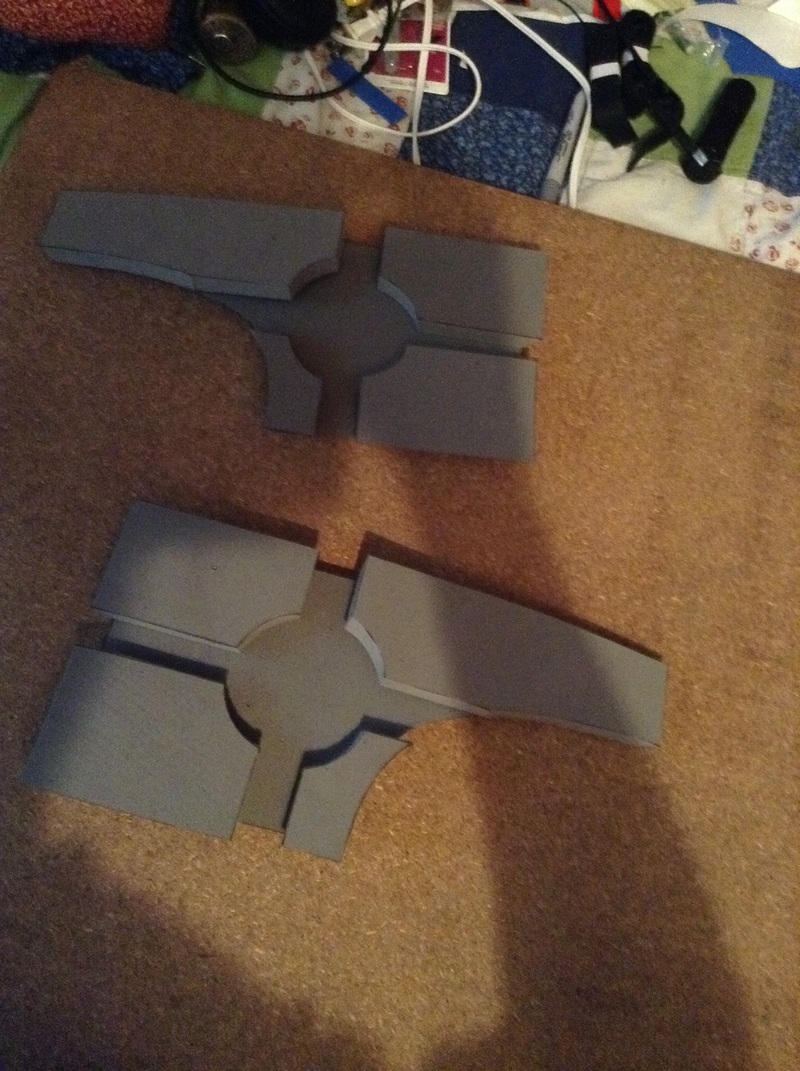 I did the hammerhead in two full layers: the inner support layer, and the outer detail layer. Both were the 1/2" floor mat foam. Once the side sections were cut out, I started making the three dimensional parts - that is, making a whole bunch of boxes! 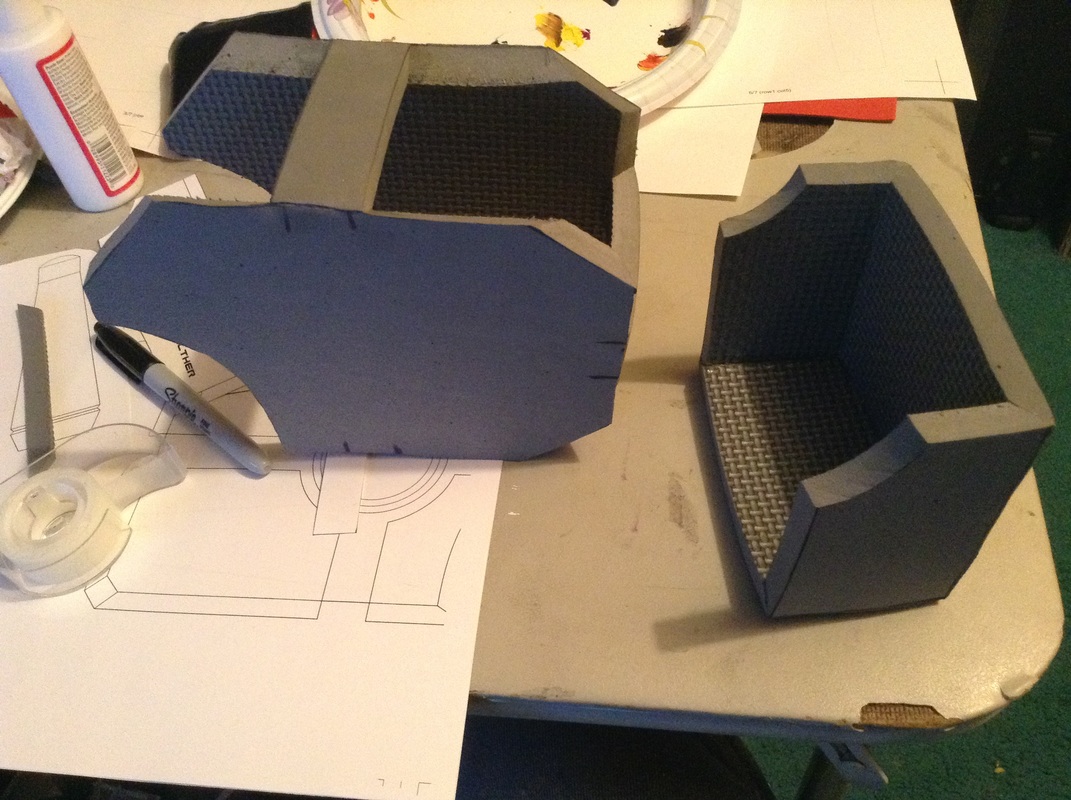 I marked off where each outer layer piece would sit, then made a strip a little wider than the marking for the inner track to support everything. Then I assembled the inner box and used that as a guide to freehand the sections to attach the outer details together. Worked like a charm! 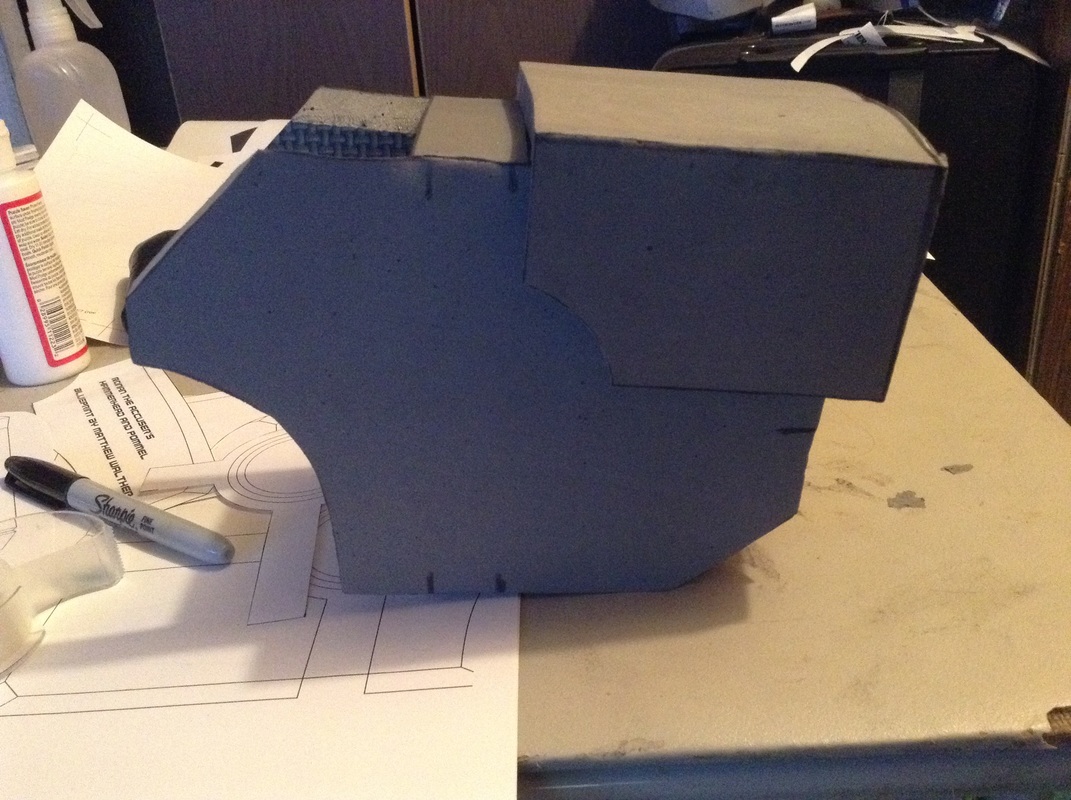 The upper back area has a curve, which meant interesting measurements to get everything to fit right. In the end it worked great though. 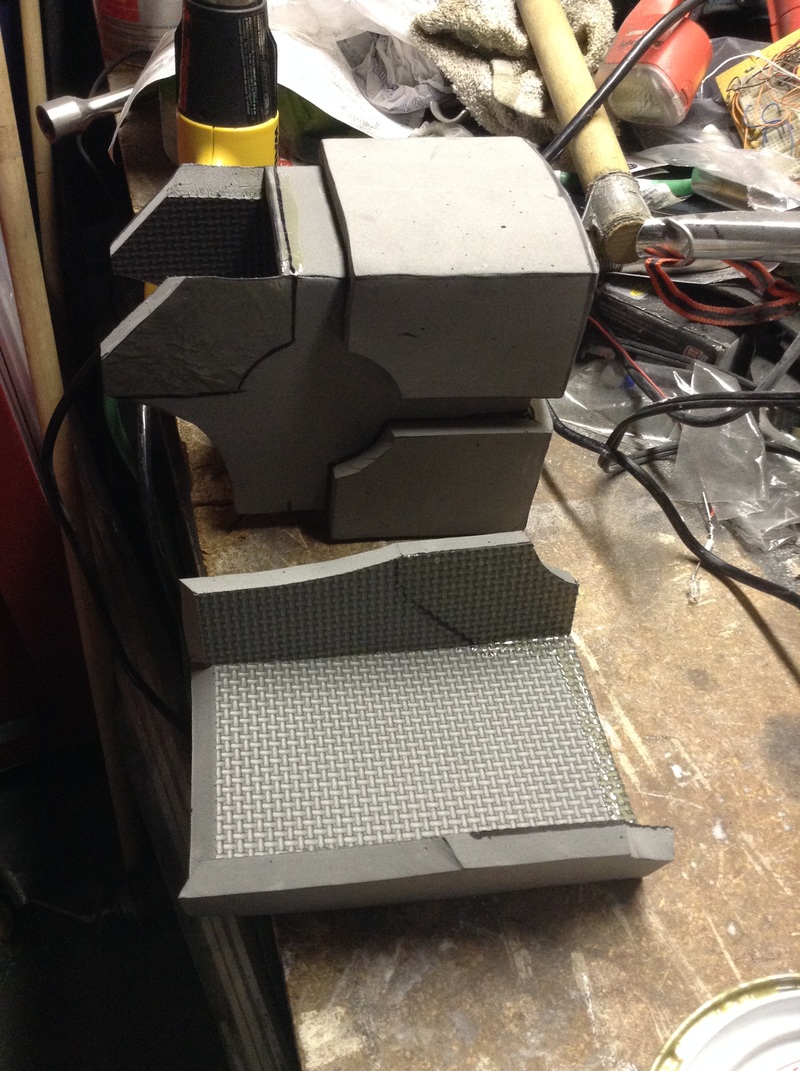 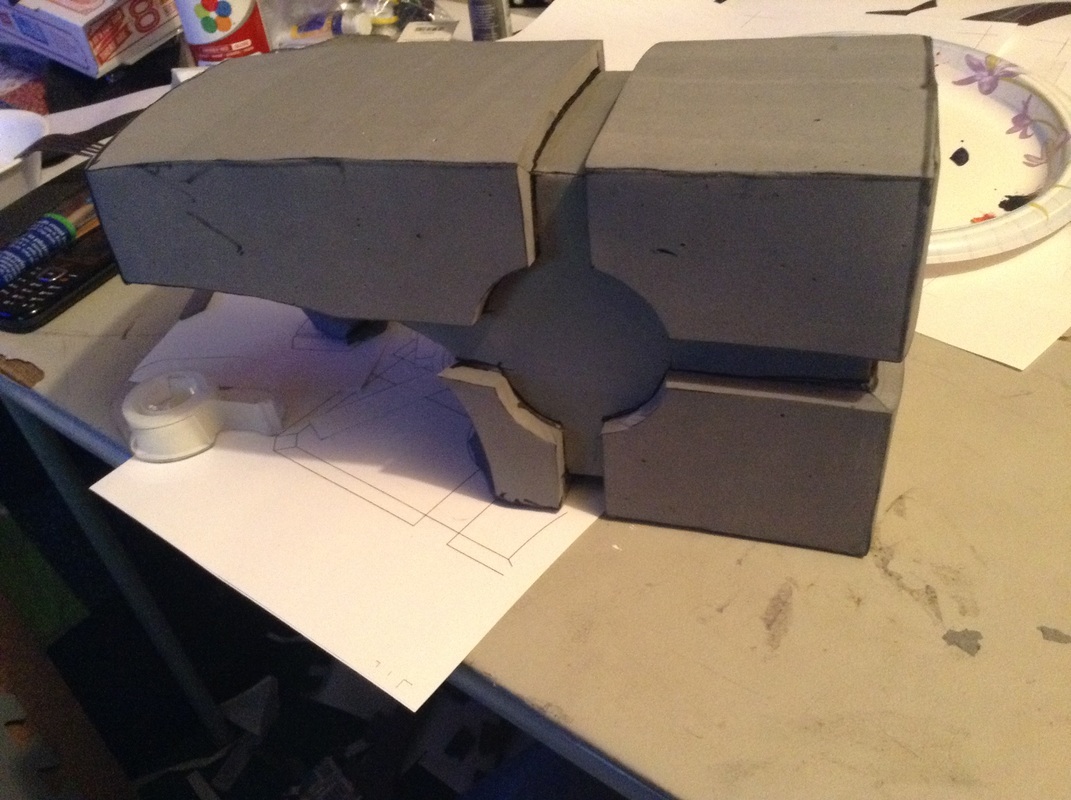 The last section was the most difficult, as it wasn't just one flat area - it was three. Two angled in and curved from the sides, and one final piece that connected it all at the back. And all that connected to an odd shaped piece in the very back for the hammer's claw. For this, I made the back and bottom piece to the shape I wanted, then attached them and used the opening to trace the shape I needed. After that it was a simple thing to cut it out and give it a slight curve with the heat gun, though gluing it was an absolute pain.... Got those on, traced and cut a hole for the staff, and hot glued that right in! After that, all it needed was the discs in the center and the pommel. This was easily done with layered craft foam on each side, and by rolling and gluing some 1/2" foam down at the bottom. Nothing fancy, nice and simple. Size-wise, I think it turned out juuuuuust right! No time to spare, it went right into the paint. Covered the foam sections in Plasti Dip, then covered the whole thing, staff included, with what turned out to be exactly how much Krylon Ruddy Brown primer I had left. 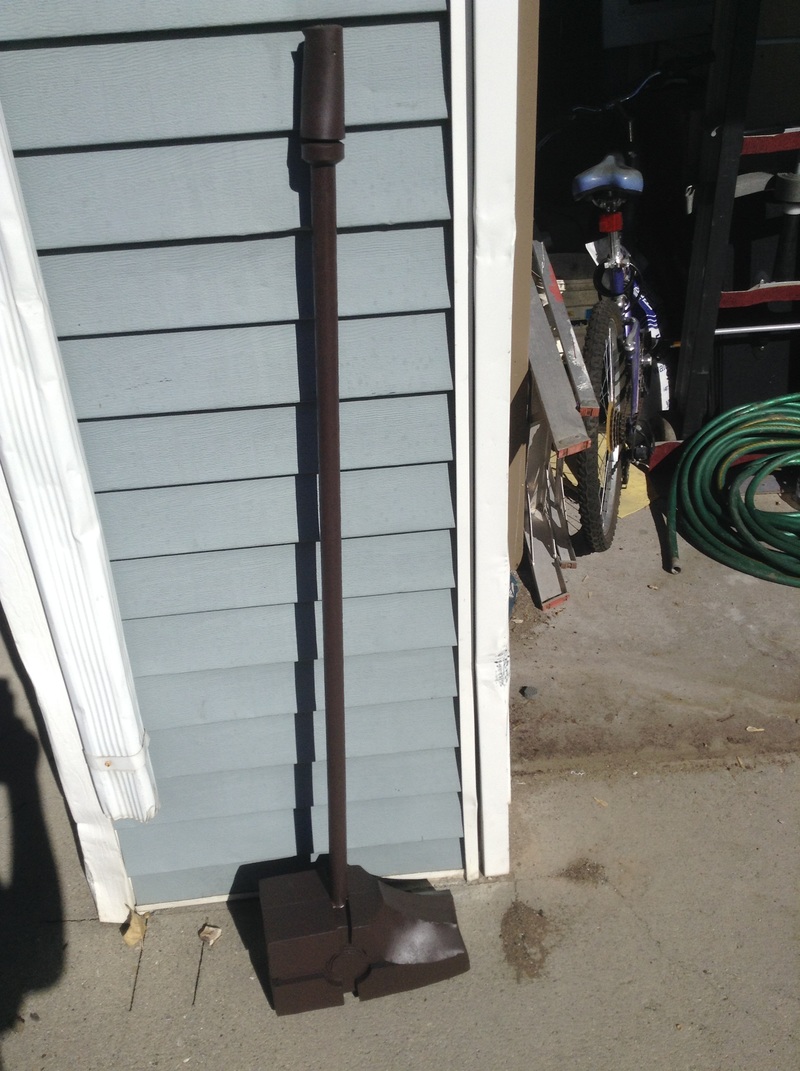 After that some metallic silver. No, the staff isn't leaning. That's it resting on the curved part of the hammer, the only way it would sit still long enough for a picture! 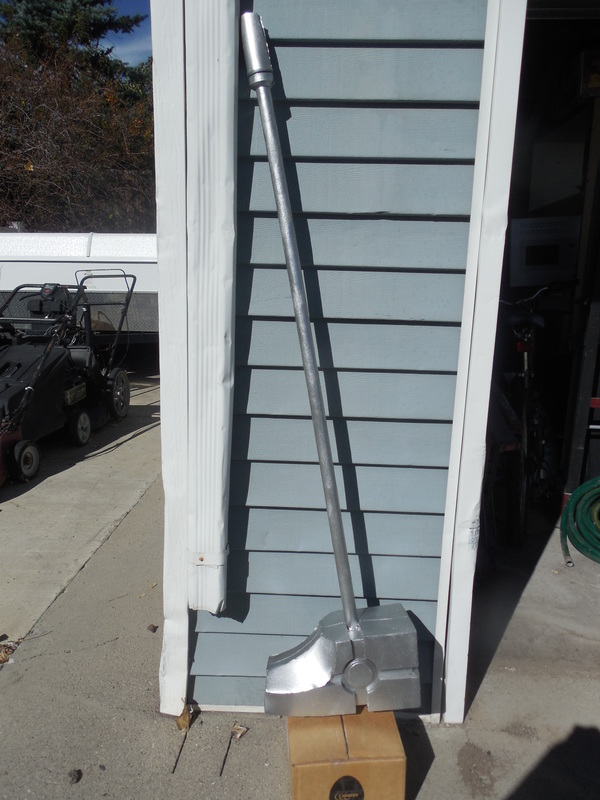 And then, out of time and needing to let it dry, I did a quick spray over some areas with more of that automotive gunmetal I had, including where the indents of the staff would normally be. I would have preferred to actually cut those out, but I just had zero time left. And that was done just in time! It was another big hit at Anime Banzai, though once again no one bought it despite the low price point I put it at. Oh well, no big deal! Just means I can toss it on the wall once I have space to! Thanks for reading! Enjoy some final pics of it and the rest of the pile I took to Anime Banzai! 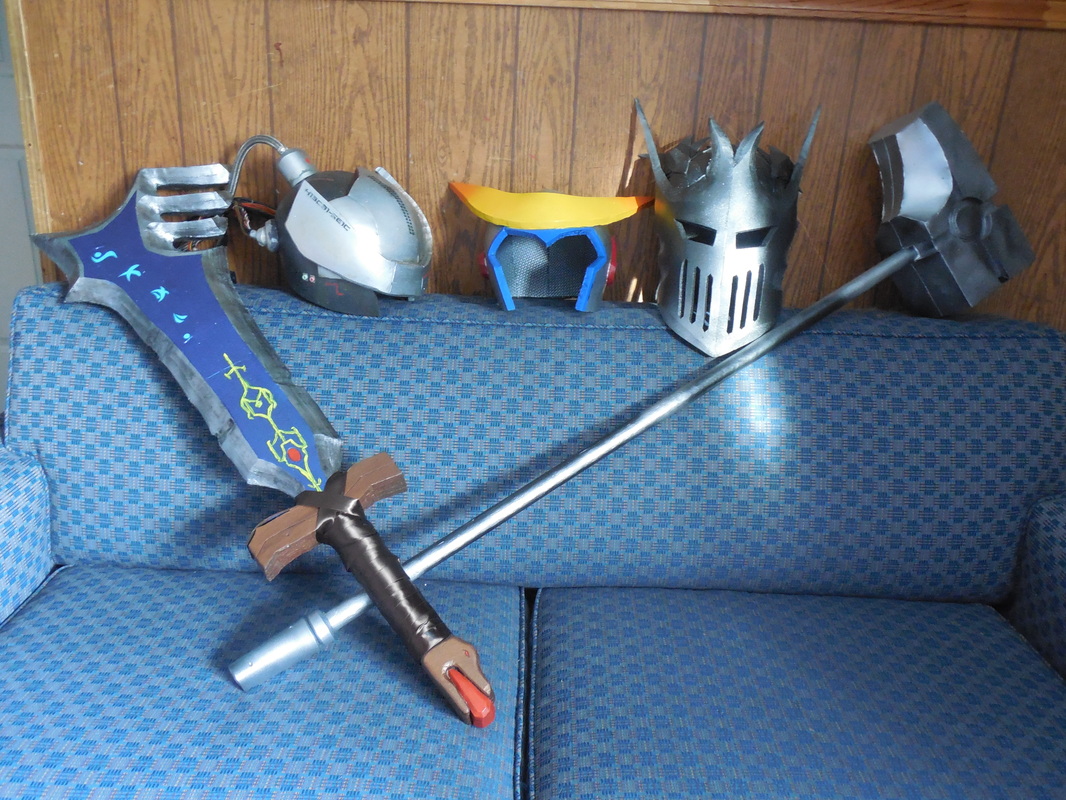
0 Comments
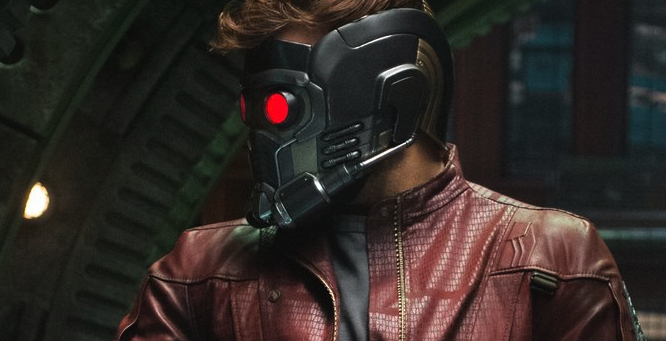
Okay, okay, so I couldn't just stop at the pistol. Everybody who was anybody was building this helmet for the upcoming Guardians of the Galaxy release, and when I found a great foam pep unfold on the RPF, I decided to join in. Why? 'Cause I can. ;) So, naturally, I printed all the parts after sizing it to me, cut out all the paper templates, then cut out all the foam. 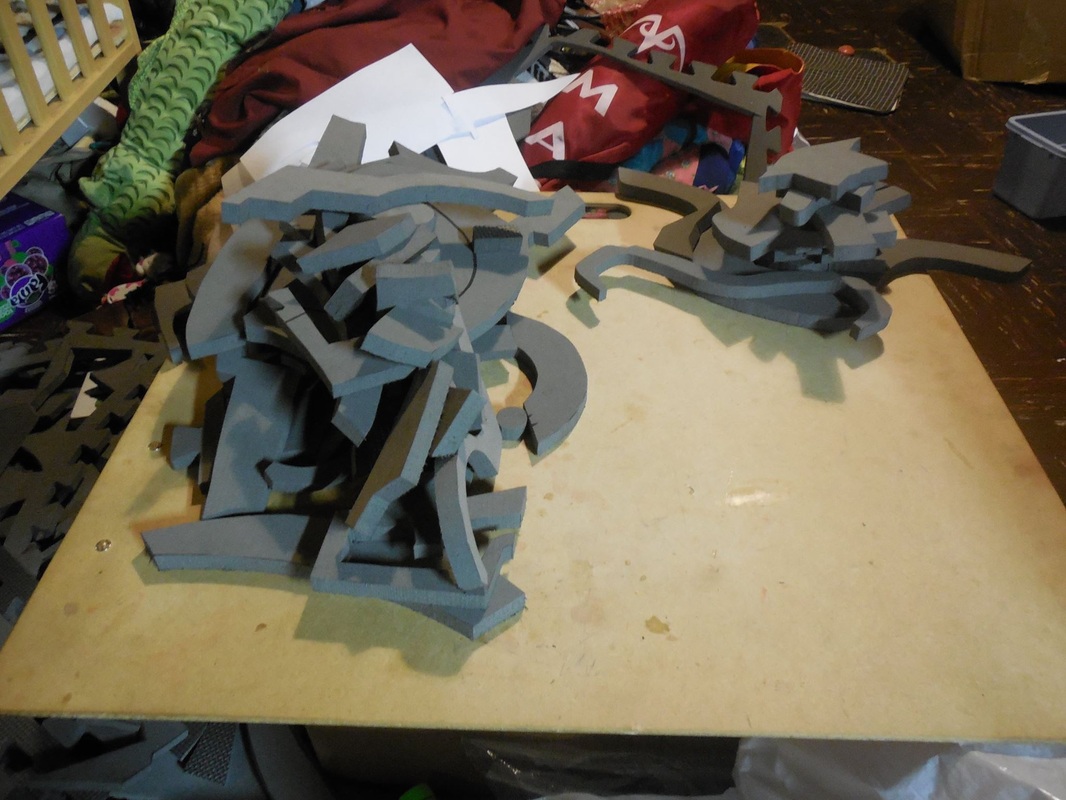
Just for a bit of perspective, on the left are all the pieces for an N7 breather helmet, and on the right are all the pieces for this one. Muuuuuch simpler overall, though obviously with its own difficulties. Organized all the cut out pieces, then started the assembly! 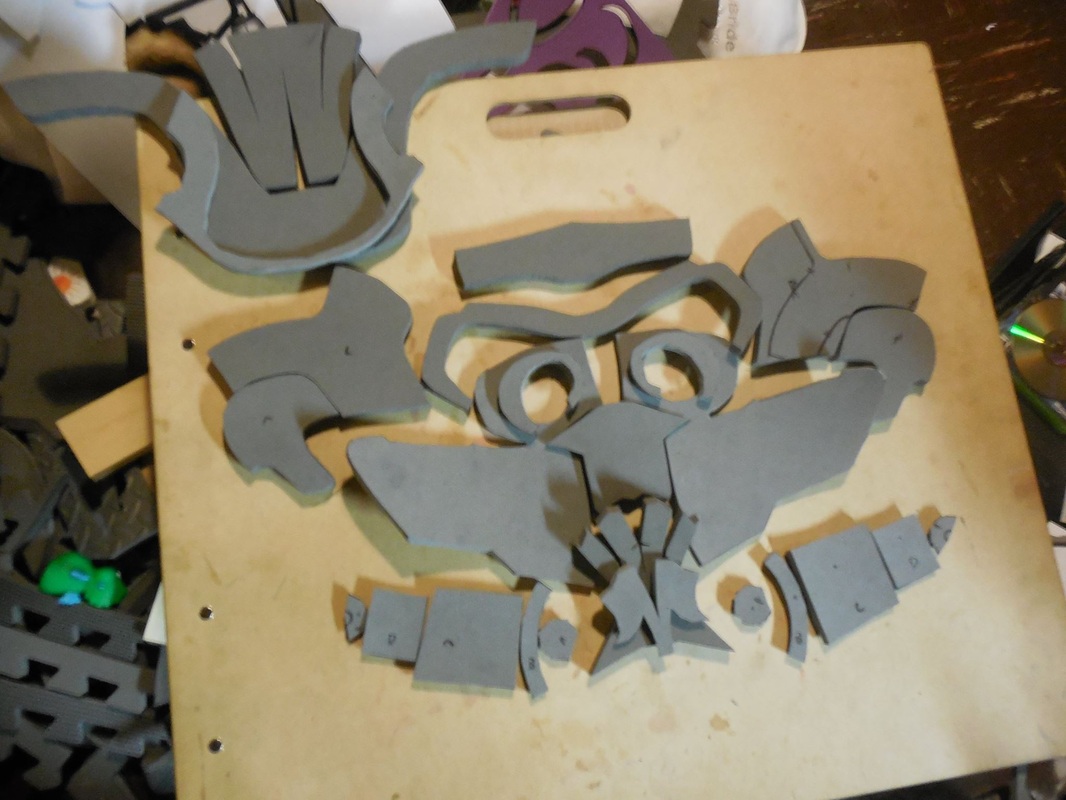
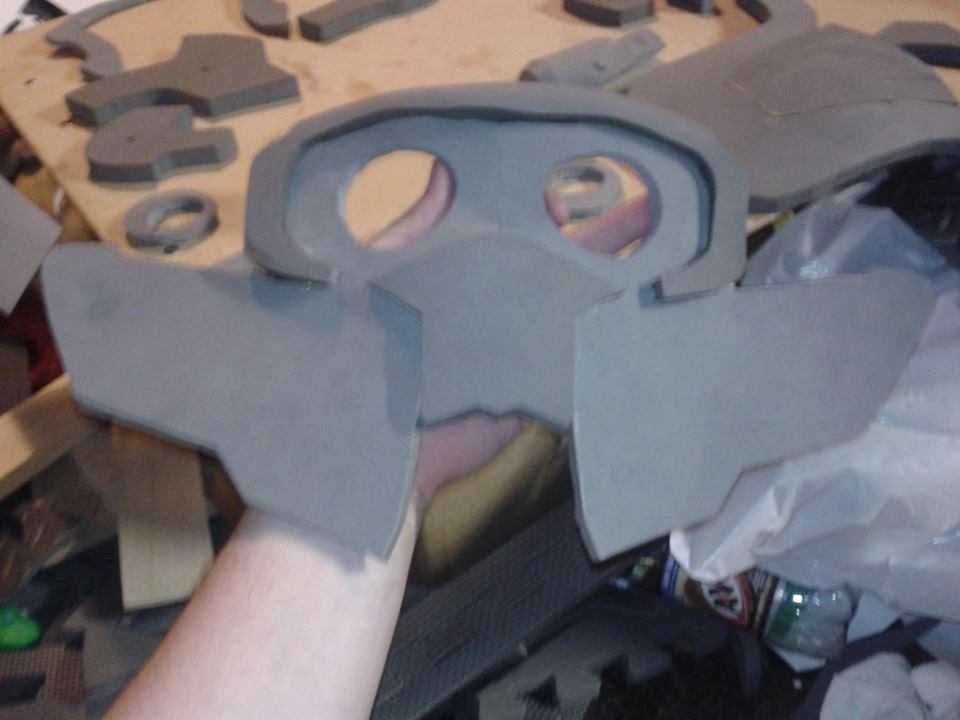
Totally laughed at this part, because it looked to me like an aviator platypus or penguin or something. XD 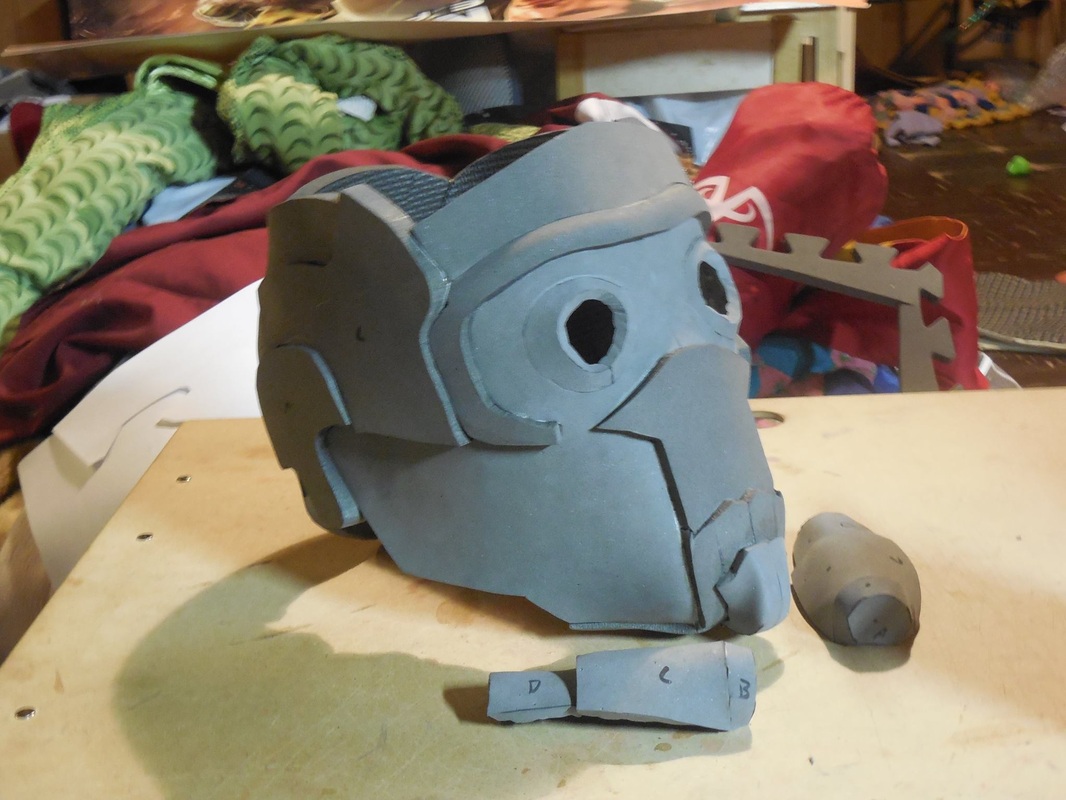
Got it all pretty much assembled, then put it aside for a bit while I finished off a couple other projects. This was for me, so other stuff came first! Once I was able to get back to it though, I etched in the lines with the xacto/heat gun combo. 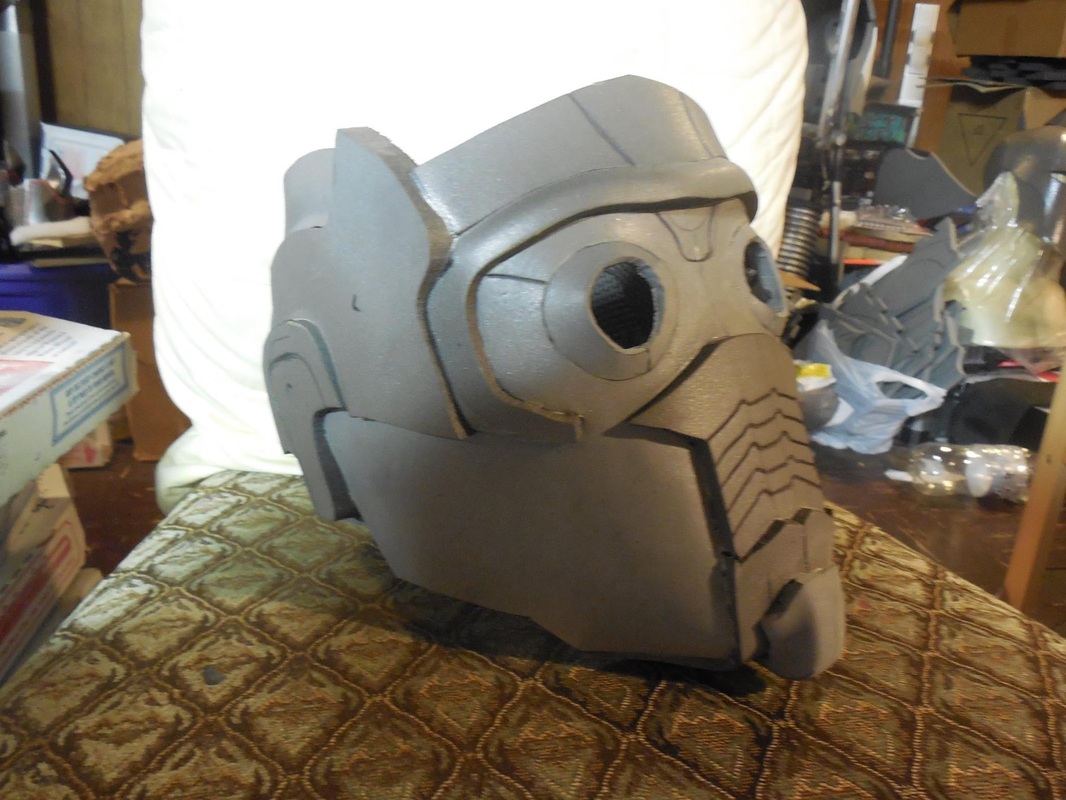
Starting to look more like it! Attached the breathing tube things on the sides, as well as simple craft foam bits on the cheeks. Nothing fancy or crazy about the build, just getting what I can done with little time to spare. 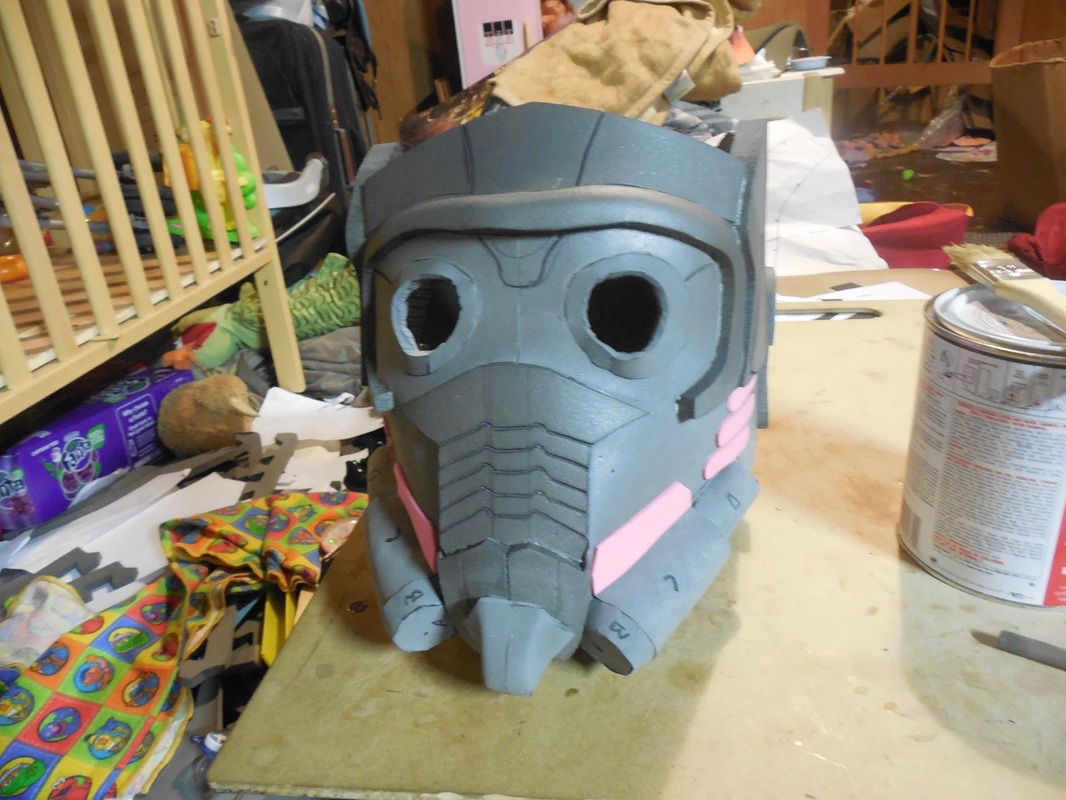
Tried to find some bendy straws, a trick I saw someone on the RPF do for the tubing, but I didn't have any. Instead I grabbed some old ethernet cable I had lying around and glued all that on. 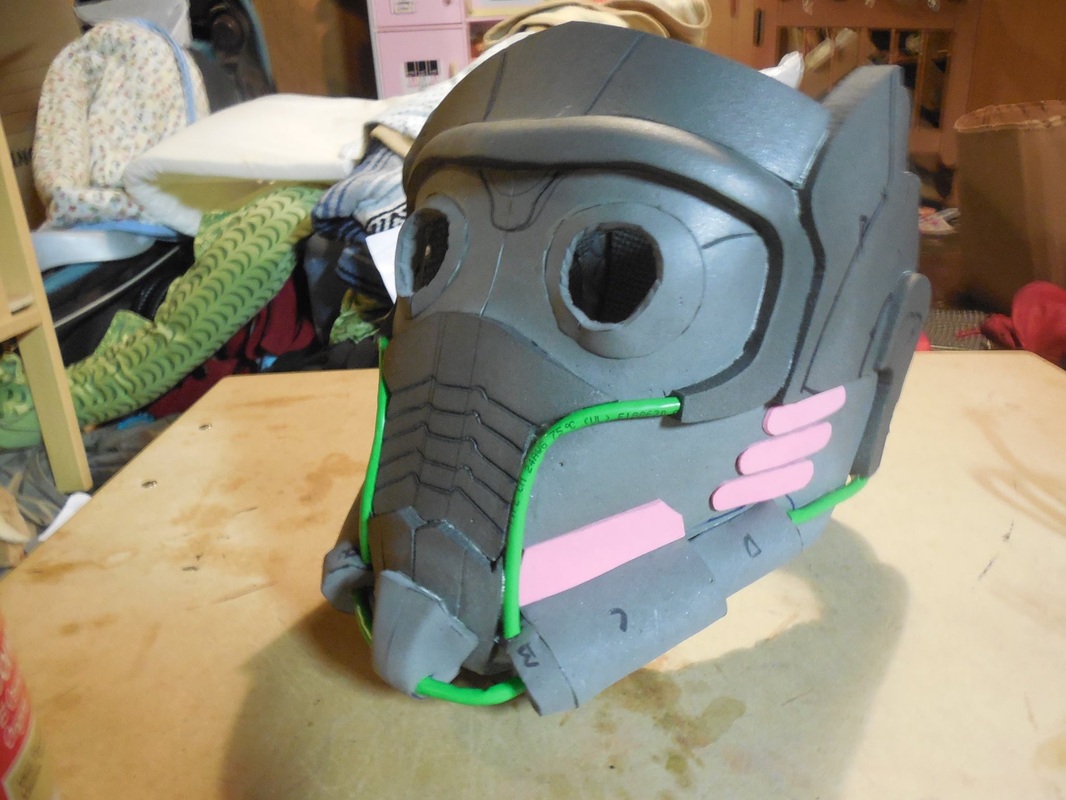
Sent that out for paint so quick (and rushing to get it done the day of the release) that I forgot to take pictures. Sorry! I did take a quick shot of the acrylic discs for the eyes, done with the same red acrylic I used on the Terminus helmet. 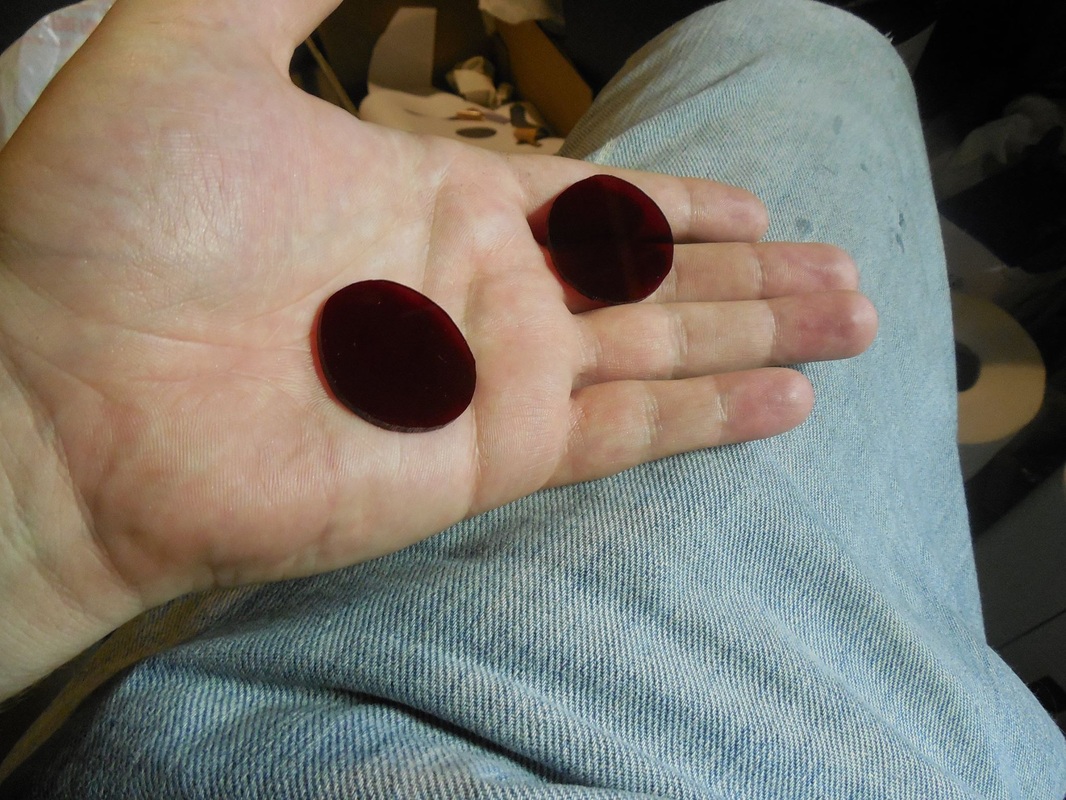
For the paint I used Plasti Dip (naturally), metallic gold, and a satin aluminum I had lying around. No weathering, no clear coat, and no gunmetal, since I didn't have any and we were out the door soon as the tape was off and the acrylic eyes installed. 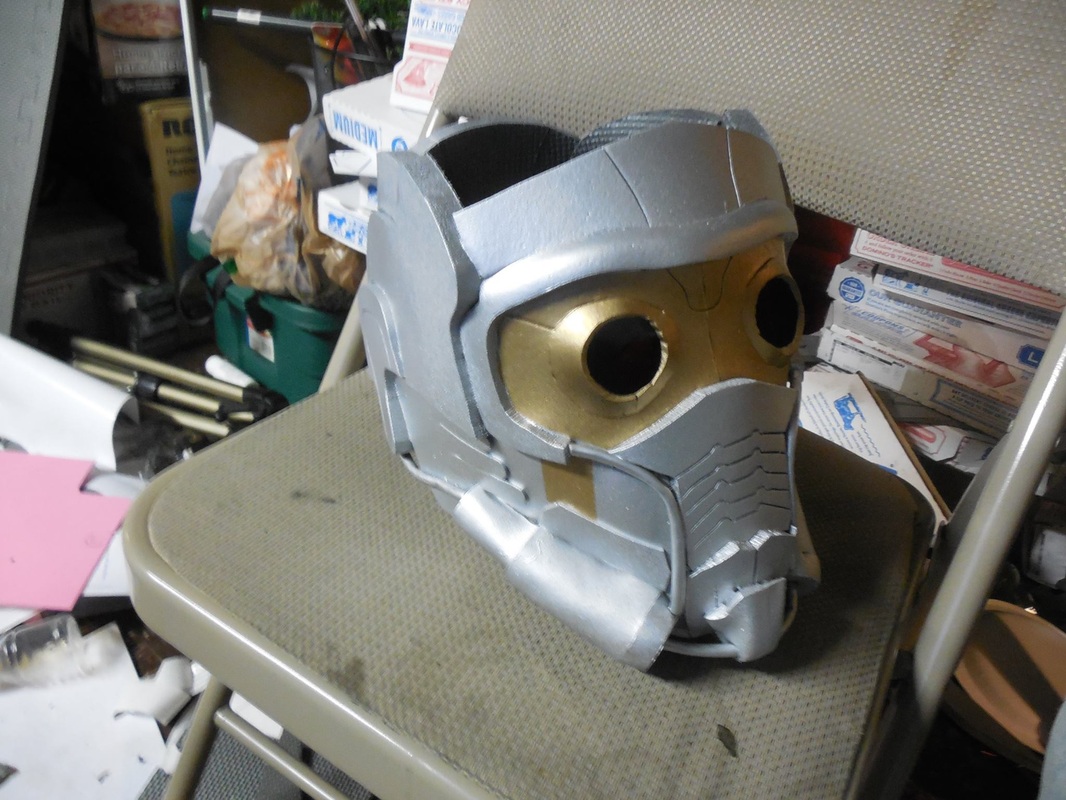
There's still a bunch of work I'd like to do on it, and some shots of me wearing it I'd like to get, but it currently sits in the state you see here, in a giant pod with all my tools and belongings, in Pennsylvania. While I sit here in Utah.
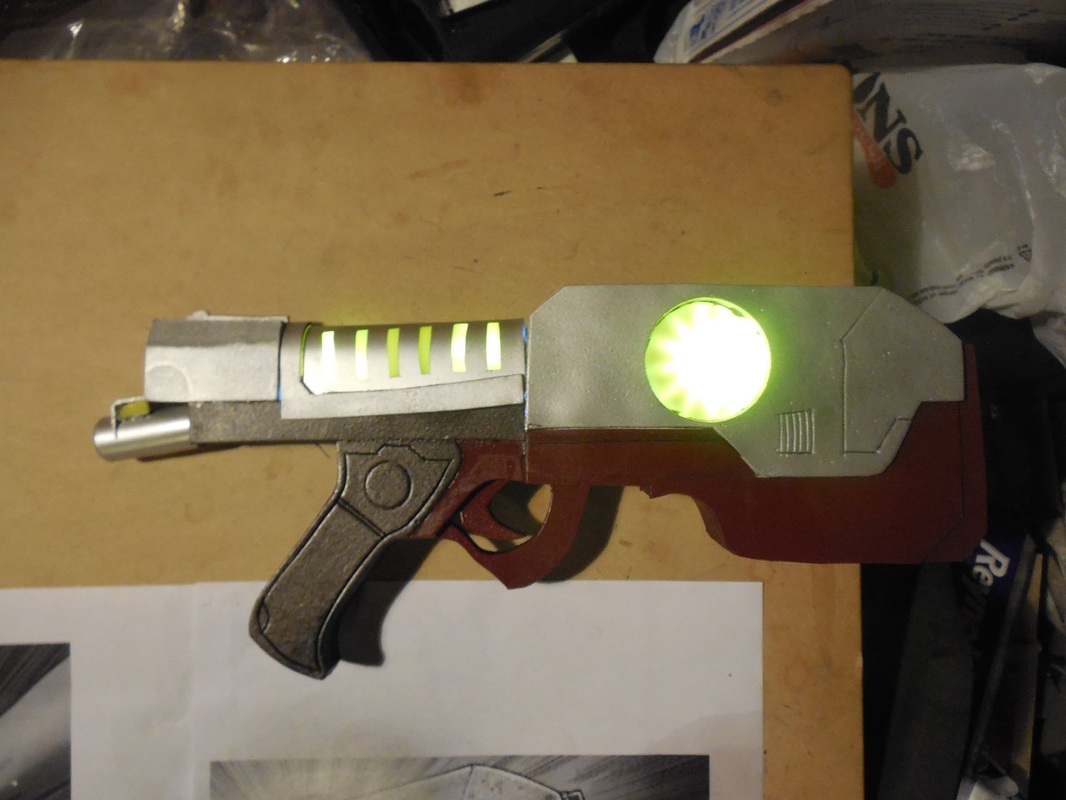
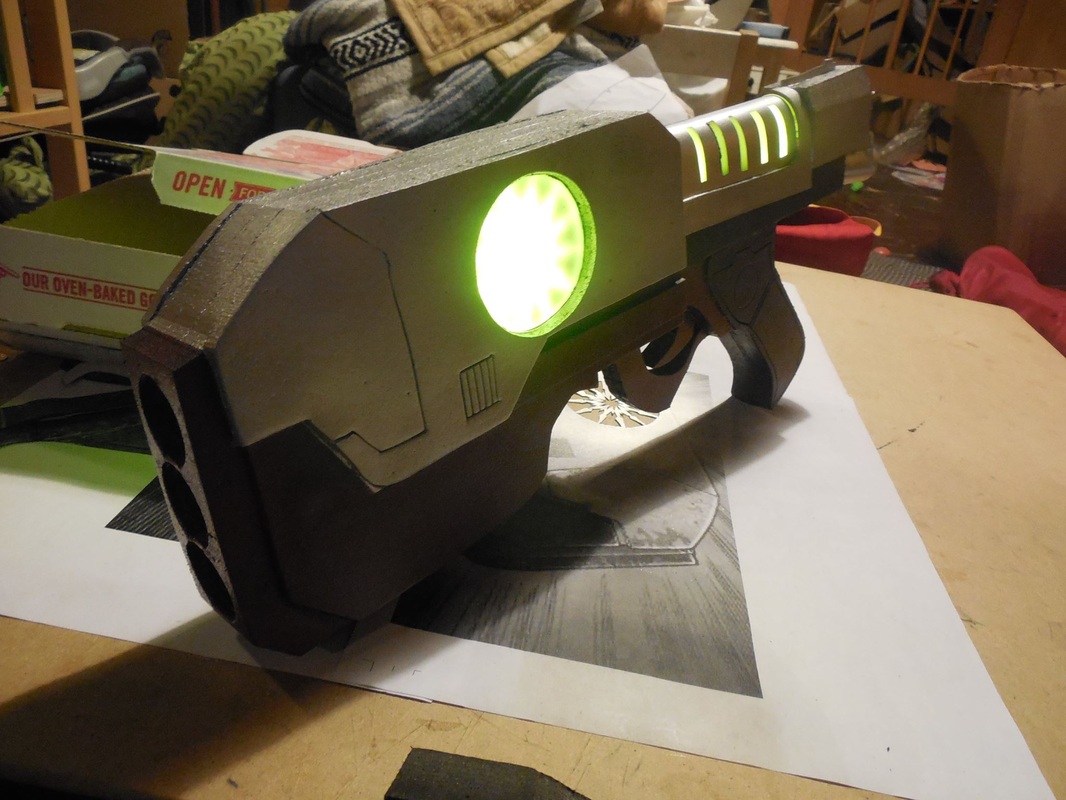
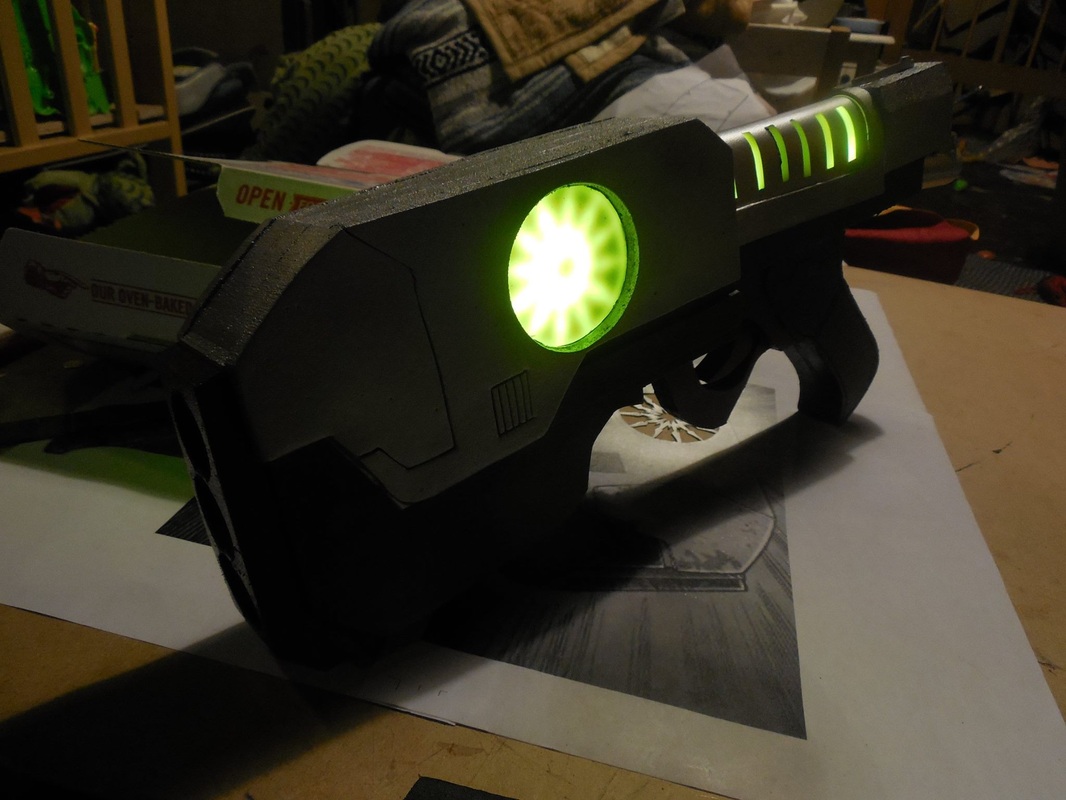
Once I get it back though, it's a nice casual cosplay that I can wear, carry, see out of, all that. I'll be putting the final touches on it just for that. It also needs some beveling and edge work, so expect a possible repaint when that happens. Either way, I think it turned out pretty great! 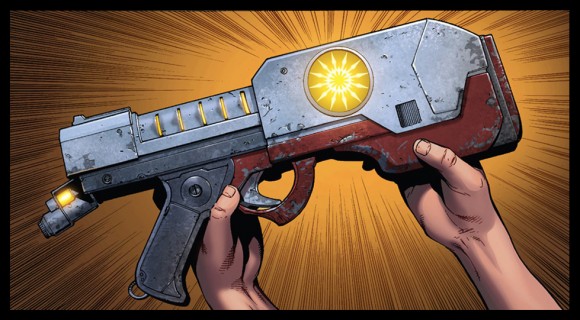 Was commissioned to make the comic book version of Star Lord's pistol, by a previous client of mine. Not only did it look really cool, but with the upcoming release (which has now passed) I thought it'd be fun to do and a bit of a challenge. First up, printing out the proper sized thing, and cutting pieces out of the foam. 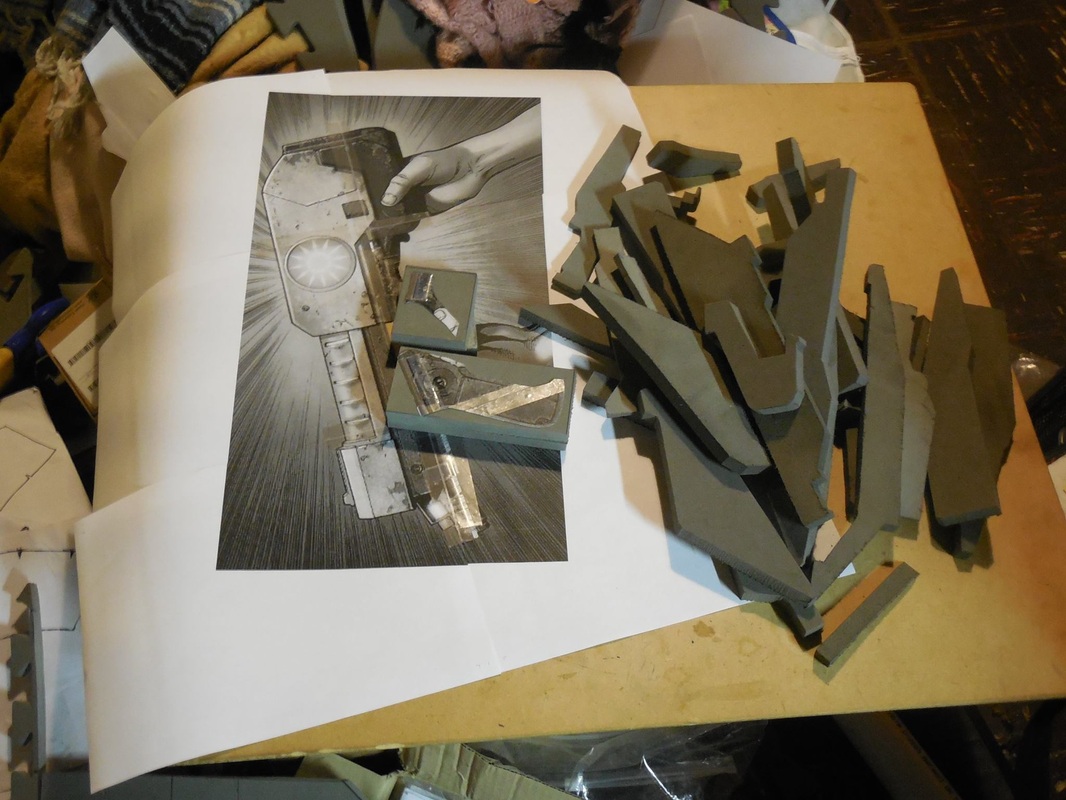 If you read the previous write-up on the Turian Phaeston (which you should if you haven't) you know that these two builds happened basically at the same time, so you'll see both in a lot of the pics. Don't worry though - I'll try to keep things on track. ;) Once all the layers were glued and each puzzle piece cut out, I got to work on the acrylic pieces. I was still debating a few different ways to do the glowy parts, as well as hide the battery, but after a wonderful chat with Beer Money Props, we came up with a couple simple, and useful, solutions. 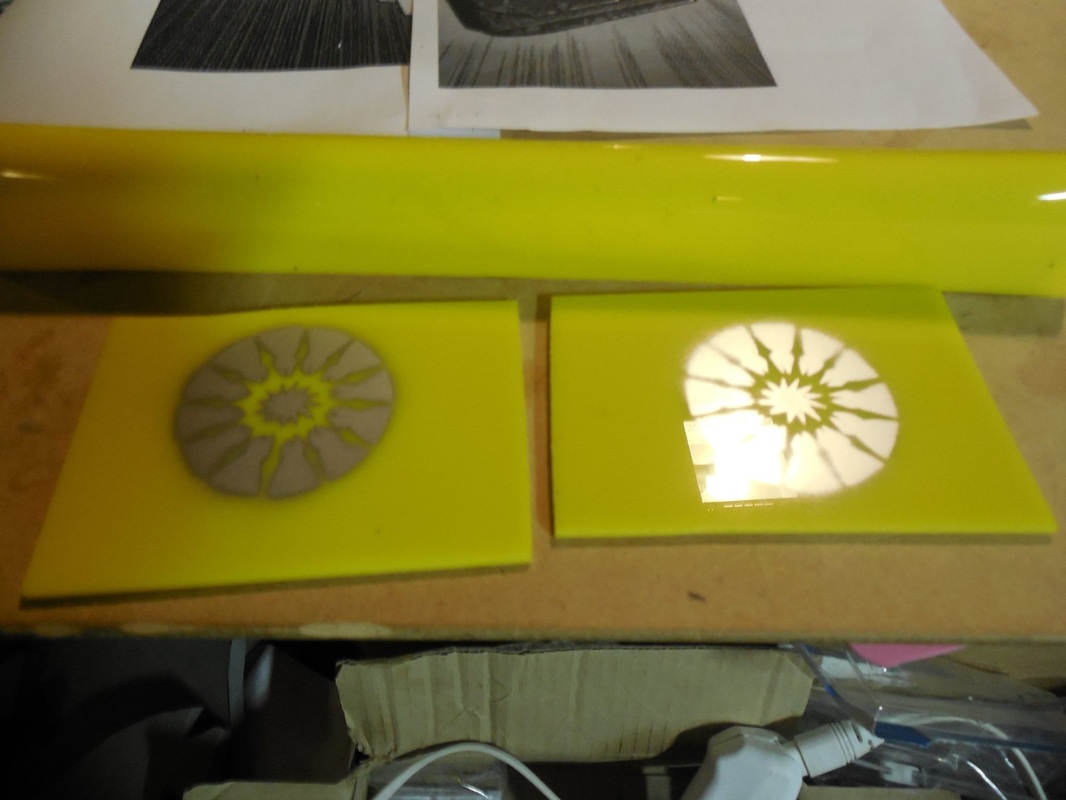 First, I cut a quick and dirty mask with painter's tape and sprayed some paint on what would be the inside of the acrylic. This would help make the cool pattern in the discs when the light shines through, without blocking out the light entirely. Next, I heated up a section of the acrylic and bent it over a small pipe, curving a section and leaving two flat walls, to make the middle section. Originally I was just going to make that out of foam, and insert a panel of the acrylic on either side, but this was his suggestion which was not only easier, but worked perfectly. 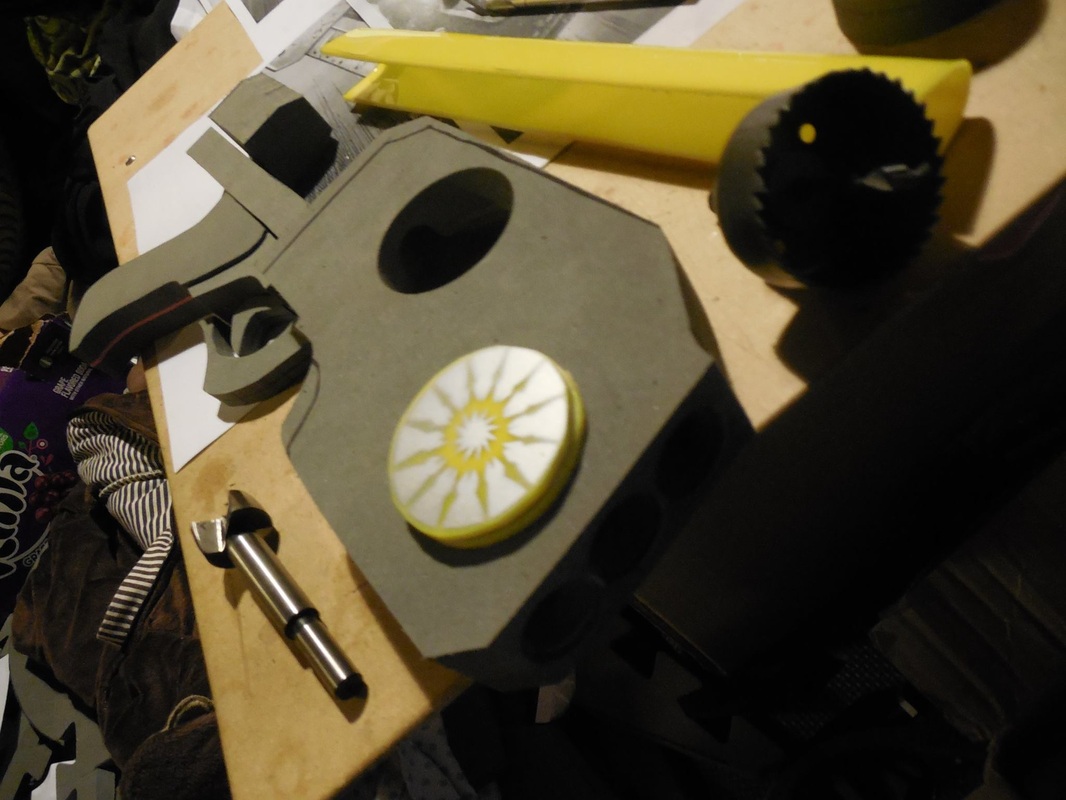 Here you can see the cutting bit I used to cut out the large hole in the side, where the discs would go. You can also see how the other acrylic bit bent to go in between it all. Finally, I used a forstner bit to drill a hole in the back for the wires, as well as in the front for the barrels. For that I used a slightly larger bit, followed by a smaller bit, to give them a bit more detail. 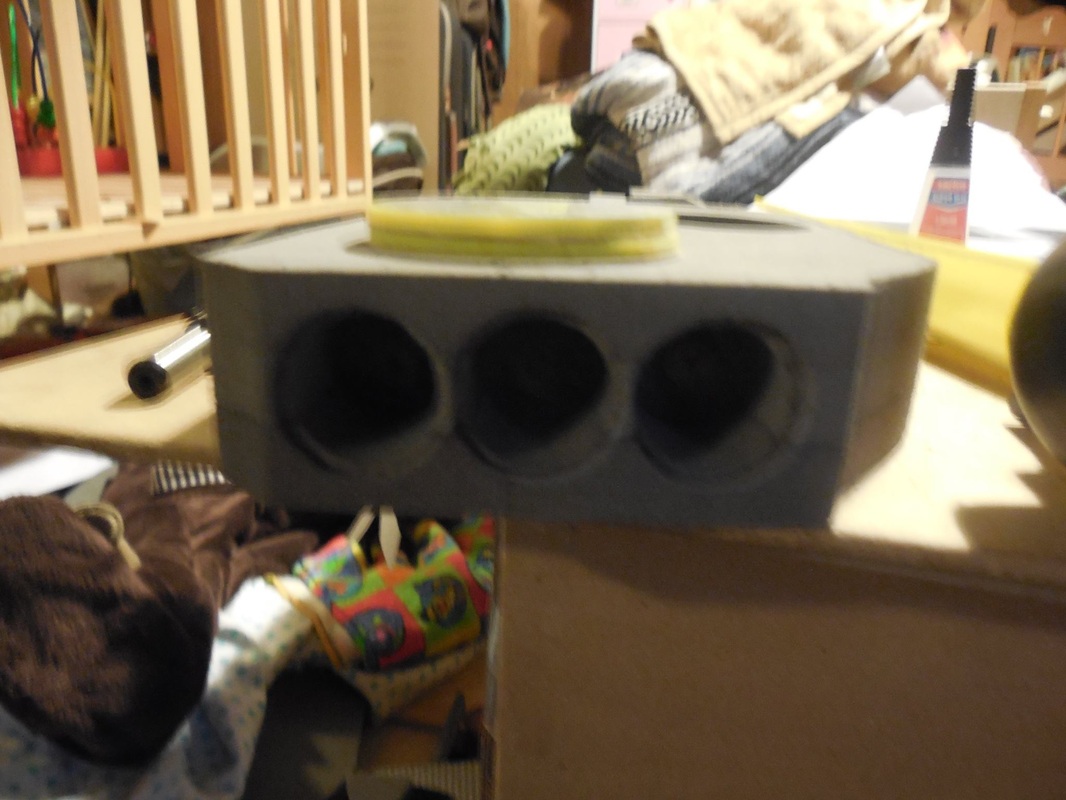 Finally, I had originally planned to have the very back section be removable, attached via magnets, to hide the battery and give easy access to change it. However, Beer Money Props suggested sticking it in the middle, above the grip, which would give it a more even balance. So I did. :) 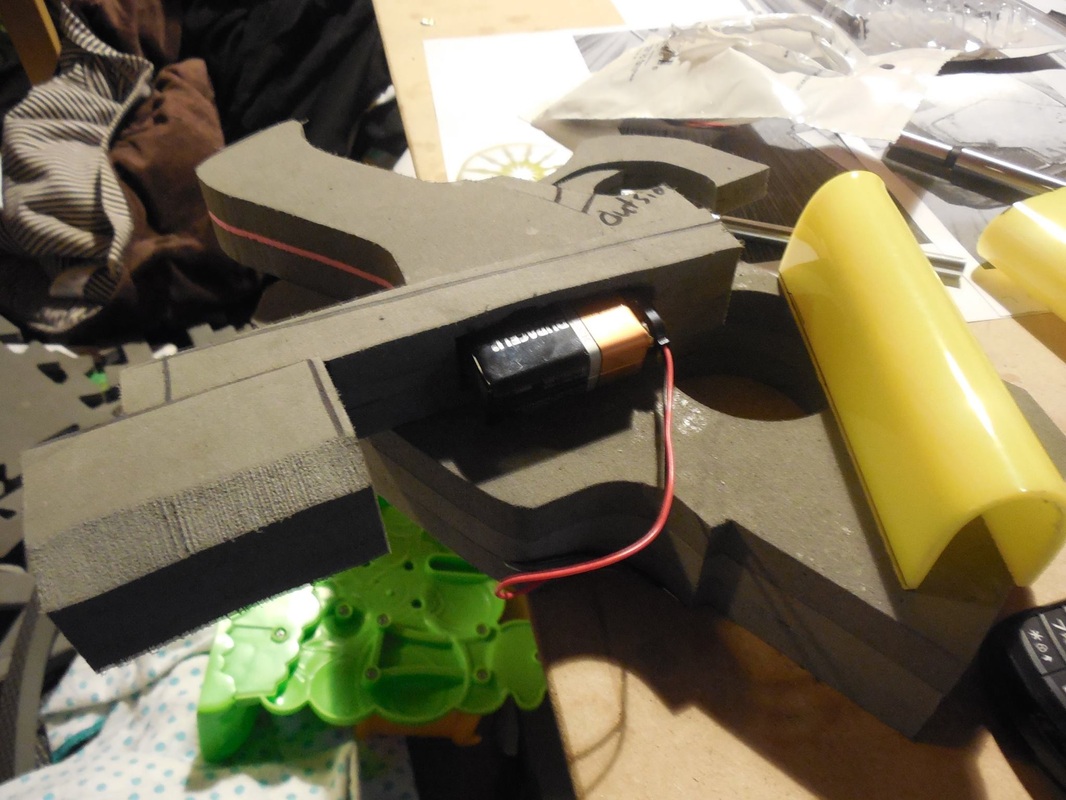 I still had to cut out a small chunk of foam for it to recess into, but it worked a lot better. Now that that was done, it was time to wire everything! 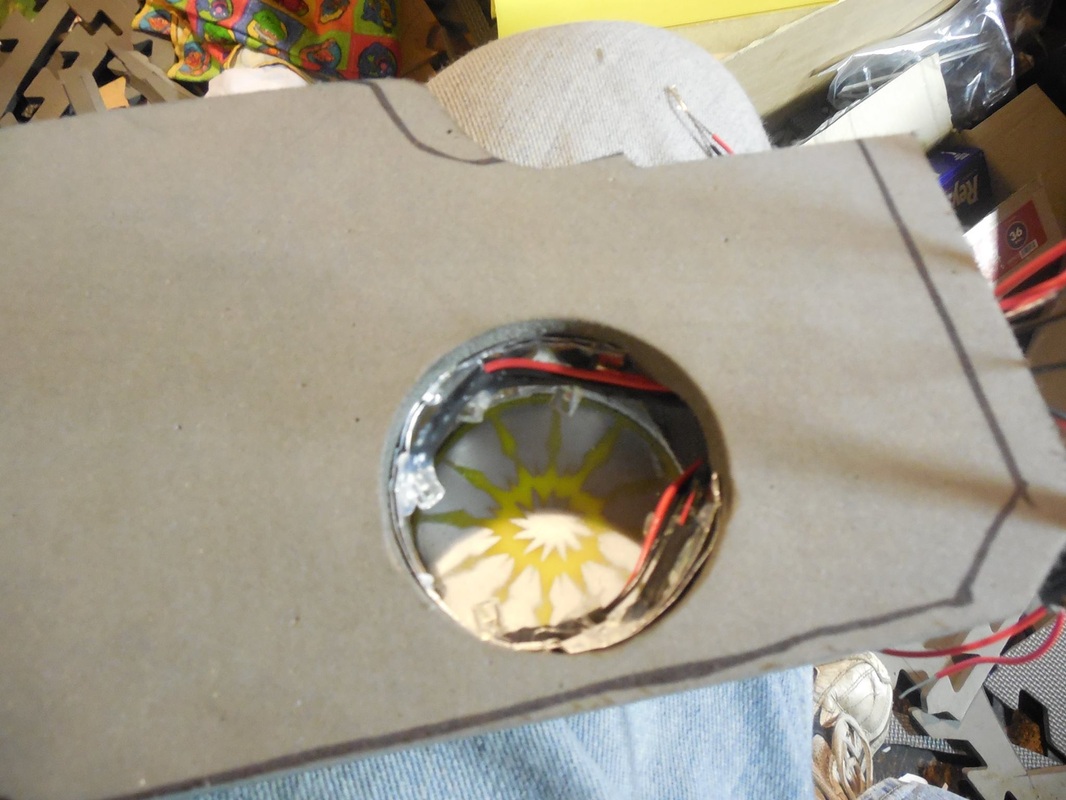 I put six wide angled LEDs inside the front bit, with some aluminum foil to help diffuse the light more so it didn't look spotty from the outside. You can also see that I installed one of the two discs so that I knew exactly how much room I would have. When that was done, I installed the other disc. 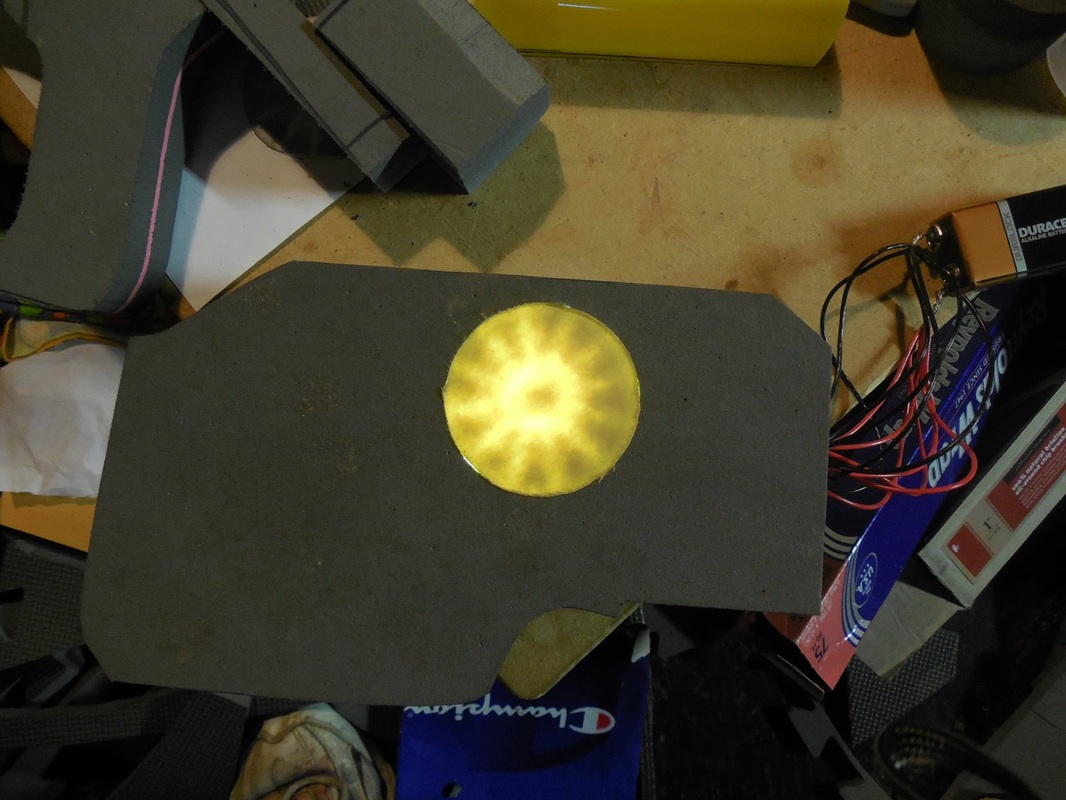 And it works! You'll probably notice here that I left the protective paper on the outside of the acrylic discs. This was to save me from having to tape it all back up again after painting it, which would have been a pain. I left it on both discs, though I took it off entirely from the cover piece. Once I had that all set, I glued all the pieces together, added a couple more LEDs to the other acrylic section, and tested the lighting again.  In hindsight, I probably should have put a third light in the middle there, but I was worried the battery would block that light anyway. Still turned out great though, so now it was time for all the details. 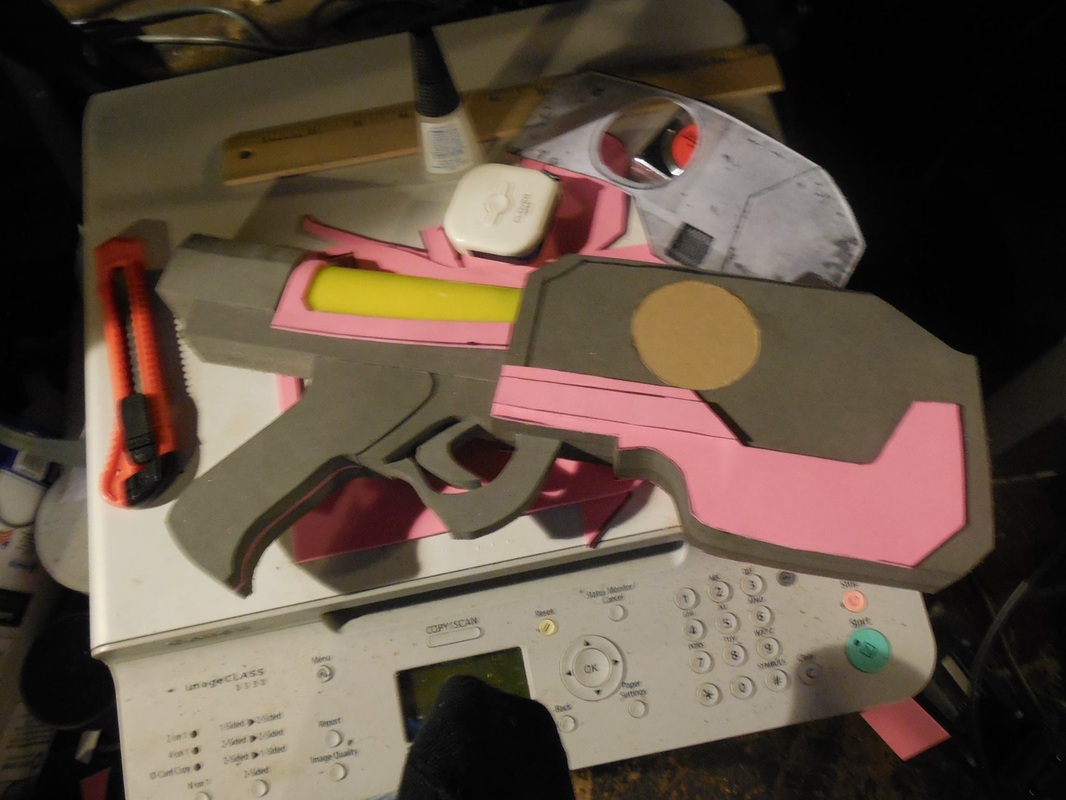 Started out with some craft foam layers, to get the thinner spots. Also added the central details onto the acrylic with the craft foam. This helped hide the edge of light and wires underneath. 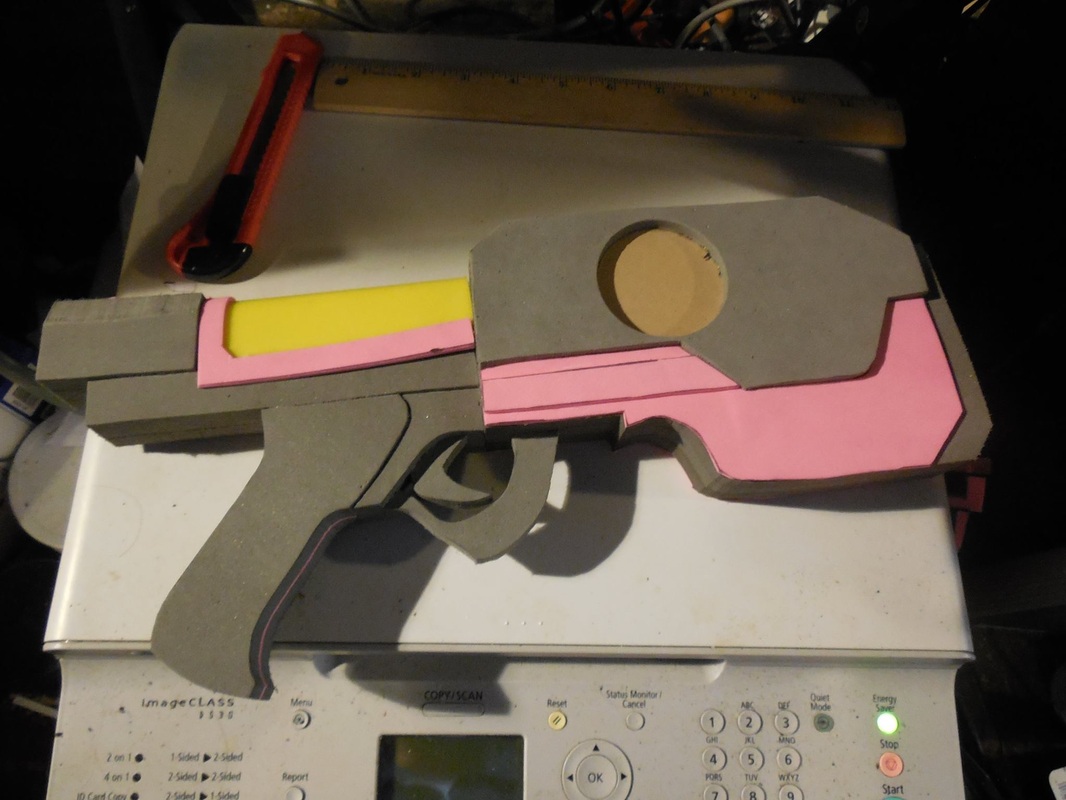 Then came the 1/4" foam, again with the hole cut out, for the slightly thicker area (which the 1/2" would have been too thick for). Once both sides were done, it was time for the details! 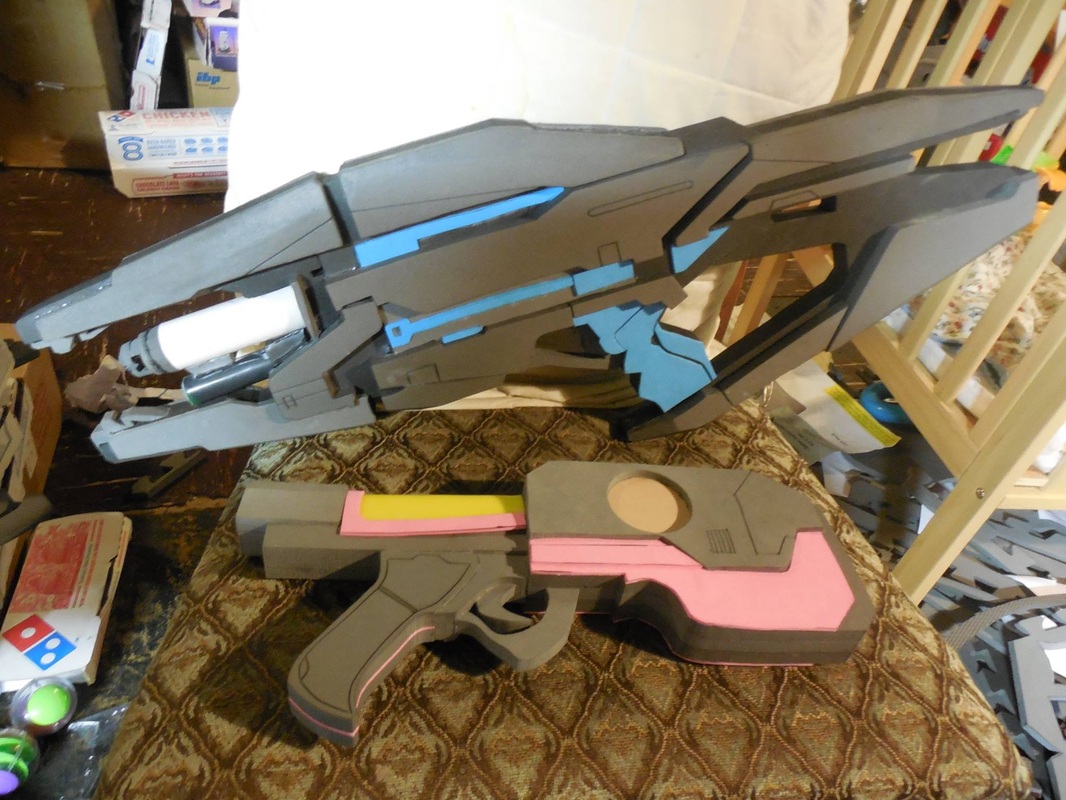 These were done, as always now, with the xacto knife and heat gun. Super fast, super easy, super clean! 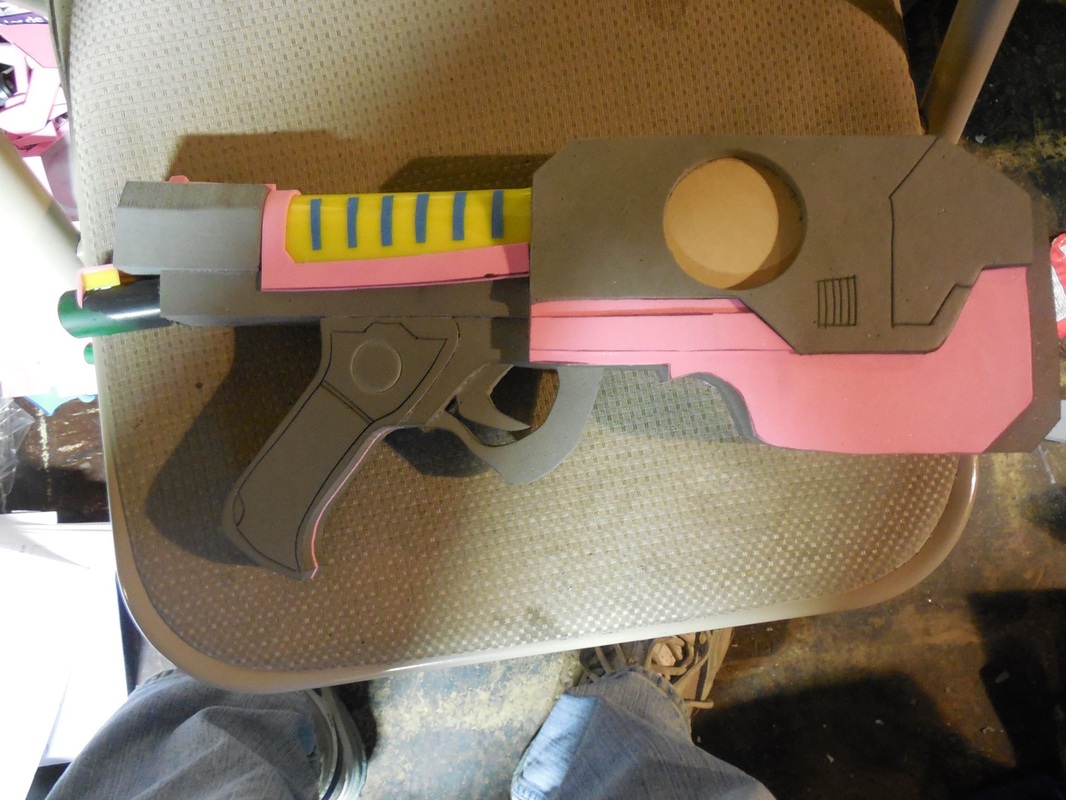 Lastly, I cut a small PVC pipe to size, used a dremel, file, and some sandpaper to sharpen the inside edge of the pipe, and scored a light ring on each side of the grip. Then I attached it to the back of the pistol, and used more craft foam and scrap acrylic to form the doohickey on the back. Those strips of blue are bits of painter's tape, to mask off the acrylic. That will make more sense later. I also taped off the inside of the half-tube bit, to make sure no paint got inside, as well as the battery connector. Then it was off to the Plasti Dip!  I didn't want to risk pulling out the wires of the lights attached to the half-tube section, so I opted to cover one side at a time. Once that was set, I propped the pistol on its top, painted the grip and back section a metallic black, let it set, then taped it up some more. 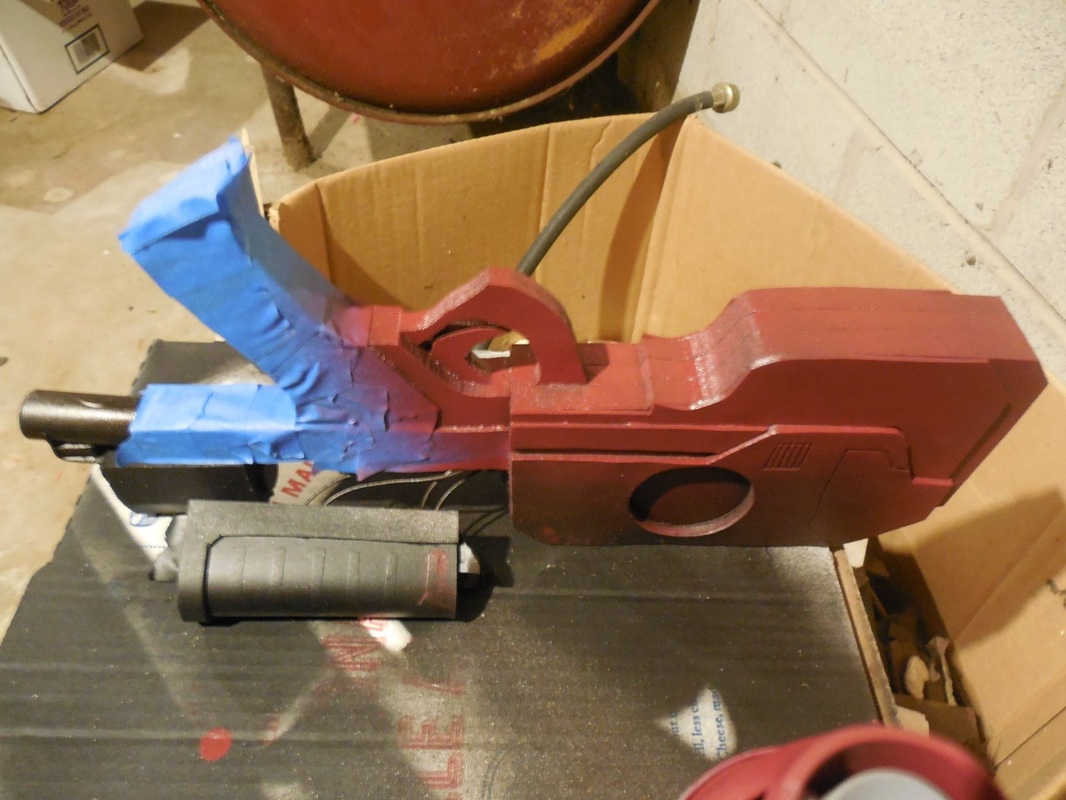 Then I grabbed the darker red I used in the Original Helmet 1 build, and painted more of the bottom area as well as the front. Naturally, I let that set too, then taped it up to paint the rest of it silver. Once that set, I took all the tape off, including the strips on the half-tube section and the paper protecting the acrylic. The result? Perfection. *drool* Ahem. Sorry. :D The paint masking on the inside of the discs worked exactly as planned: there, but not holding back the whole light. The strips shone through wonderfully. You can see it best when I turned down the light levels on the camera in the third shot. Finally, time to tie it all together with the weathering! 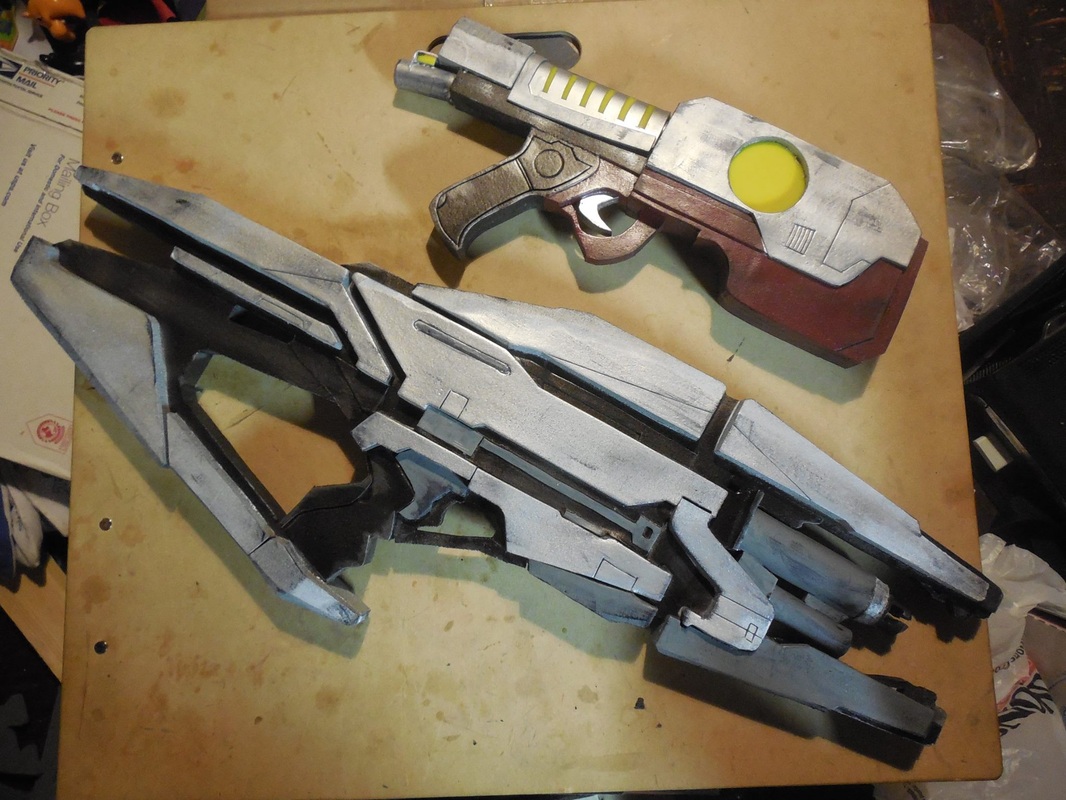 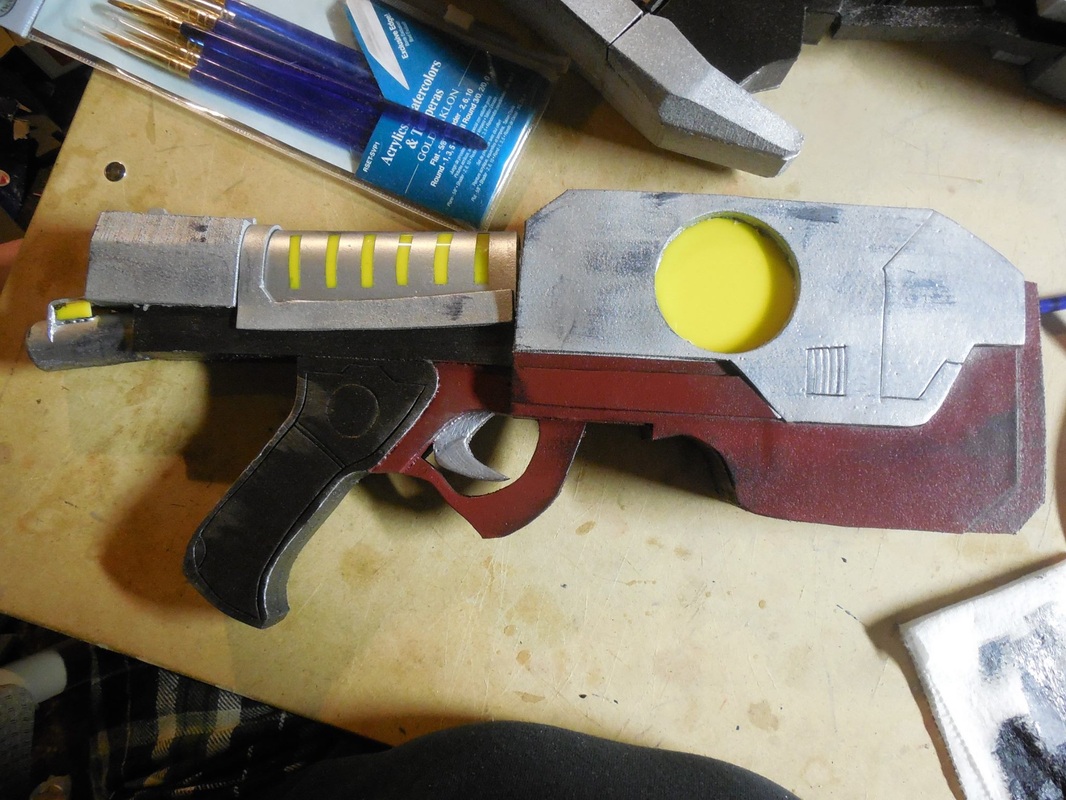 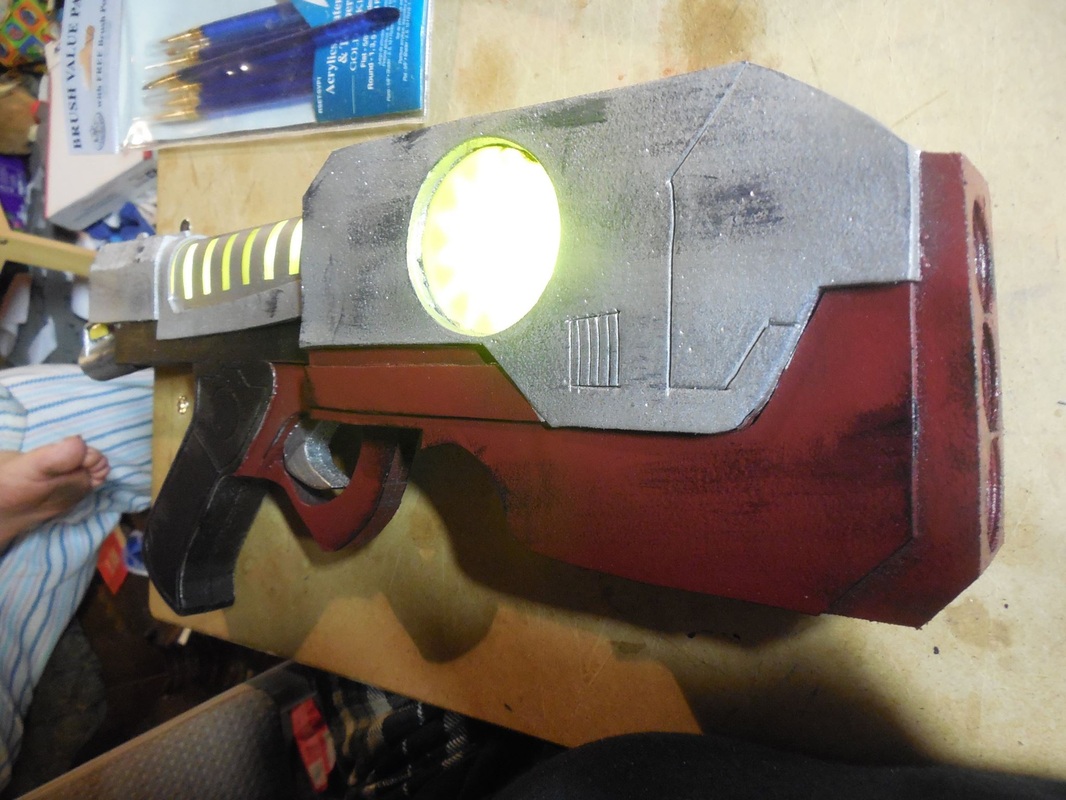 Acrylic wash and dry brushing, then a clear coat to seal it all in. Super stoked at how crazy cool this turned out, and it looks amazing even without the lights on. Big thanks to Beer Money Props for his suggestions which helped a ton, and to Viverra Cosplay who will share some amazing pictures of it once she's finished the costume (crossing fingers)!
|
|


 RSS Feed
