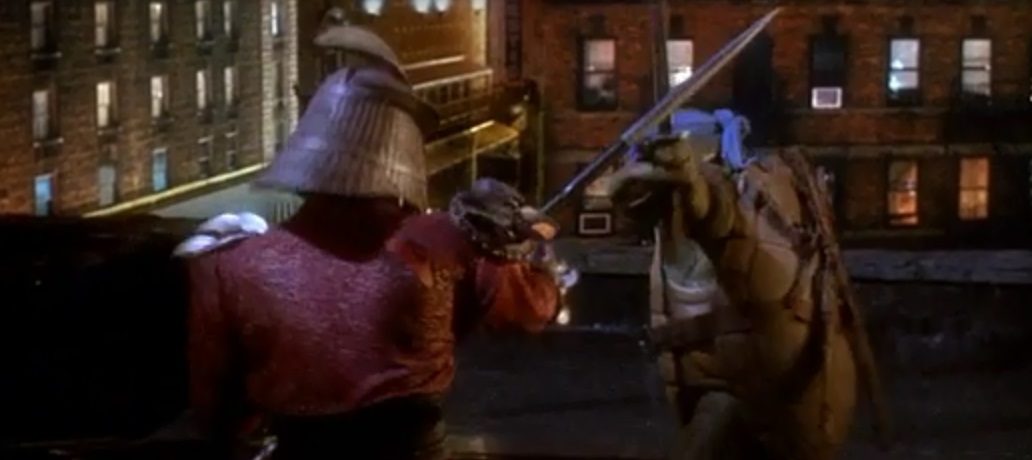
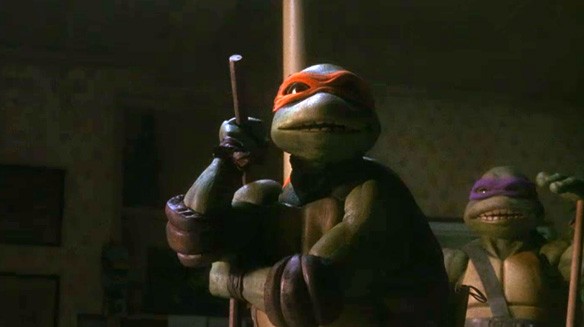
 In the large mass of things to build from the Ninja Turtles '90s movies, I was asked to make Shredder's spear from the first movie. This was another simple build, though I used some new techniques (and tested out my size comparison-ing) that really made things fun. First off, had to get some more 1" dowels after finishing the 'chucks, since they took up a bit of the third dowel and all I had left was enough for the spear points. Not a big deal. 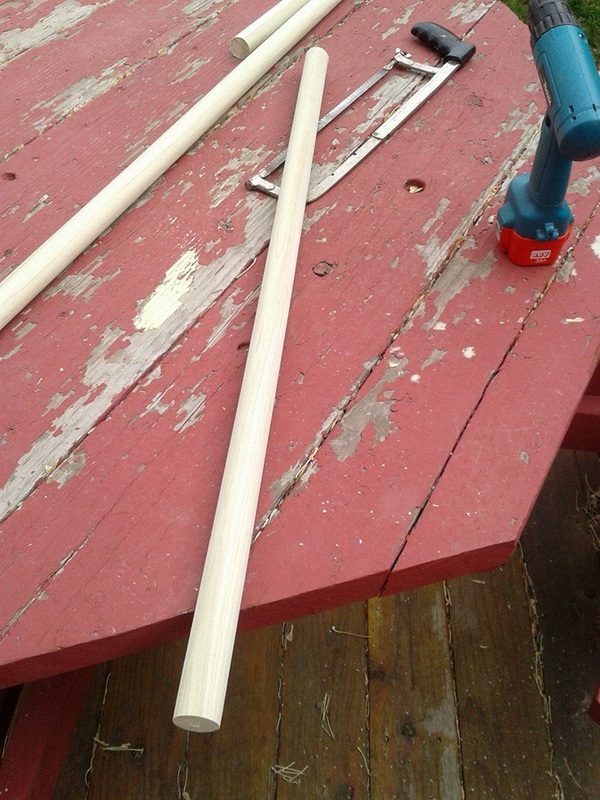 More hacking! Chopped a couple 13" long sections off the dowel, drilled a small hole on each end, and prepped a small scrap chunk of the other remainder to test out my brand-new lathe. 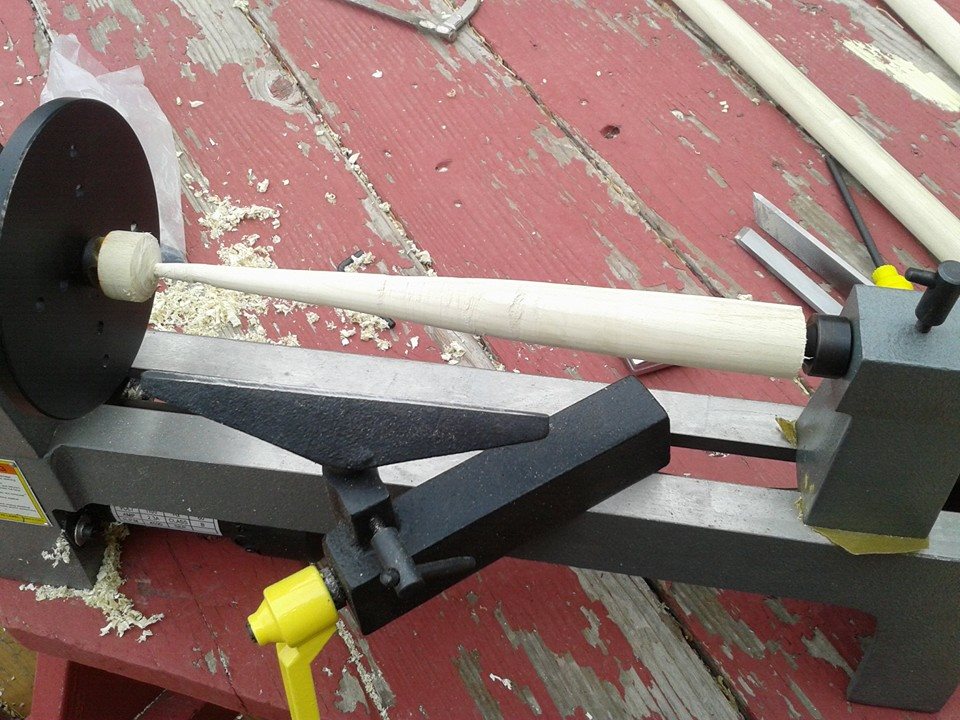 The test piece wasn't perfect, but it was literally the first time ever that I had used a lathe. The shape was there, but lots of rough spots to clean up and it wasn't very even. Taught me a ton, and was quite a bit of fun! And no, all you lathe users, I didn't leave the cross bar that far away - just moved it for a better picture. Trudged on, tested some more on the piece, then bit the bullet and spun out the actual spear heads.  A lot smoother, but I still had to clean them up quite a bit with sanding. Also don't have the right chuck to pop the end chunks off, so ended up cutting those off and cleaning up the rest with my belt sander. In the meantime, I cut the staff section to length, around 3 and a half feet. The spear in the movie wasn't very large, and since the spear heads were so long I needed to compensate. (Still think mine ended up bigger than the movie prop, but that's okay). I also drilled a hole on each side, so that when it was time to attach everything I could secure the heads a bit better with a small dowel, kind of like I did with Caliburn. I decided to use another stain, a dark cherry color, for the staff. Since I was using wood, it would be a better match to the color and sheen of the movie prop, which looked like glitter paper or something over a length of PVC.  I kept the spear heads rounded a bit, so that it was a little safer for conventions and whatnot. I sanded these as smooth as I could get them, then primed and painted them a brilliant metallic silver, again to match the sheen of the movie prop. Unfortunately I don't have a progress shot of those, but here's the staff with its second coat of stain. 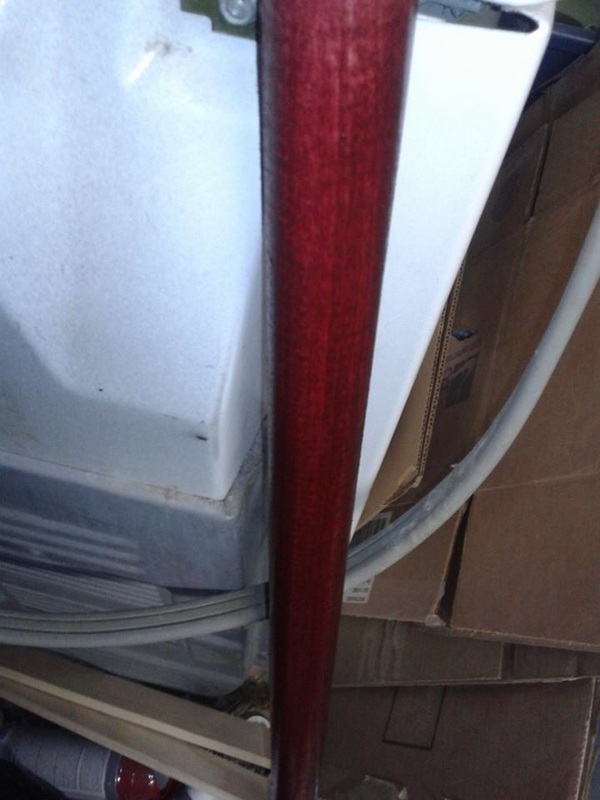 Really nice, super rich red. I was extremely happy with it at that point. Now, the reason I don't have progress pics on the spear heads, or for any of the rest of the build (save the final shot) is because of an accident. After two coats of the silver, I headed outside for the third and final coat. Our dogs decided to take that opportunity to push past me and run outside. Since it was mid November, we had ice all over the stairs I had to go up and down, and the push knocked me off balance and sent me flying. Landed hard on my leg and hip, as well as my back (which had been injured before, flaring it up in the process). Knocked me out of commission for a few weeks, nearly to mid December. Luckily that gave the pieces plenty of time to set, so after a week my brother kindly helped bring the parts in to me so that I could attach them all together. I was stuck in a chair, barely able to hobble around, but with his help I was able to get it all done. The finished spear: 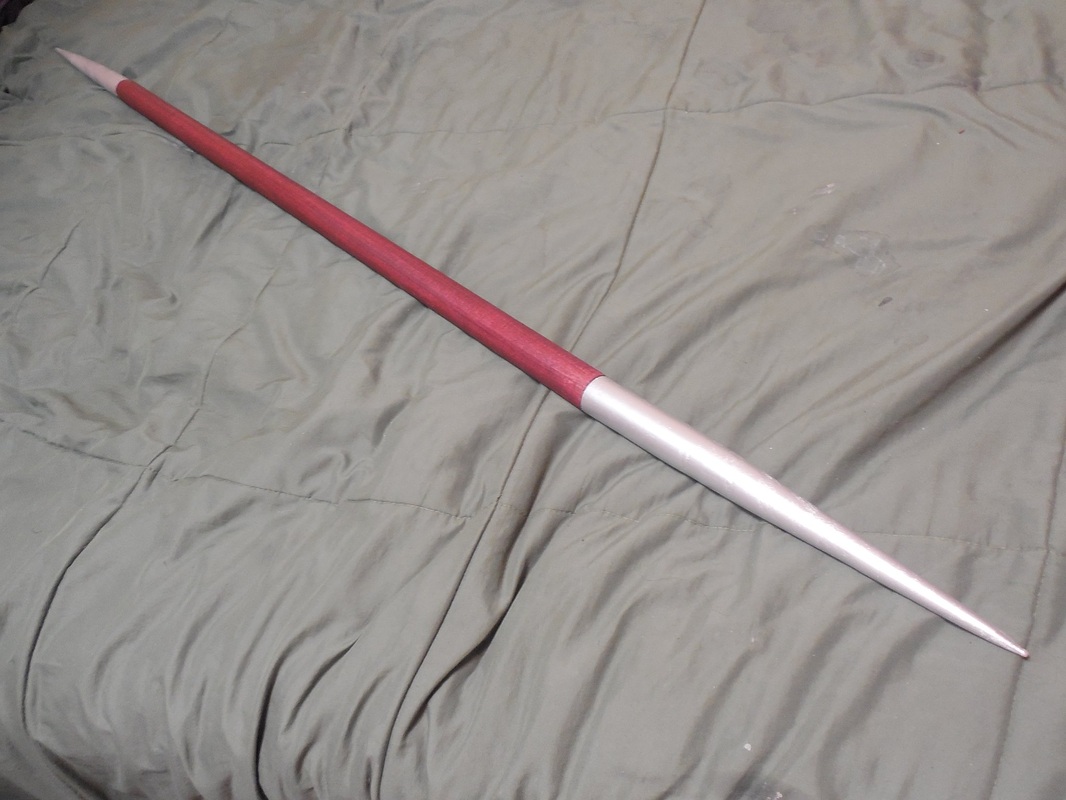 I'm really, really happy with how it turned out, despite the mishap near the end. So much so, that I may make another one for me one of these days. Learned a new skill and got a new tool too, so it all worked out! :D
0 Comments
Ah, the Ninja Turtles. Or the Hero Turtles, if that's how you know them. I've actually got a number of items I'll be making from the 1990s movies, so stay tuned on those! First up, Mikey's 'chucks. This is a rather simple build, so it's a quick write-up. Figure it's a good one to start on though, since I haven't done a write-up in aaaaaaages..... Anyway, I started with some 1" dowels. 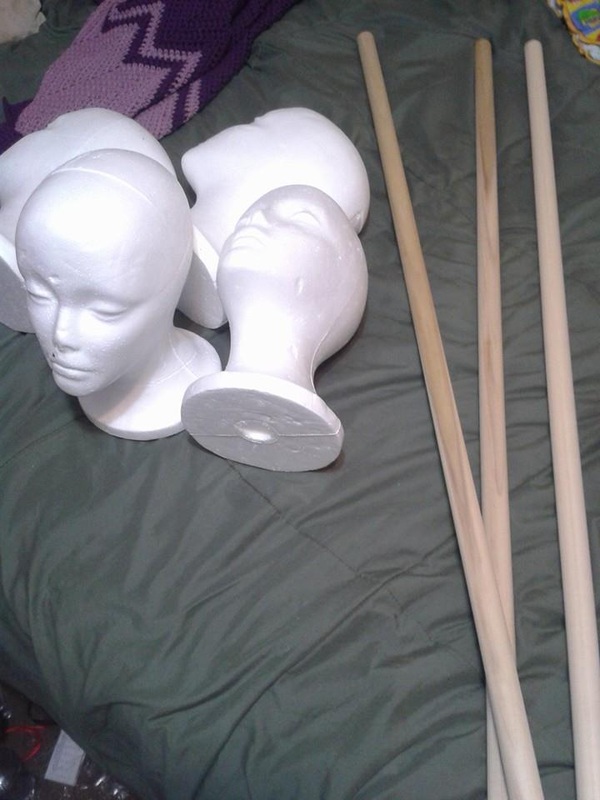
Yes, there are 3 there. I was making 2 pairs of the 'chucks, and since that means 8 individual sections, roughly 12" each, that meant a lot of wood. Of course, the third one is for something else, but we'll get to that. ;) Since my bandsaw is only 9" wide, and I didn't have access to a chop saw, I ended up cutting each bit out by hand with a hacksaw. Monotonous, sure, but it got the job done. 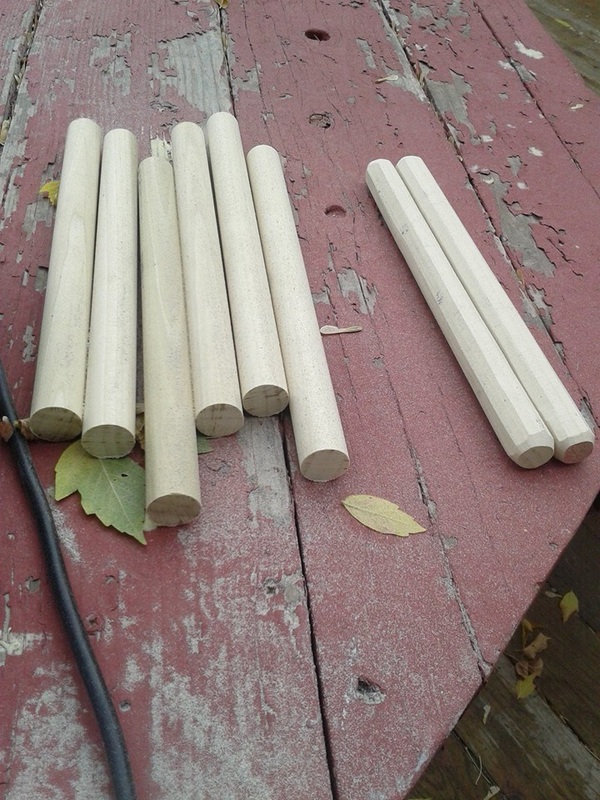
Since the wooden sections aren't actually round, but octagonal, I dragged my belt/disc sander combo out and sanded down the sides. Not too worried about uniformity here - these still needed to look used, and a little bit of bumps and jagged lines adds to the look. Once all the sides were angled, I started drilling the holes I'd need to connect the pieces together. 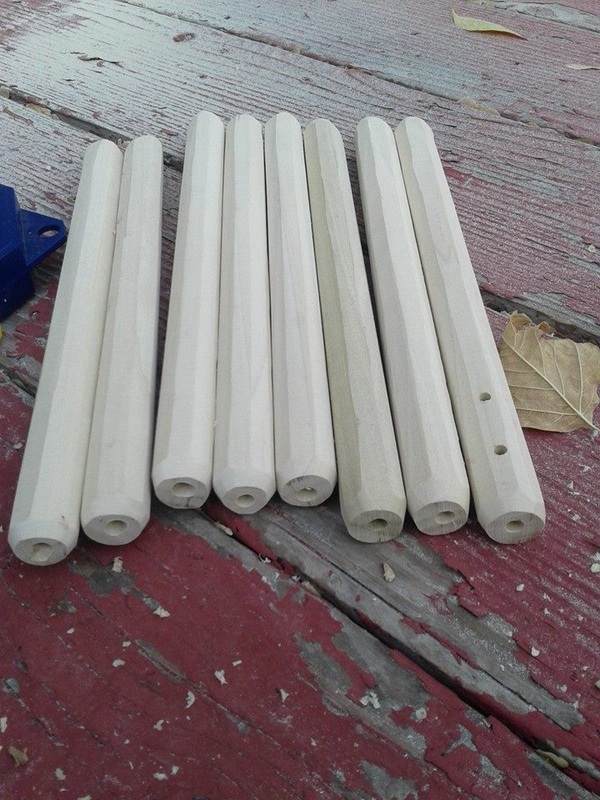
In hindsight, the holes on top should have been a little wider than I made them and the holes on the side should have also had a trench to sink the leather I'd be using in a little bit more. I also didn't have a drill press at the time, so some of the holes are off-center on the tops. Still looked really close though, so I went with what I could. Holes drilled, now I started staining the wood. I could have painted them all with a solid brown color, but the stain made it look more like the movie prop, and won't chip off if they bounce into something. 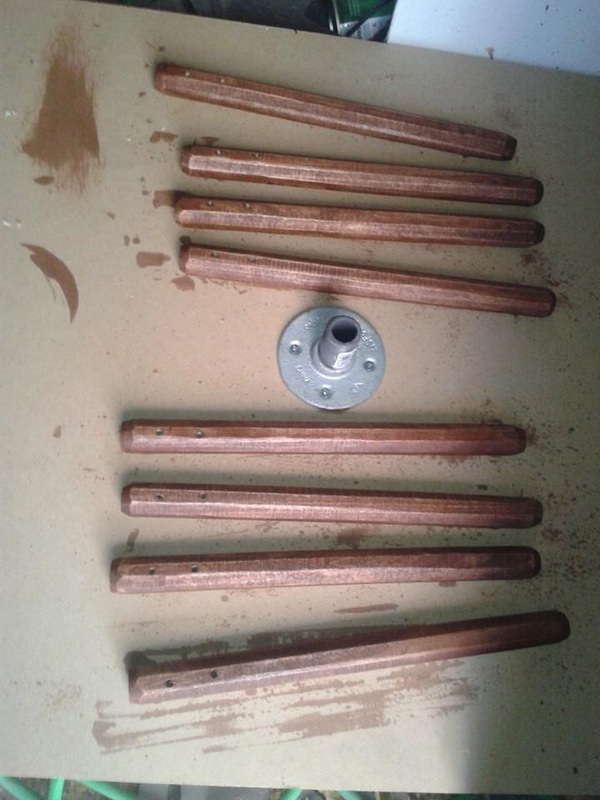
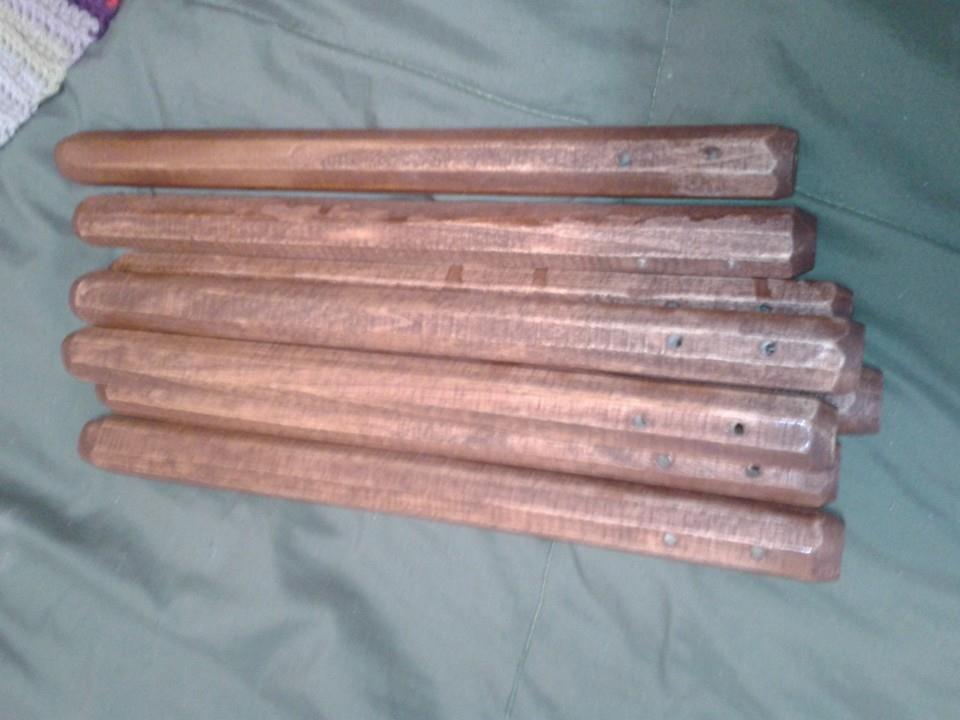
Some of the stain dripped a bit, but the glaring ones I sanded down a bit. I also sanded down the edges after staining, again to give them a nice "I've used these on the Foot for a while" look. After that came the strapping. 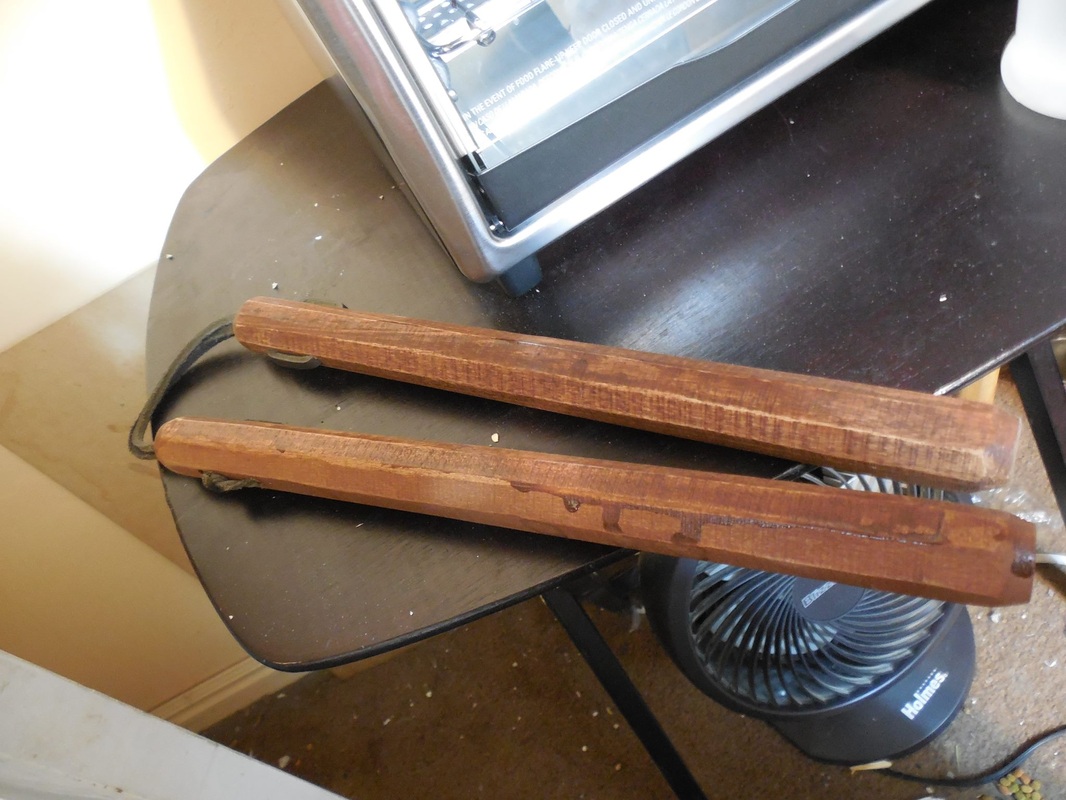
This was a huge pain, given that the holes at the top were so small. Still came out great though! Why leather though? Most 'chucks have chains or rope, but from what I could find out for the originals they were strapped together with leather strips in most scenes, and the famous finger-twirl Mikey does actually uses a length of twisted fabric (and some hidden movie magic I won't spoil, not that you can't figure it out nowadays lol). For those of you interested in how I did the wrapping, here's a step by step. First, I put one end through one piece, poked it through an upper side hole, through the whole bottom side hole, then used some spare electrical wire to pull it back through the final upper side hole and through the top. Snug fit with the tiny hole on top. Then I pushed both ends of the leather through the top of the other piece, split them through either upper side holes, then threaded one through the bottom and tied them off on one side. I cut off any excess after setting the length, and secured the knot with some superglue just in case. Once I had all eight connected, making the full set of 2 pairs, I hung them up to let the stain set a bit more and stuck my hands in an ice bucket. They *hurt*! 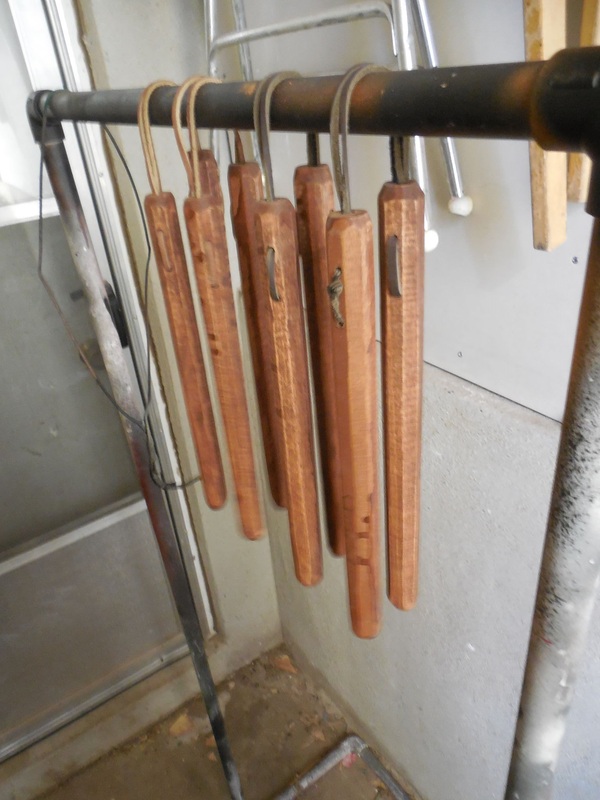
These ended up looking really great, and it's unfortunate I don't have any other finished pictures of them. I do have a few improvements I'd do if I made them again, but I'm still really proud of how they turned out. Hope you enjoyed!
|
|
 RSS Feed
