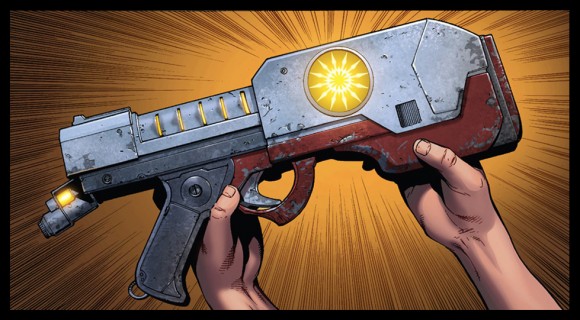
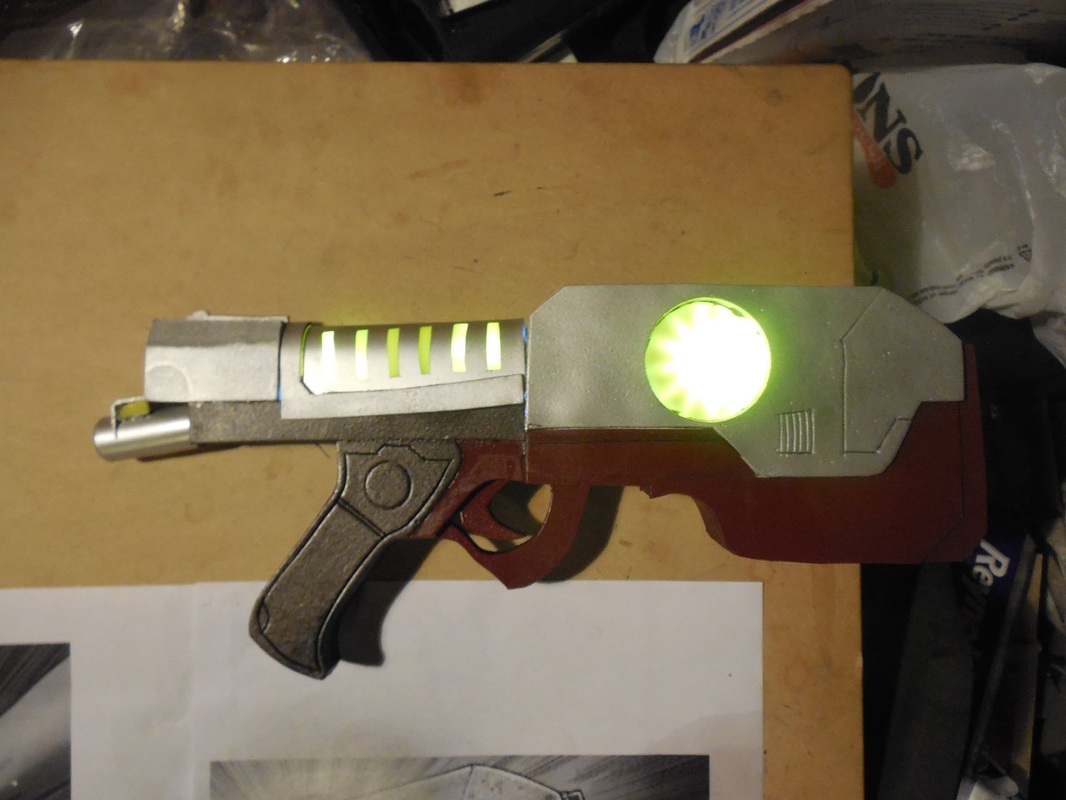
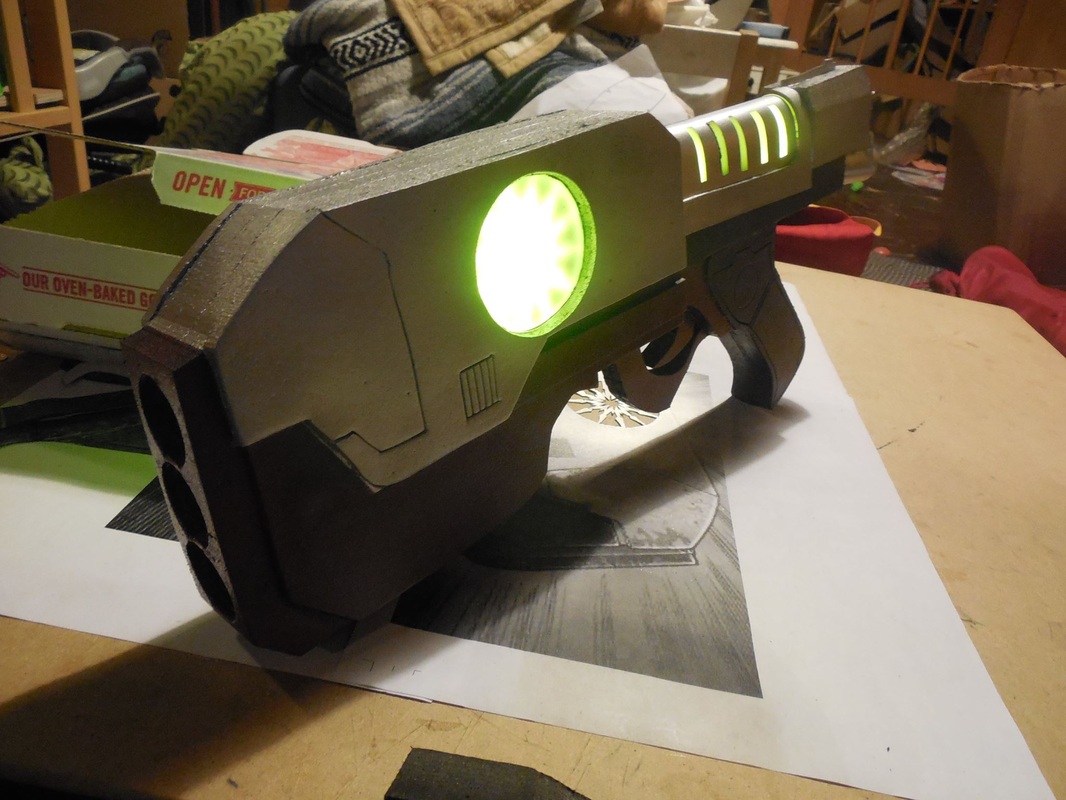
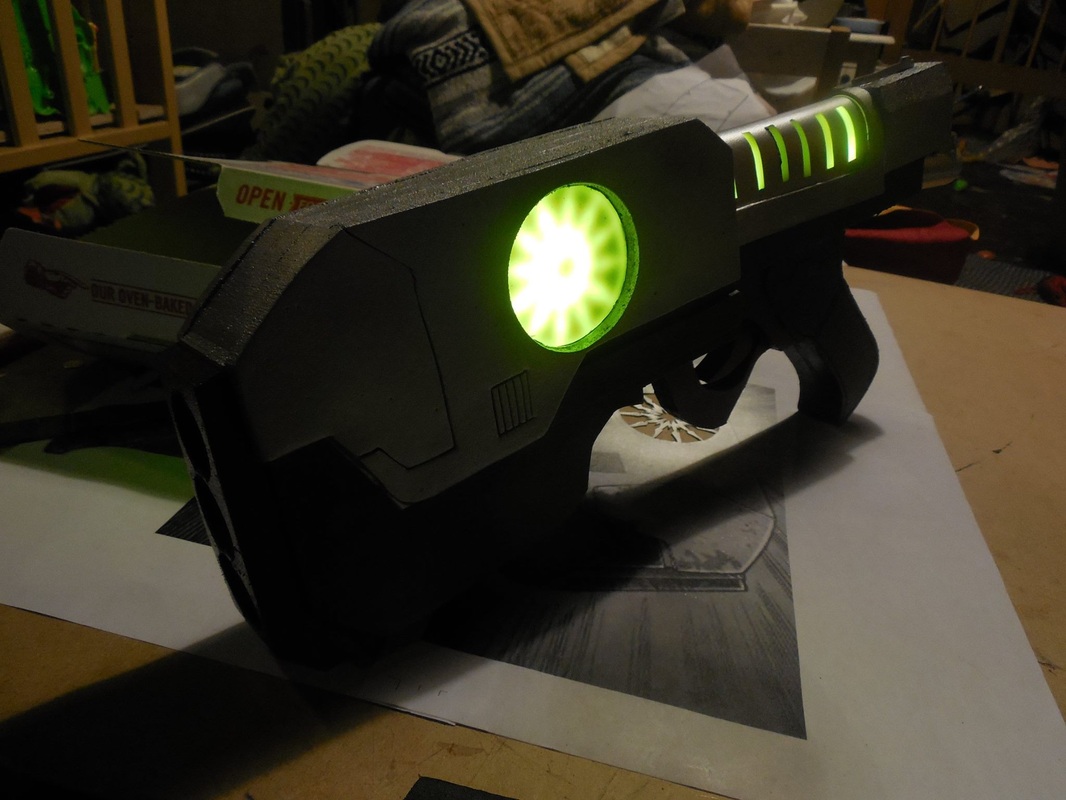
 Was commissioned to make the comic book version of Star Lord's pistol, by a previous client of mine. Not only did it look really cool, but with the upcoming release (which has now passed) I thought it'd be fun to do and a bit of a challenge. First up, printing out the proper sized thing, and cutting pieces out of the foam. 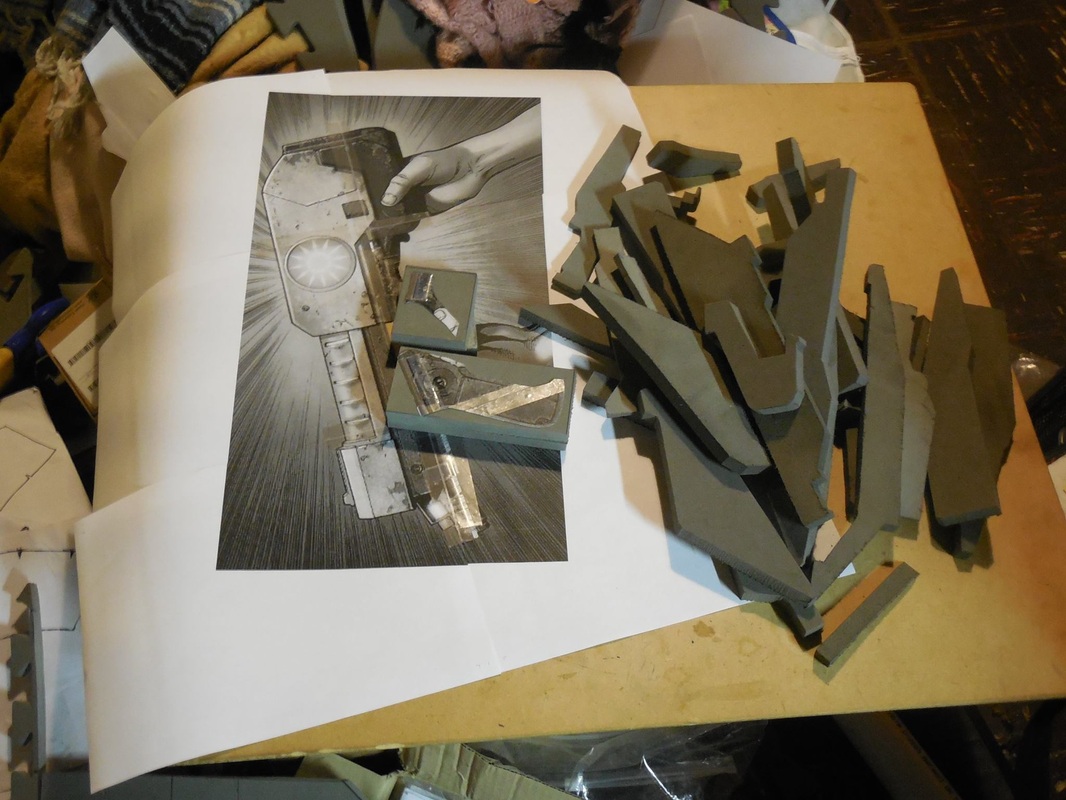 If you read the previous write-up on the Turian Phaeston (which you should if you haven't) you know that these two builds happened basically at the same time, so you'll see both in a lot of the pics. Don't worry though - I'll try to keep things on track. ;) Once all the layers were glued and each puzzle piece cut out, I got to work on the acrylic pieces. I was still debating a few different ways to do the glowy parts, as well as hide the battery, but after a wonderful chat with Beer Money Props, we came up with a couple simple, and useful, solutions. 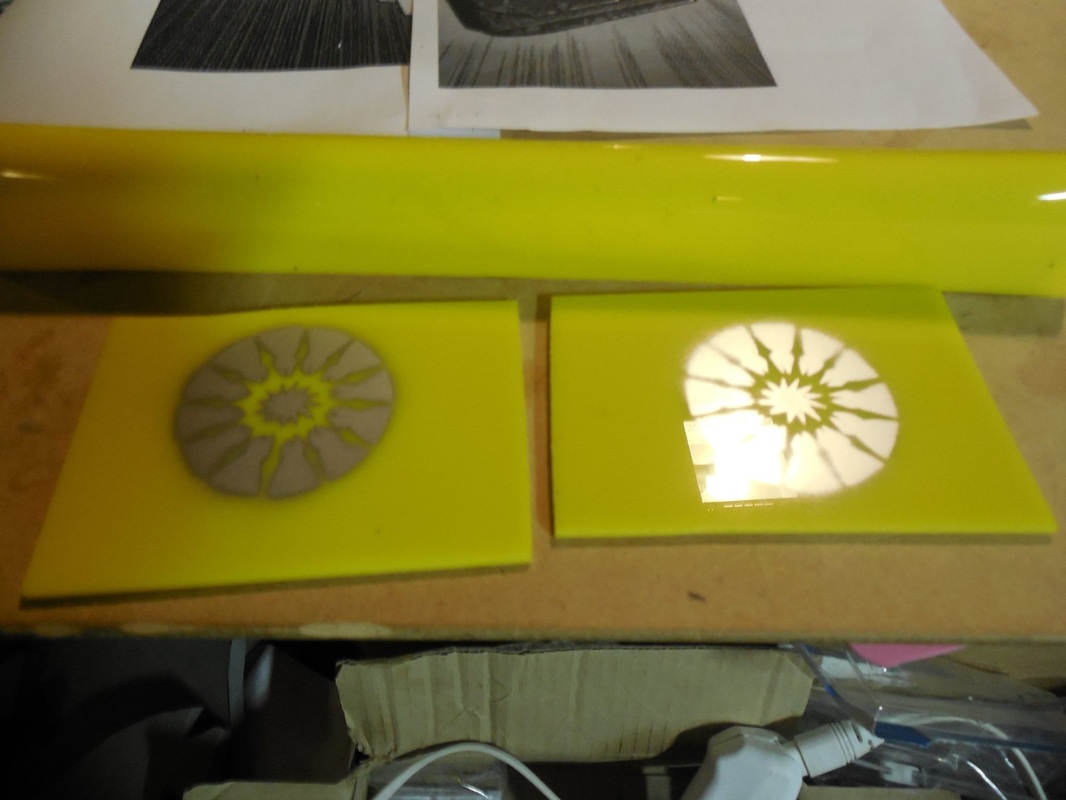 First, I cut a quick and dirty mask with painter's tape and sprayed some paint on what would be the inside of the acrylic. This would help make the cool pattern in the discs when the light shines through, without blocking out the light entirely. Next, I heated up a section of the acrylic and bent it over a small pipe, curving a section and leaving two flat walls, to make the middle section. Originally I was just going to make that out of foam, and insert a panel of the acrylic on either side, but this was his suggestion which was not only easier, but worked perfectly. 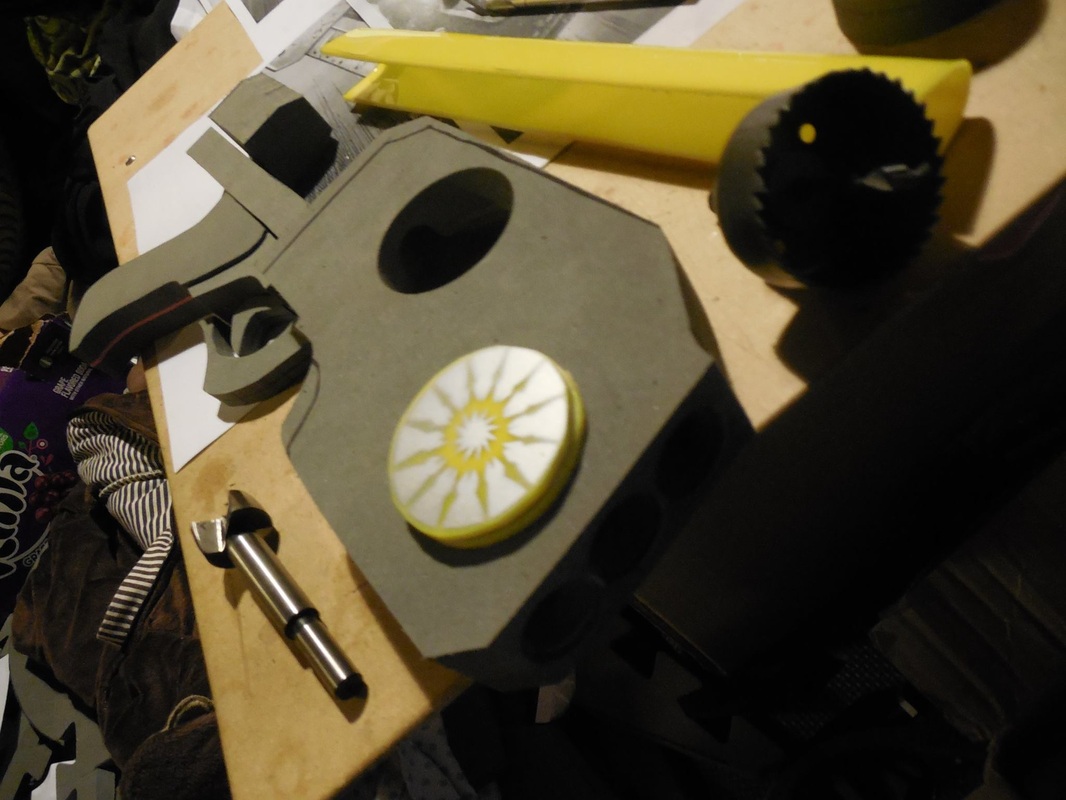 Here you can see the cutting bit I used to cut out the large hole in the side, where the discs would go. You can also see how the other acrylic bit bent to go in between it all. Finally, I used a forstner bit to drill a hole in the back for the wires, as well as in the front for the barrels. For that I used a slightly larger bit, followed by a smaller bit, to give them a bit more detail. 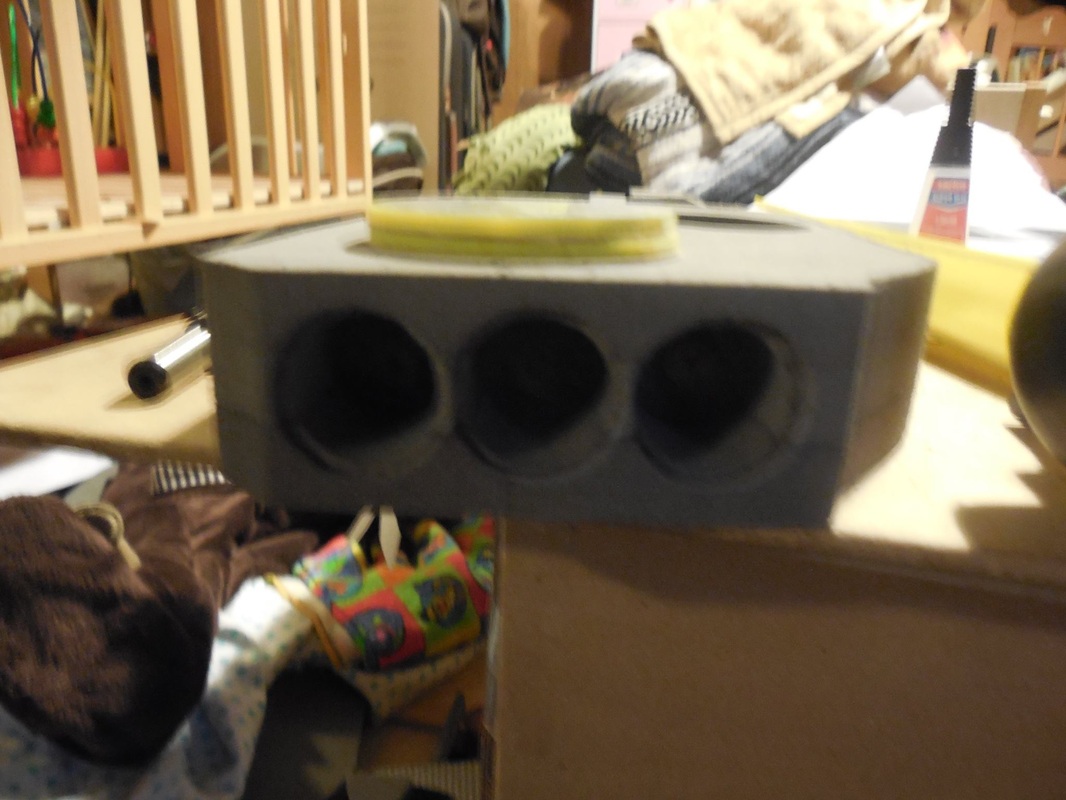 Finally, I had originally planned to have the very back section be removable, attached via magnets, to hide the battery and give easy access to change it. However, Beer Money Props suggested sticking it in the middle, above the grip, which would give it a more even balance. So I did. :) 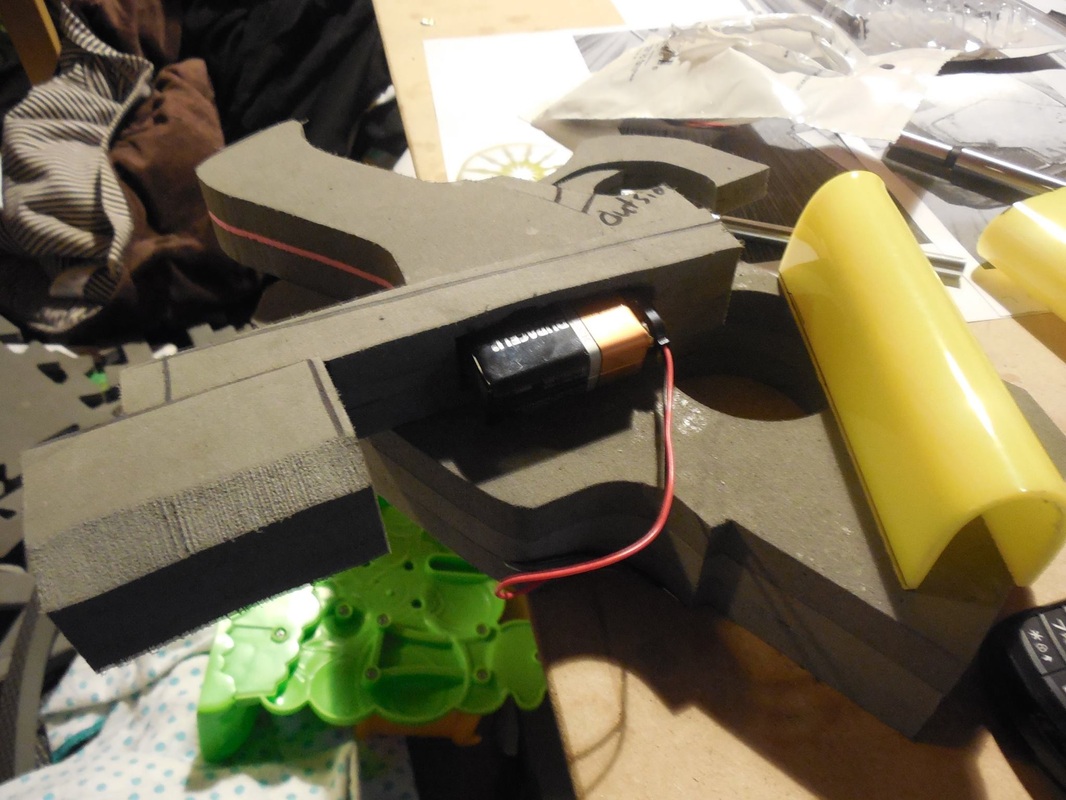 I still had to cut out a small chunk of foam for it to recess into, but it worked a lot better. Now that that was done, it was time to wire everything! 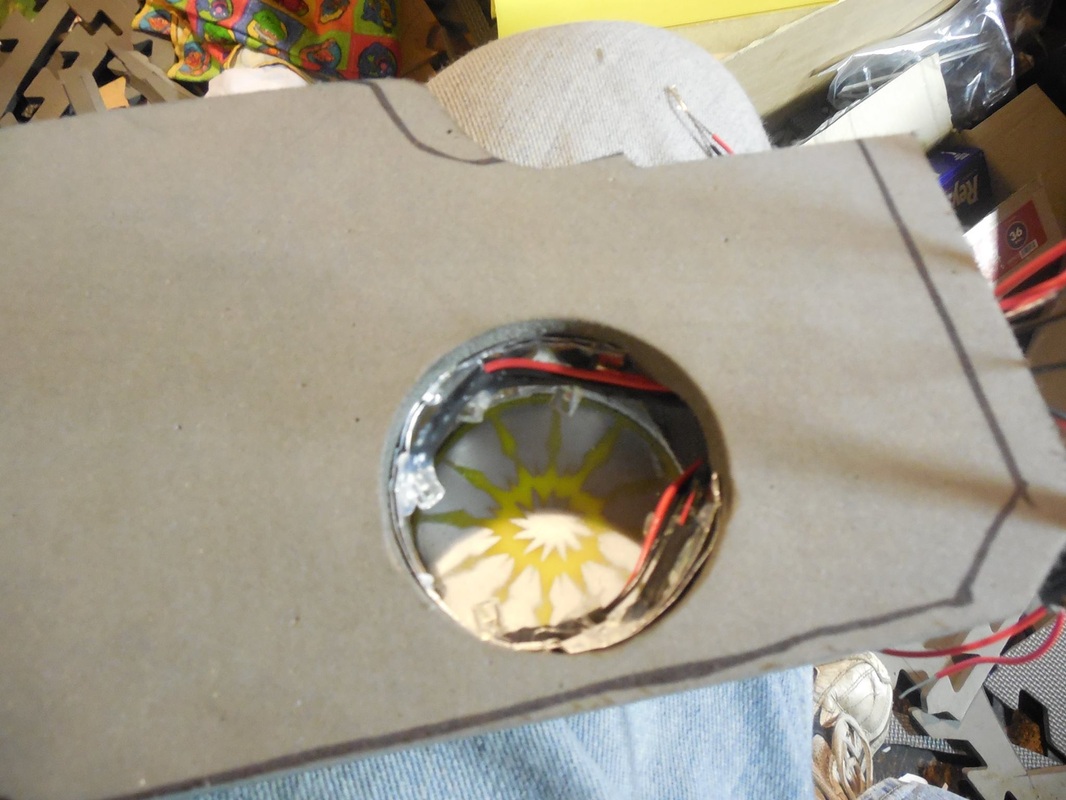 I put six wide angled LEDs inside the front bit, with some aluminum foil to help diffuse the light more so it didn't look spotty from the outside. You can also see that I installed one of the two discs so that I knew exactly how much room I would have. When that was done, I installed the other disc. 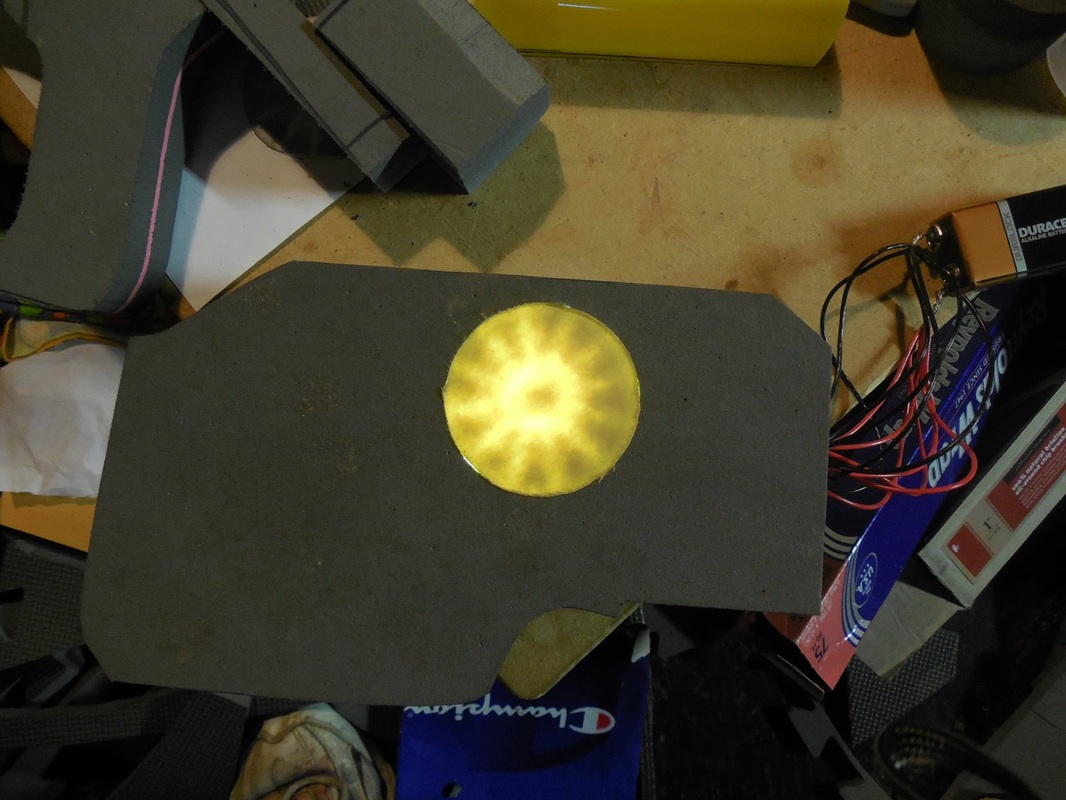 And it works! You'll probably notice here that I left the protective paper on the outside of the acrylic discs. This was to save me from having to tape it all back up again after painting it, which would have been a pain. I left it on both discs, though I took it off entirely from the cover piece. Once I had that all set, I glued all the pieces together, added a couple more LEDs to the other acrylic section, and tested the lighting again.  In hindsight, I probably should have put a third light in the middle there, but I was worried the battery would block that light anyway. Still turned out great though, so now it was time for all the details. 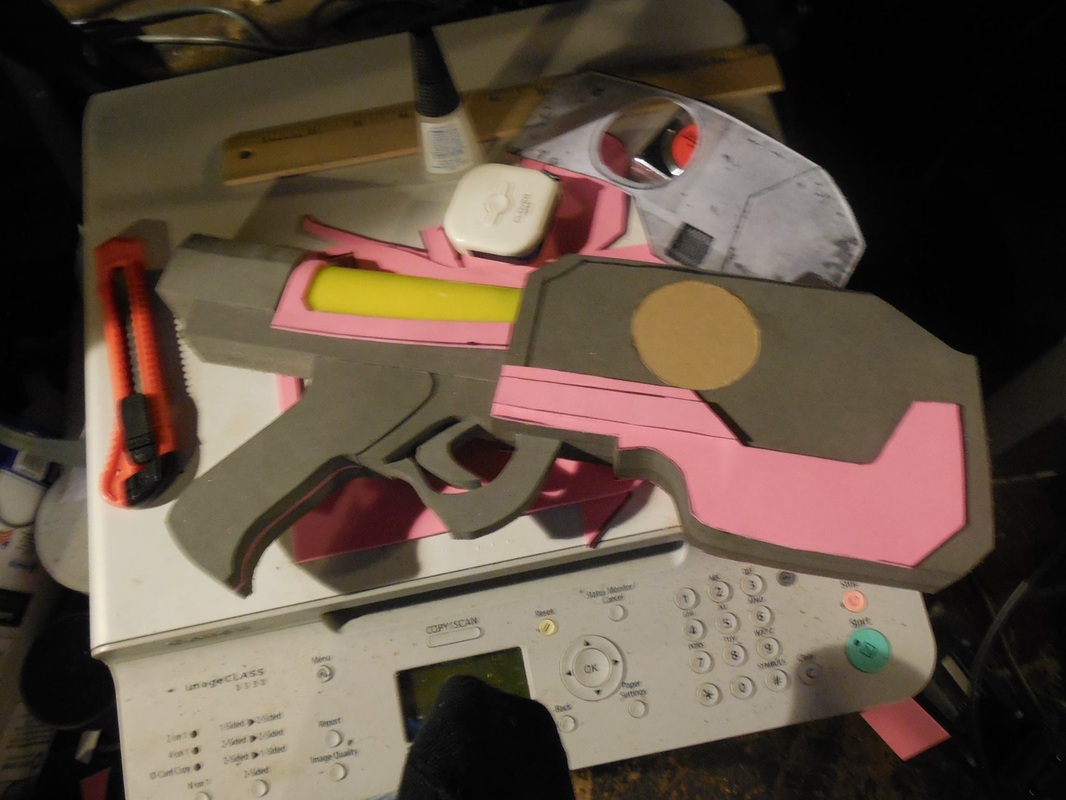 Started out with some craft foam layers, to get the thinner spots. Also added the central details onto the acrylic with the craft foam. This helped hide the edge of light and wires underneath. 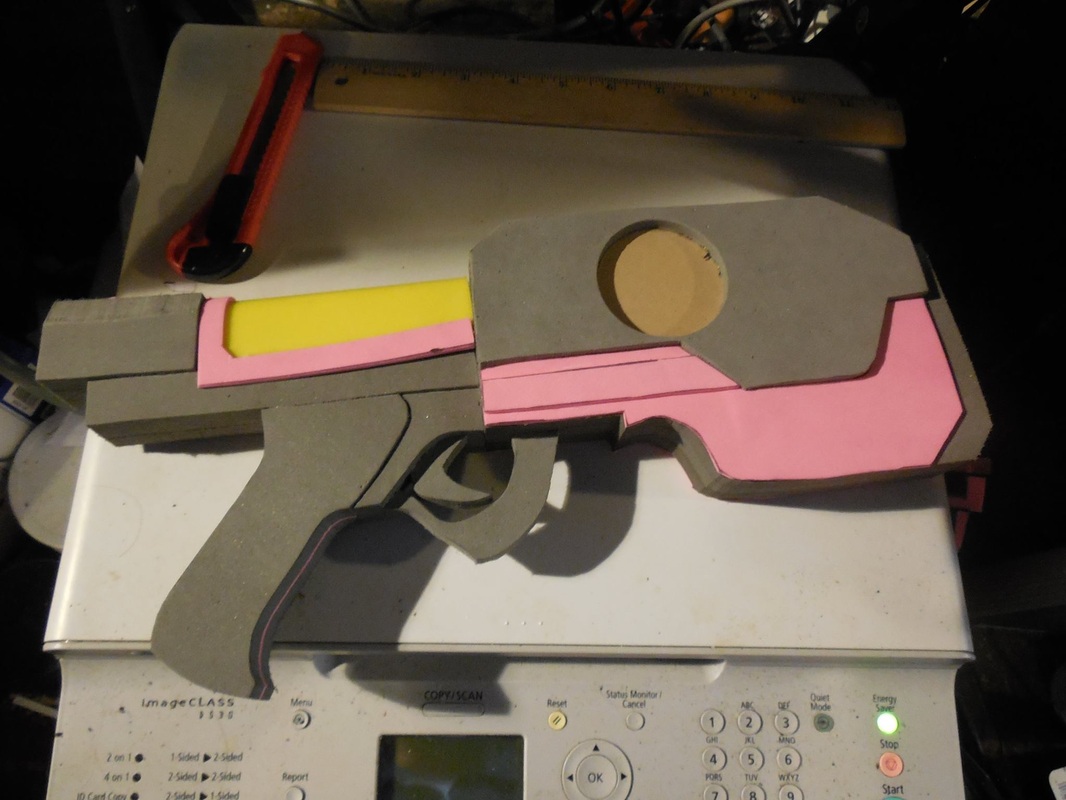 Then came the 1/4" foam, again with the hole cut out, for the slightly thicker area (which the 1/2" would have been too thick for). Once both sides were done, it was time for the details! 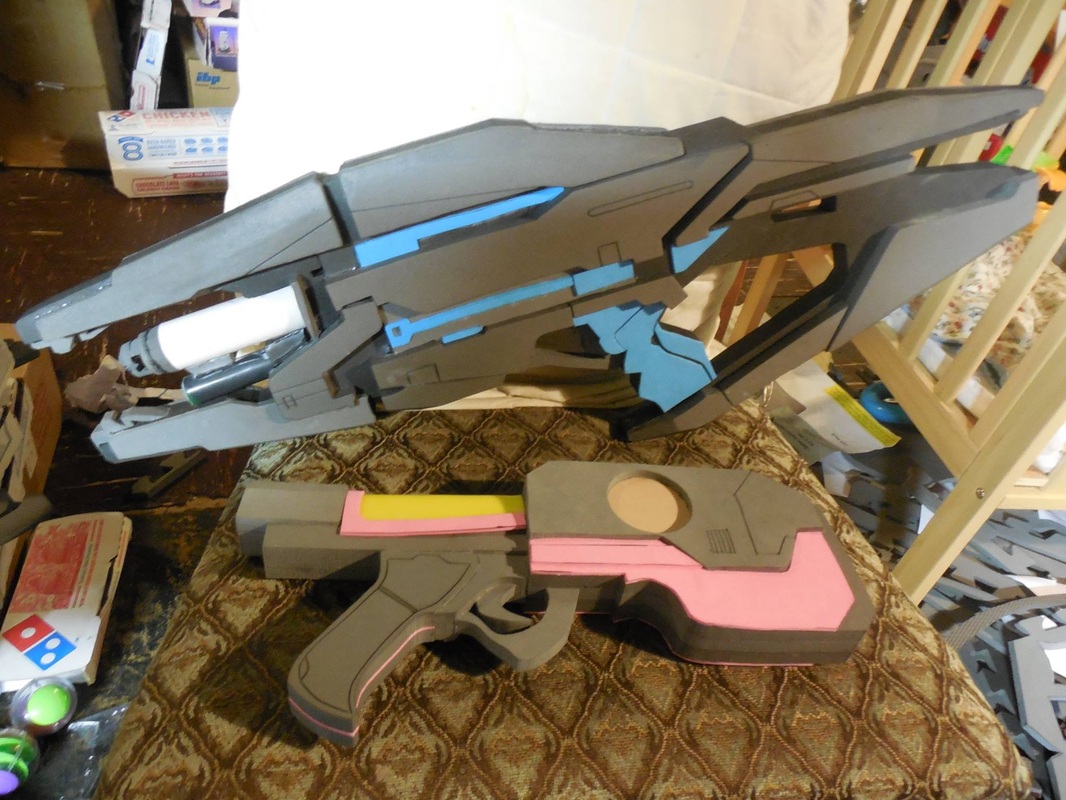 These were done, as always now, with the xacto knife and heat gun. Super fast, super easy, super clean! 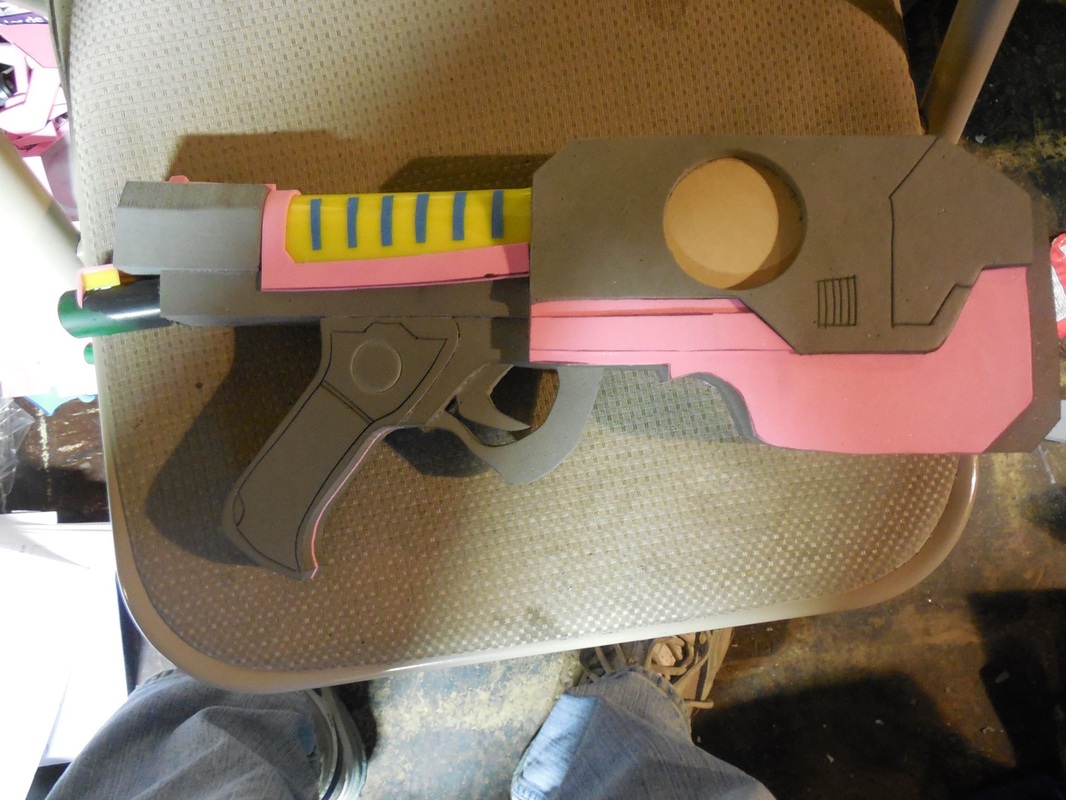 Lastly, I cut a small PVC pipe to size, used a dremel, file, and some sandpaper to sharpen the inside edge of the pipe, and scored a light ring on each side of the grip. Then I attached it to the back of the pistol, and used more craft foam and scrap acrylic to form the doohickey on the back. Those strips of blue are bits of painter's tape, to mask off the acrylic. That will make more sense later. I also taped off the inside of the half-tube bit, to make sure no paint got inside, as well as the battery connector. Then it was off to the Plasti Dip!  I didn't want to risk pulling out the wires of the lights attached to the half-tube section, so I opted to cover one side at a time. Once that was set, I propped the pistol on its top, painted the grip and back section a metallic black, let it set, then taped it up some more. 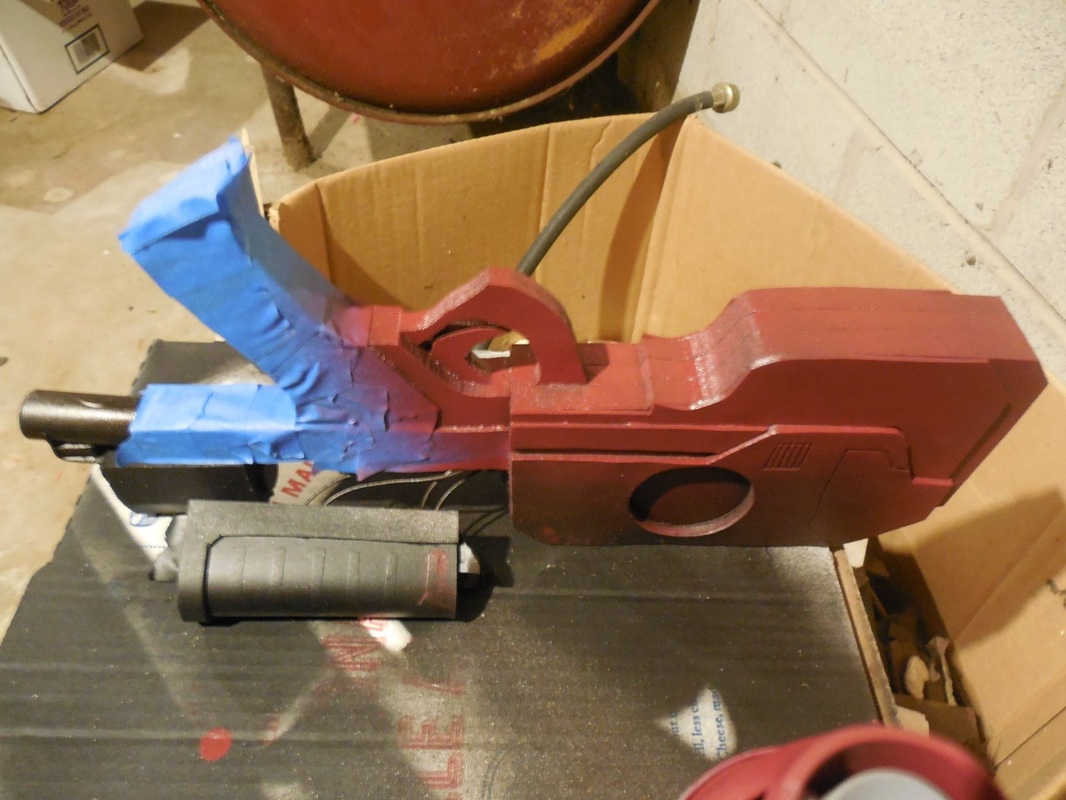 Then I grabbed the darker red I used in the Original Helmet 1 build, and painted more of the bottom area as well as the front. Naturally, I let that set too, then taped it up to paint the rest of it silver. Once that set, I took all the tape off, including the strips on the half-tube section and the paper protecting the acrylic. The result? Perfection. *drool* Ahem. Sorry. :D The paint masking on the inside of the discs worked exactly as planned: there, but not holding back the whole light. The strips shone through wonderfully. You can see it best when I turned down the light levels on the camera in the third shot. Finally, time to tie it all together with the weathering! 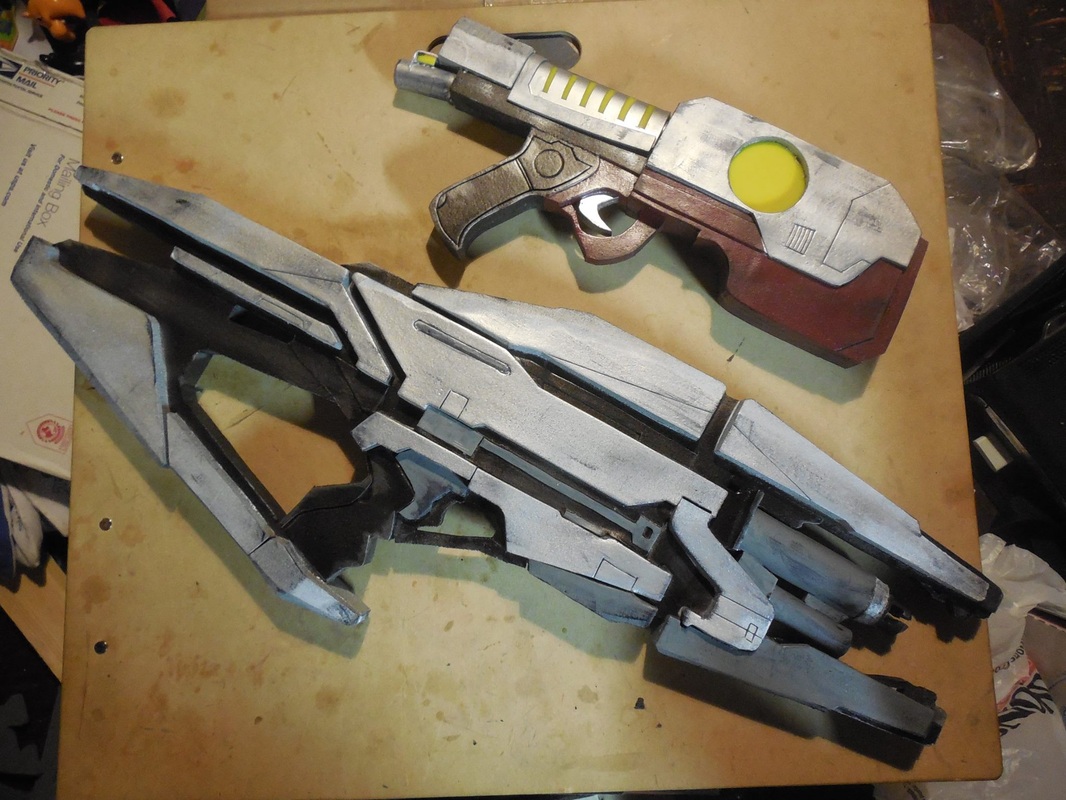 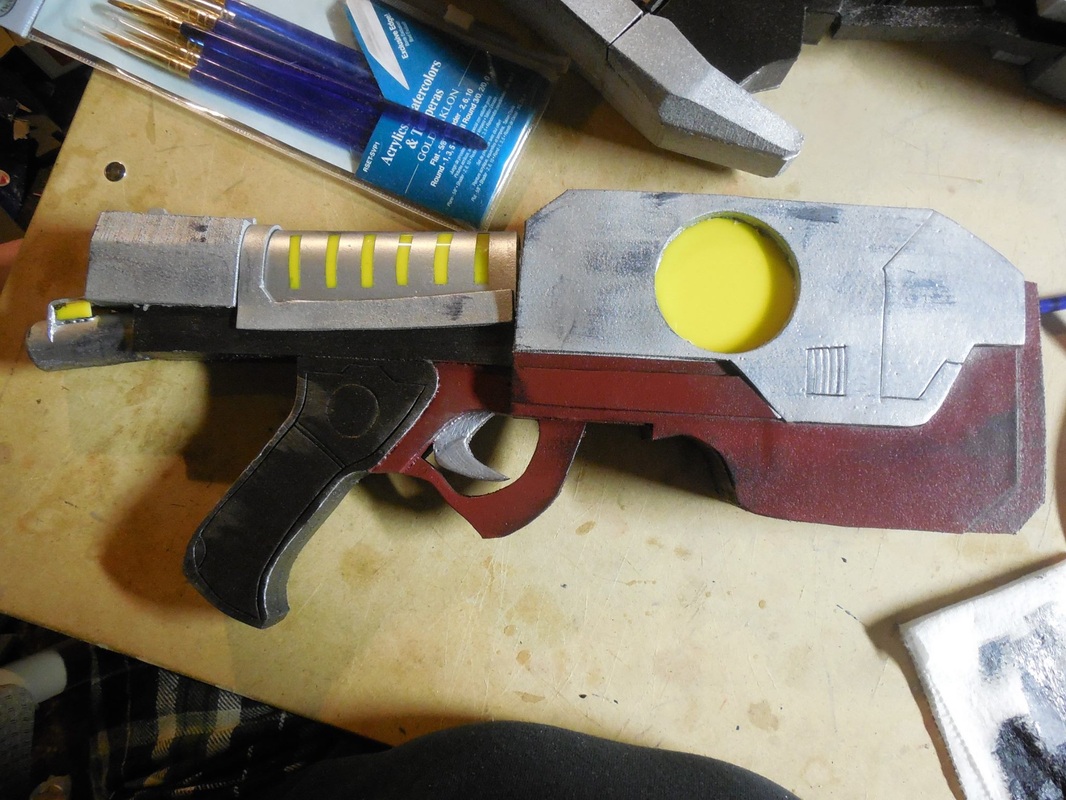 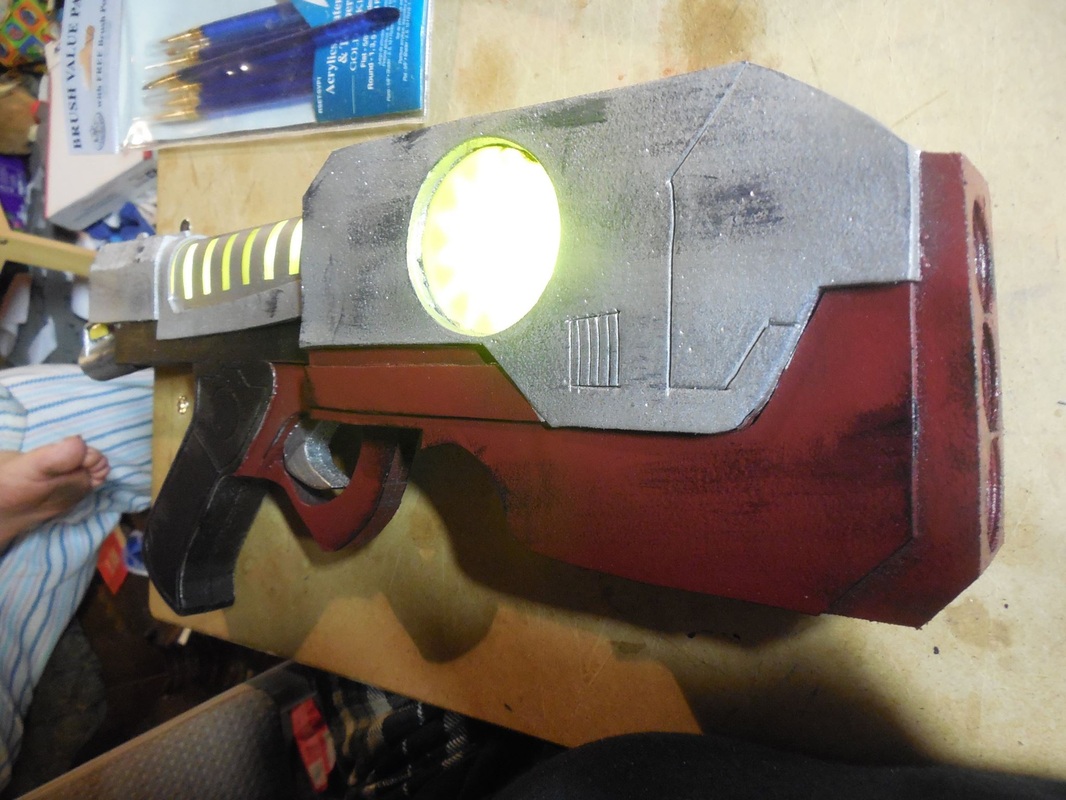 Acrylic wash and dry brushing, then a clear coat to seal it all in. Super stoked at how crazy cool this turned out, and it looks amazing even without the lights on. Big thanks to Beer Money Props for his suggestions which helped a ton, and to Viverra Cosplay who will share some amazing pictures of it once she's finished the costume (crossing fingers)!
0 Comments
|
|
 RSS Feed
