|
Taking a journey to a place I've never been before: carving and molding. Starting small-ish, with the M-5 Phalanx. I swear to high heaven I've restarted this one three times. First time was too small and I tried to cut out everything in one solid piece, then cut everything off. Second time was too big, though I tried separating it into sections for slightly easier making. Both times I tried cutting through all layers at once, all glued together. You guessed it, didn't happen. This time I bit the bullet and used (read: bought) Bill Doran's blueprints for better sizing, though I made some small adaptations of my own so that I wasn't outright copying him lol. I got a bunch of 1/4 and 1/8" MDF sheets and started learning how different a band saw and scroll saw are. 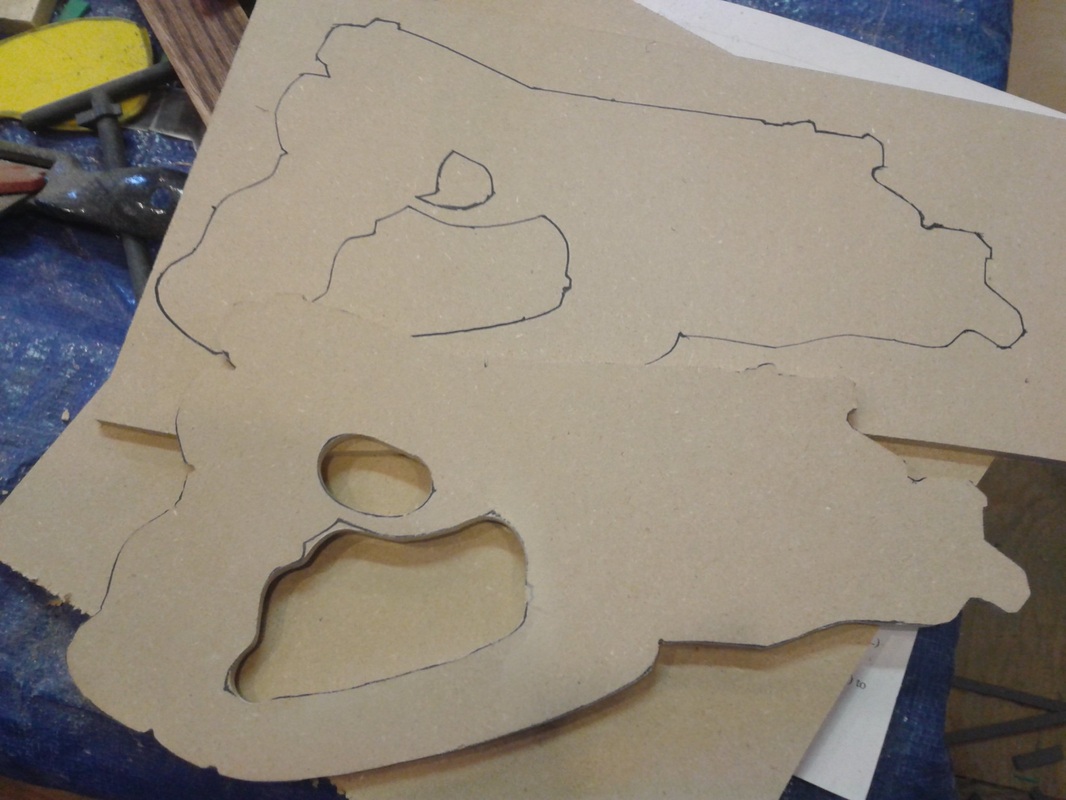 The 3 core layers are all 1/4" MDF, with the central one cut with the trigger and the two outer ones cut open. I glued and clamped: 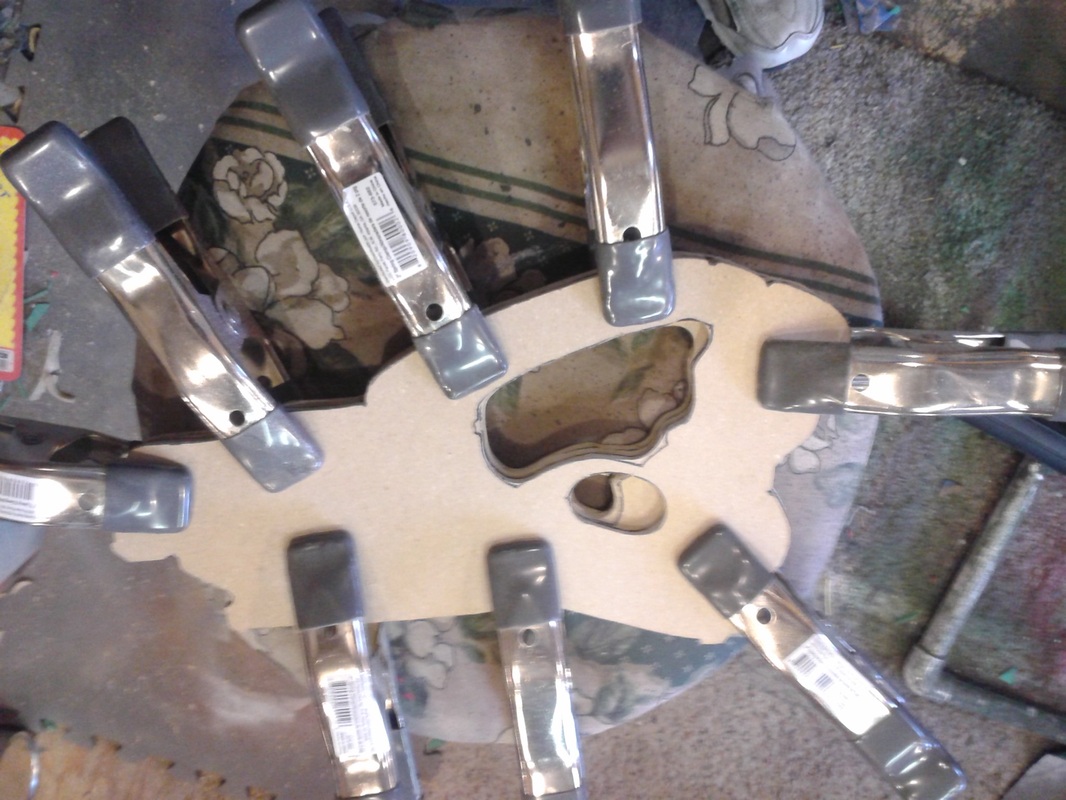 trying to keep things as even as possible. I could already see spots that would need sanding and filling, but that comes later. Next I threw together the top bit: 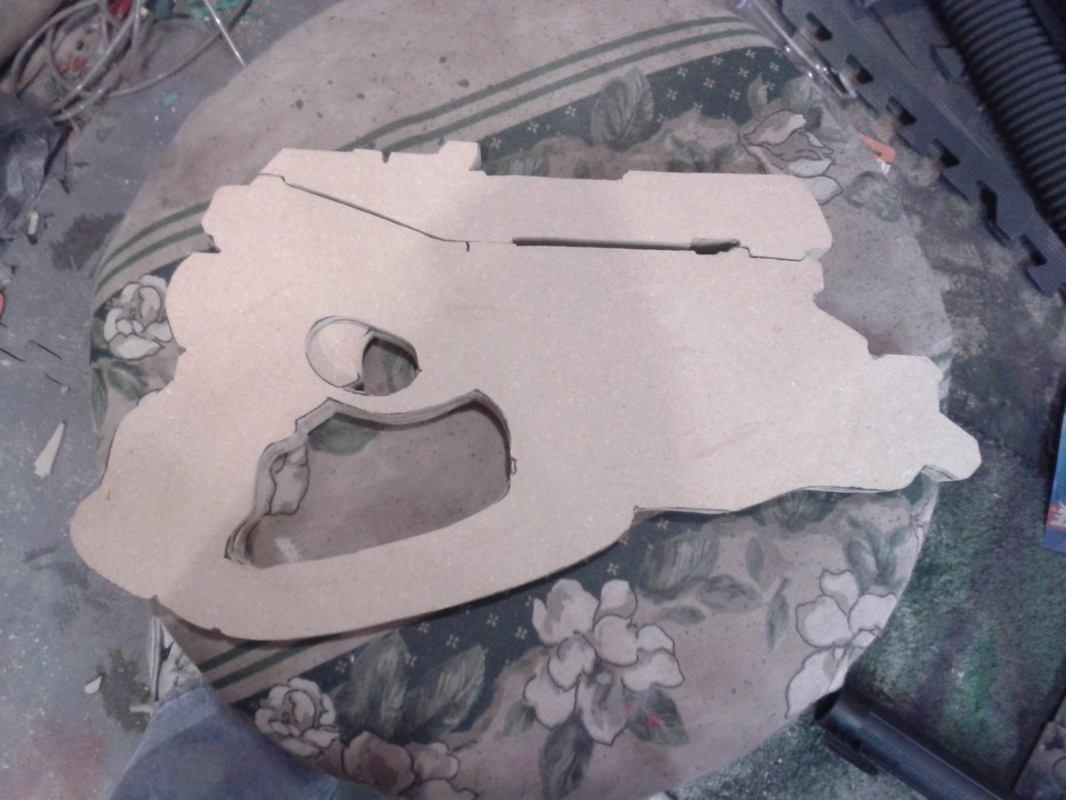 Then started on the raised details: 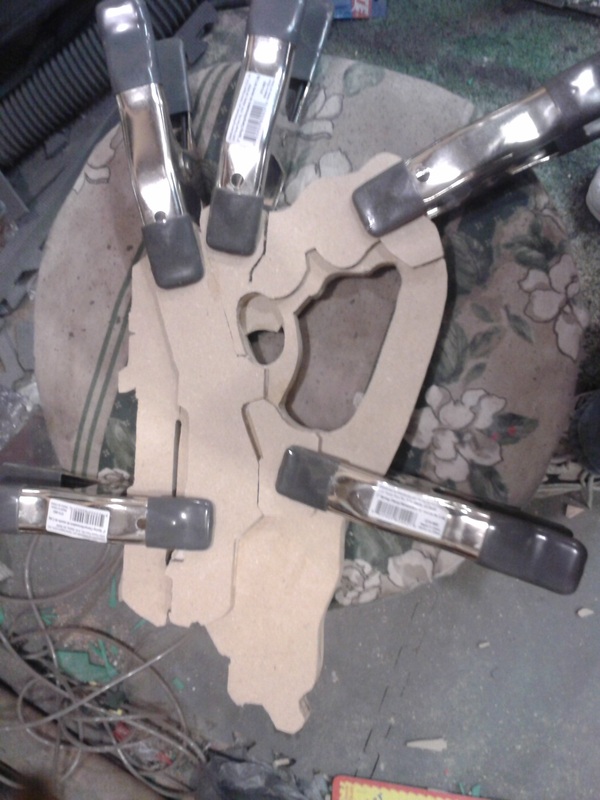 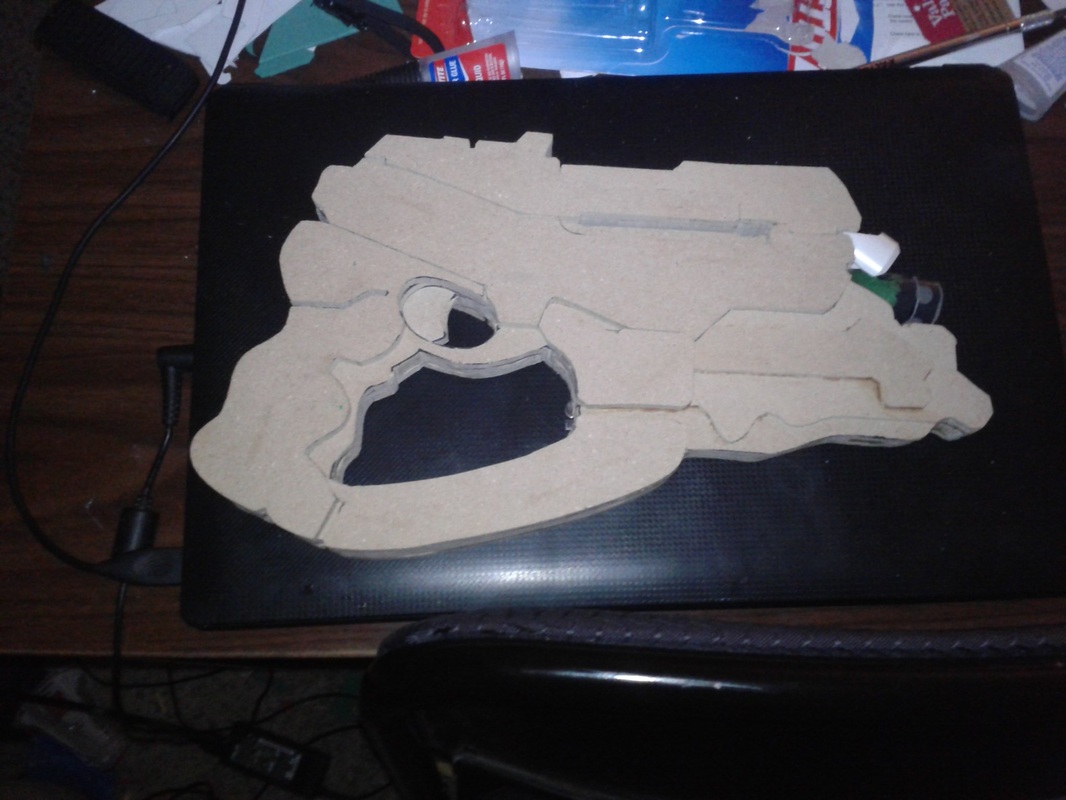 These I cut two at a time, two layers at once, to keep things as close to similar as I could. Not quite symmetrical, but not bad for a first go with something other than foam. The top bit and a few spots on the front also have 1/8" MDF sections, to really pop the layered effect. It wasn't until after I had added the details to the upper section that I realized it would have been better/cleaner to use 1/16" styrene or something, but you win some you learn some. After that it was etching and beveling ALL of the things! 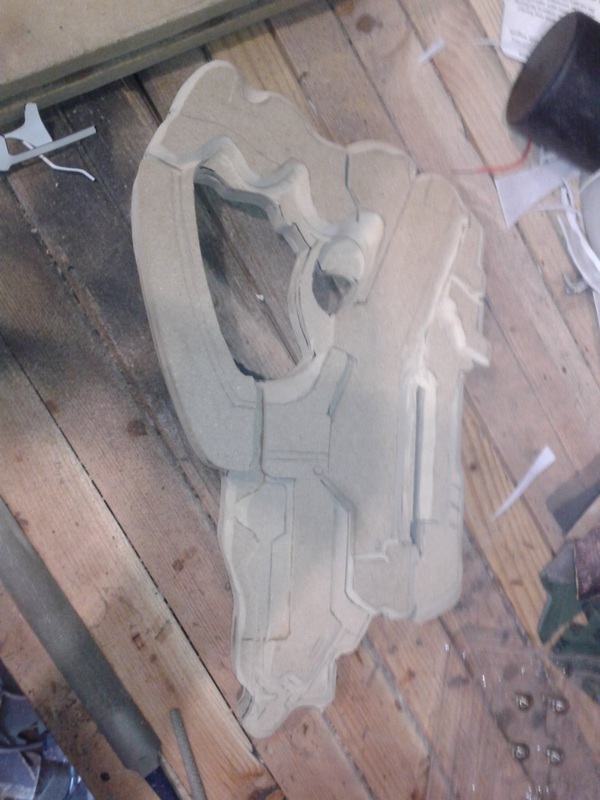 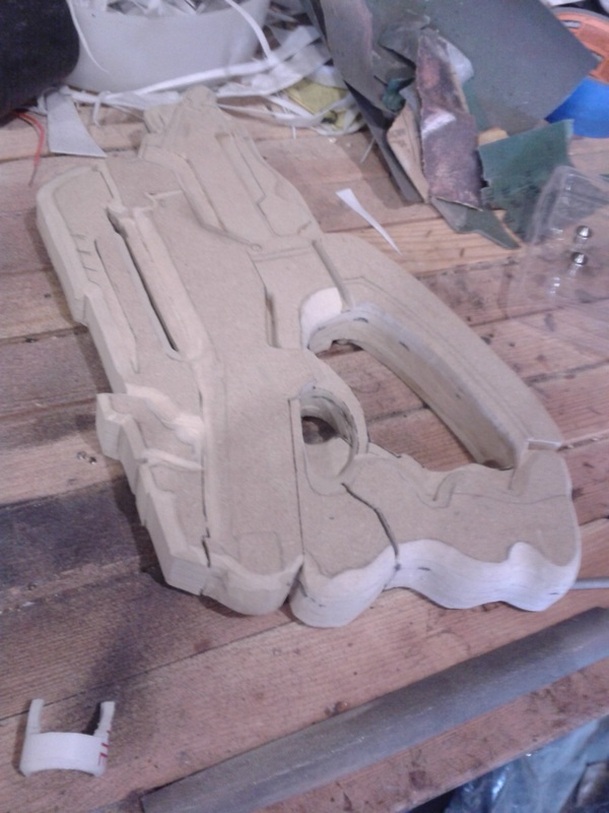 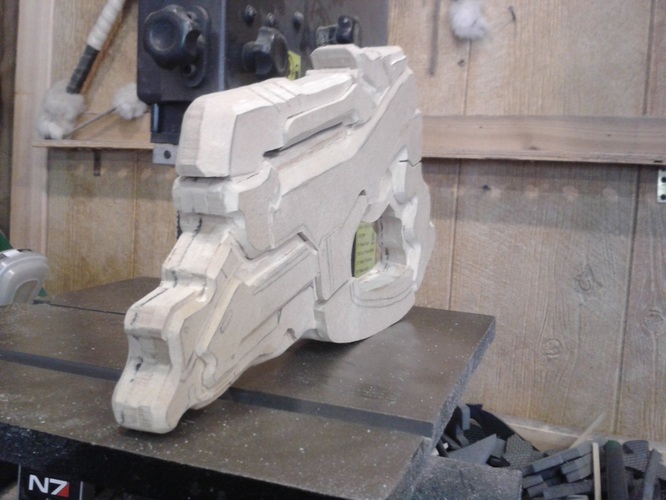  Once all this was done, I got to sanding and filling. First a coat of the ever-handy Ruddy Brown, and passes with 120, 220, 320, 360, and 600. I've determined at this point I'm totally out of shape.... 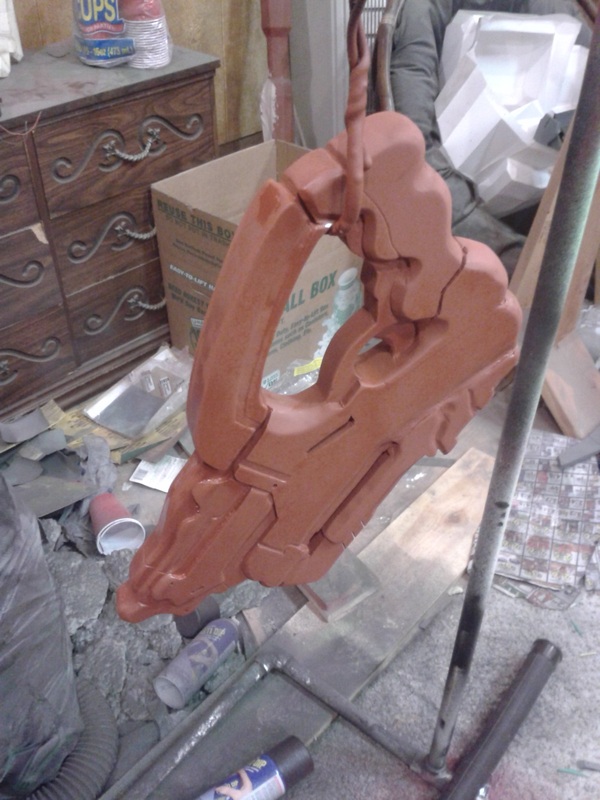 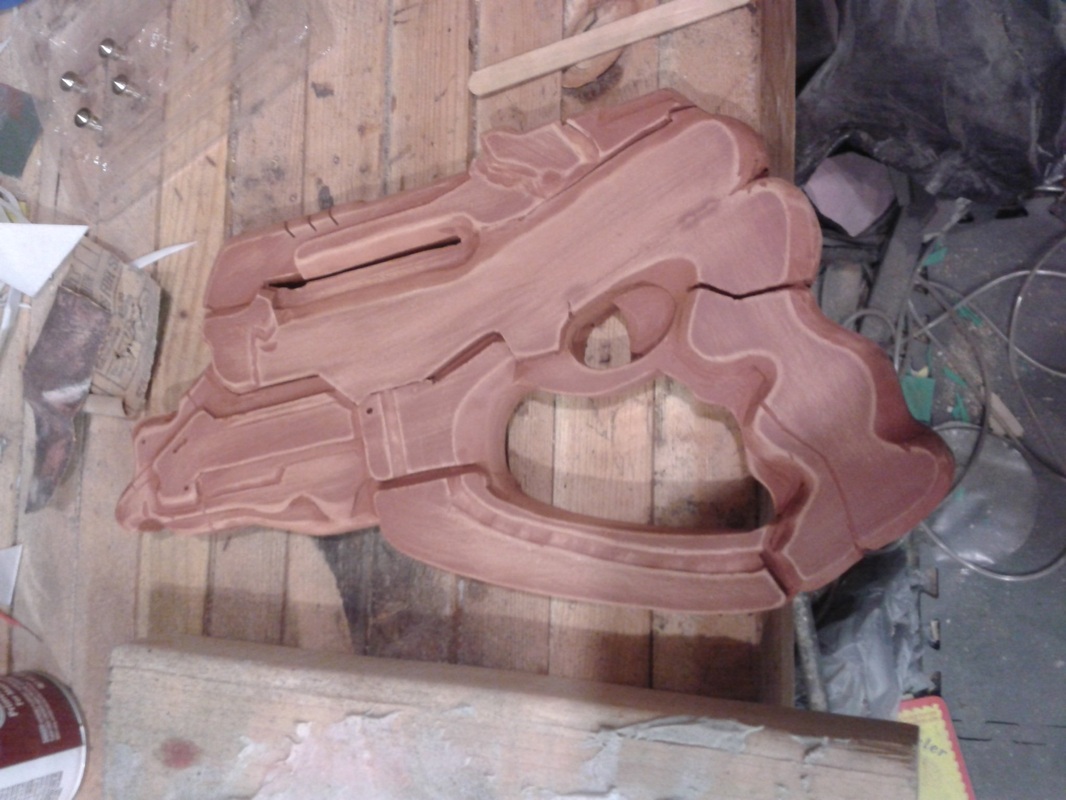 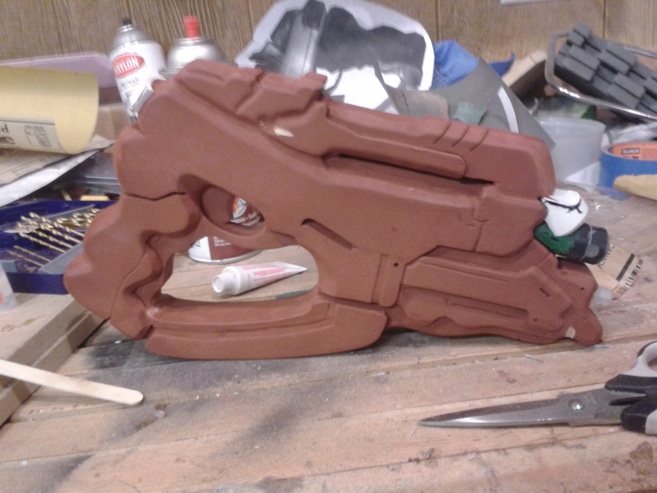 (third one is where I realized 1/16" styrene would have helped the detailing) A few more details, more filler, the barrels, more sanding, more filler, and more sanding, then a final coat of primer to check for anything I might have missed. Oh, and more filler and more sanding. ;) 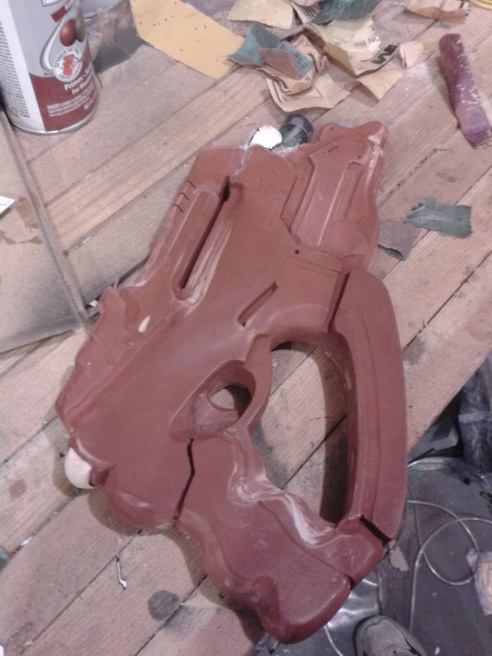 I also started the box, realized it was waaaaaaaay too huge and would be super expensive to fill with mold, and made it smaller/sturdier: 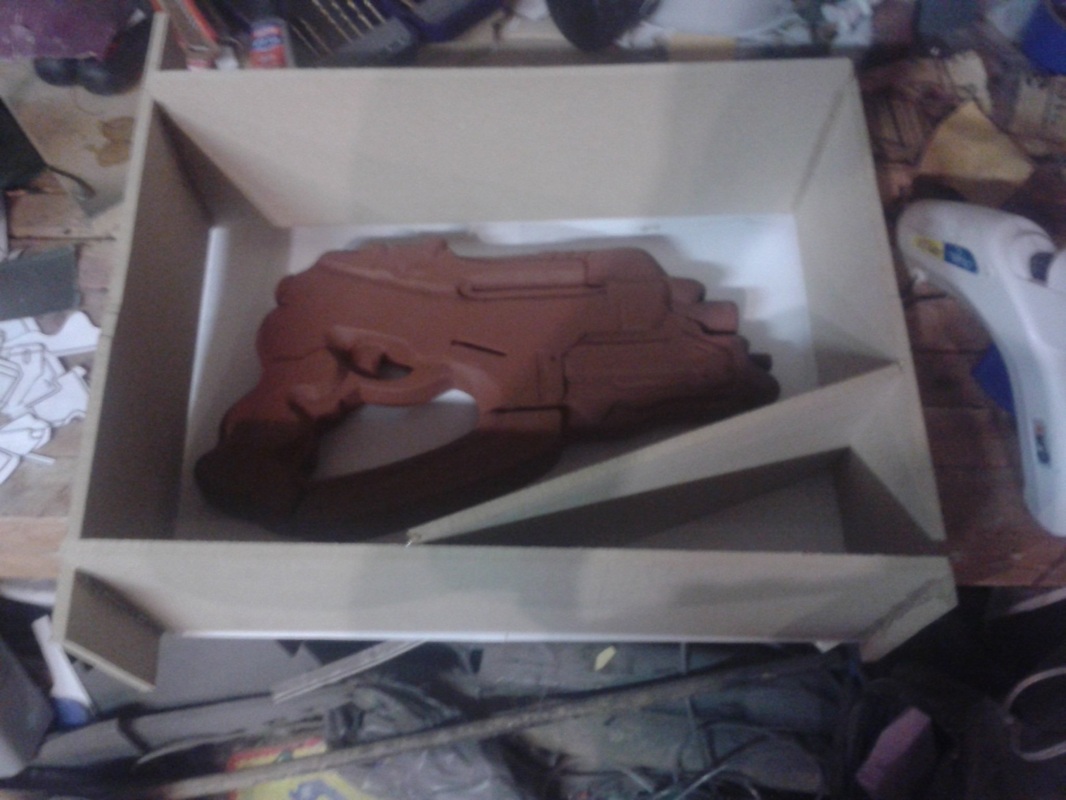 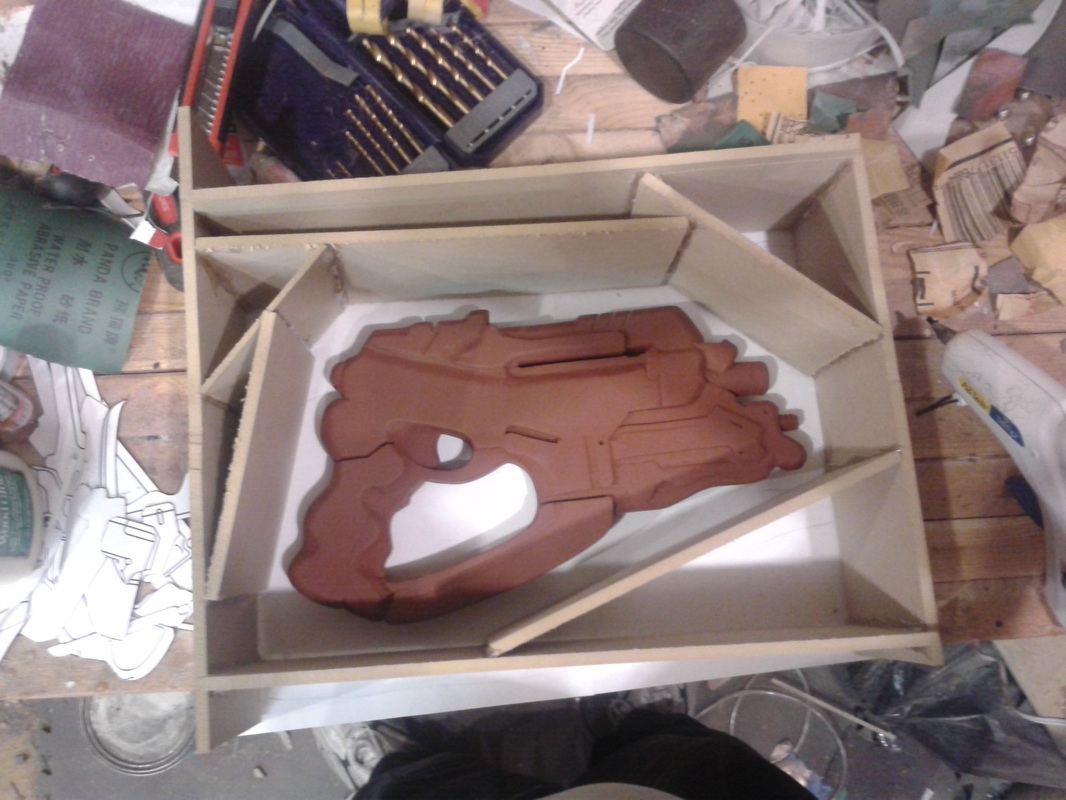 I went to FX Supply, a local special effects shop that deals in some good quality products for all kinds of stuff, from molding to latex to makeup to whatever you want. Really knowledgeable owner too, since he'll answer any questions you have and makes sure you know exactly what you're getting into. Anyway, got the silicone and some casting resin, and went back to start claying! 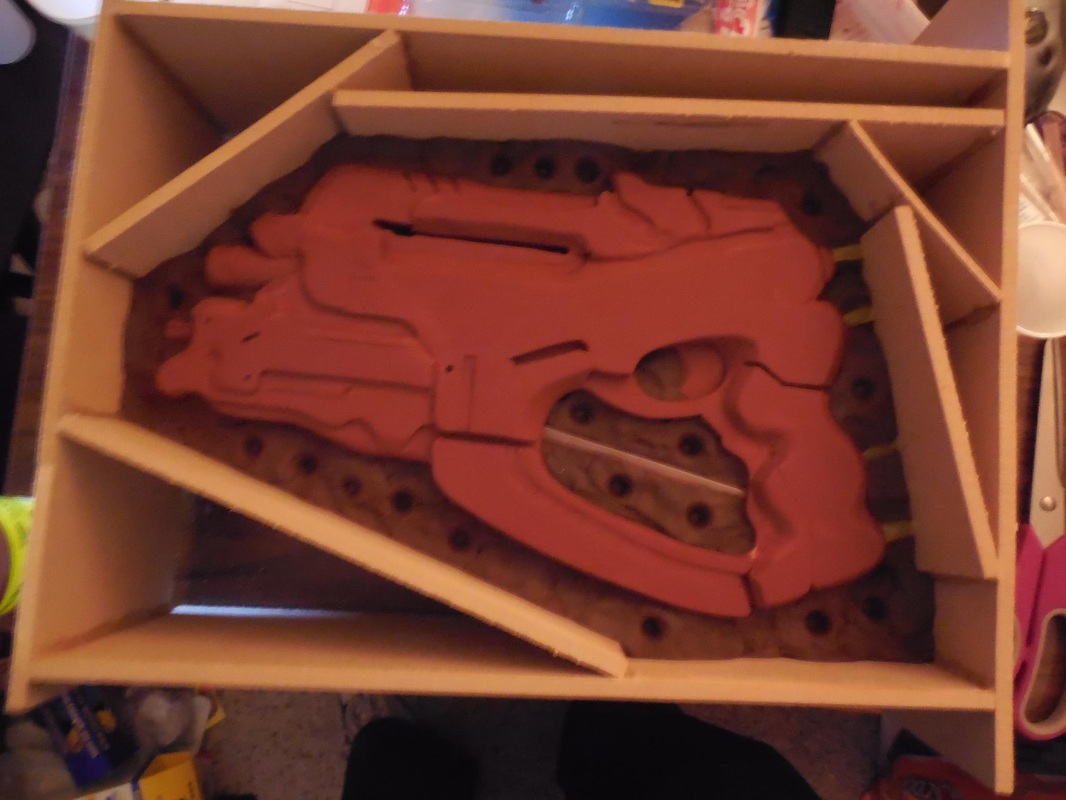 I cut some straws to make sure the resin got everywhere and limited the bubbles. The ones on the right side are air holes and a pour spout at the highest point. For a first time attempt at molding, I didnt' have any leaks (which was great) though the surface was uneven (something I'll have to work on). The silicone itself worked like a charm! 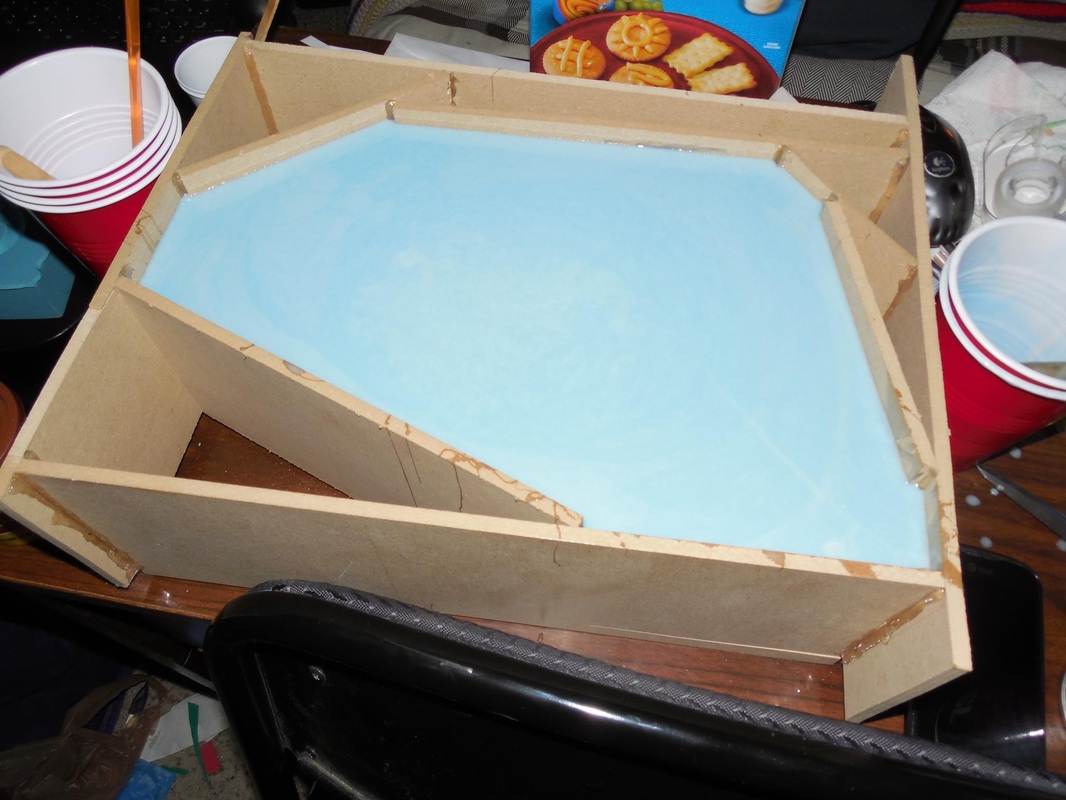 After that came the wait. I let the mold dry overnight, removed the clay, sprayed some mold release and poured the second half. Naturally, this is where things started to get wonkey. That night I went to open the mold and found out I hadn't sprayed enough release. A good chunk of the two halves were stuck together, and I was super mad - I thought I had literally lost a hundred dollars worth of silicone (which I couldn't lose). Luckily I was able to find several spots that weren't stuck to each other and carefully pry it open. The mold, thank all that is holy, was saved! Then I started pouring the resin. Sorry, no pics of this part. Lots of tutorials on YouTube. Anyway, I mixed the resin several times, filled some of the cavity with pink foam to save some of the resin, and poured a huge chunk of it everywhere because the pour spout was too small. The end result of that one was me extremely pissed and a casting I couldn't save. I'm keeping it as a reminder to take it slow and easy. Tried again after cutting a wider spout, and succeeded! Well, mostly: 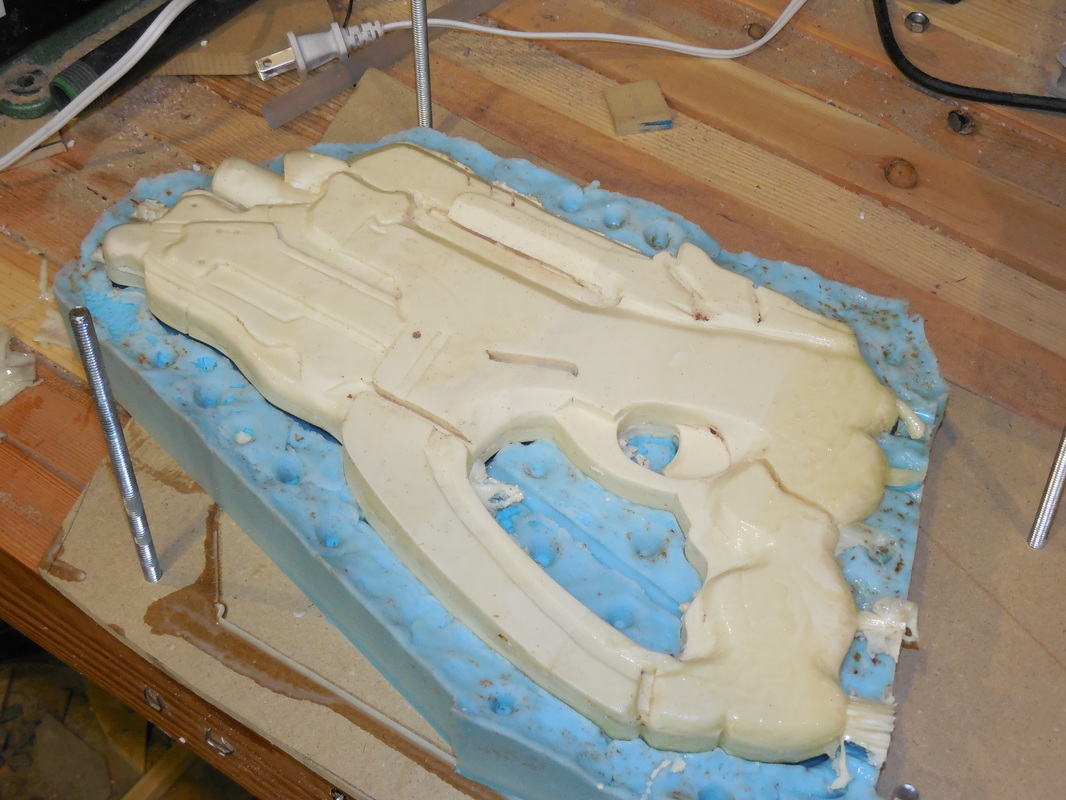 It's a little hard to see, but most of the grip section didn't fully cure because I apparently didn't mix it enough. Shot a fun little video of the demolding event, though, which you can probably see a bit better. Third time's the charm though! Since the grip never ended up curing I scrapped it (more wasted resin blargh) and tried again, this time pouring in about 16 or 18 ounces in and doing a slush cast. The result? 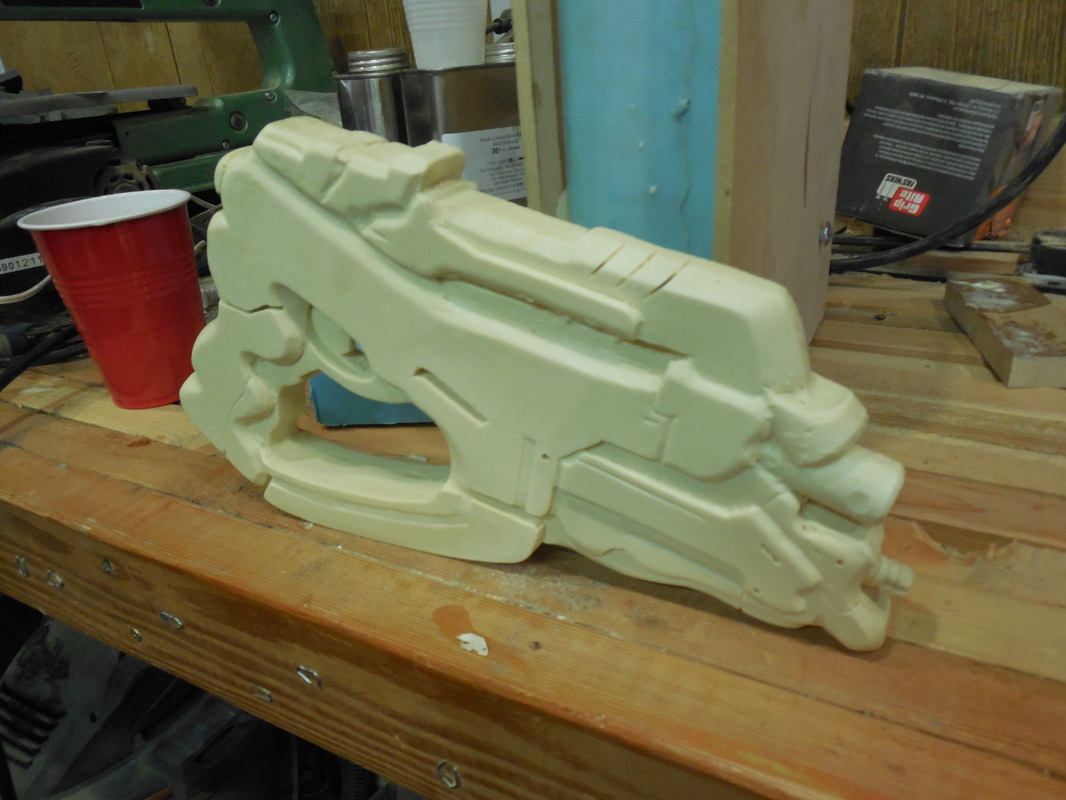 A perfectly usable casting! Yay! I cleaned up the flashing and then, after a couple really small spots of filler, started painting. I don't have anything other than cellphone pics of this part, but if you really want to see them you can check out my Facebook page. First I used three layers of Ruddy Brown (it's cheap and it works - used it exclusively on the master above), then a layer of Rustoleum Hammered Black. After that dried, I taped off the spots that were staying black, and sprayed a layer of Hammered Grey, then again with the tape and on to Hammered White. 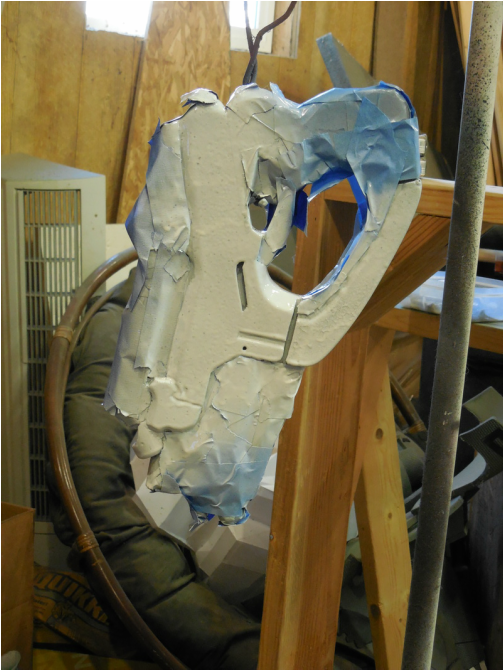 This is where I caution the rest of you: wait at least a day between the colors to make sure they're really dry! There were a couple spots on the grey that were soft, though not near as bad as the problems I had with the white. When I made stencils for the symbols on the sides, they stuck really bad to the white and were a pain to clean up later (more on that below). 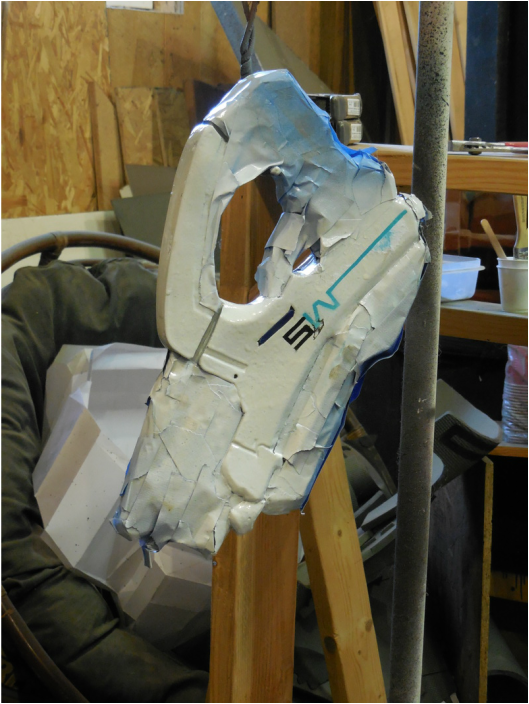 See that black bit? Yeah. This side had the least of it. I didn't dare take a pic of the other side lest I give up in frustration. In a nutshell, it was mangled. Also, when I removed the tape, I found it hadn't covered everything in a couple spots, and I found the soft spots on the grey. All was not lost, however! After tape removal (always my second favorite part): 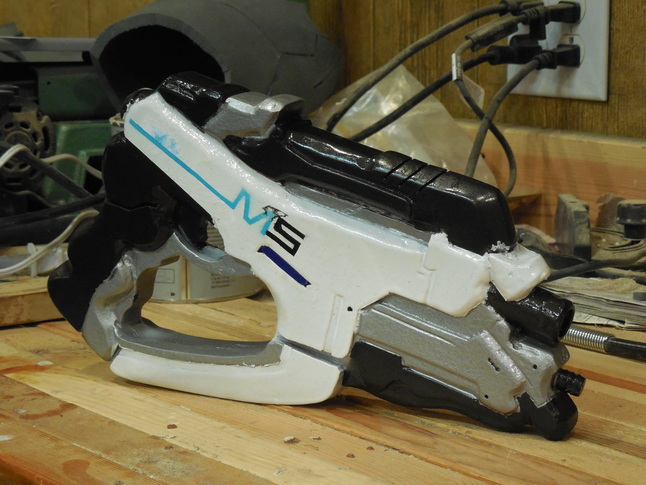 Things were looking up, despite the mangled bits. I grabbed my acrylics, found colors that matched (thank the gods), and started cleaning it up. Here's what *was* the mangled side, looking much better: 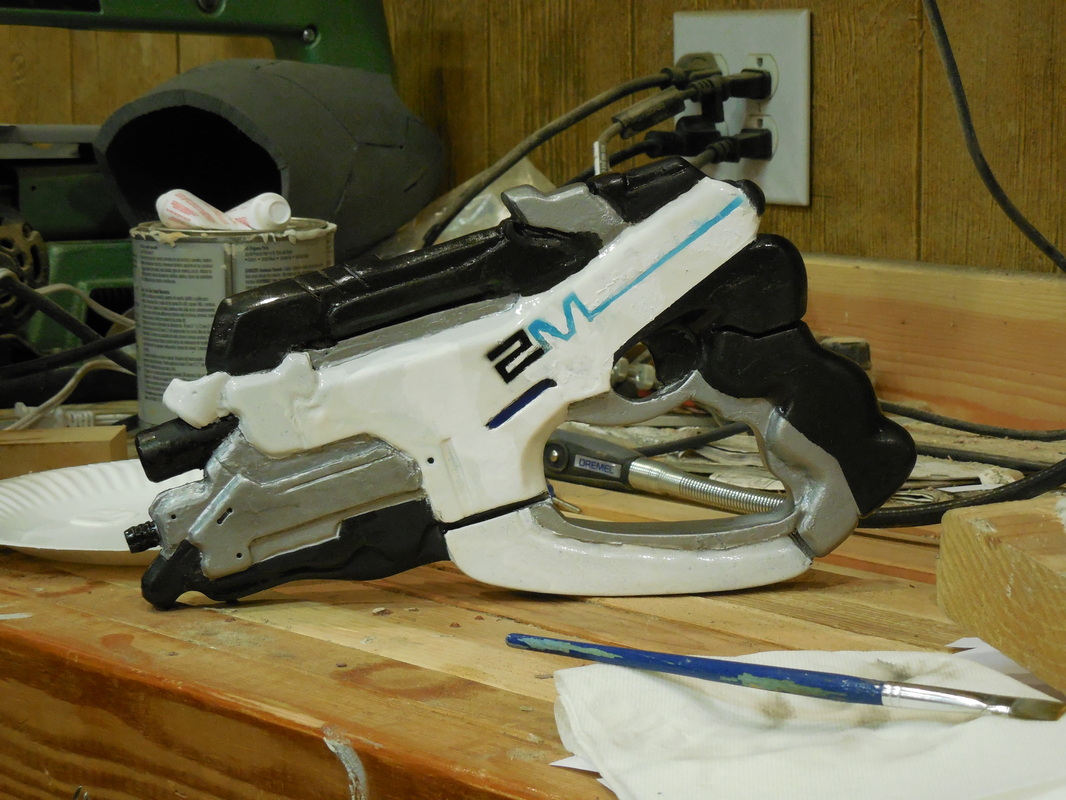 I was really happy, so I went right into the weathering and finished this puppy up with three layers of flat clear coat. Reeeeeeeeally happy with how that part turned out! Weathering is truly my favorite part of the whole process. 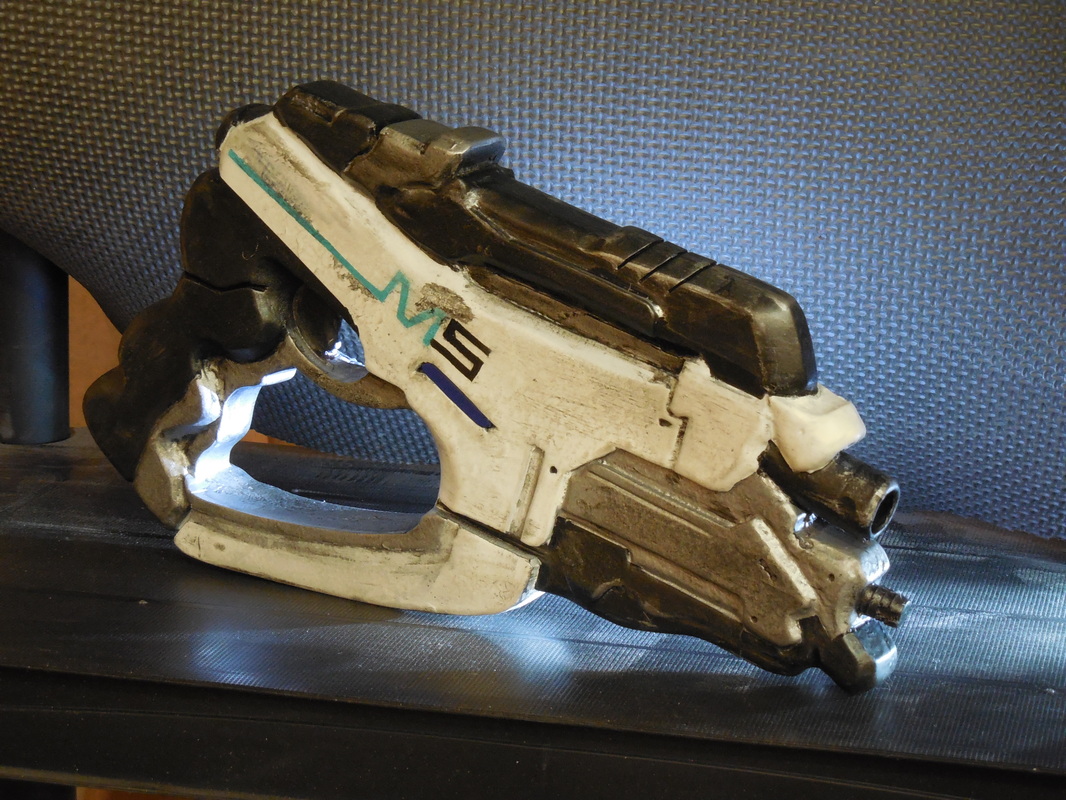  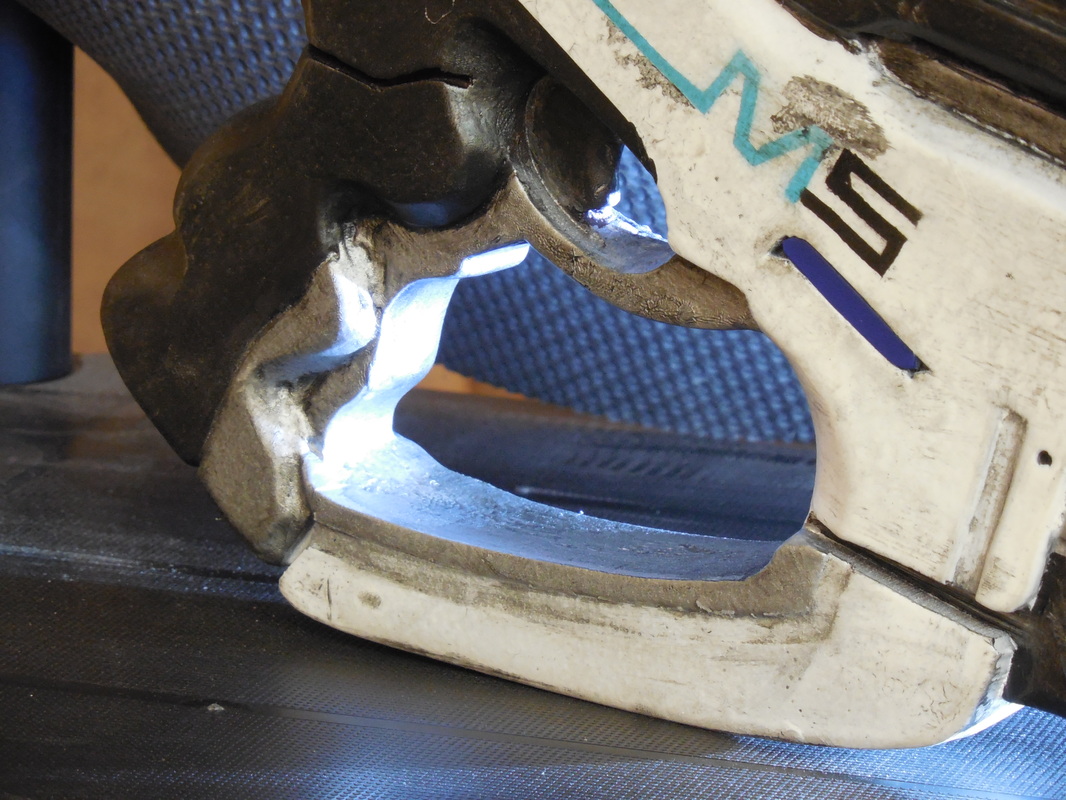 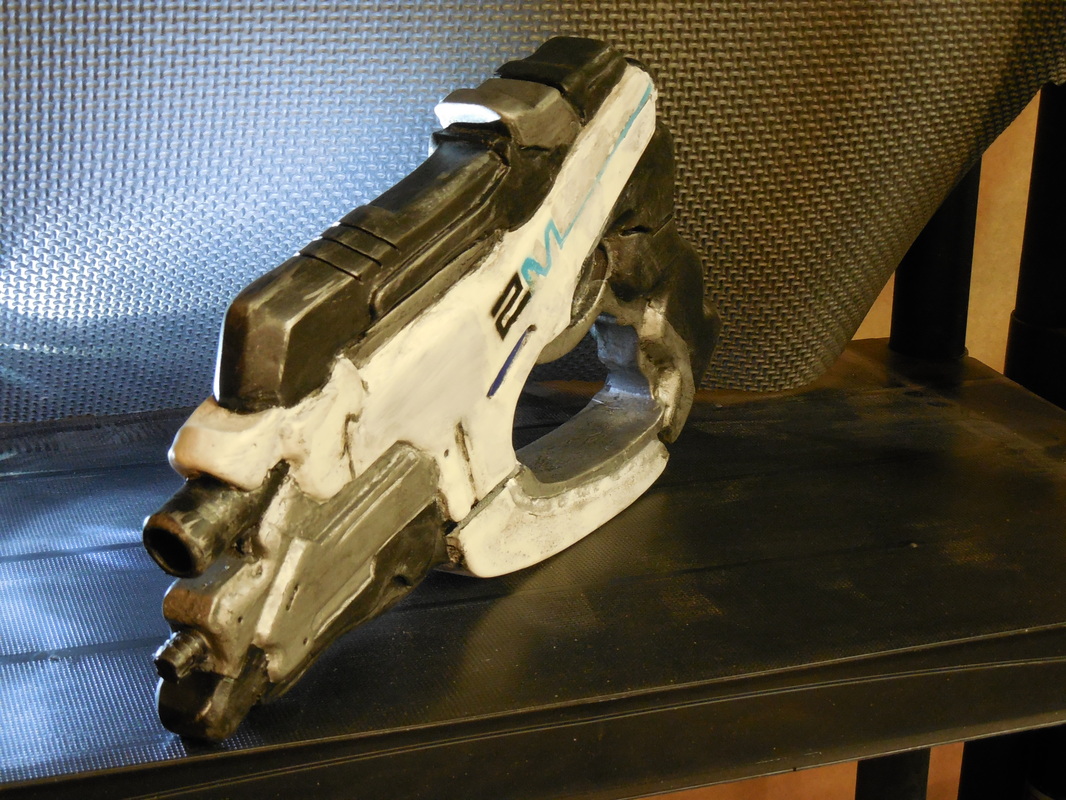 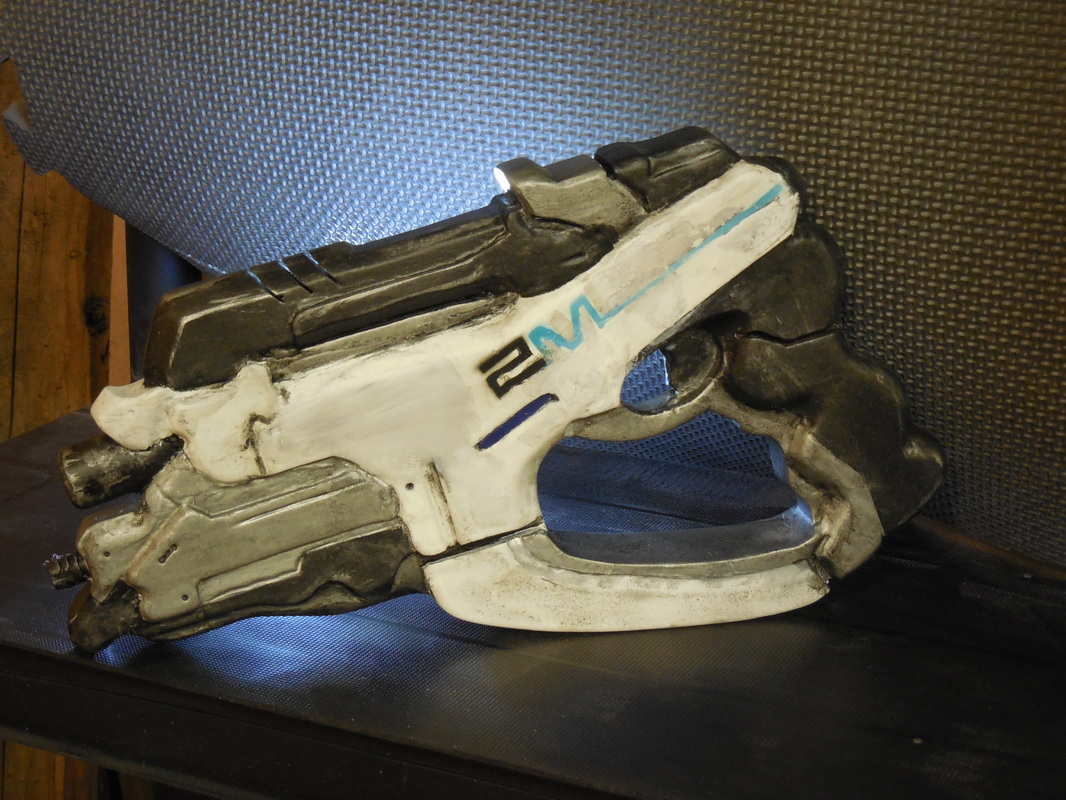 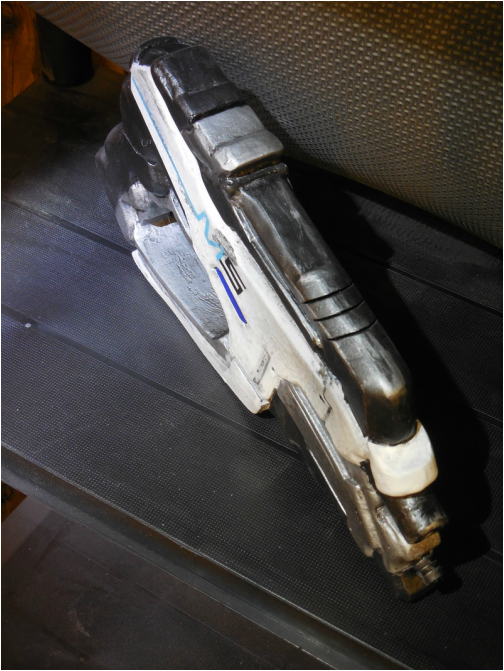 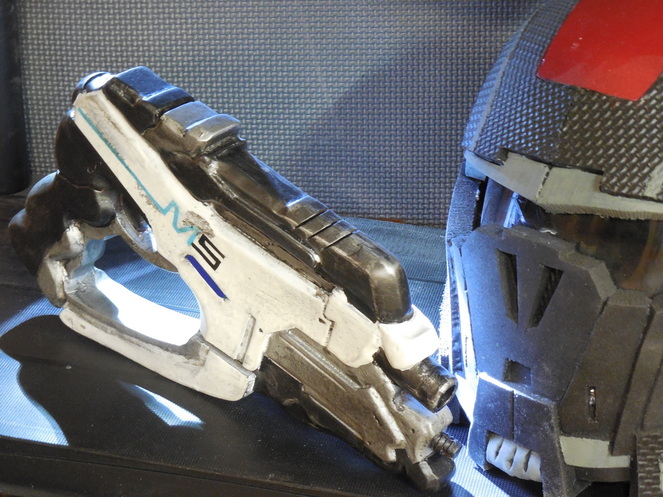
0 Comments
Leave a Reply. |
|
 RSS Feed
