|
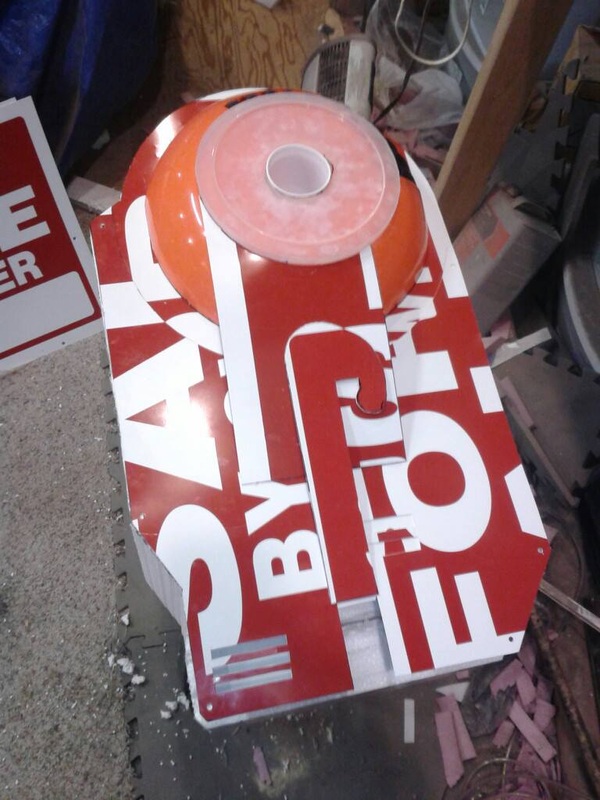
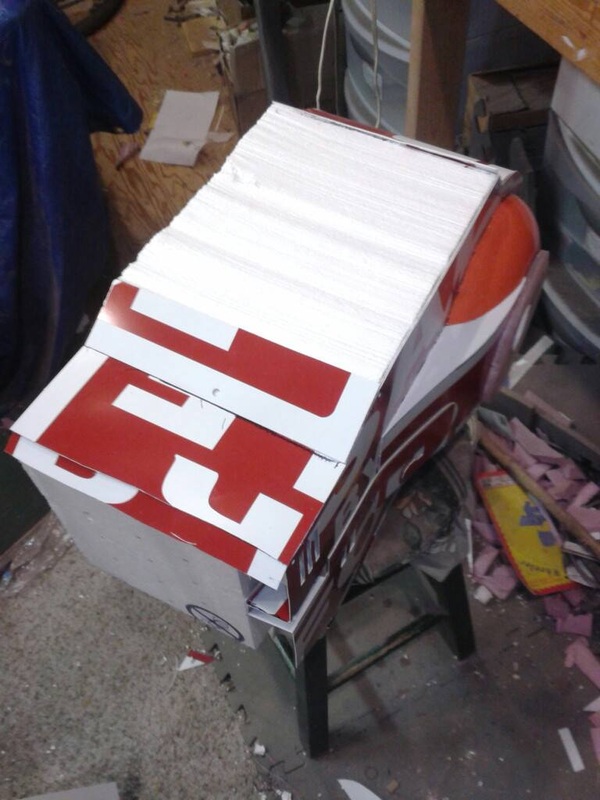
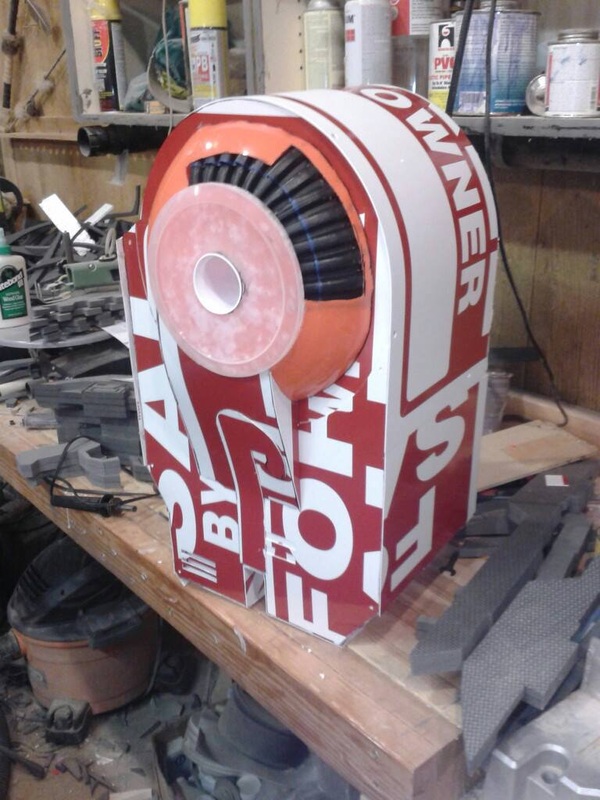
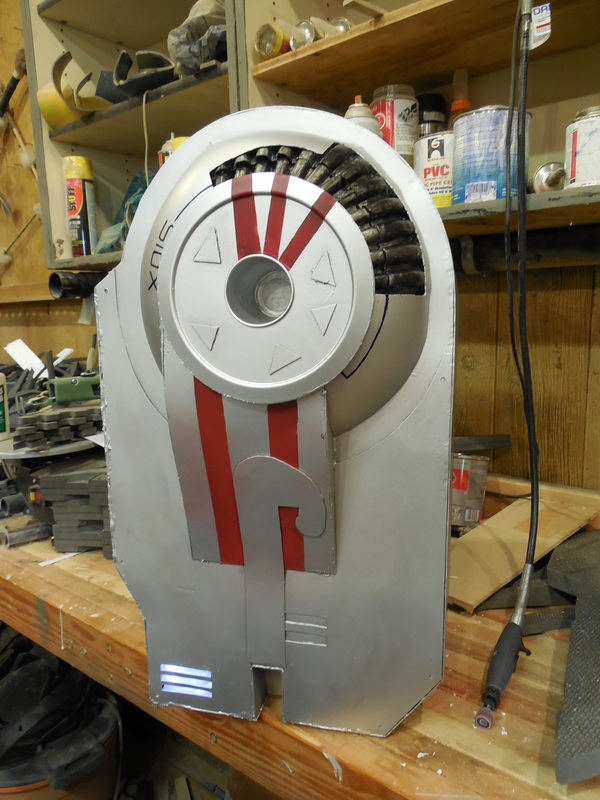
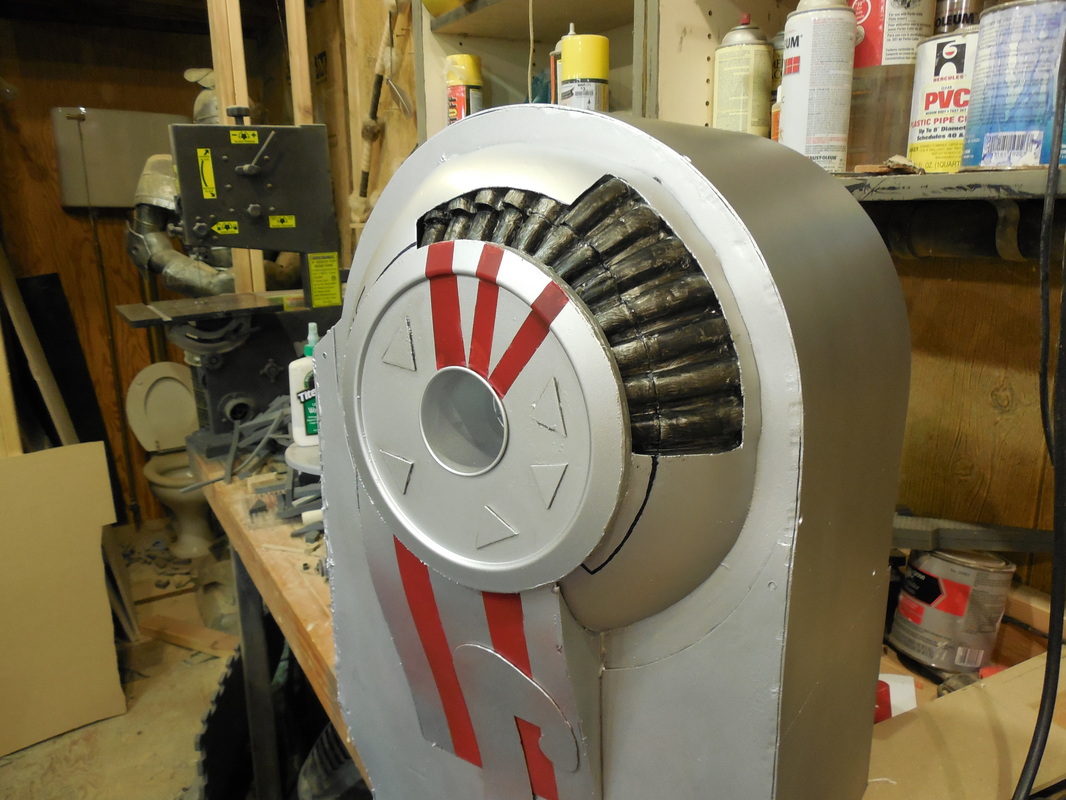
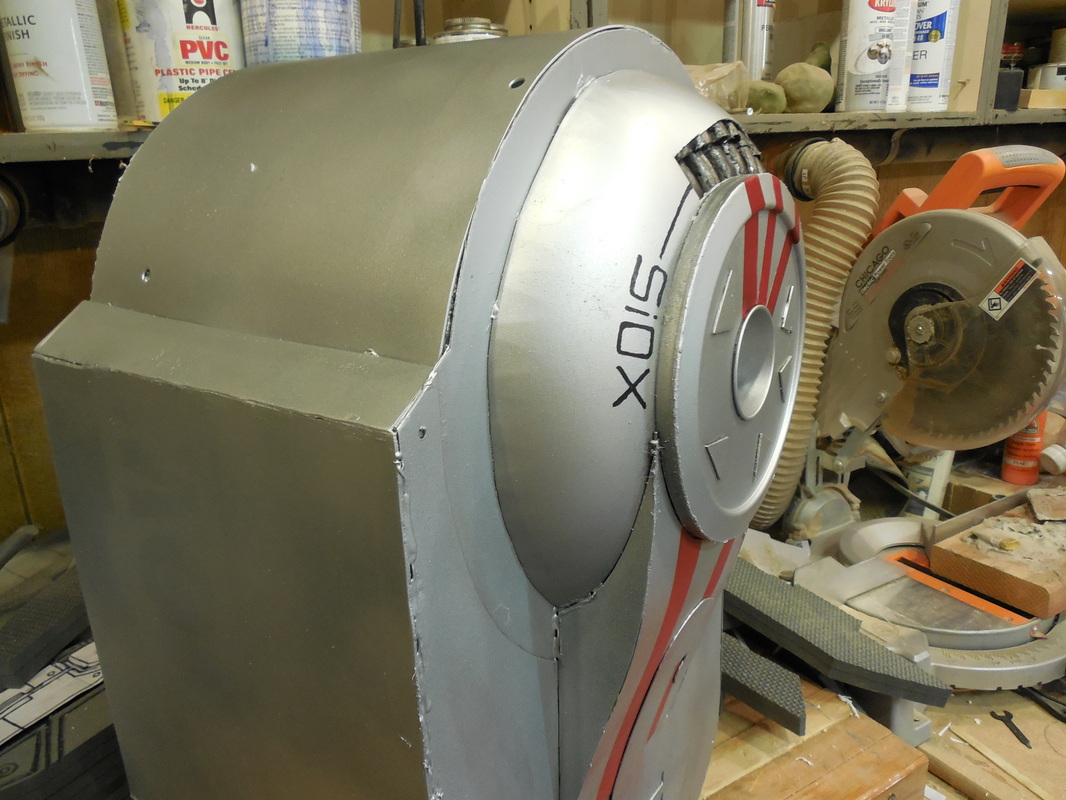
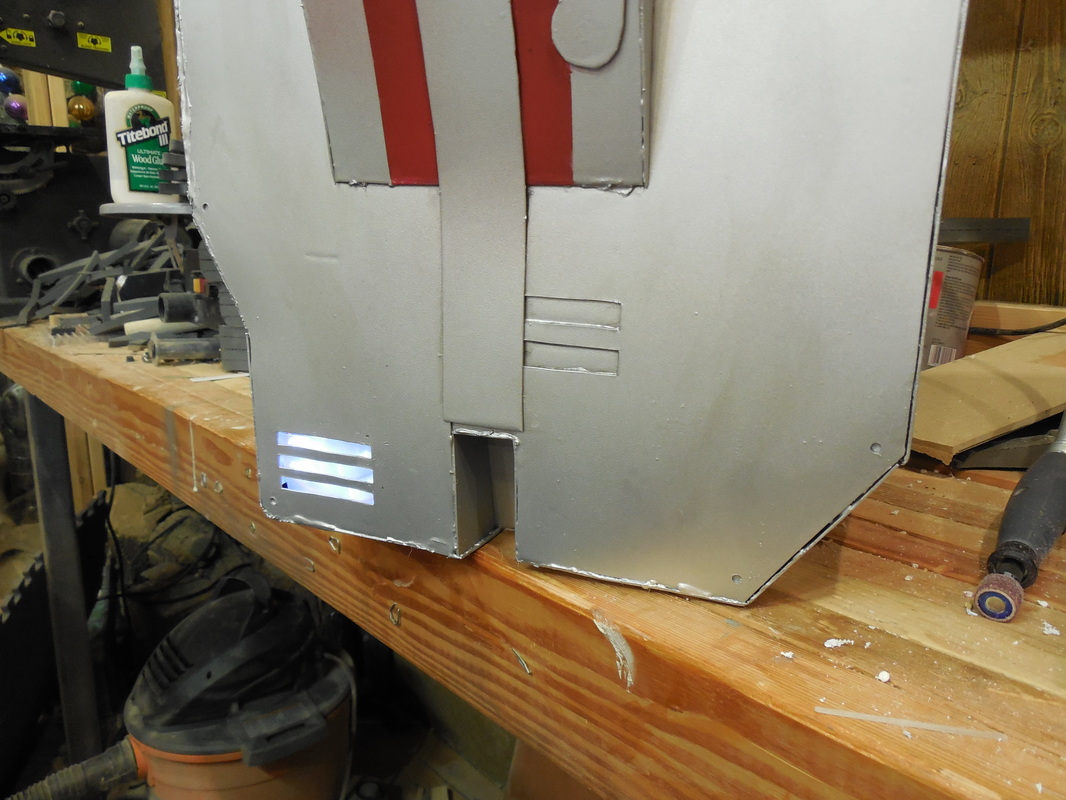
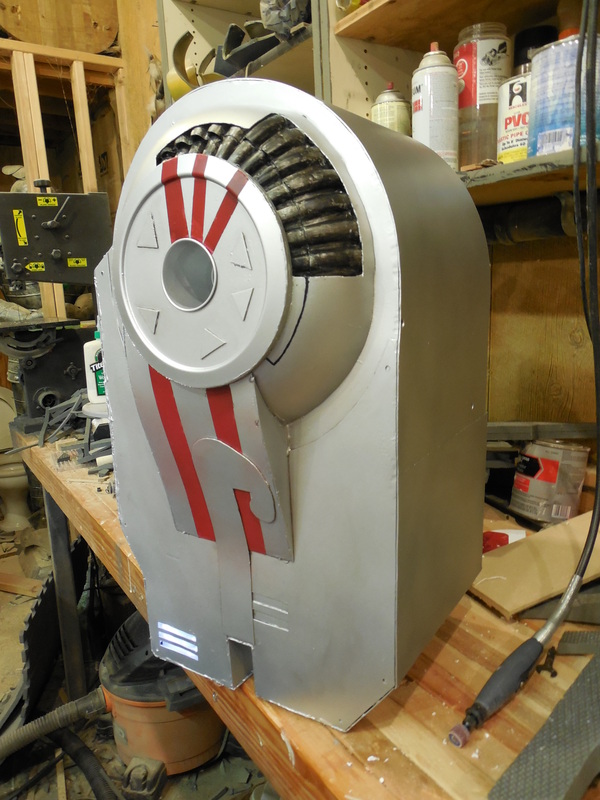
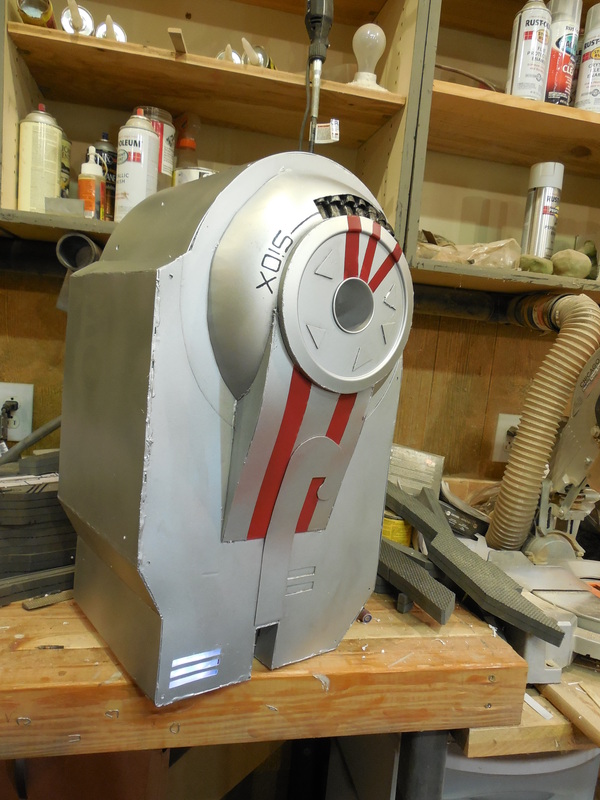
And a twofer! The awesome guys at Embrace Eternity also wanted me to make the Wall Safe we are all so familiar with. Many a credit was hacked from these, as will many more! 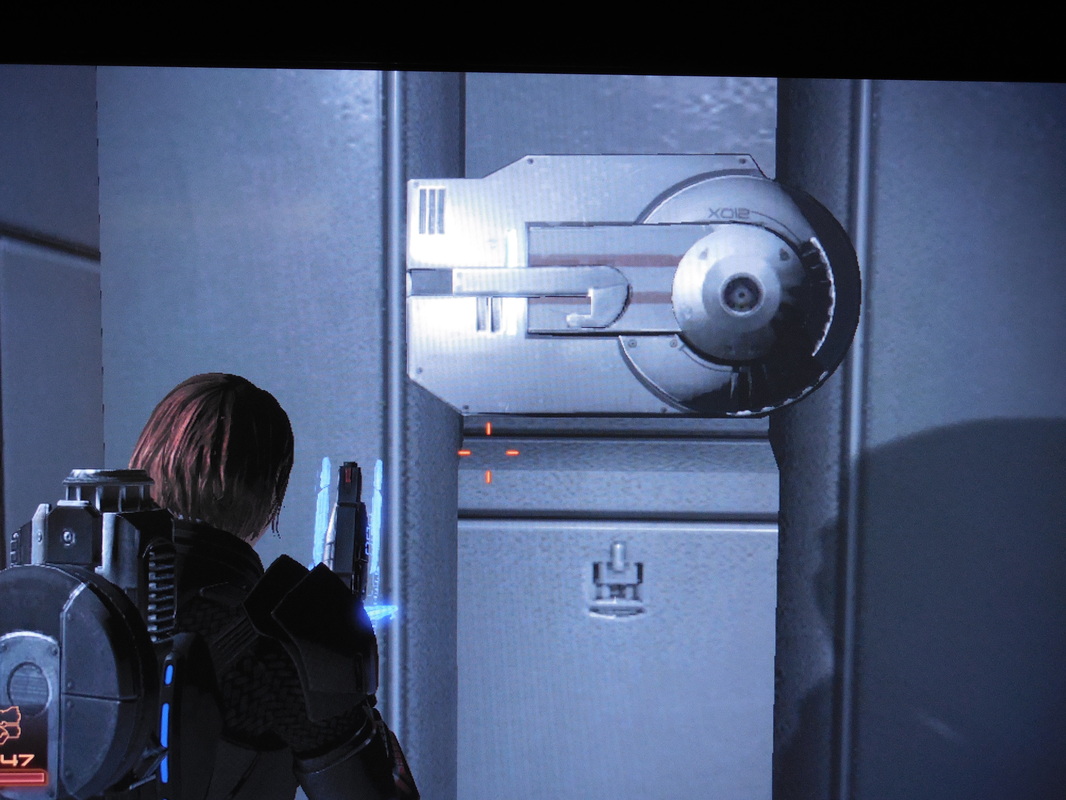 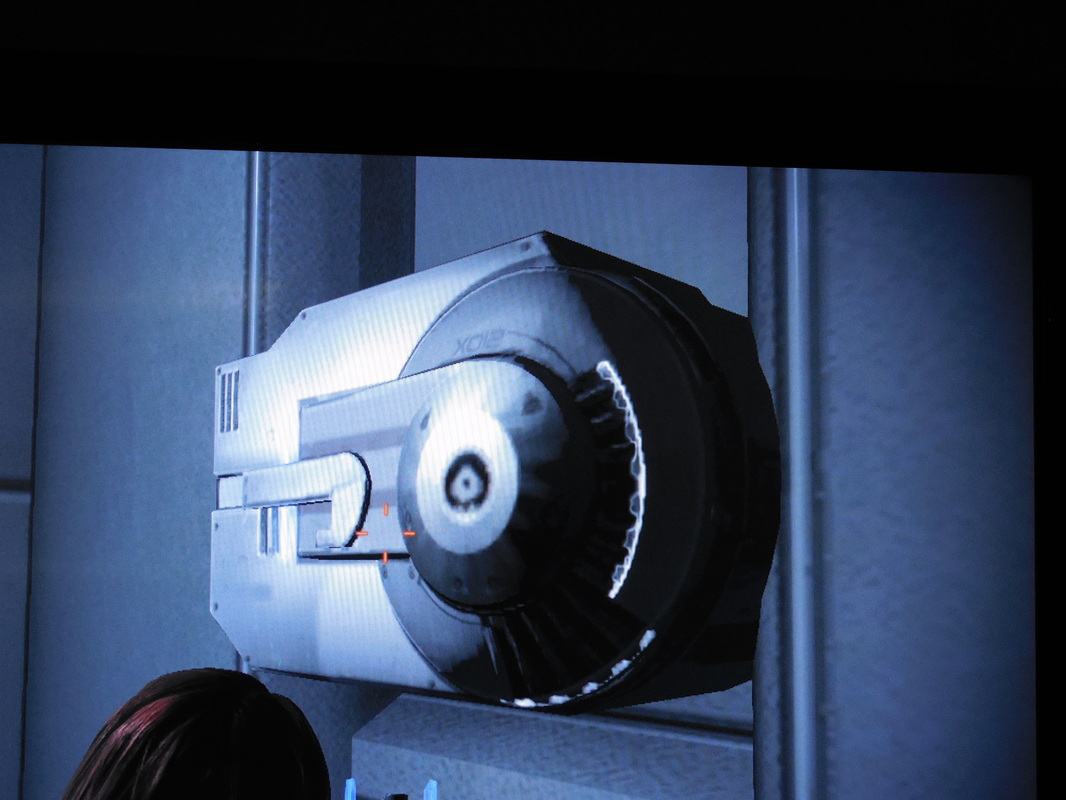 There are quite literally zero good shots of this thing online, so I had to load up the games (aw darn) and play them (so sad) until I found one I could take a few shots of (found one already? Dang it!). I'm sharing both shots I personally took so that anyone else who wants to take a stab at this can, and to make the internet less empty of its sight. For this one, I was asked to just make a static prop. Nothing fancy, just something they could use in various scenes. This meant no moving parts, which made it a lot easier. That also meant I could take some small liberties, so long as it was similar enough to the in game version. I started off by making a small wooden box out of MDF, drilled four holes, and tossed in some carriage bolts and wing nuts to secure to set pieces. 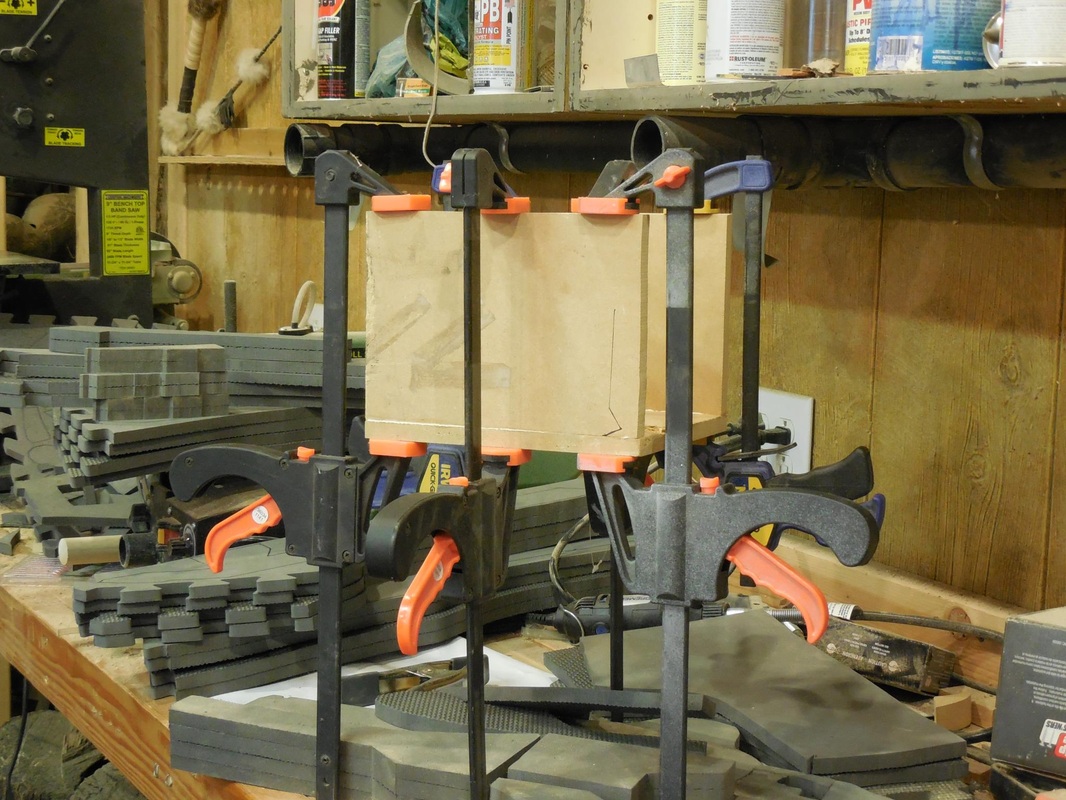 This would be sturdy enough to both hold up the safe and stay on the wall, and be simple enough to move to different sets with little issue. Once the box was done, I used it as the base and started throwing styrofoam at it. 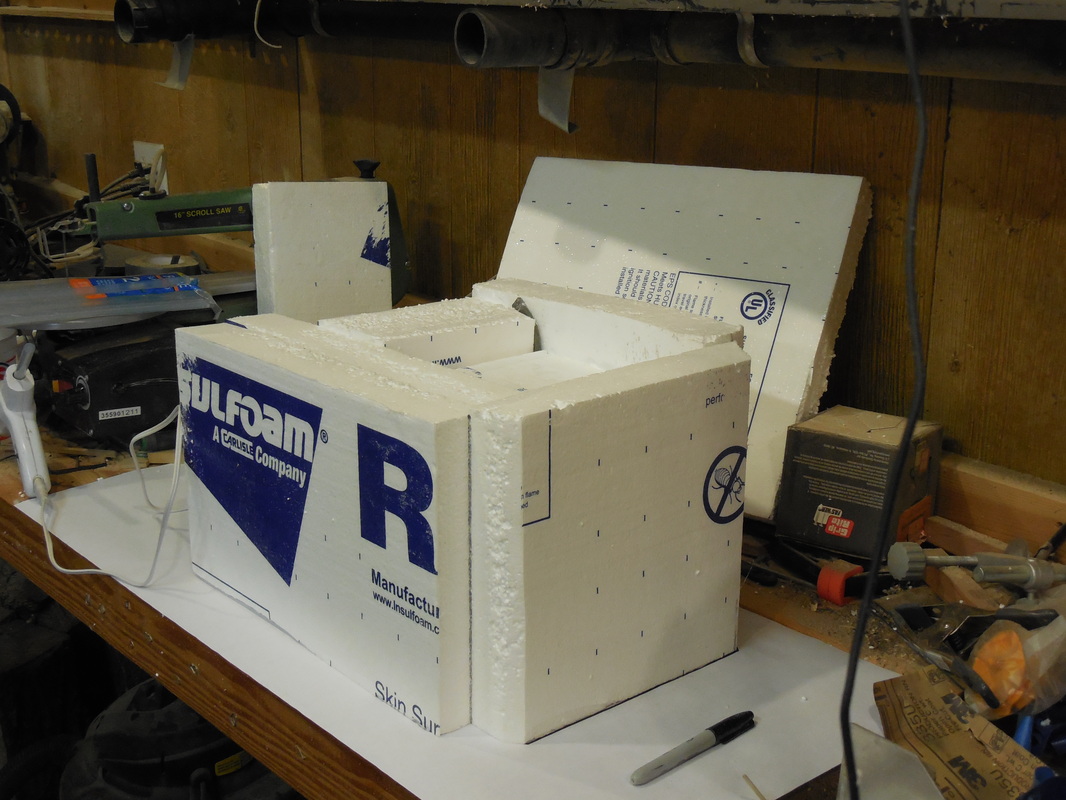 I chopped pieces out quickly with the band saw and a large box cutter, roughly shaping out what I needed. This left me with a big block of styrofoam, and me wondering how to cut it more to shape. 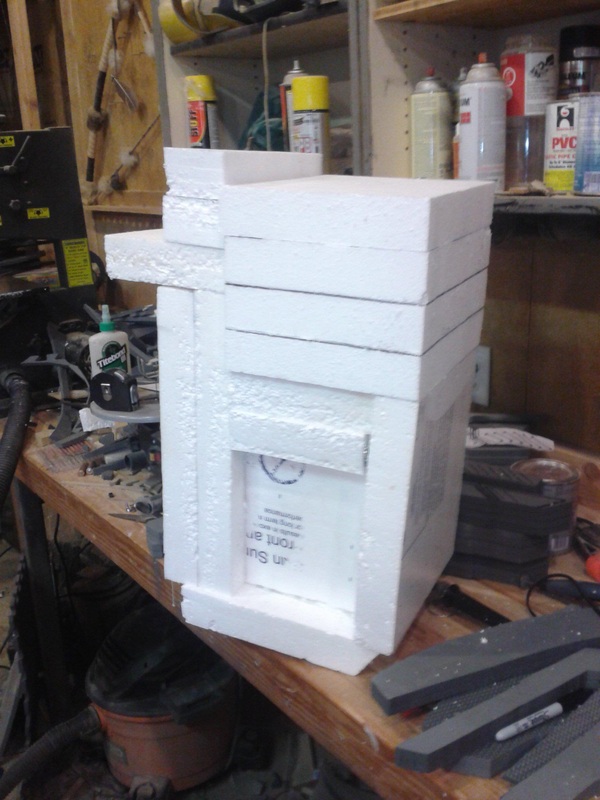 I scoured the interwebs, and found a few cheap and quick ways to make a hot wire table, since this was definitely going to be the best way to cut it all. The one I used is found here, though that certainly isn't the best/only one out there, so if you want to make one, Google is your friend! ;) Once that was made, I went about shaping the styrofoam core to something more like what it should actually look like. 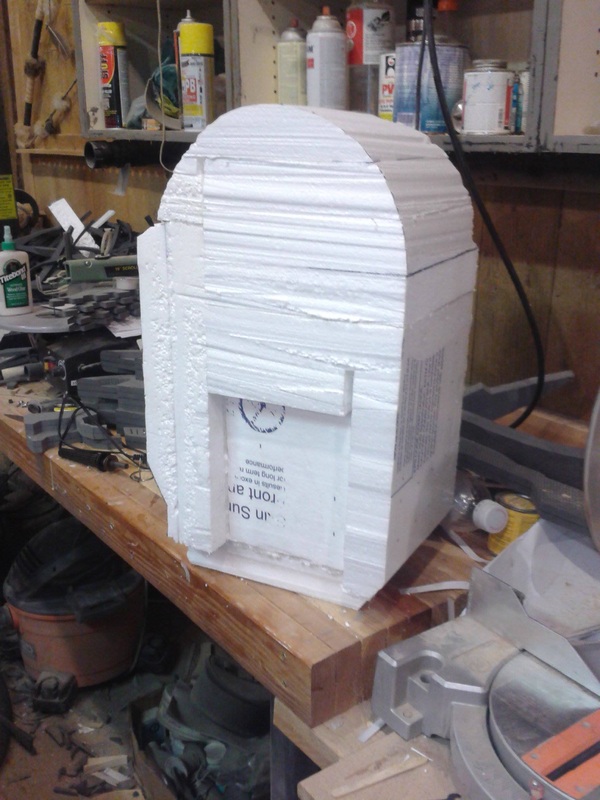 I didn't feel comfortably skilled making the dome with the hot wire, so I went to the local thrift store to find something that would work. Lo and behold, I found a large orange bowl, commonly used for Halloween candy. Bought it for a dollar, went home, and it worked perfectly! So, I cut off the bottom, carved out a couple small openings, grabbed an old lid and cut it open, and threw in one of my small 5 oz mixing cups. I glued all that together with a corrugated pipe, and attached it to the core. 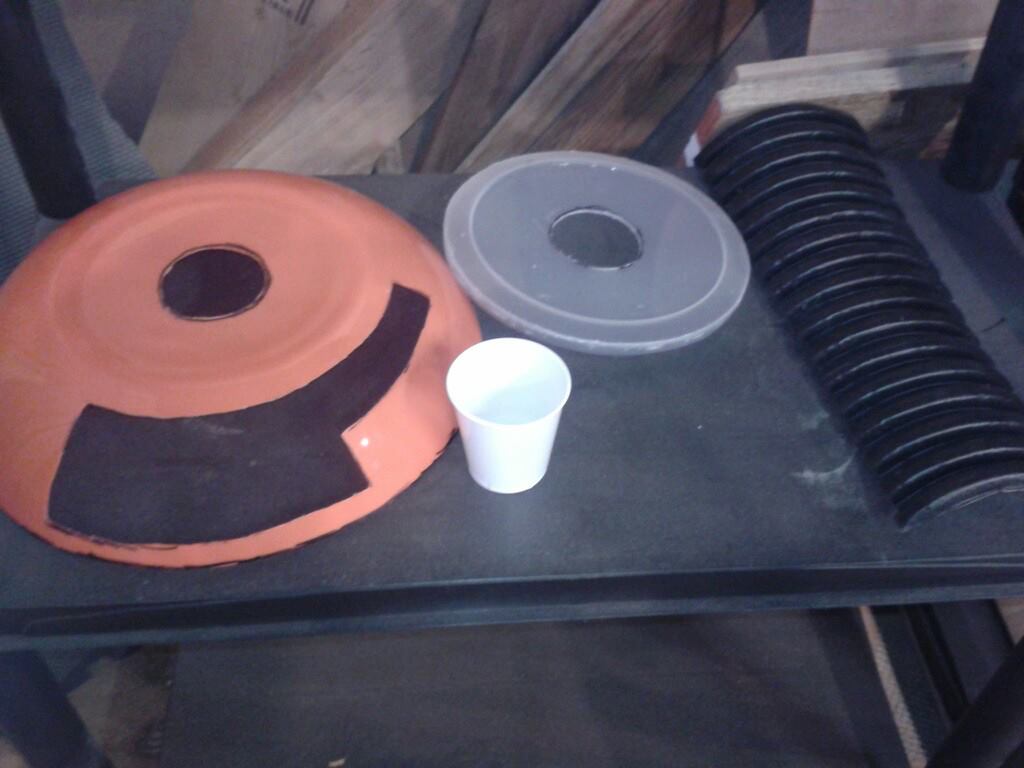  Oh, hey look! More signage! You guessed it: more 1/16" styrene was thrown about literally everywhere around the foam core. This was both for detailing and because the spray paint eats up styrofoam very easily. Spots where there are holes in this one were drilled in on the front, and the ones on the sides were filled in where appropriate. Some I left, to add to the assembled look. After that, sanding and some cleanup on edges were done with a dremel, then came time for paint! 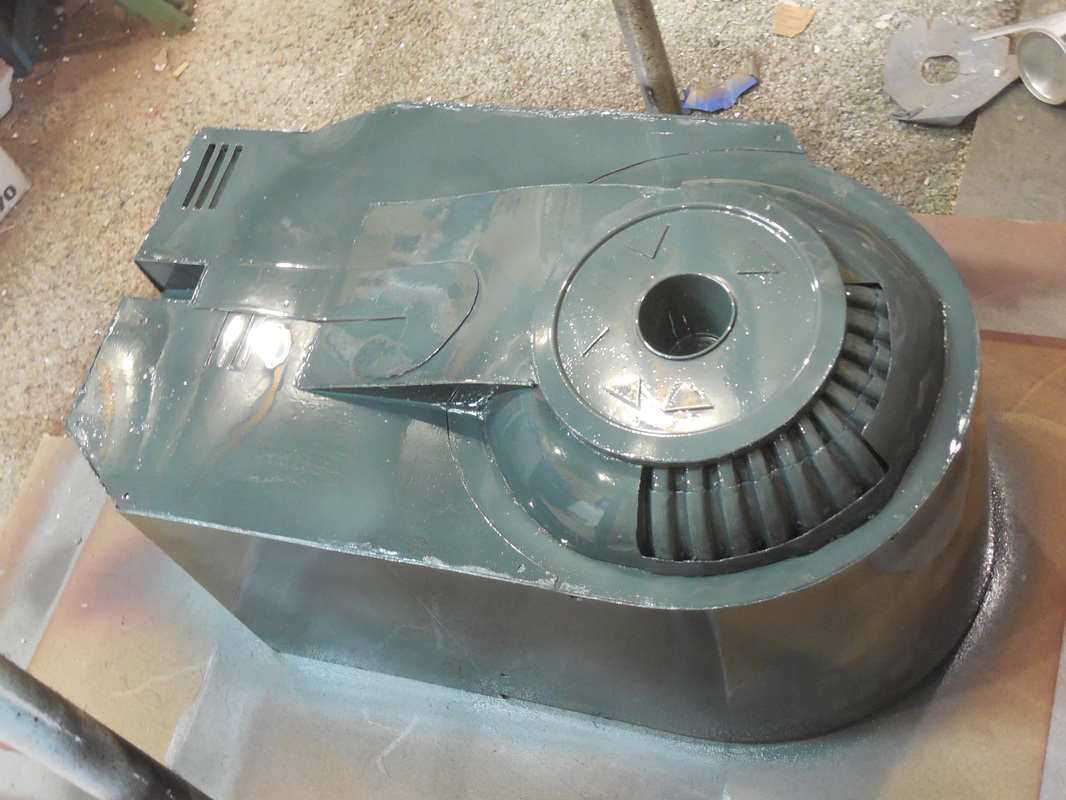 Pardon the shiny, most of these paint shots were taken while it was still drying (stupid me). I started with a darker gray primer on this one, three coats again, then sprayed some red in the middle, dried it, taped it off, and went over everything with a straight silver rather than the hammered. Again, this one didn't need to be fancy. 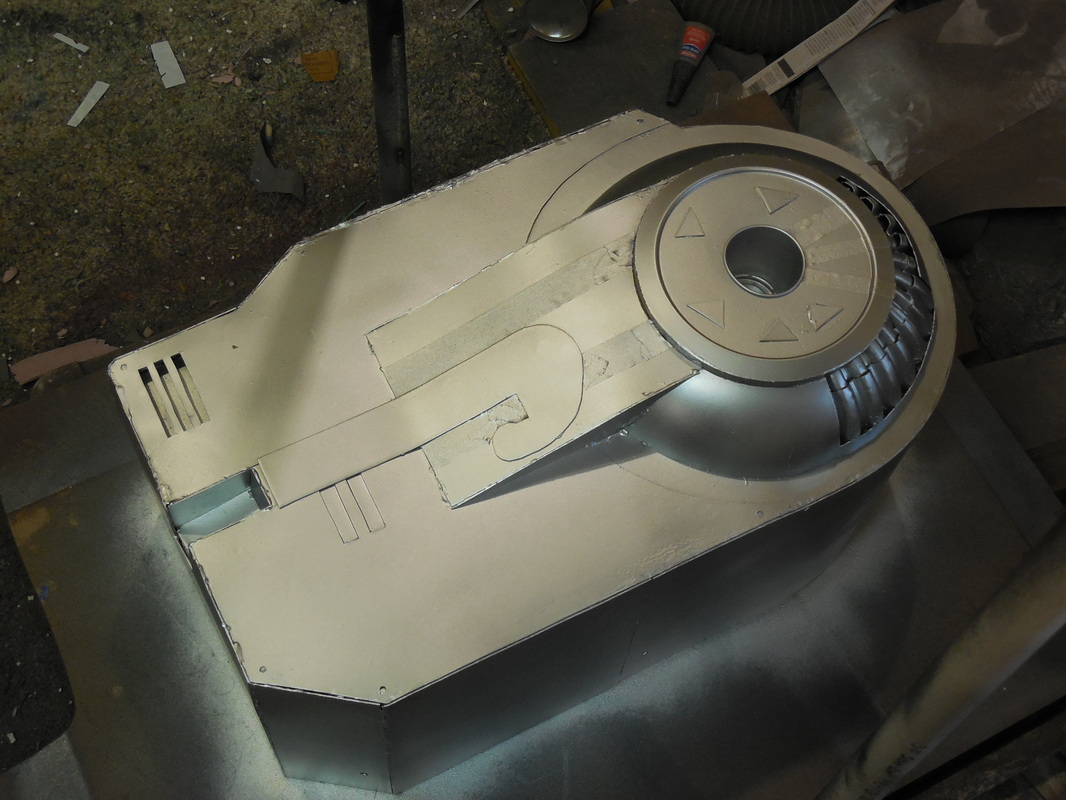 Once that had all dried, I took off the tape to reveal the red striping, then started on the black section on the top. 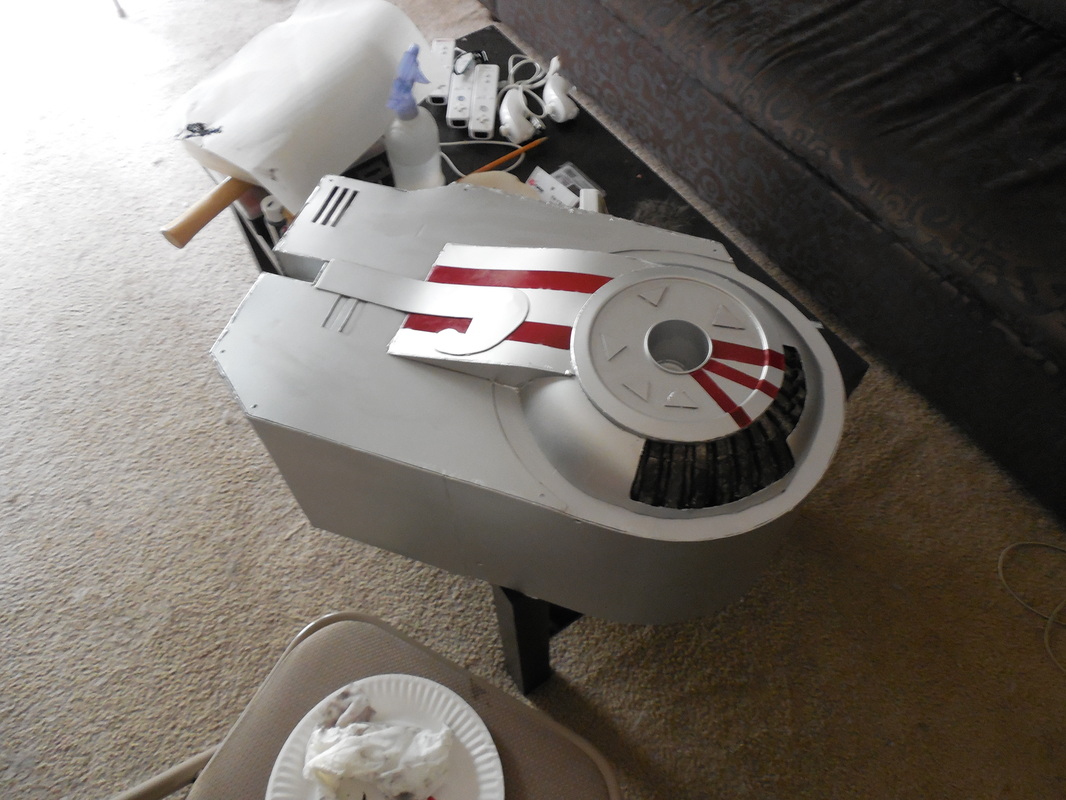 Didn't have vinyls or anything to mark off the decals, so I carefully hand painted them. After that, I threw in some LEDs to the bottom vent, hanging the battery pack into the wooden box, and it was done! I'm not 100% happy with it, since it's not nearly as clean as I would have liked it to be. It isn't a big deal though, since this is just a background prop that won't be getting any major screenplay. The fan page for the film did release a teaser shot though! 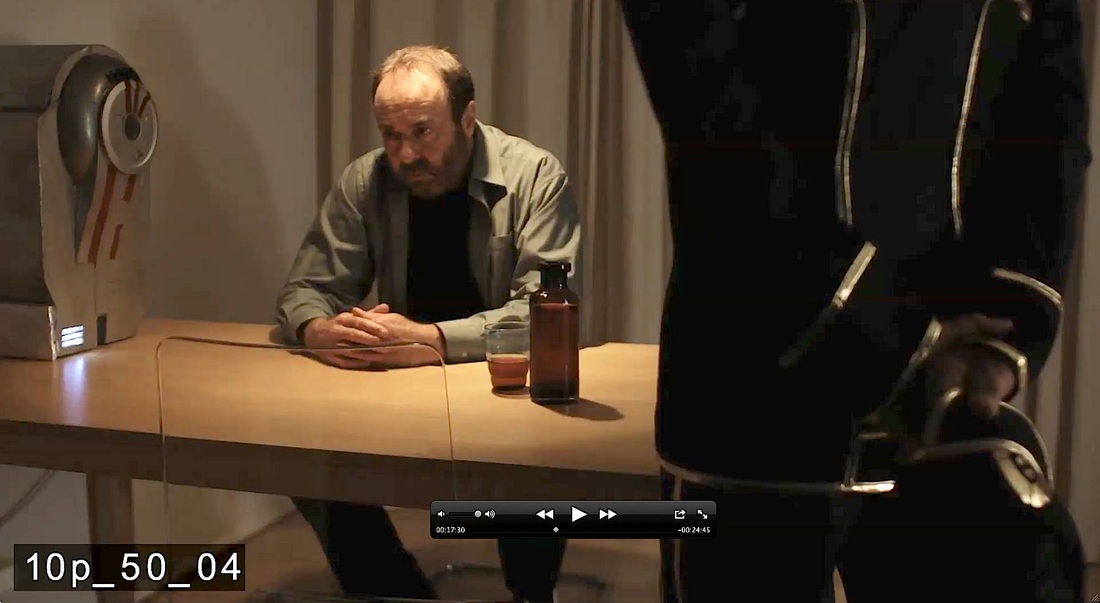 Tickled pink when I saw that. Made this just a bit more real - it was actually happening!
Seriously, check out their page. They've got a ton of cool things in the works, and should be finishing up filming soon if they haven't already!
0 Comments
Leave a Reply. |
|

 RSS Feed
