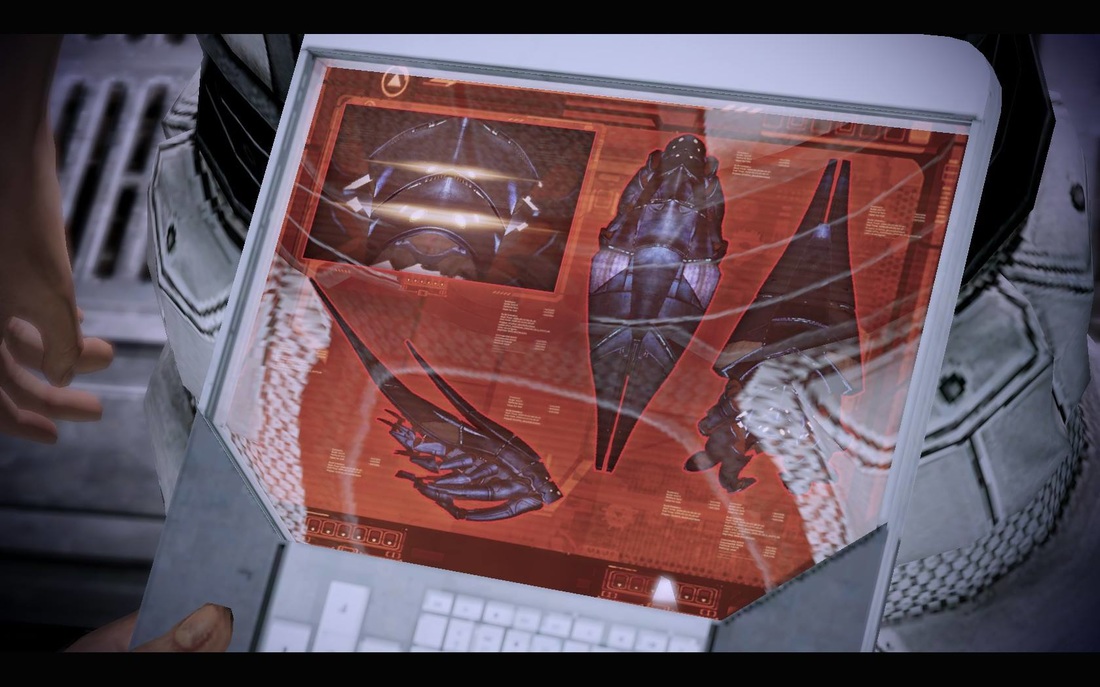
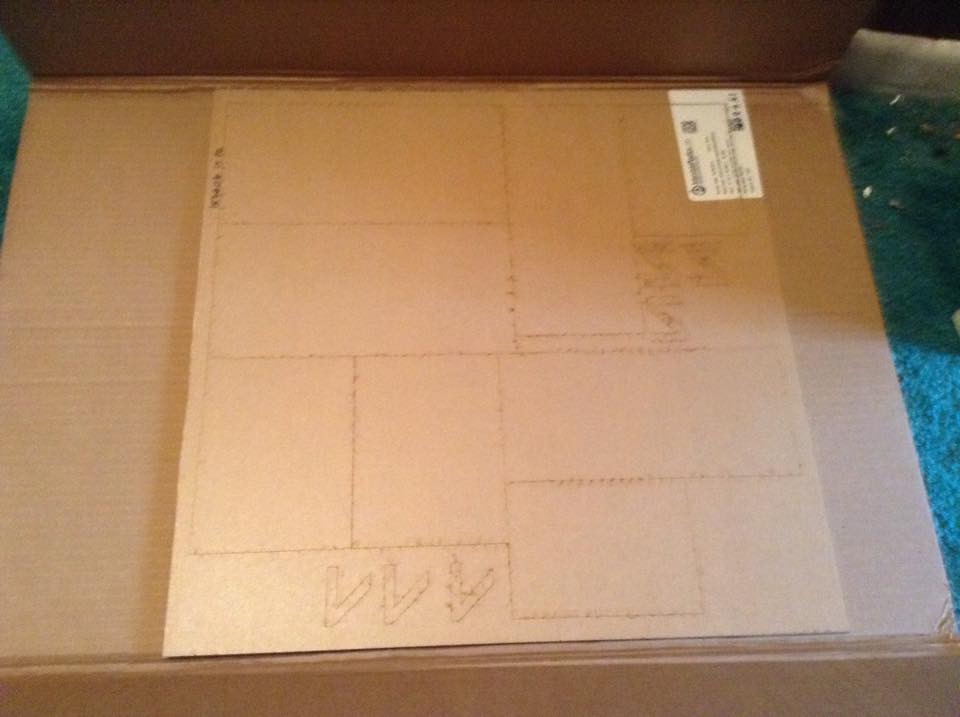
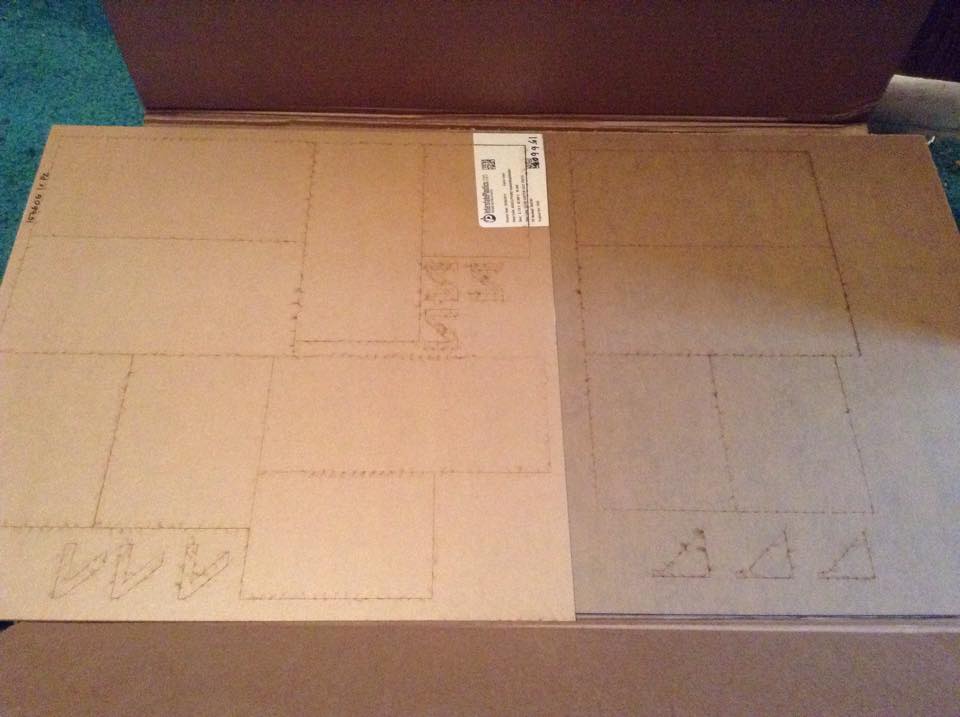
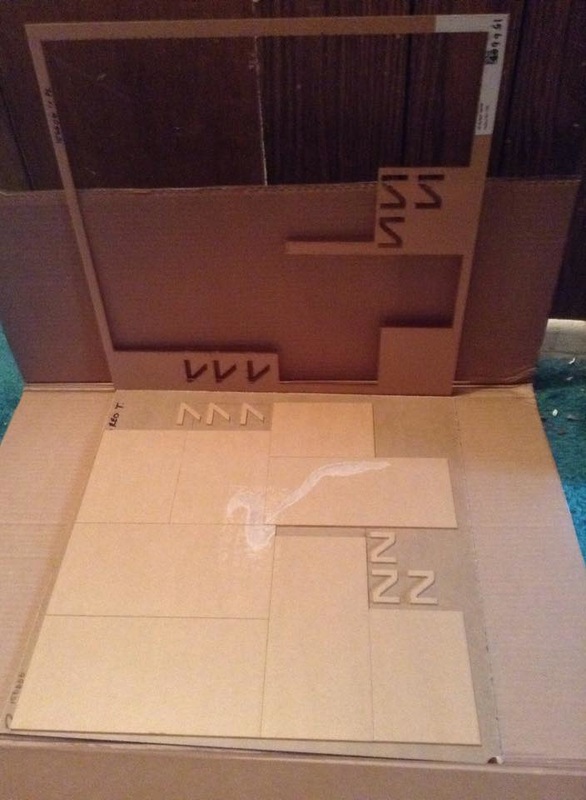
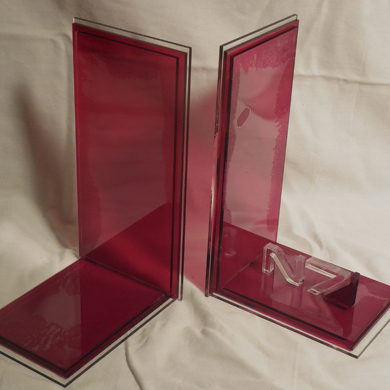
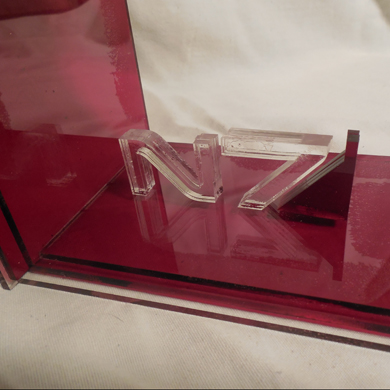
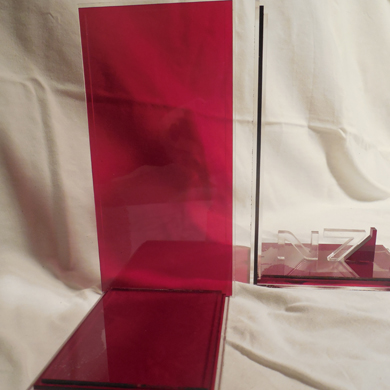
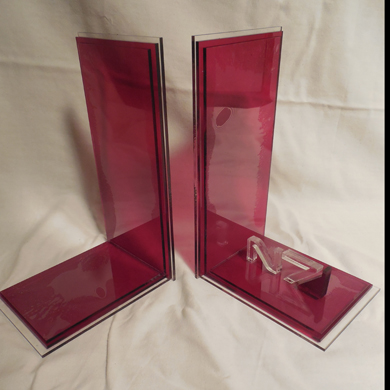
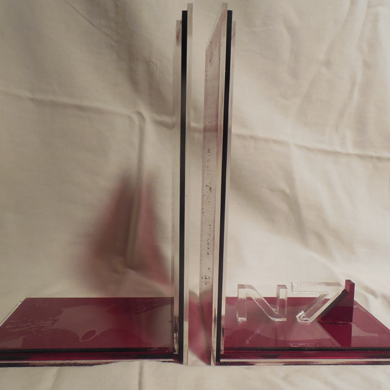
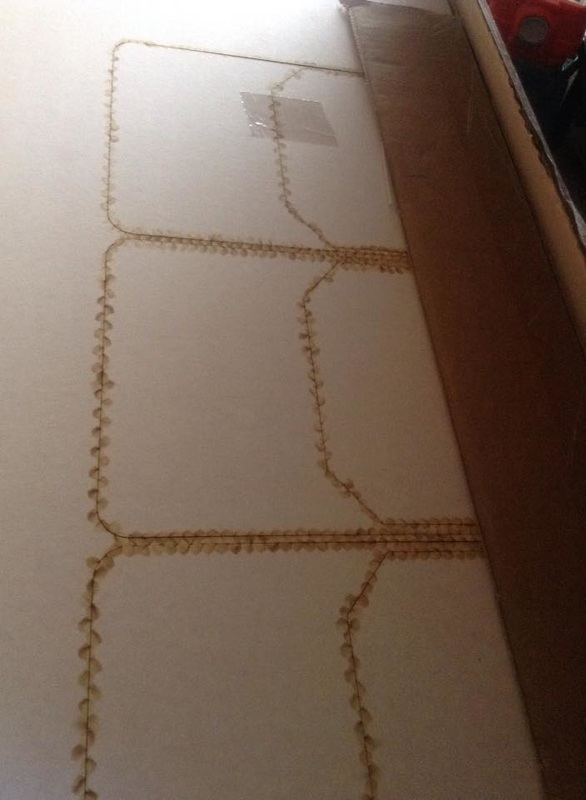
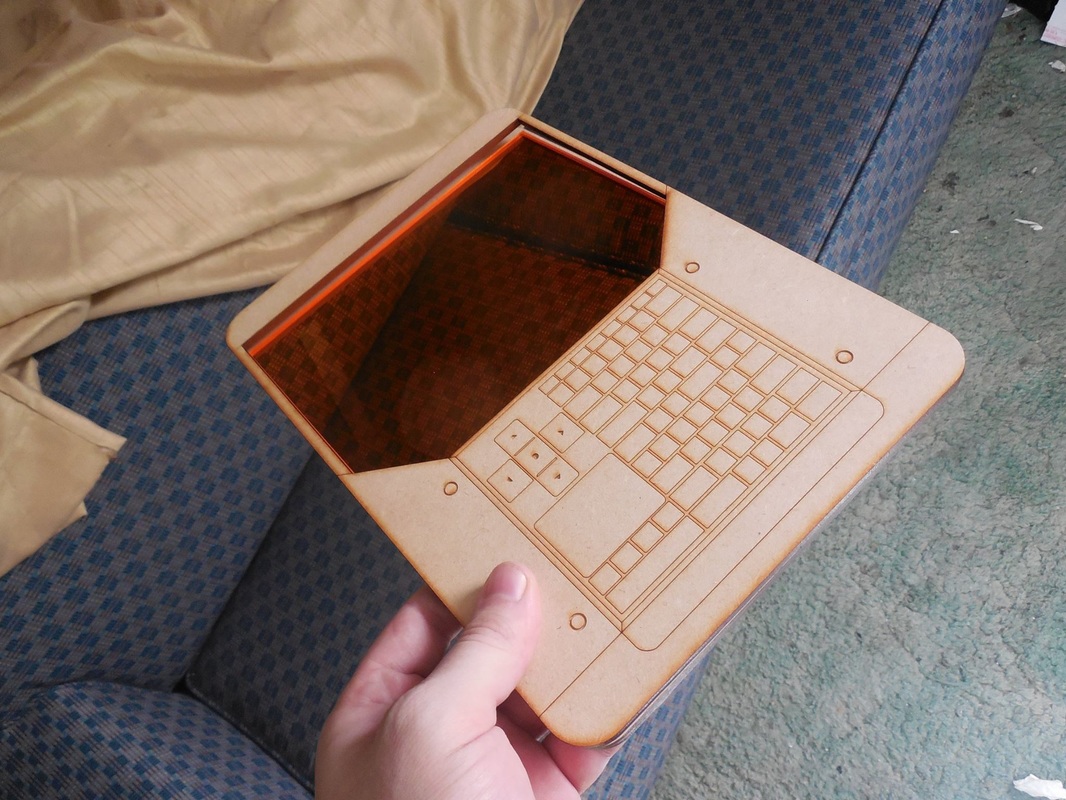
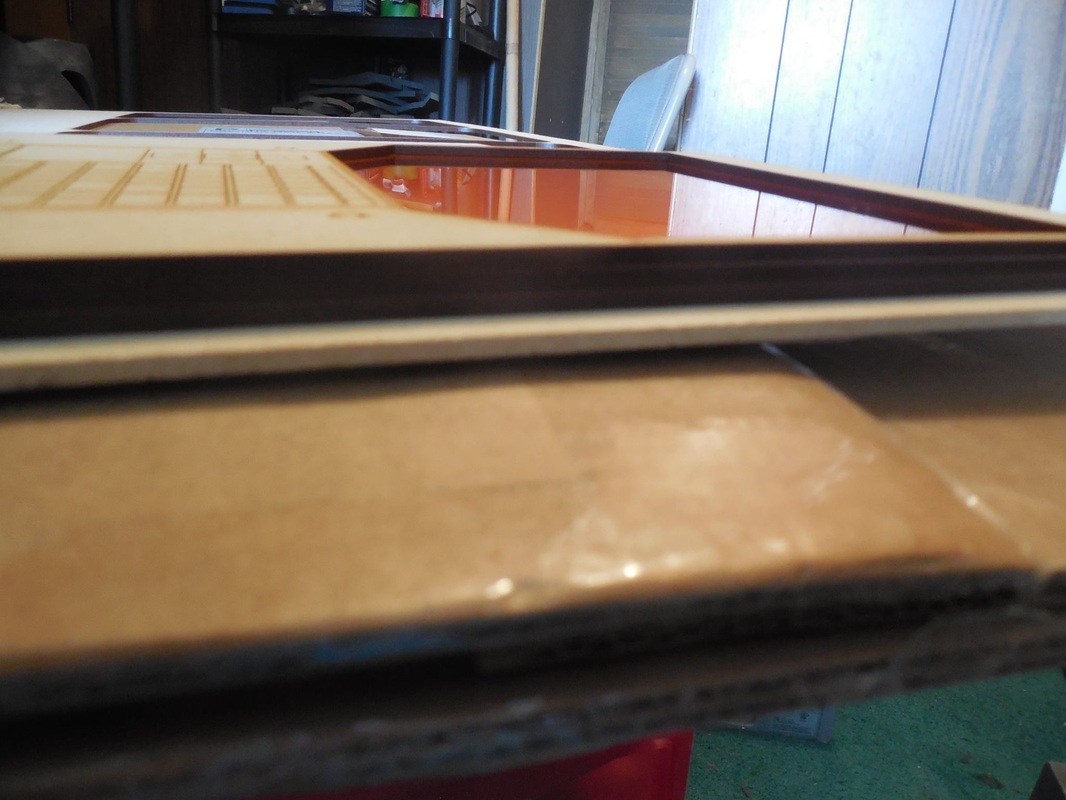
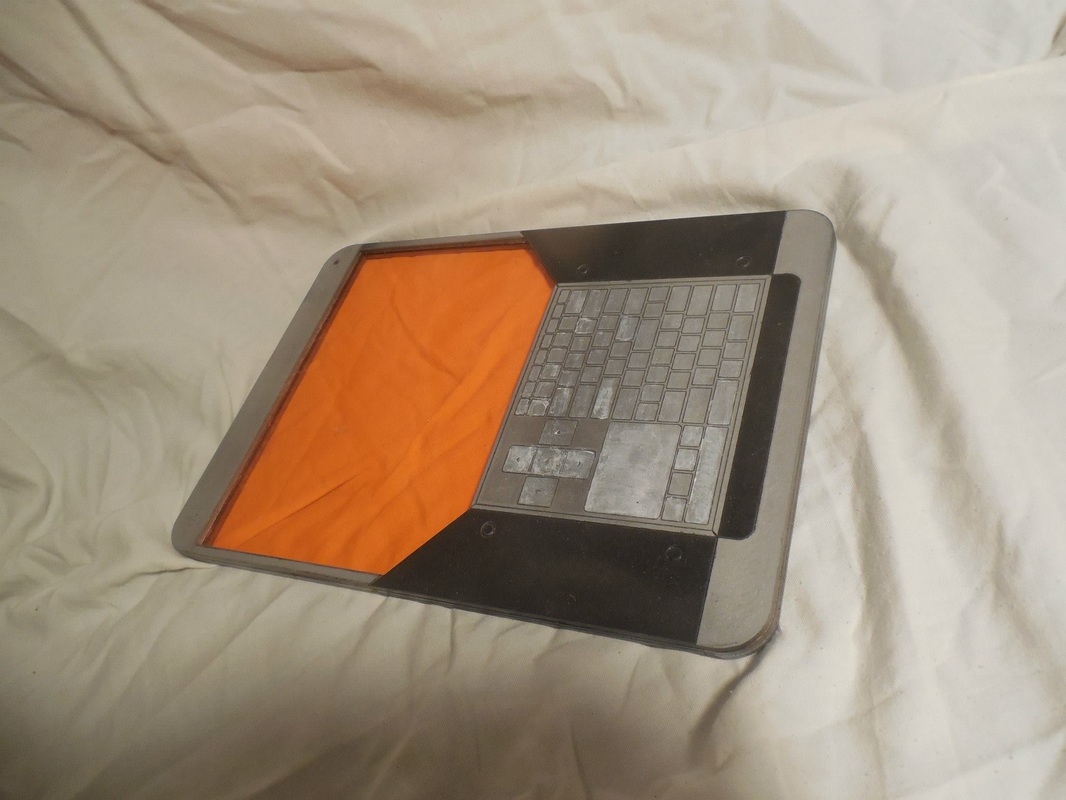
 At this point in my prop making career, I was running very low on available time to work on things. My wife got a full time job, and our son was now a year and a half old - and already showing signs of terrible twos. Because of this, I started looking into things I could either 3D print or laser cut (elsewhere, since I don't have nearly enough cash to have either machine personally owned). That's when I found Ponoko, an online laser cutter similar to Shapeways, where you upload your designs to them and they cut them for you, and ship them to your home, at a reasonable cost. So, to test them out, I decided to try out a bookend design I had been pushing around for a while: N7 bookends made from clear acrylic.  I worked out sizing, each inner piece being the same distance shorter than the piece it sat on by the width of the perpendicular piece it attached to, giving a nice step-style indent the whole way around. Then I designed the laser file accordingly, sent it to them, and a few weeks later the coolest thing ever showed up at my doorstep! Being my first experience with laser cutting of any kind, you can imagine how giddy I was upon seeing this awesomeness. After I calmed down a bit, I took all the parts out and checked them. 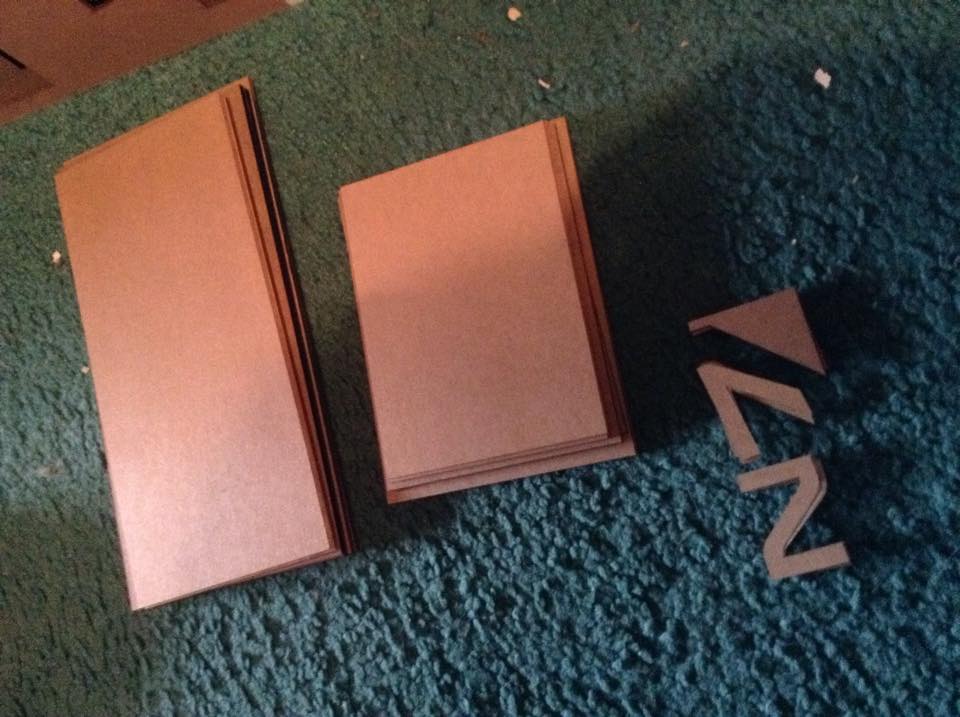 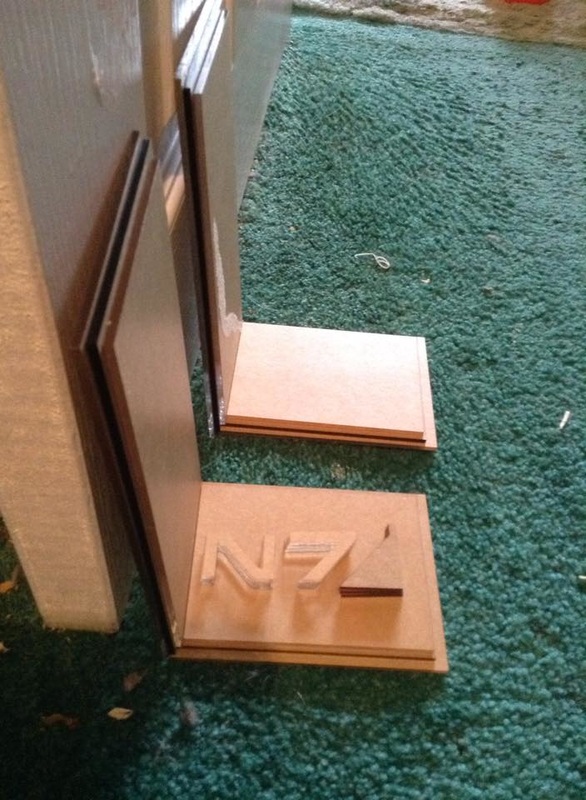 Discovered I did my maths wrong: a couple of the base pieces were a tad shorter than intended, and the letters and symbol thing were slightly different sizes. My own dumb fault, not double checking it before I sent it off. Still looked awesome though, so I pulled out my new fancy Acrylic Weld and started gluing! 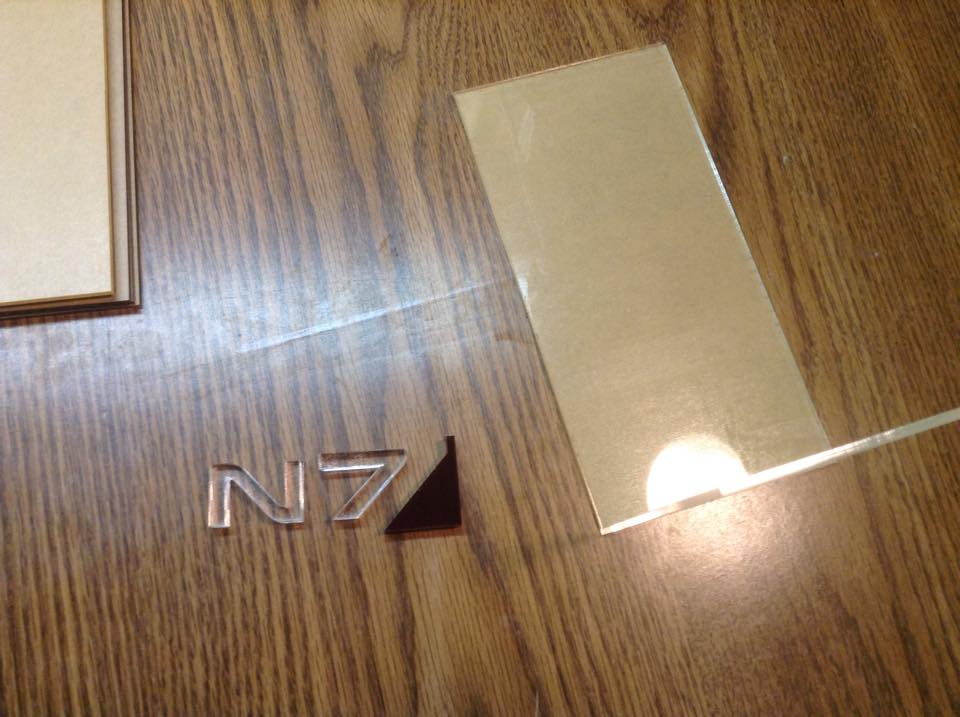 Acrylic Weld is a really cool thing. Normal glues add a layer between the glued part, bonding them together. Acrylic Weld actually softens the acrylic a bit, then when the two parts are held together for a few minutes the softened areas combine and fuse, literally becoming a single piece. It's really cool, and makes a nice, strong bond! Up until I actually had the thing assembled, I was throwing around the idea of lighting the bookends, as you see in the above pic. Ended up scrapping that though, since the design didn't really account for a spot for a light, let alone batteries or a plug. Future ones, maybe! Unfortunately, I don't have any shots of the gluing process, since it flew together extremely quickly. I do, however, have the finished product shots! Now, since that one worked so well, I decided it was time to try something a little more official: a datapad from Mass Effect 2. I had to do a lot of searching to get the proper patterns for the buttons and things, but eventually finished the file and sent it off. I opted to cut the main body out of MDF, and the screen from acrylic. The body is 3 layers thick, all the exact same shape and design, apart from the etched details. The acrylic is ever so slightly thinner, which worked out perfectly when attaching everything. I also made sure to make it bigger than the upper and lower cutout, so that I didn't have to worry about gluing it in directly at all. For this first one I did things in kind of a strange order, and have since figured out a better process. I glued the middle and bottom pieces together, by clamping down a board over top and enlisting the help of my band saw for some weight in the middle. I wrapped that portion up in wax paper, so that it didn't get glued to the bench or the board. While those set, I taped over the back of the top layer, so that the paint didn't get onto it and screw up gluing it all together later. 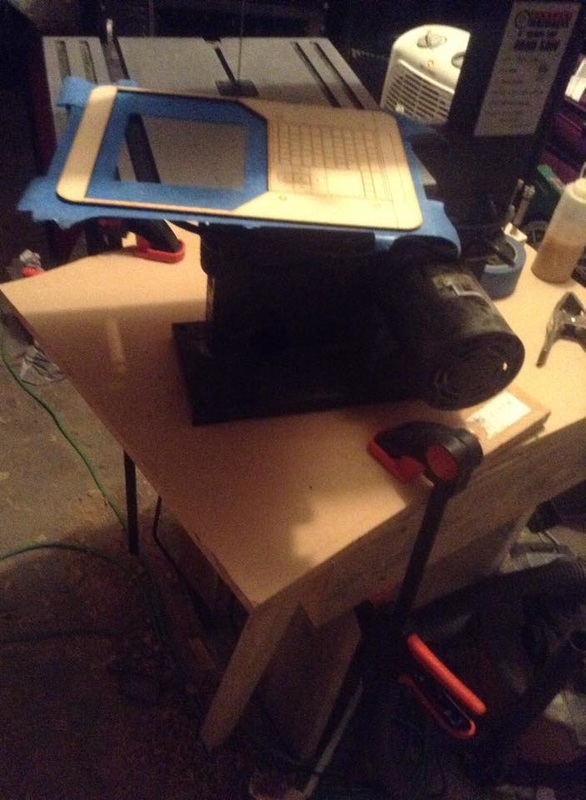 I went with a black primer to start, three coats in total. The glue finished drying when I went for the last coat on the top, so I started its first coat at the same time after taping up the gluing side on these. 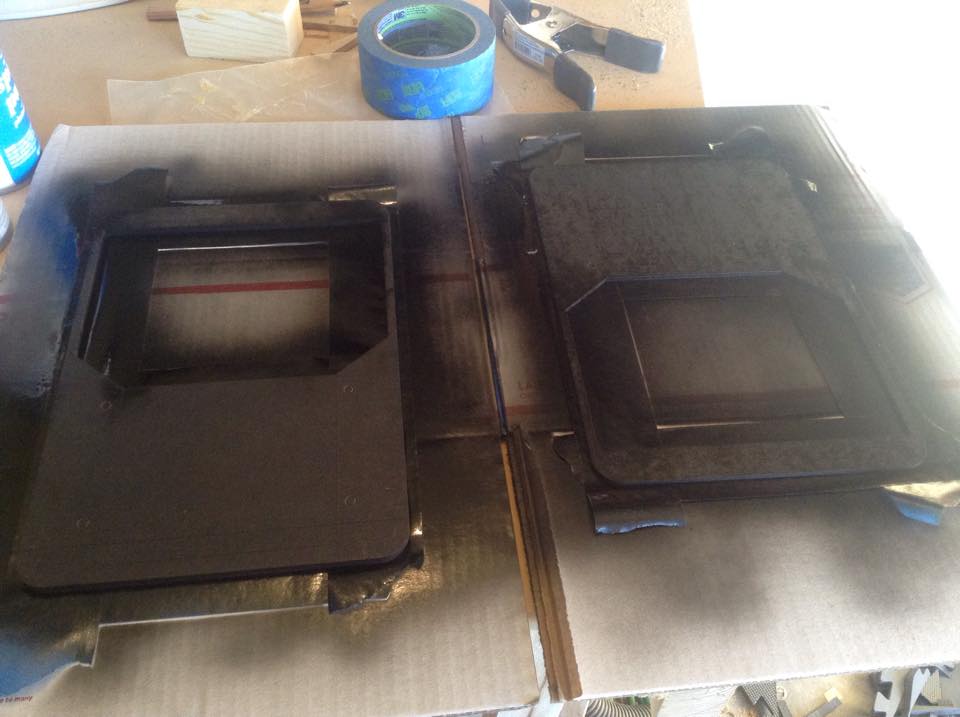 When that coat had dried, I pulled out a metallic silver and started the top, while finishing up the black on the other. 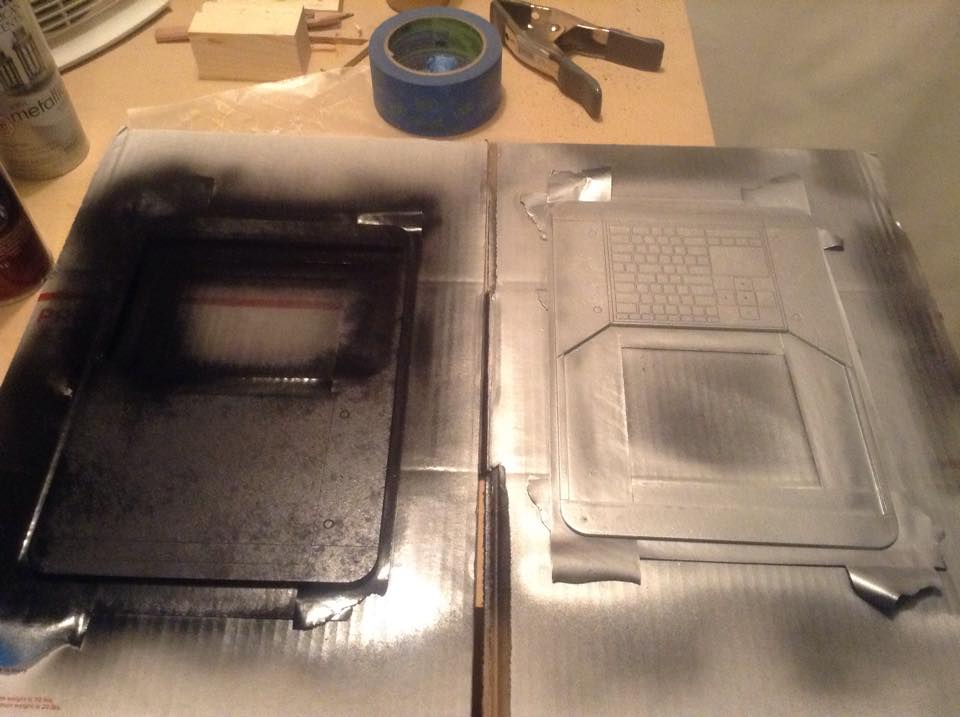 Again, three full coats, and catching the other side up as I went. 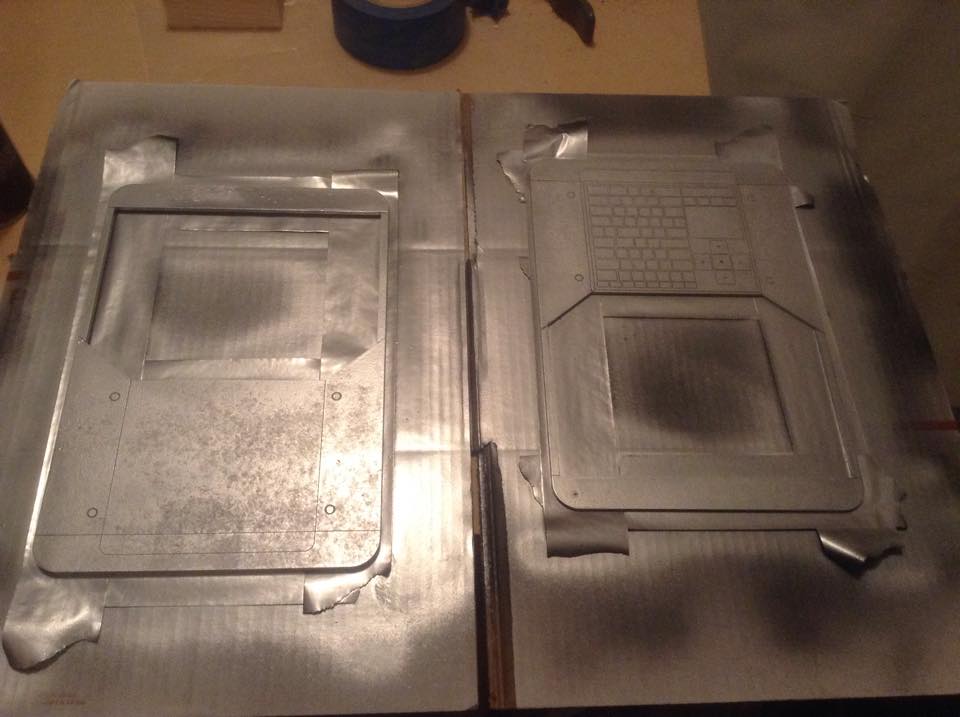 Let that set overnight, so that when I taped off the areas for the darker gunmetal the tape wouldn't pull it off. The great thing too, since the laser etched in the details, it made a great line to follow so that I could cut the tape off the areas I needed to paint! 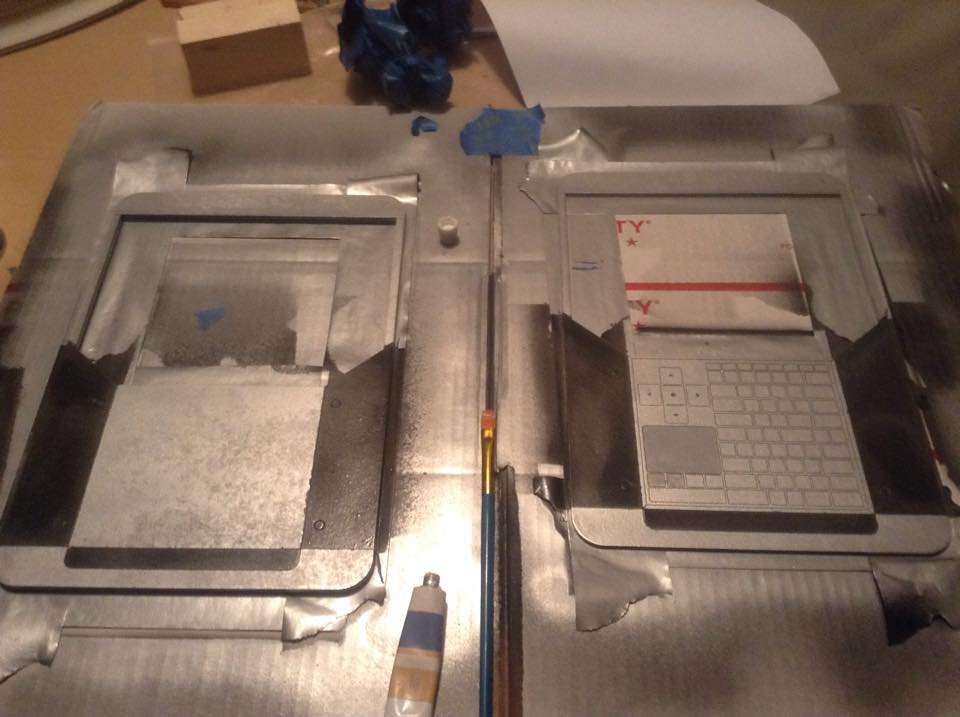 Once that was all done, I grabbed a paint brush and some white acrylic paint and started on the buttons. I didn't want to cut out each and every button there (that would have taken a day or two on its own), so I ended up hand painting them. Of course, it didn't turn up very well, so I've opted to not even bother painting any of the future ones. After all that, a few clear coats to seal it all in, then I enlisted my belt sander this time and glued everything down - making sure to put in the acrylic screen too! 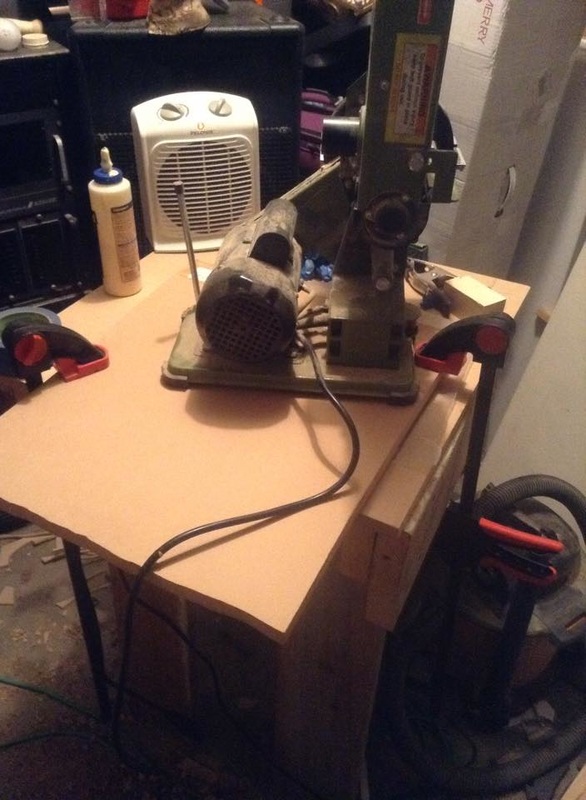 And with that, the first datapad was done! The edges didn't line up evenly upon gluing, so future ones I will have alignment holes I can insert a dowel into. I've also opted to leave the protective sheet on the acrylic screen, gluing everything together, painting, then cutting off the protective sheet after it's all done. Saves time and looks cleaner, since even having uneven edges everything still gets painted up. Hope you guys enjoyed this nice laser-cut two-fer! I can totally make these at any time, since most of the work is done via Ponoko - so if you want one (or even a few) of your own, hit up the Store!
0 Comments
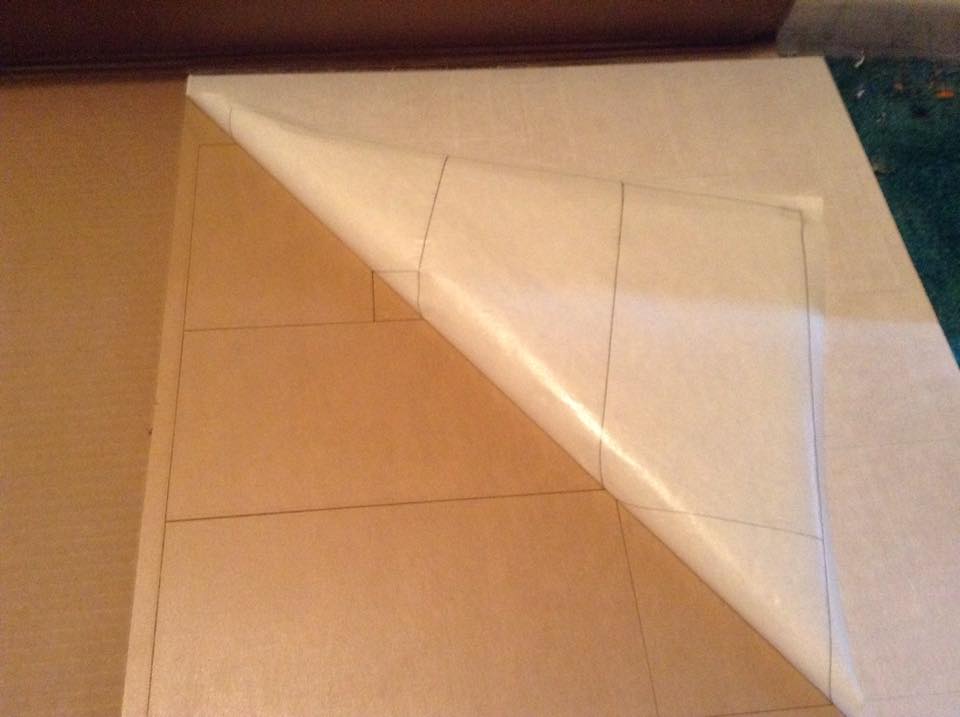
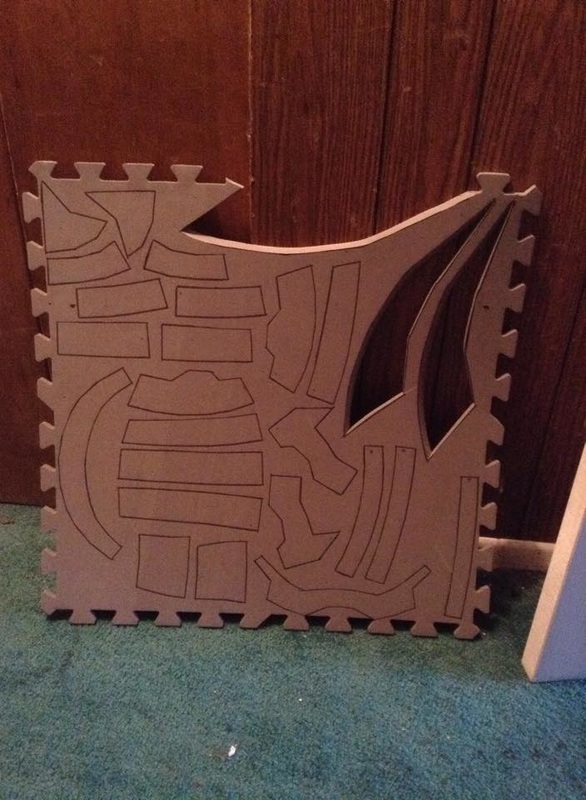
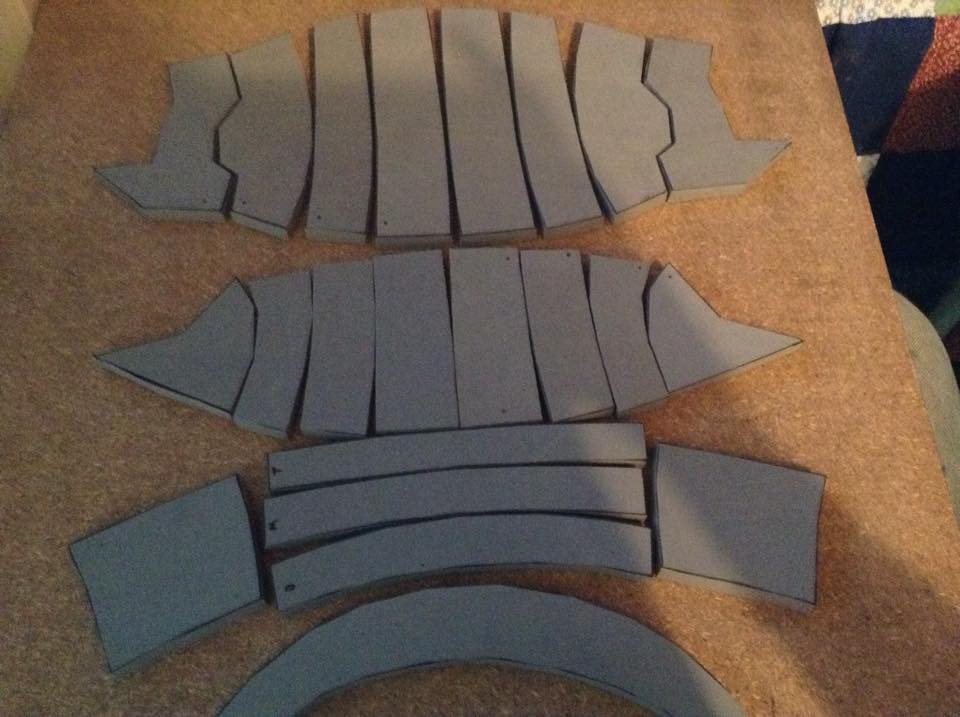
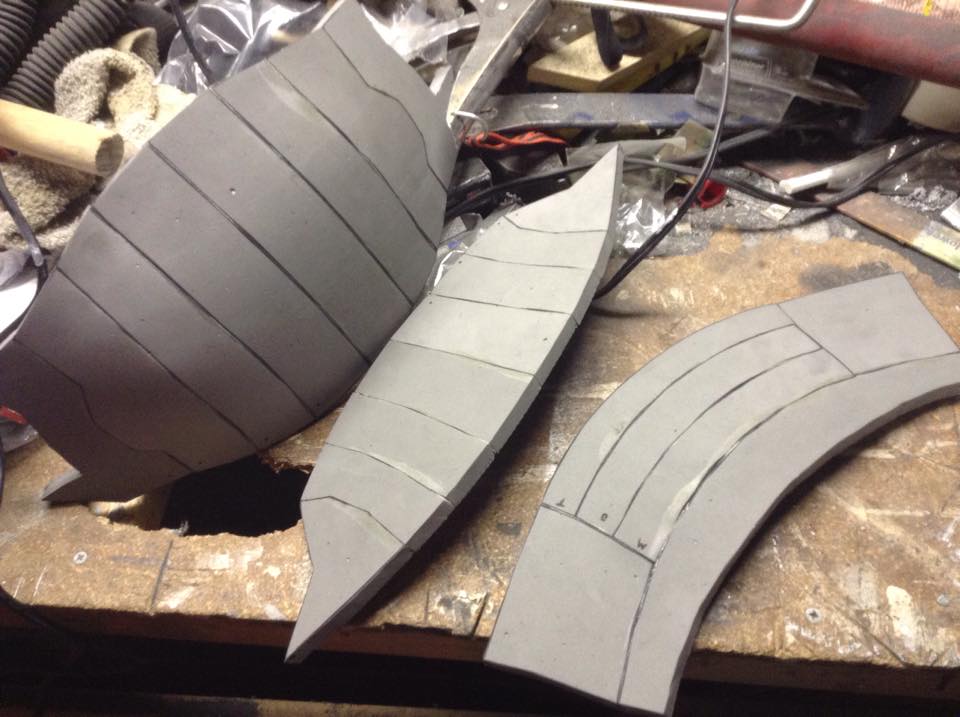
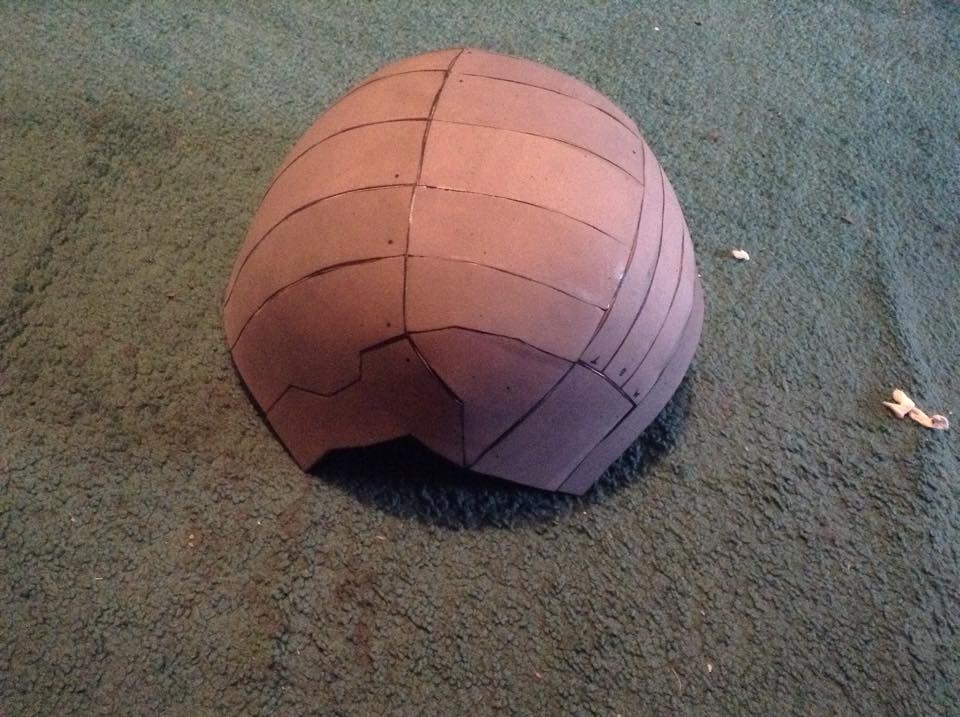
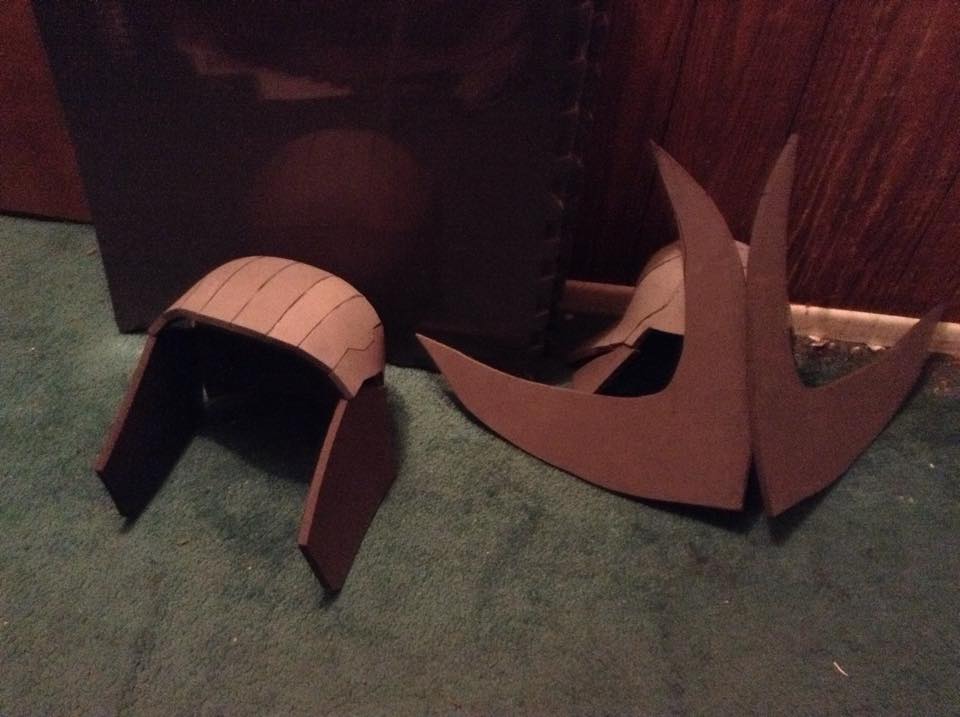
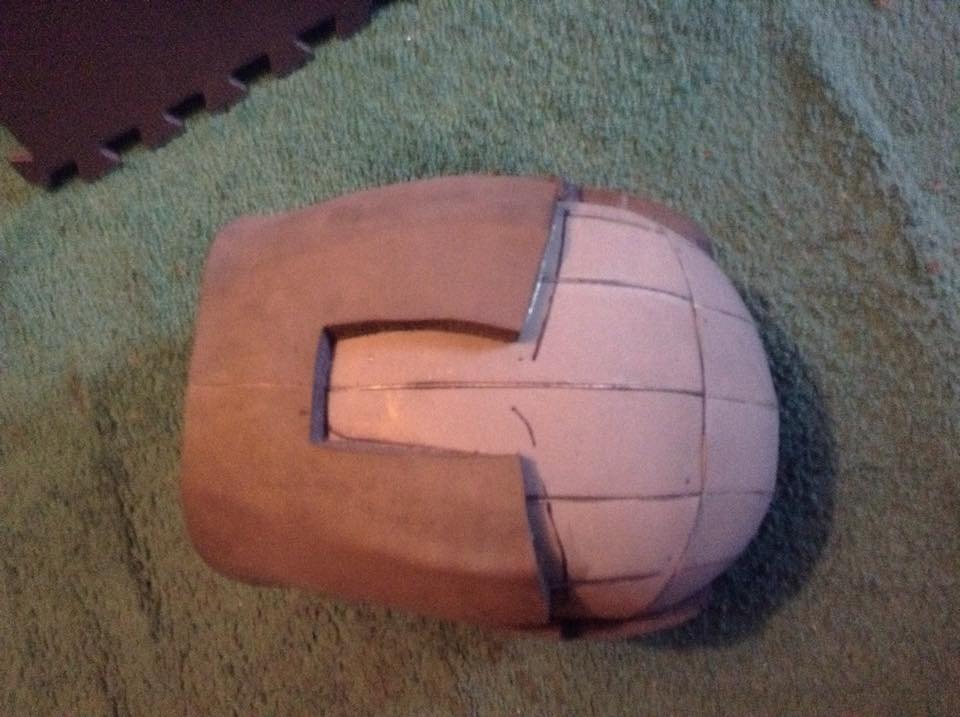
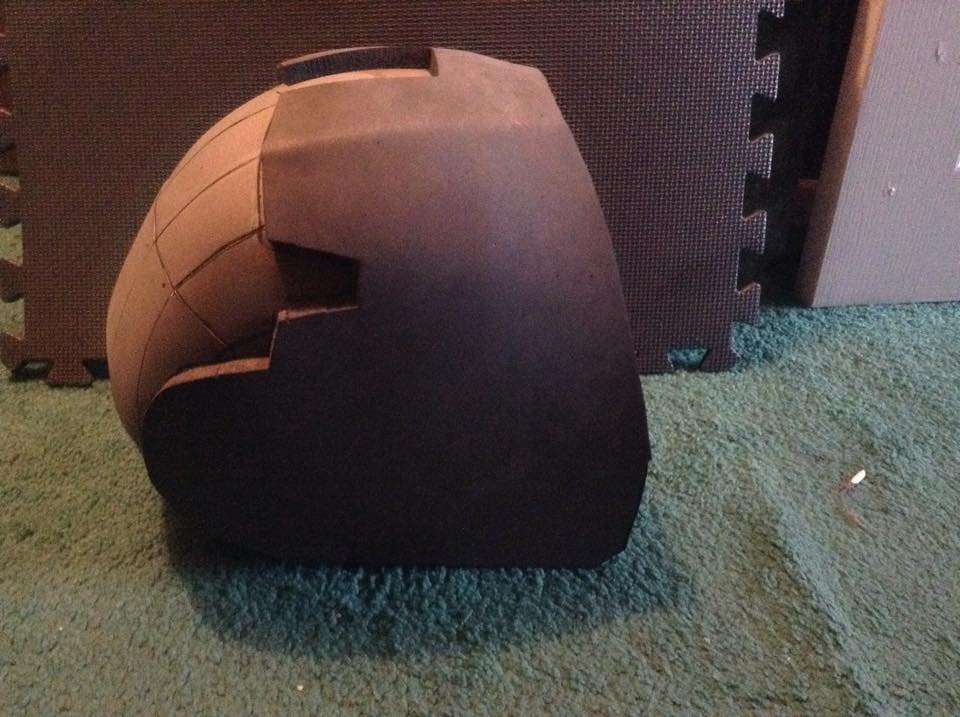
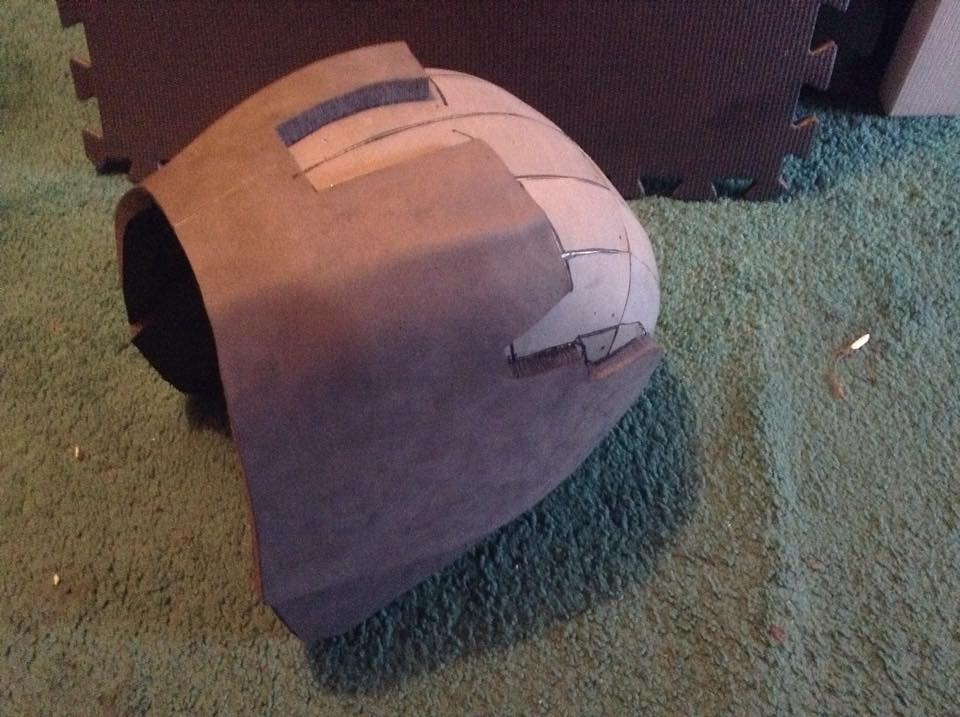
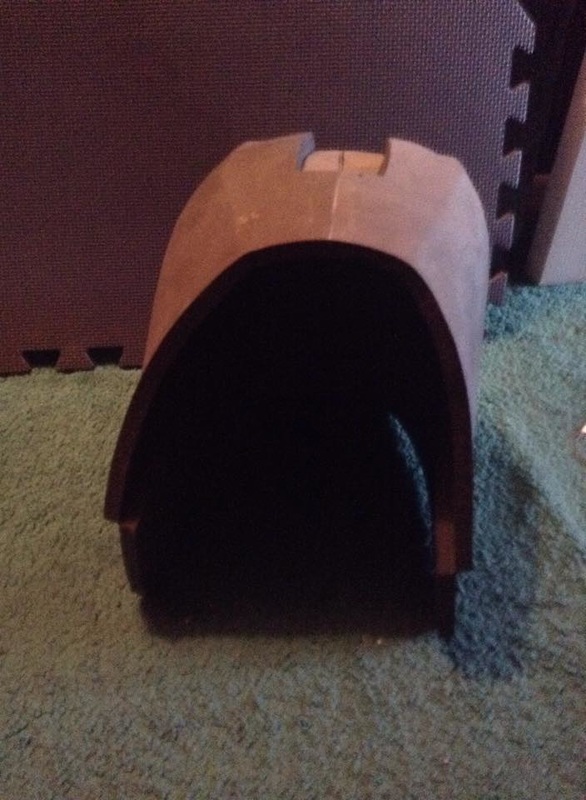
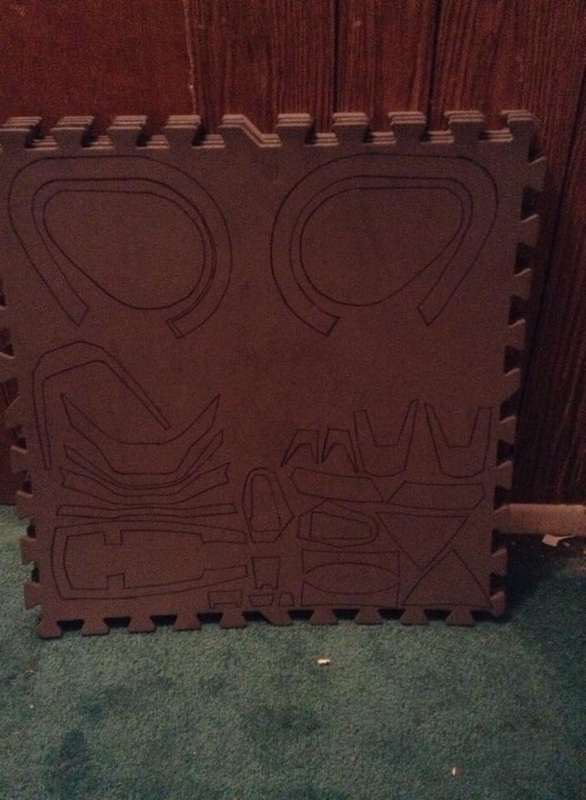
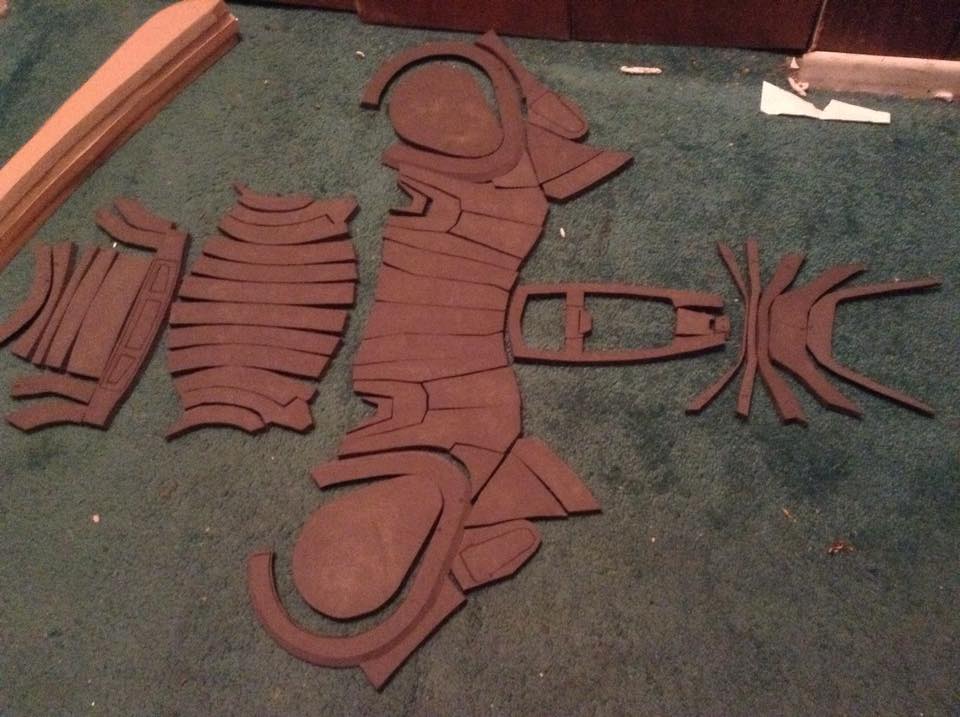
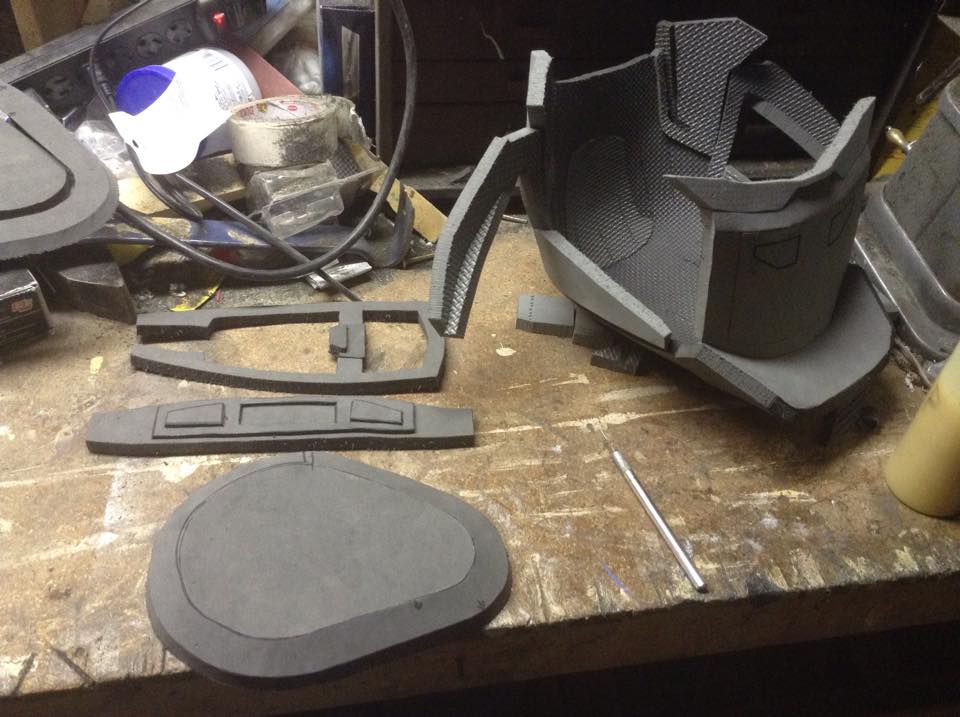
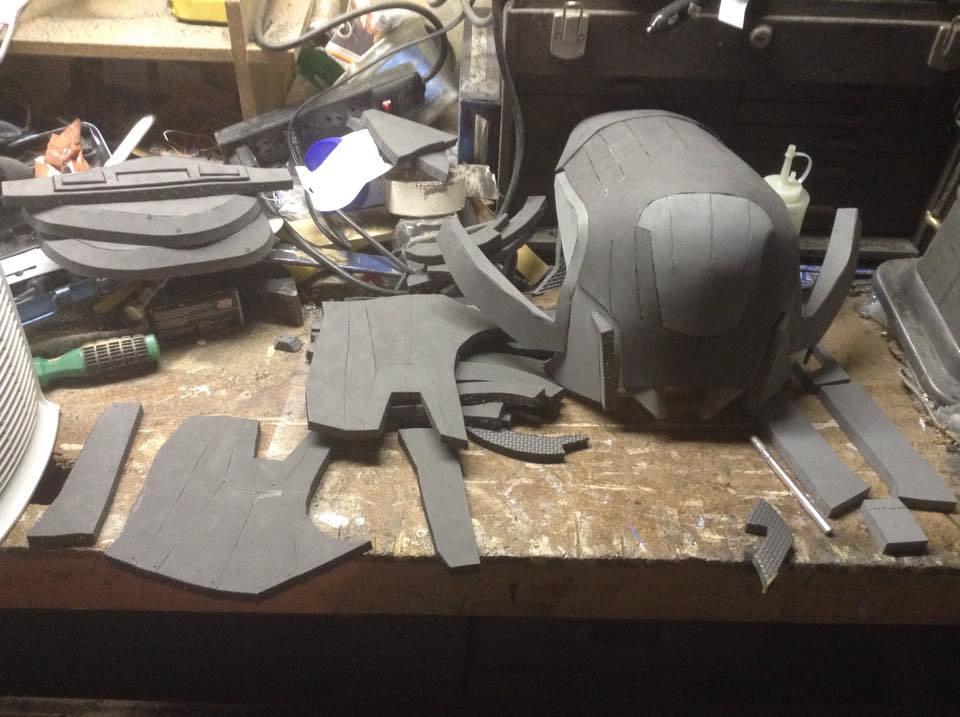
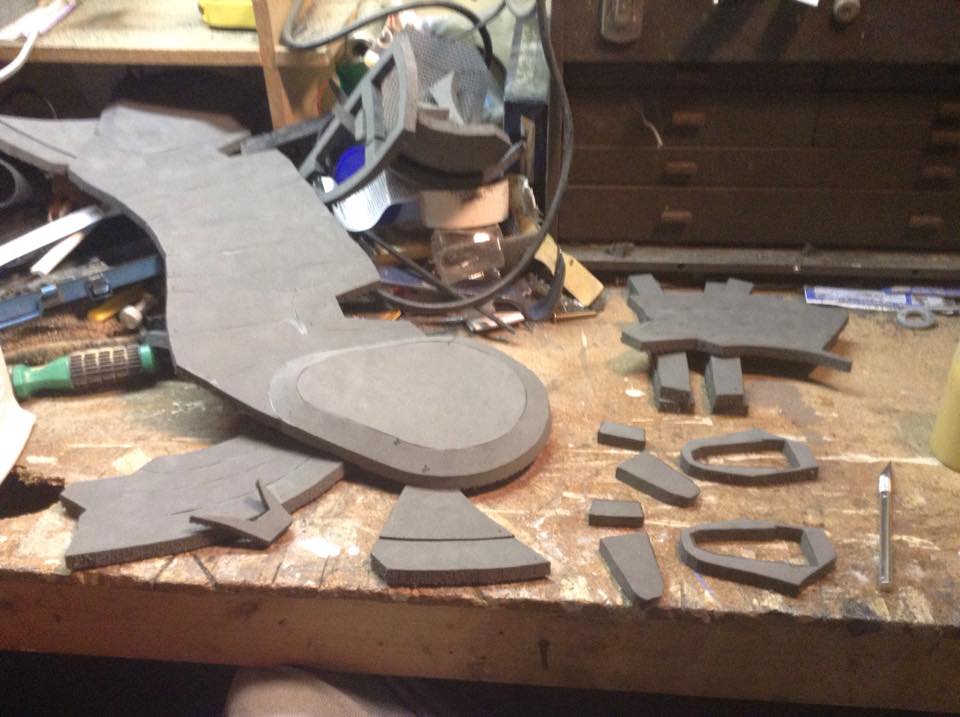
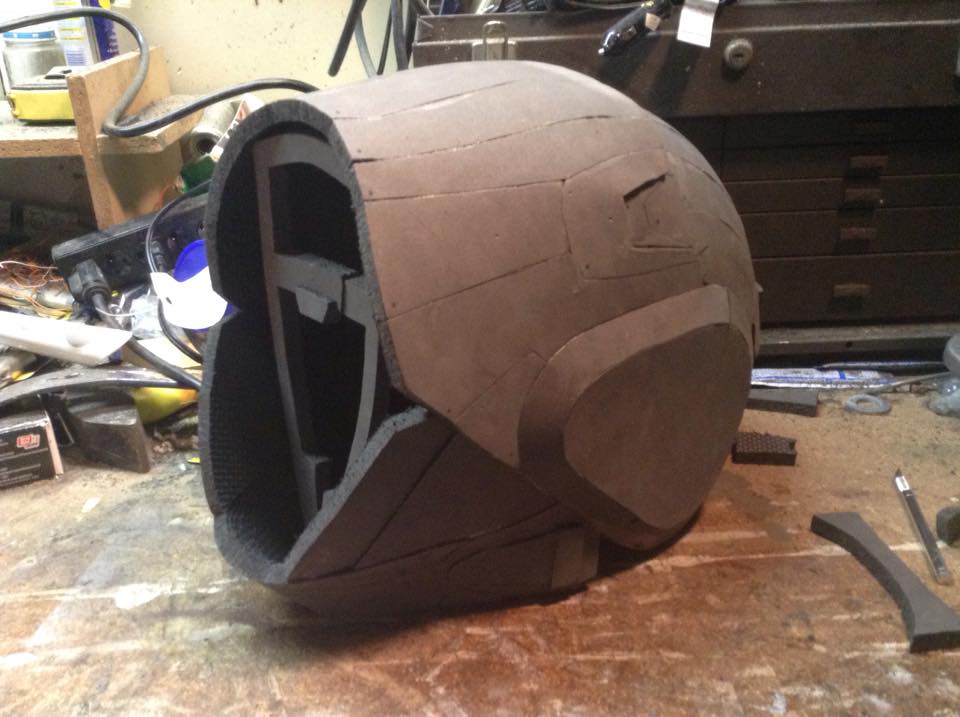
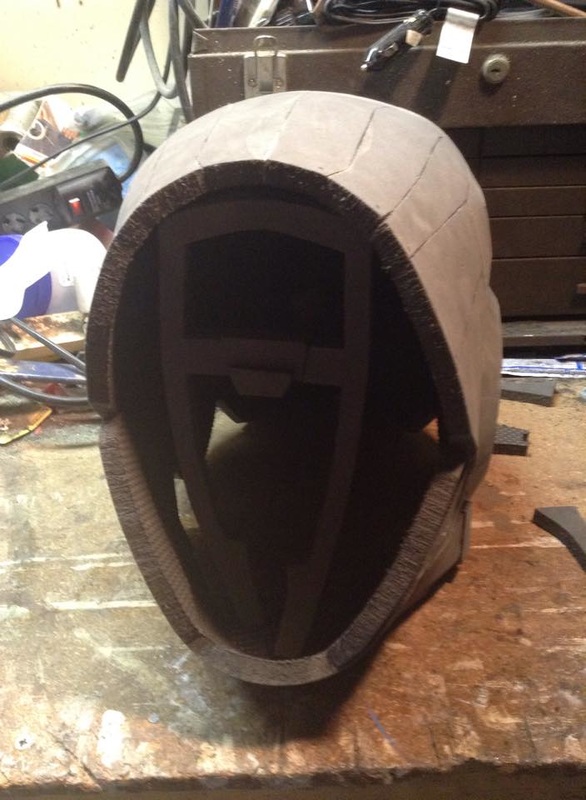
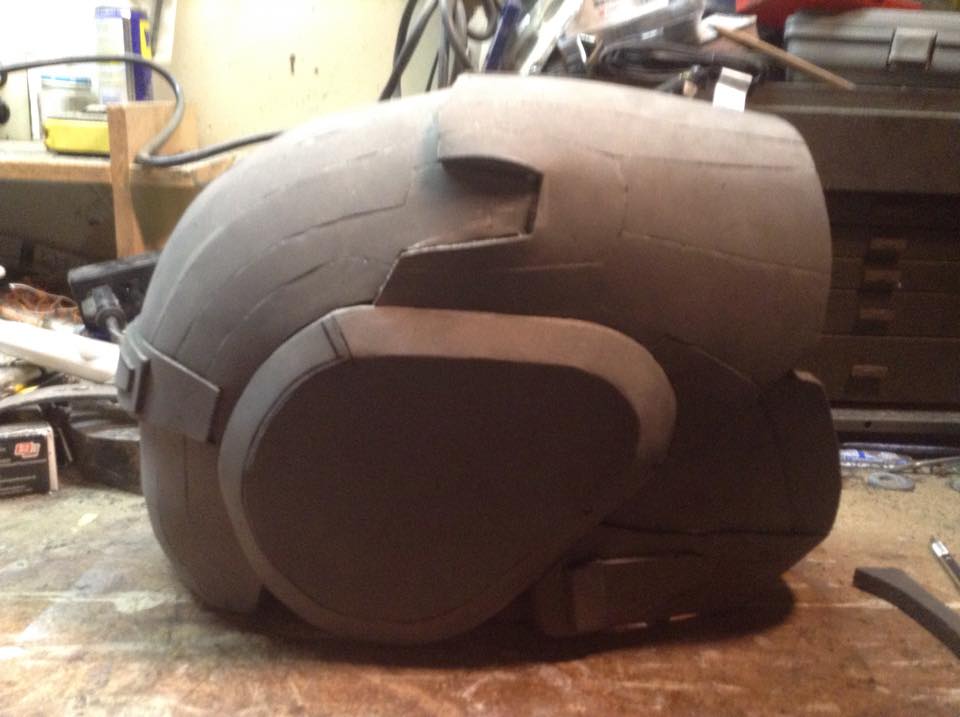
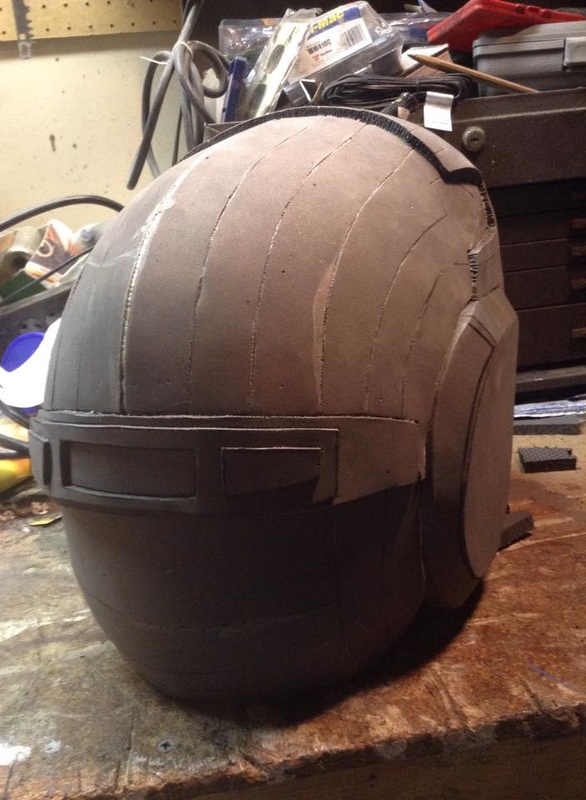
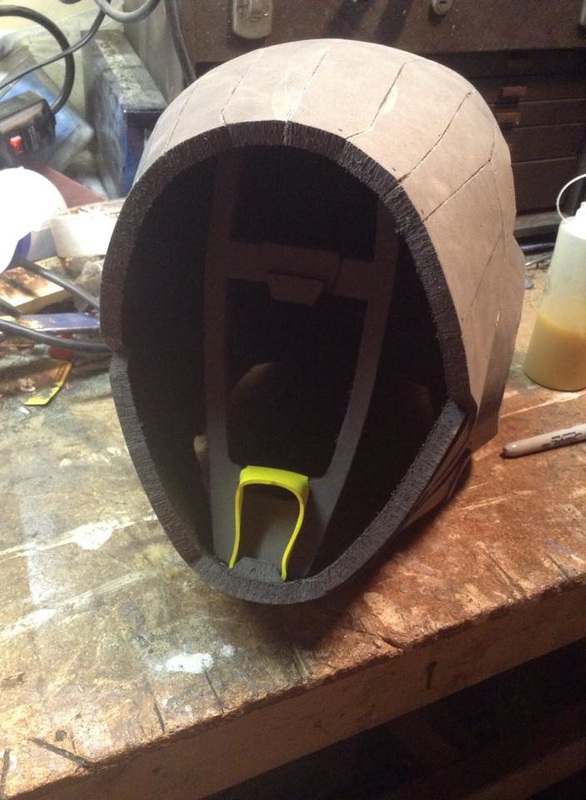
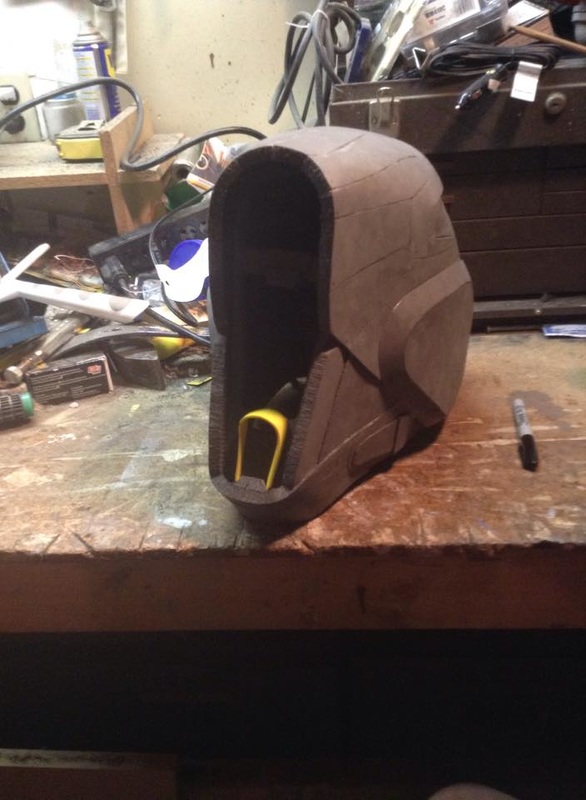
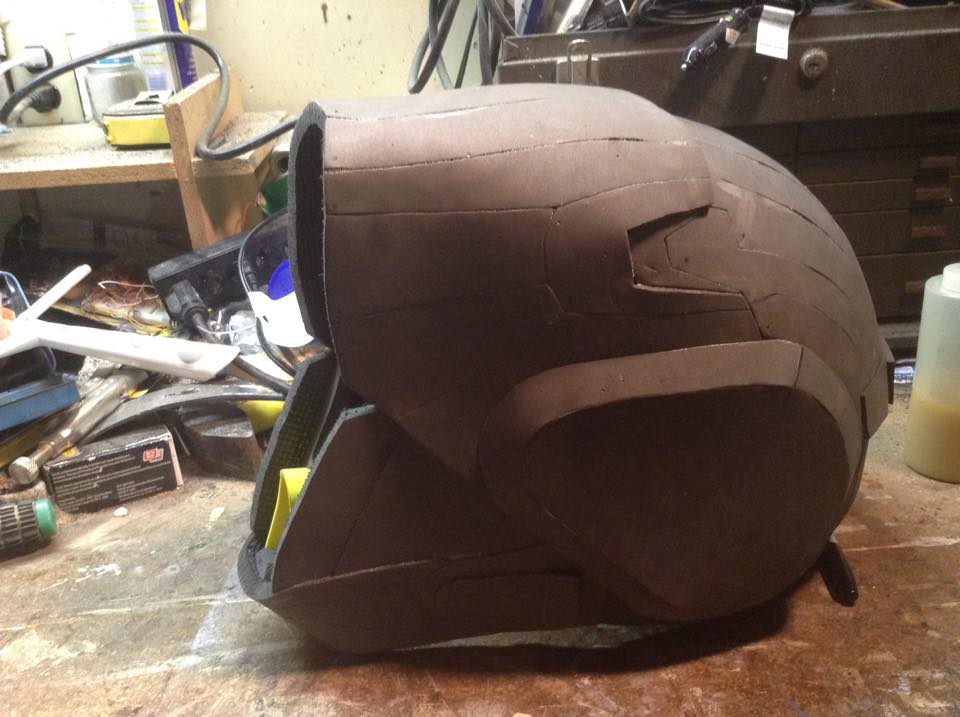
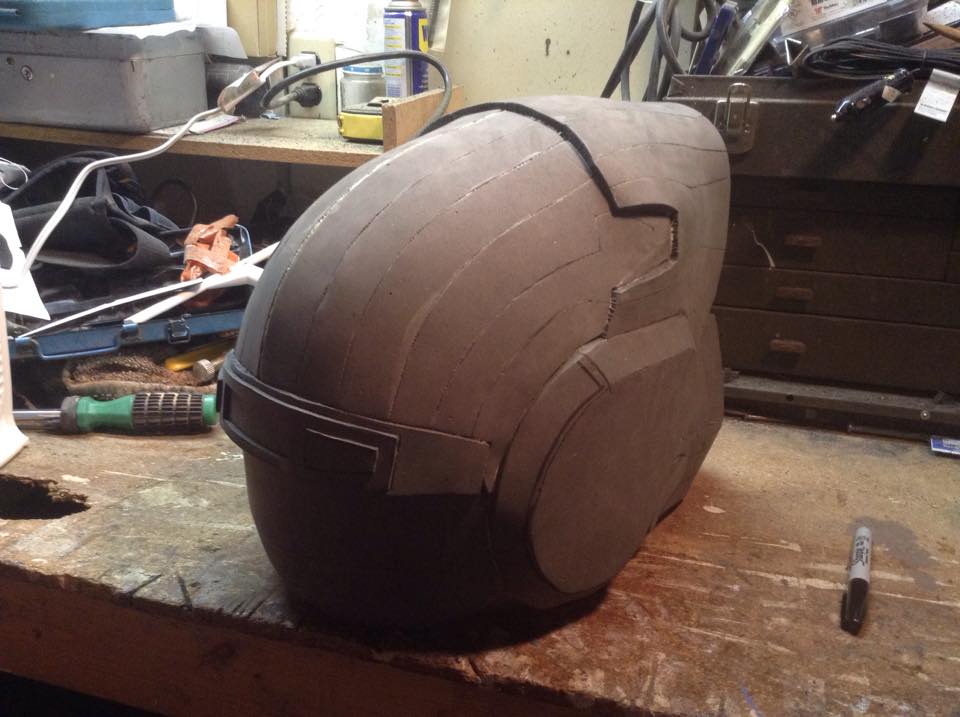
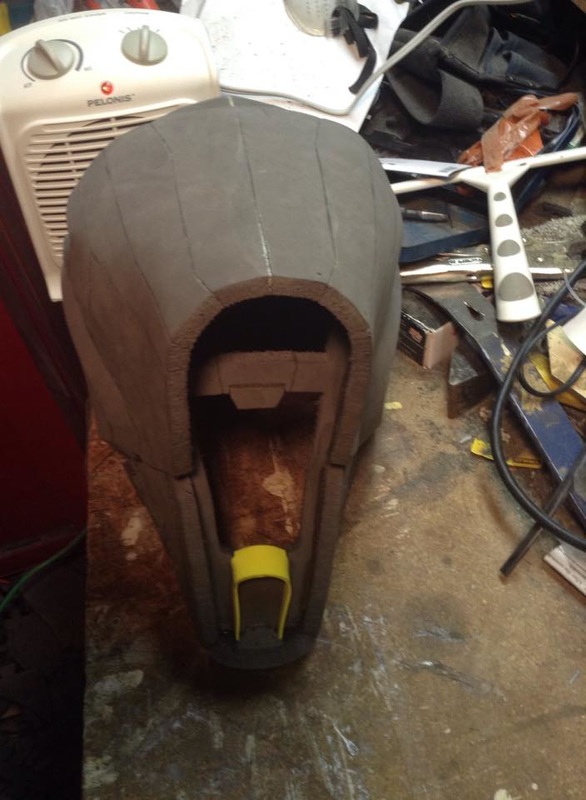
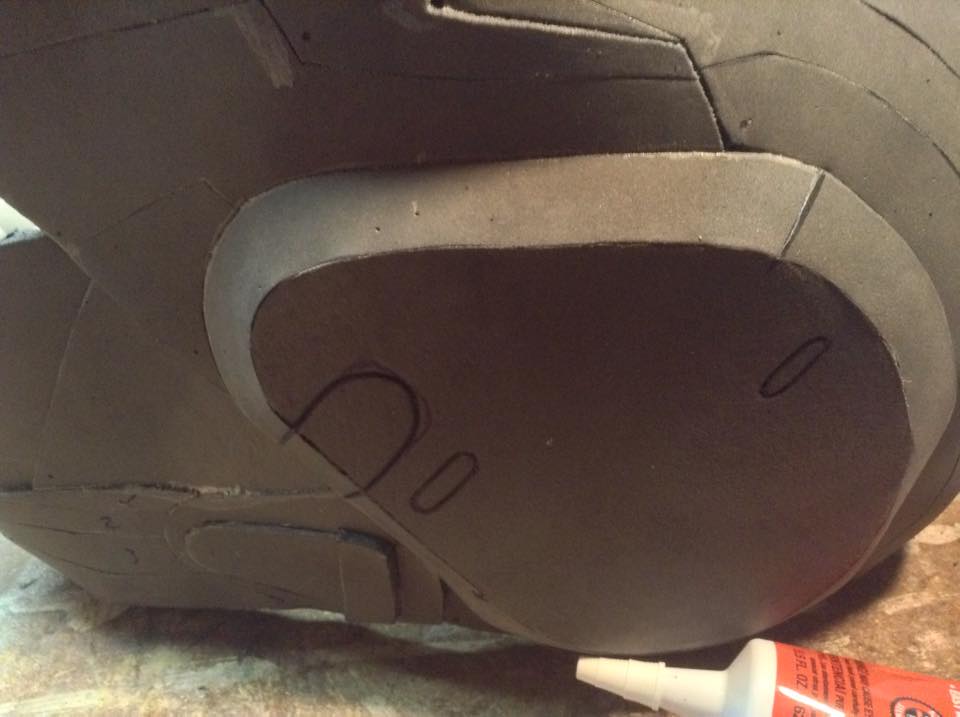
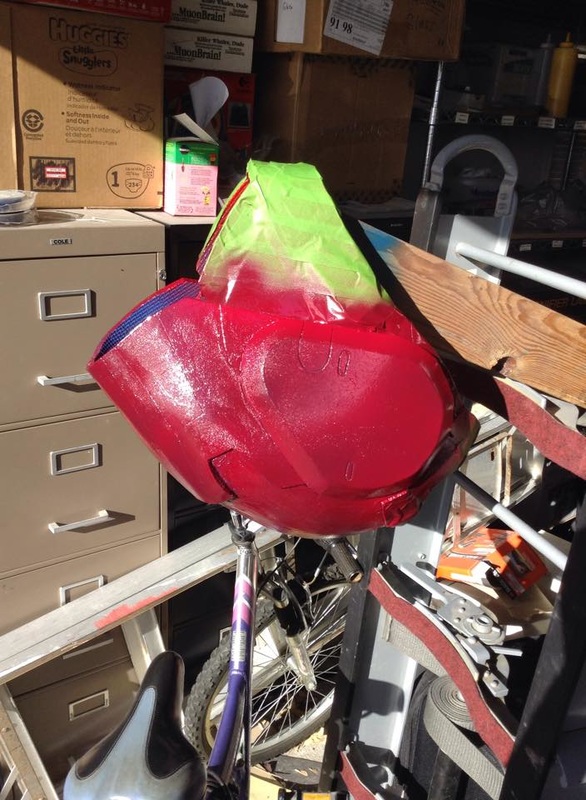
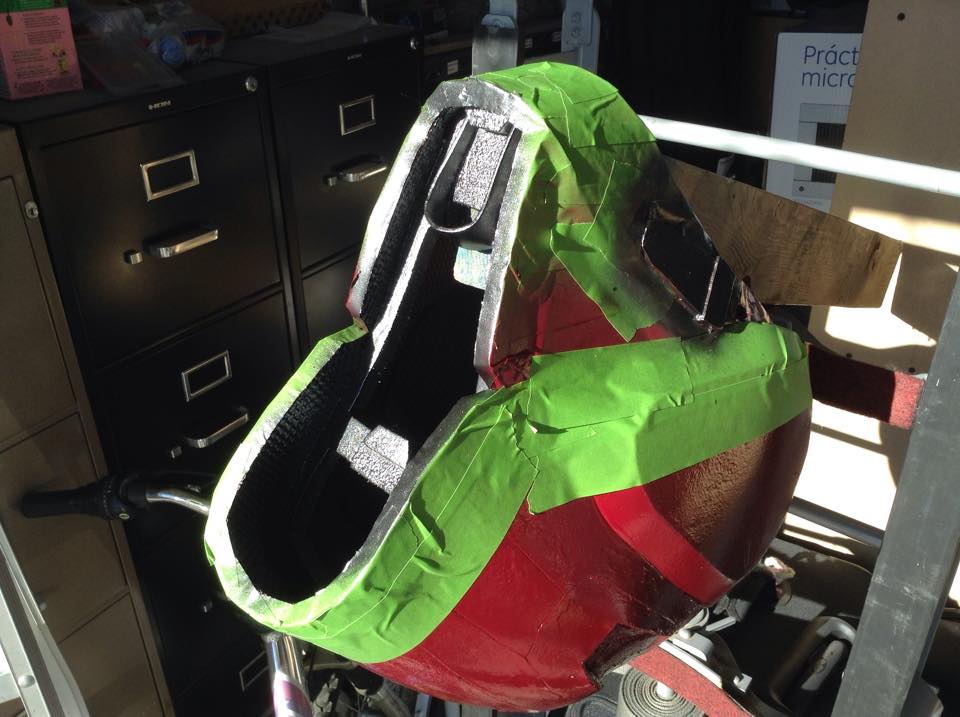
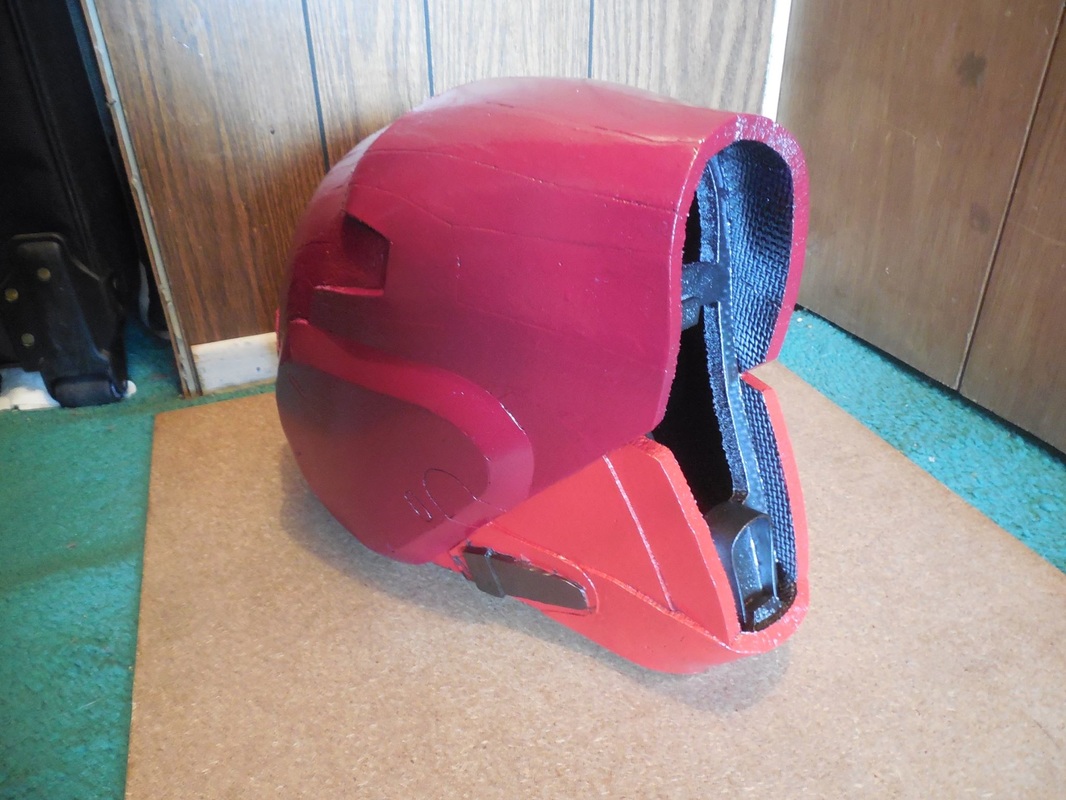
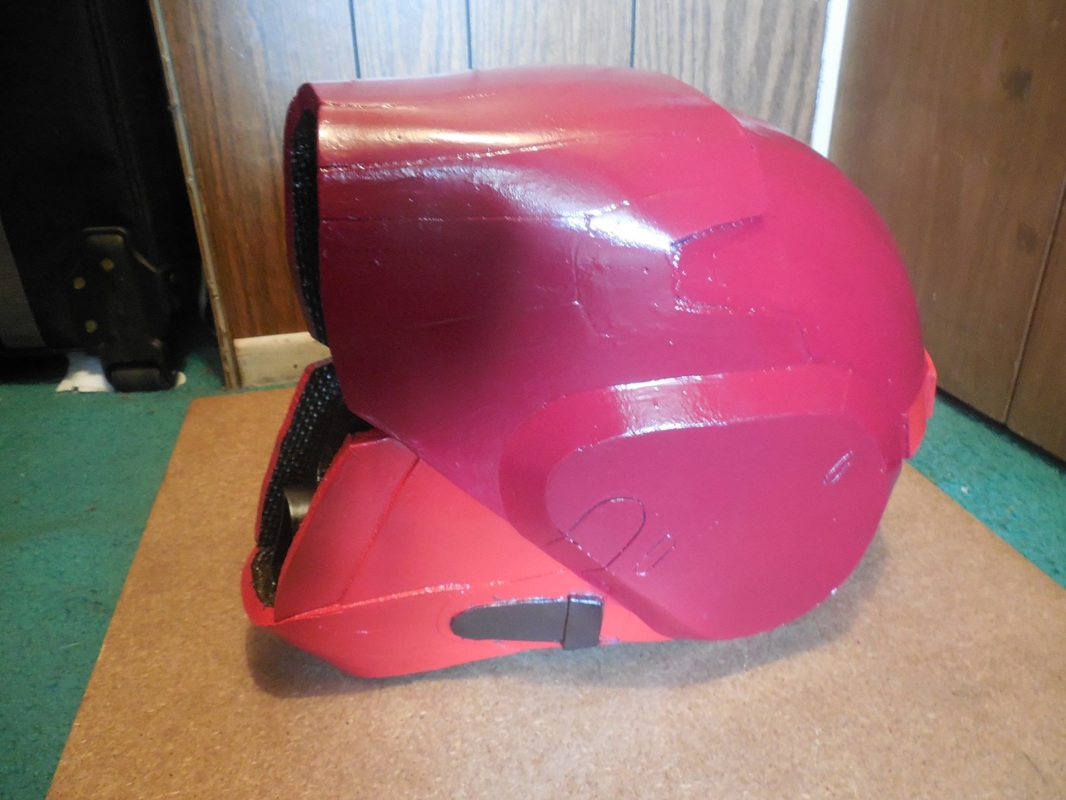
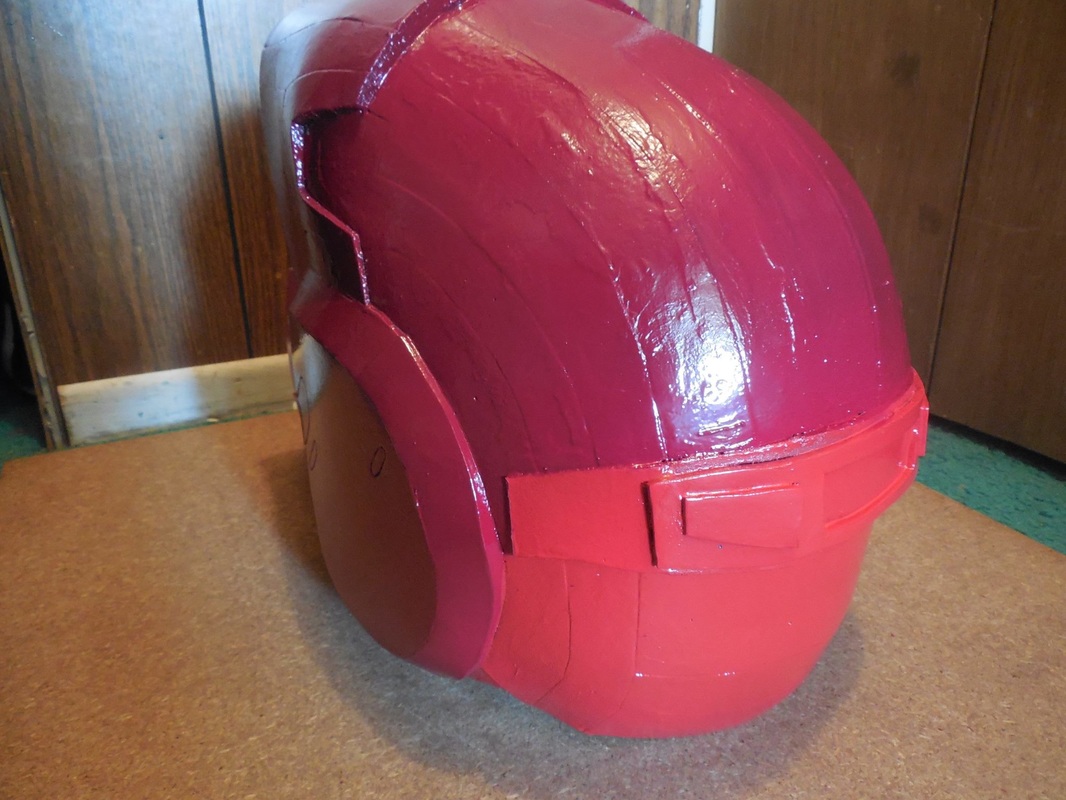
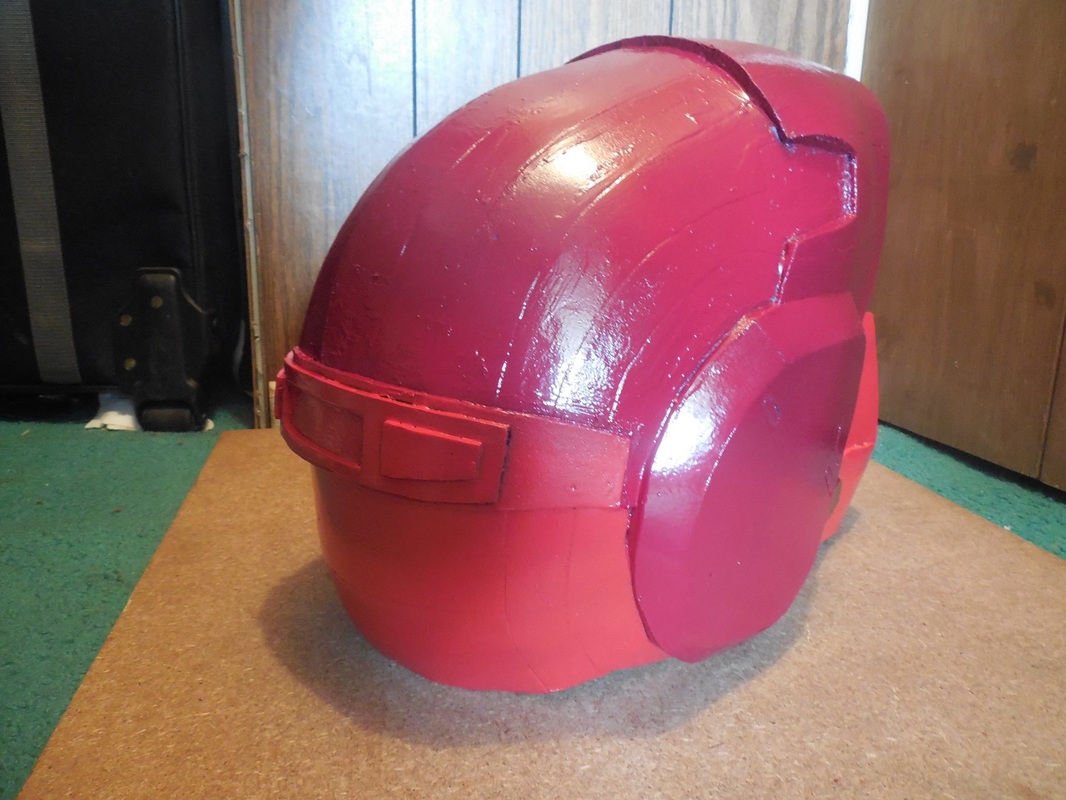
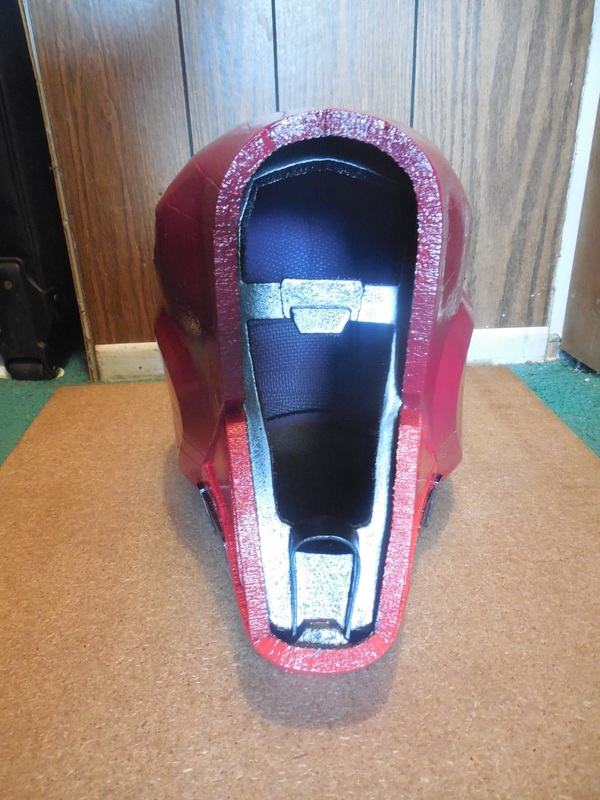
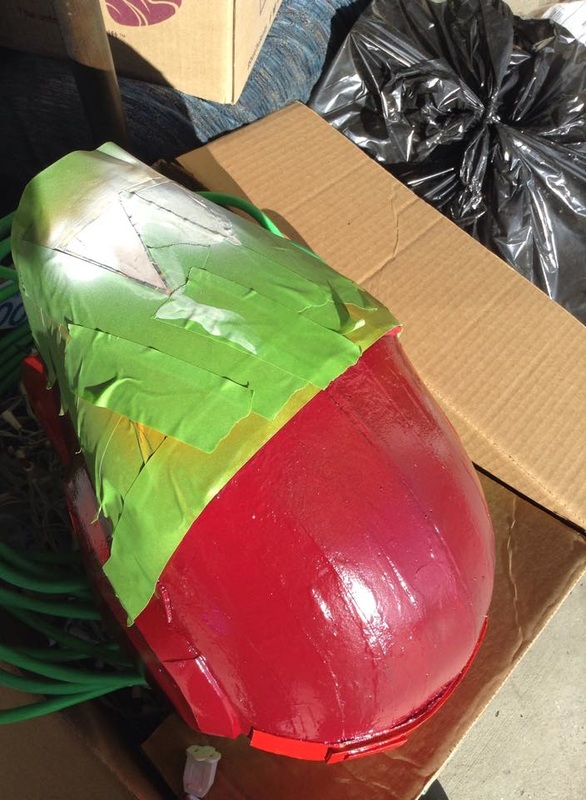
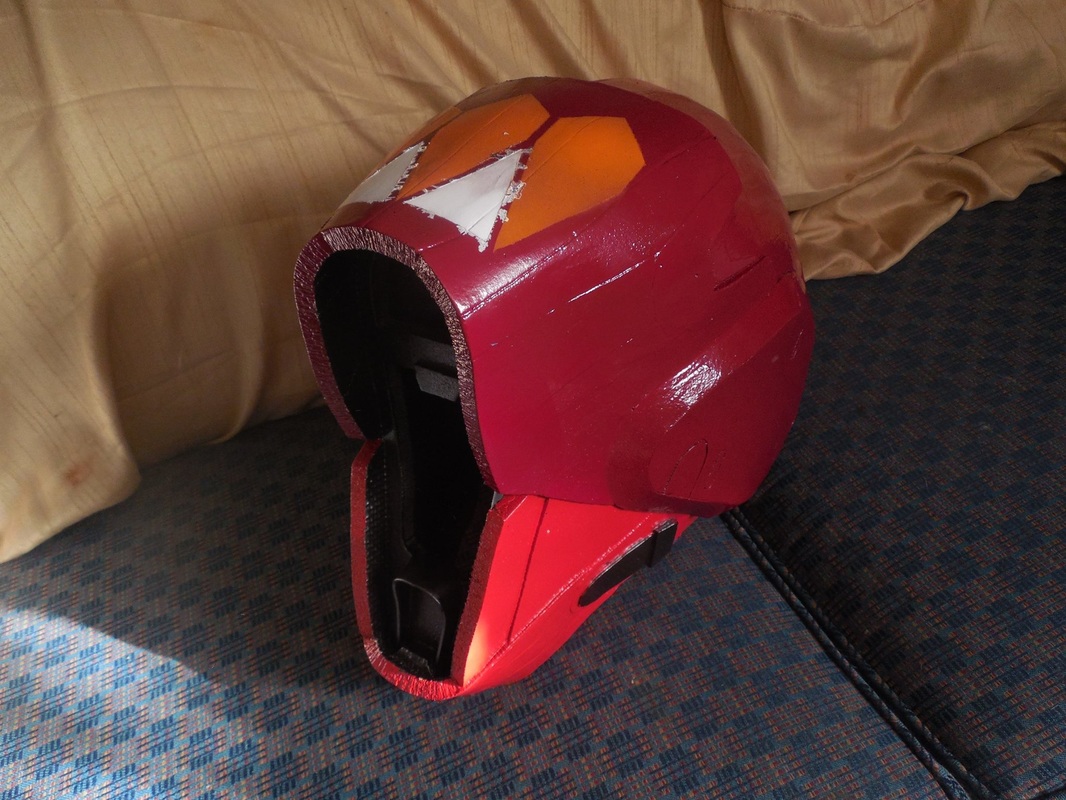
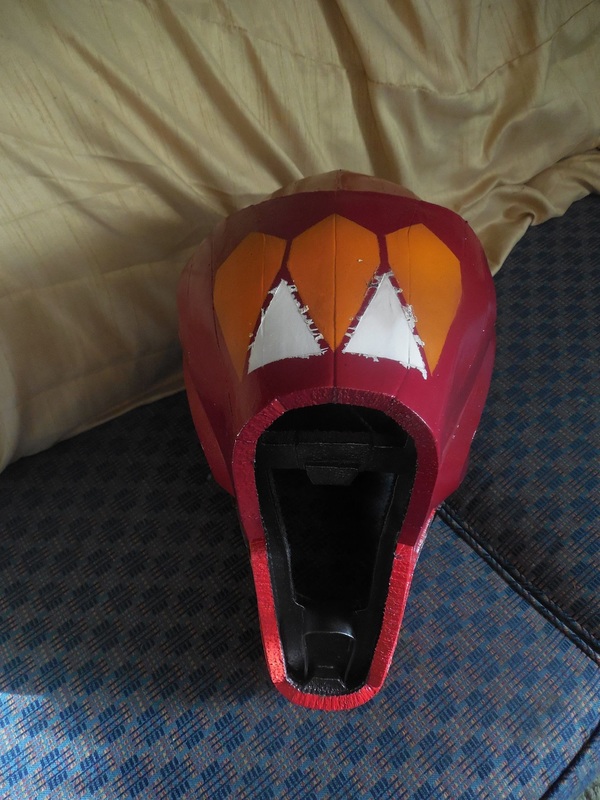
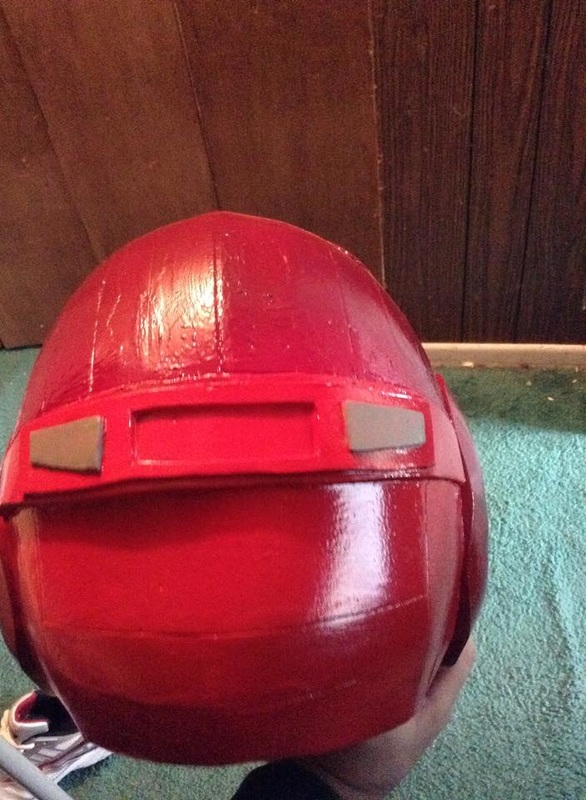
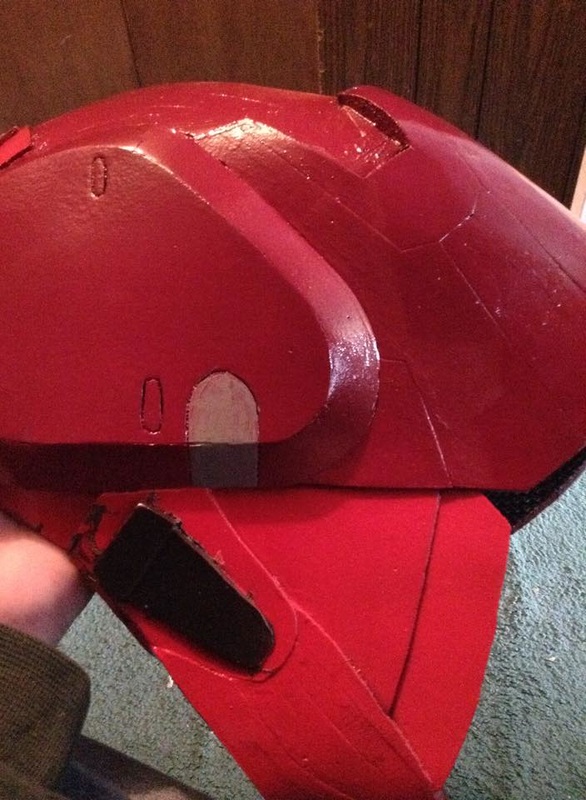
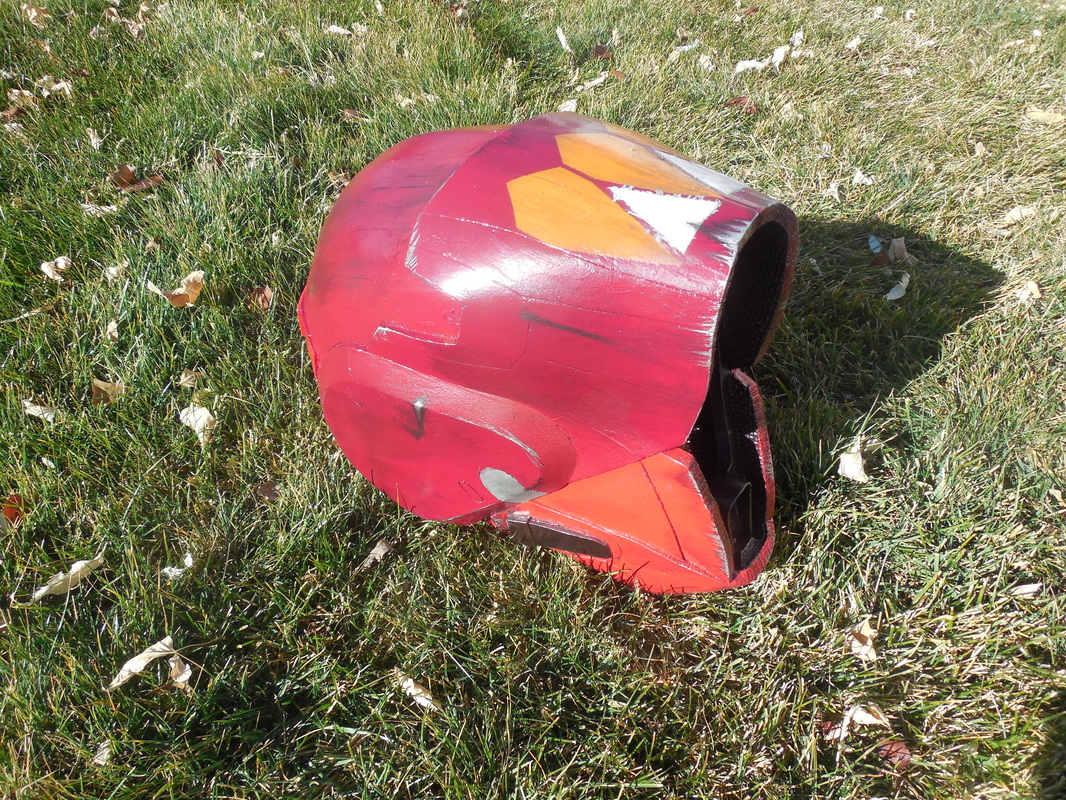
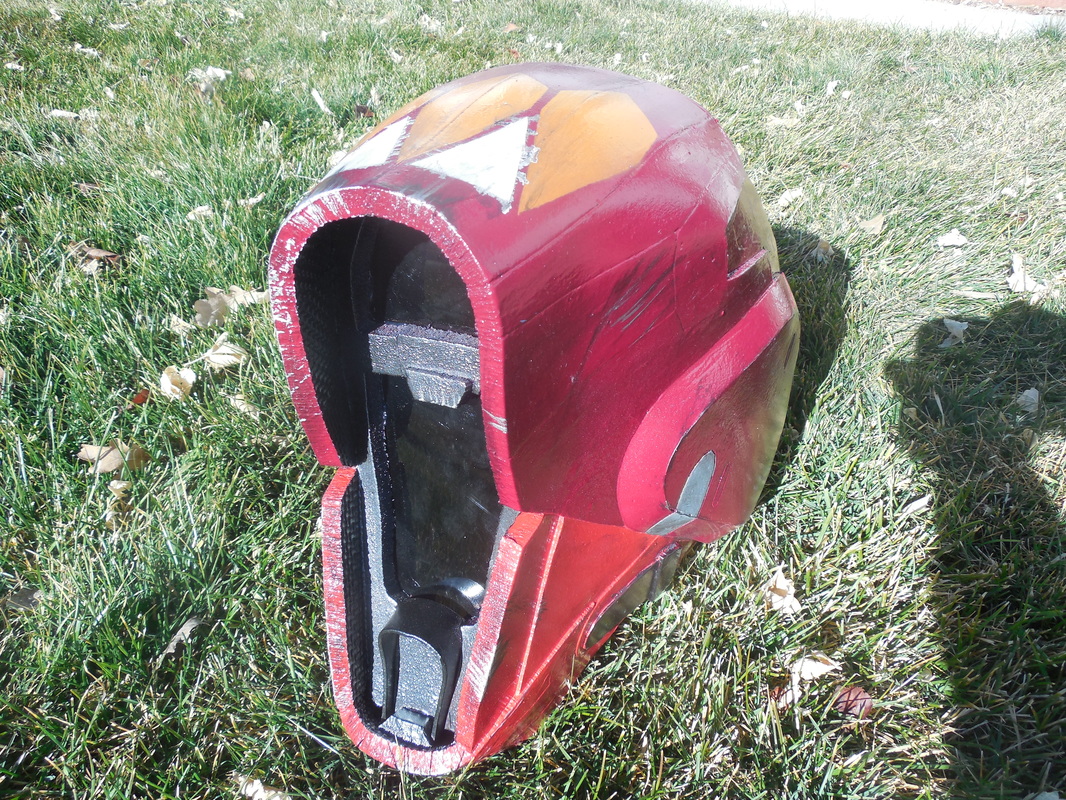
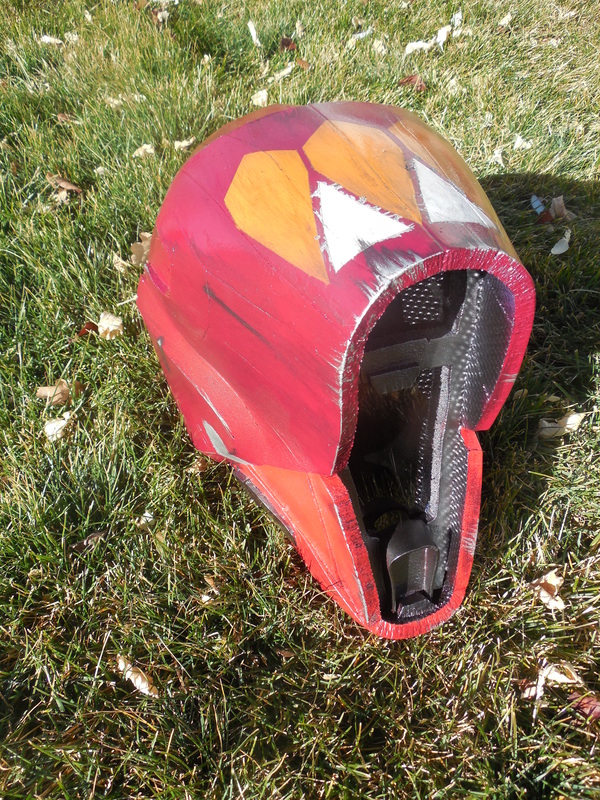
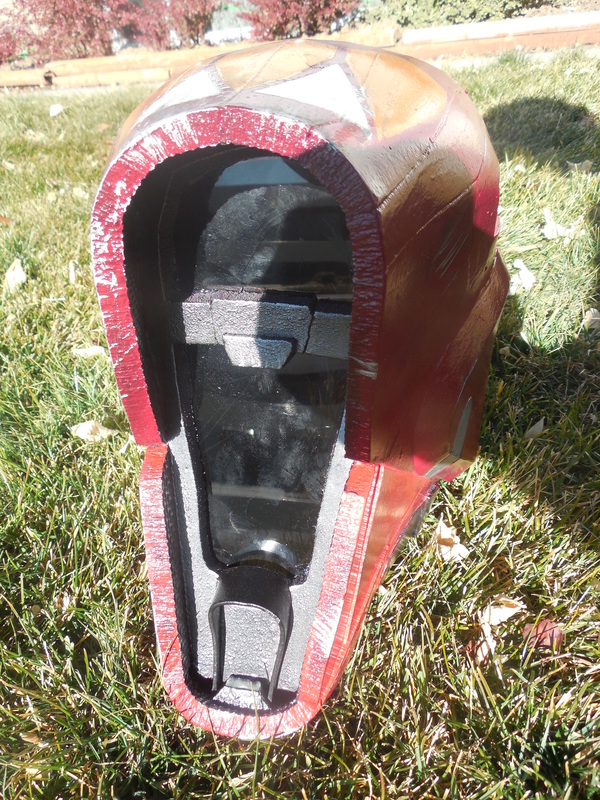
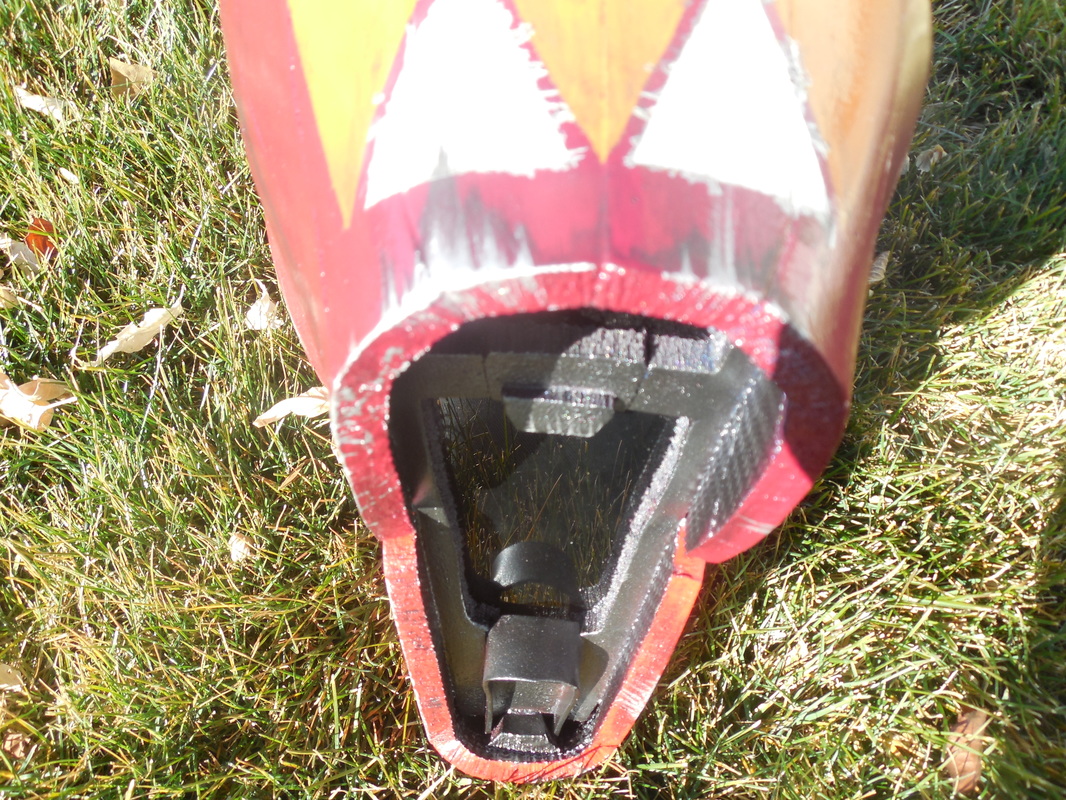
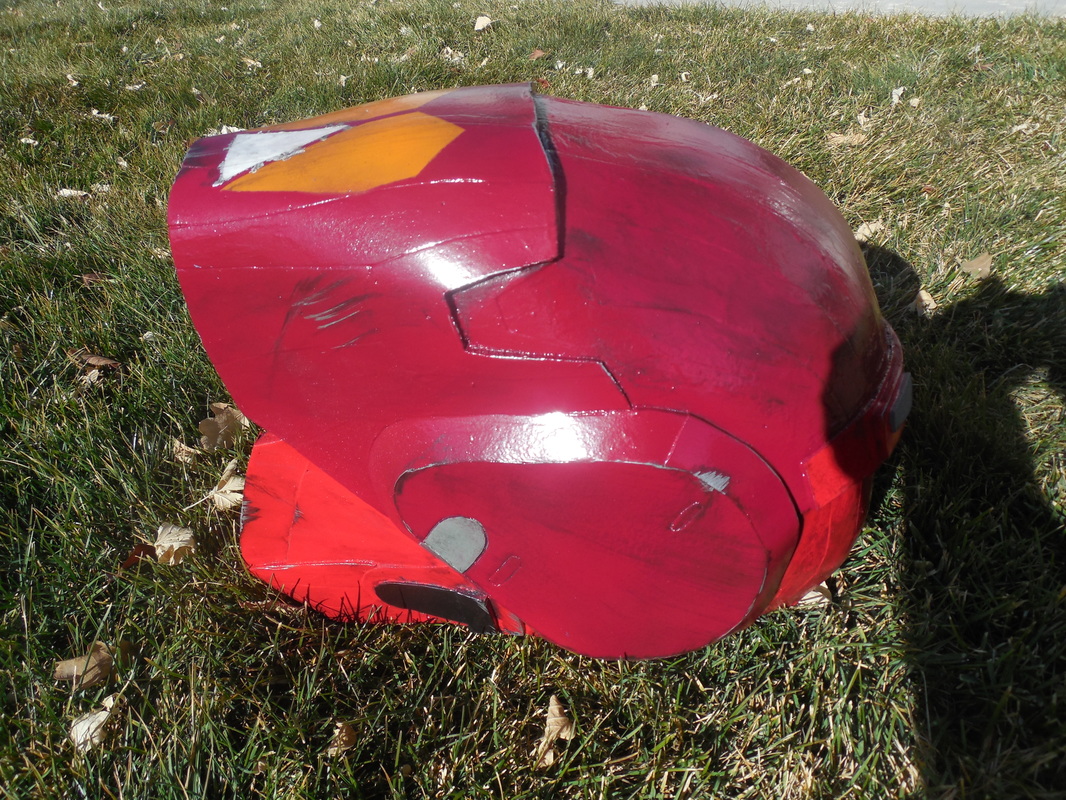
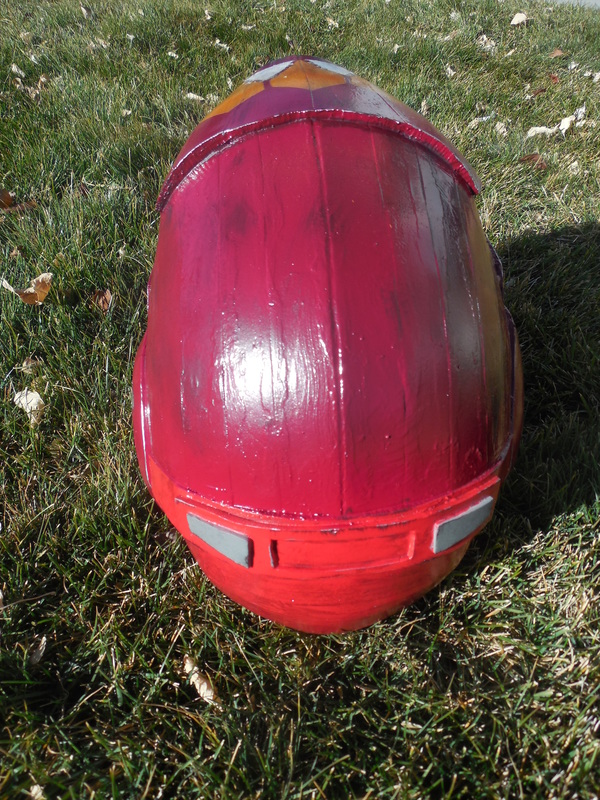
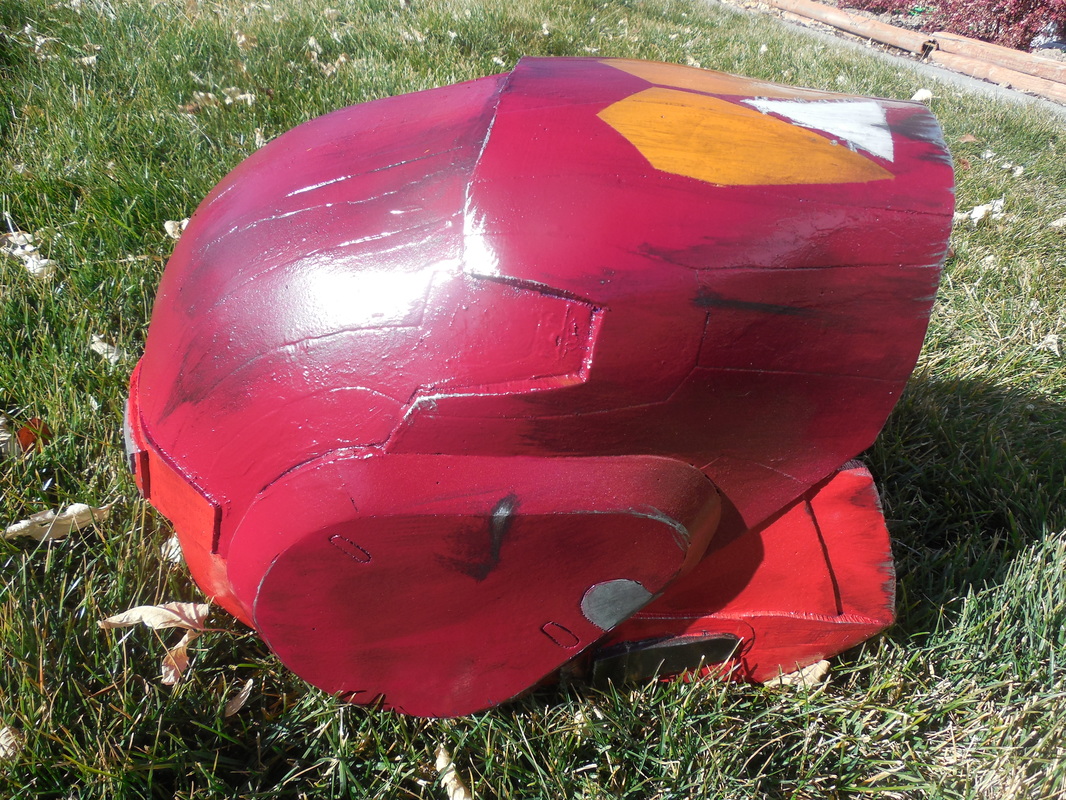
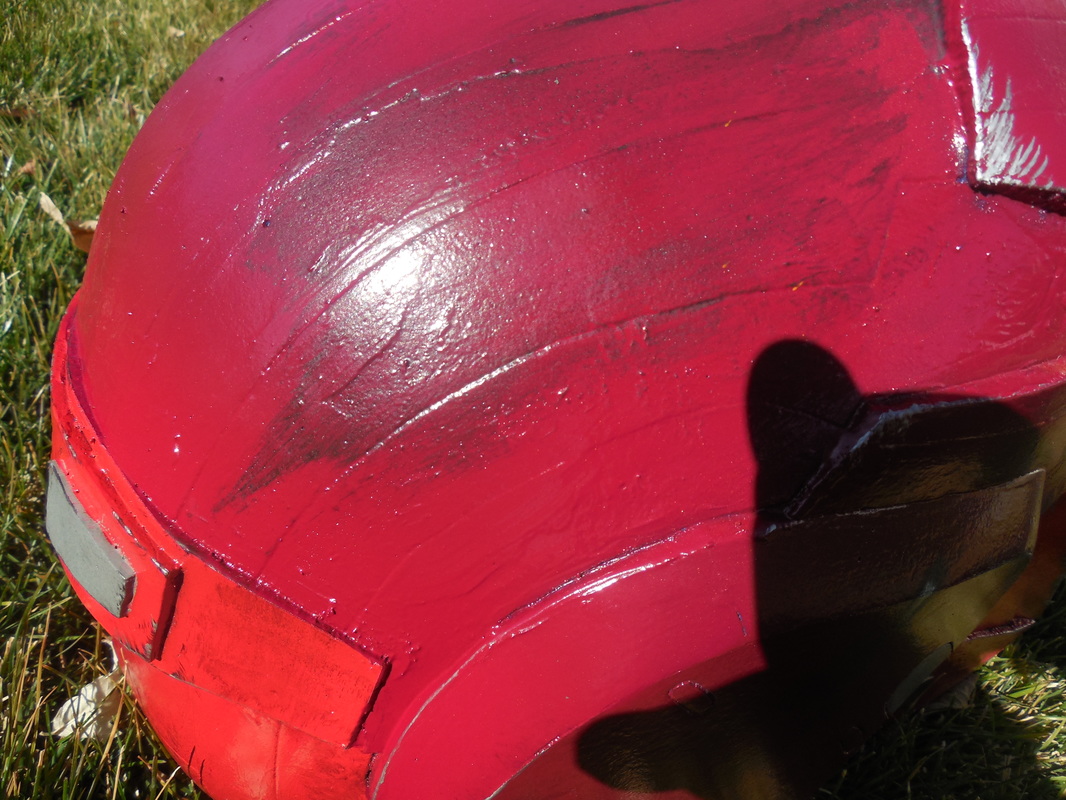
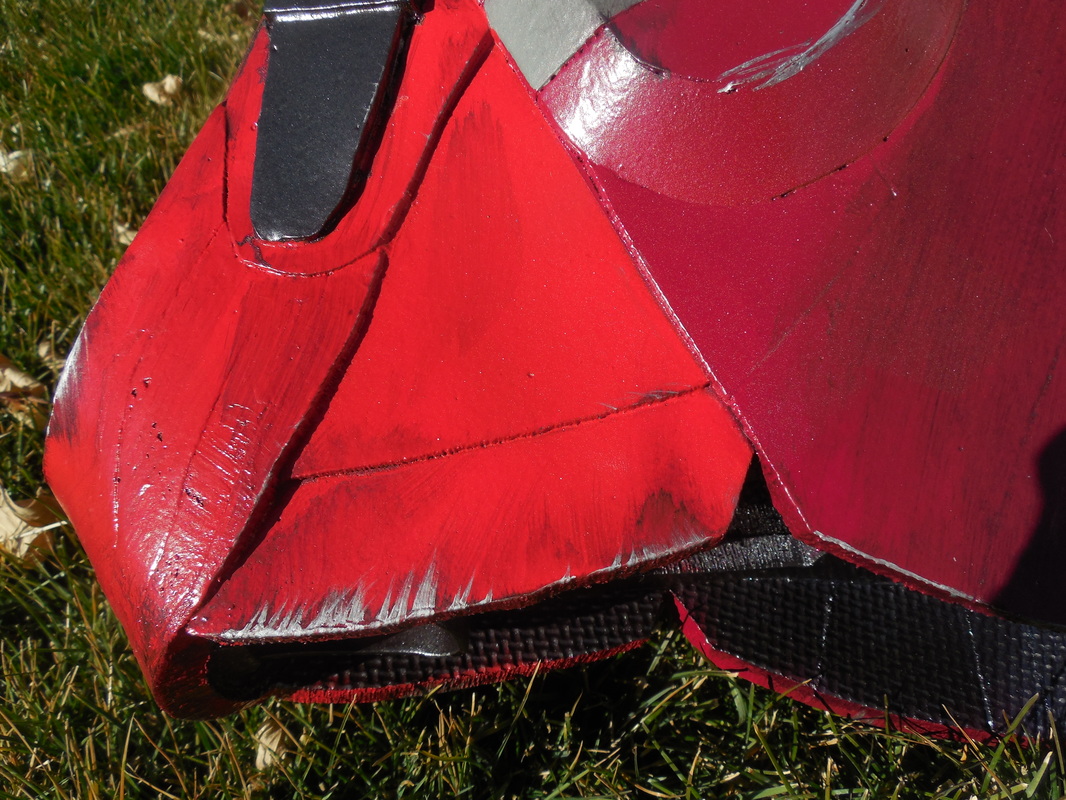
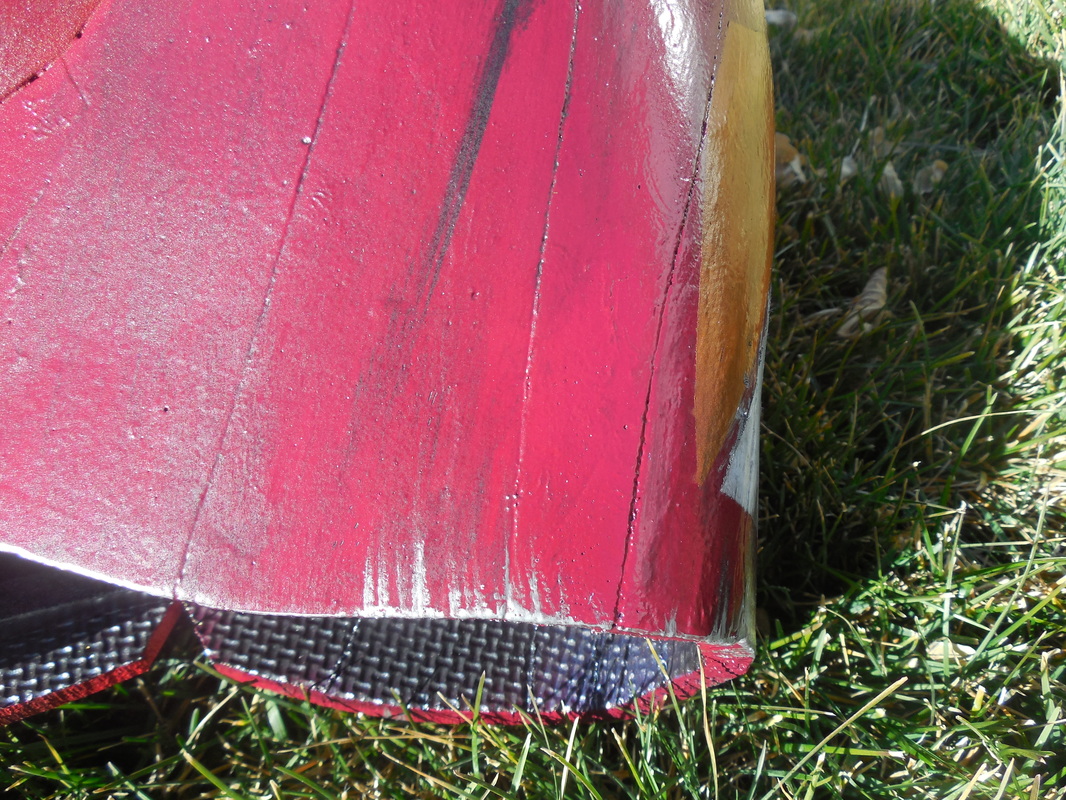
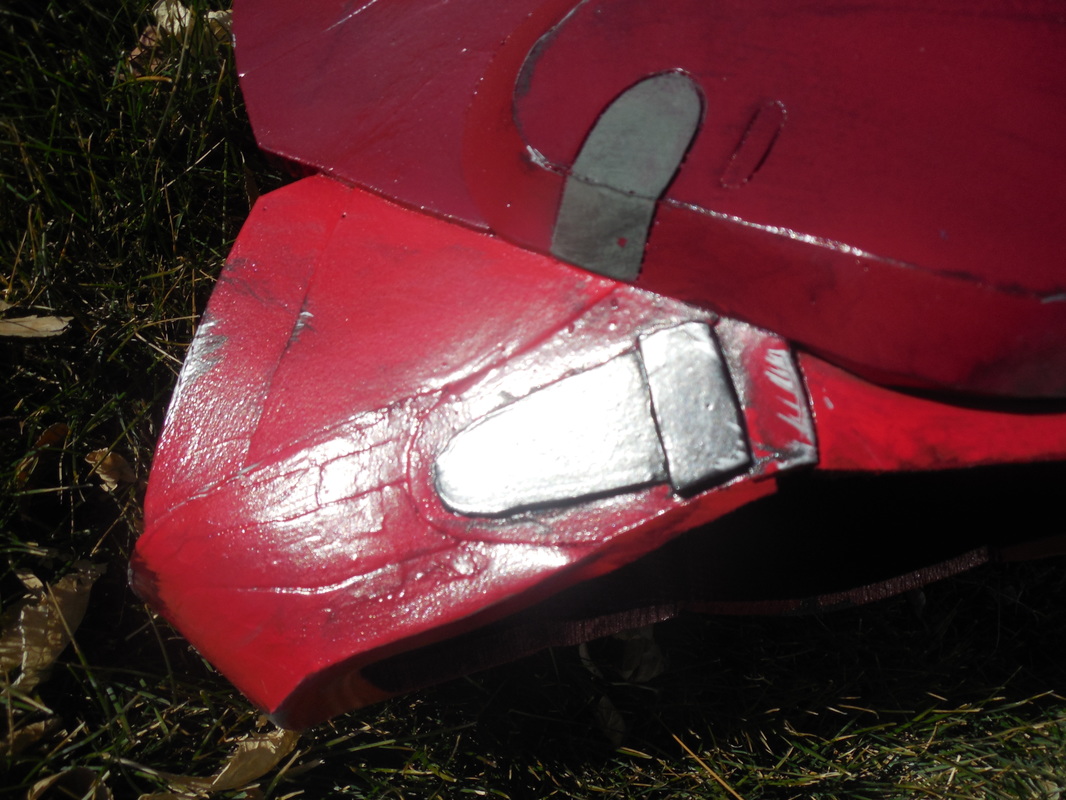
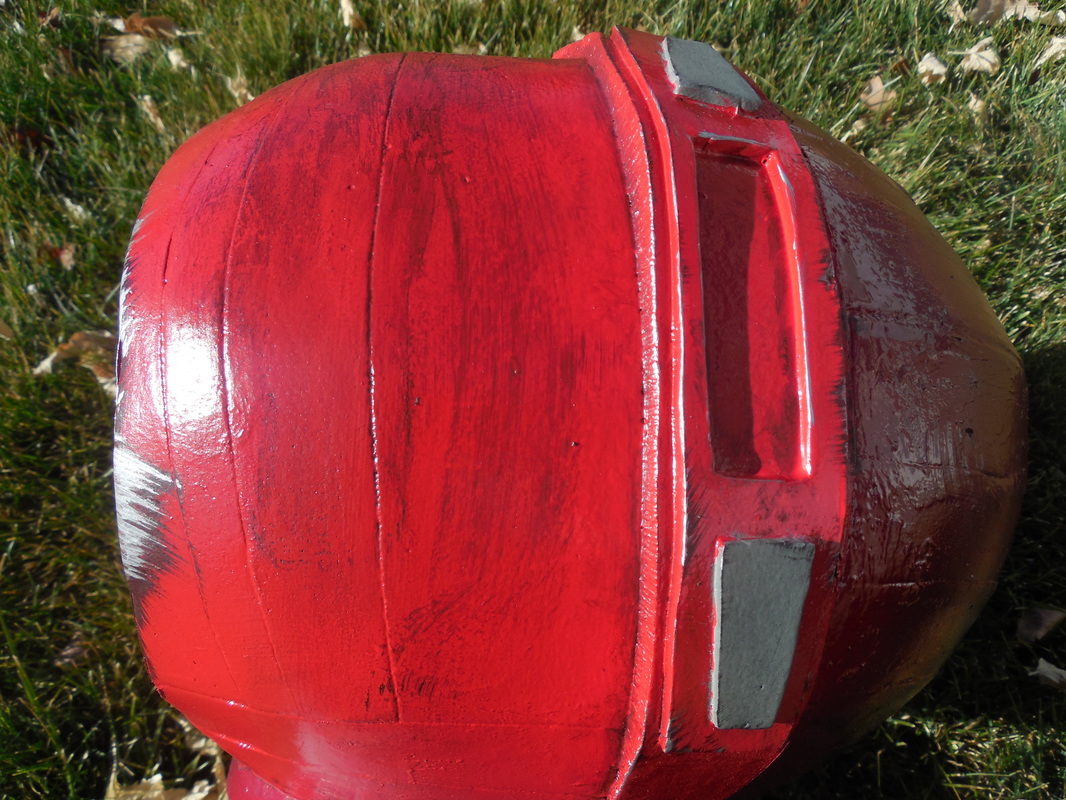
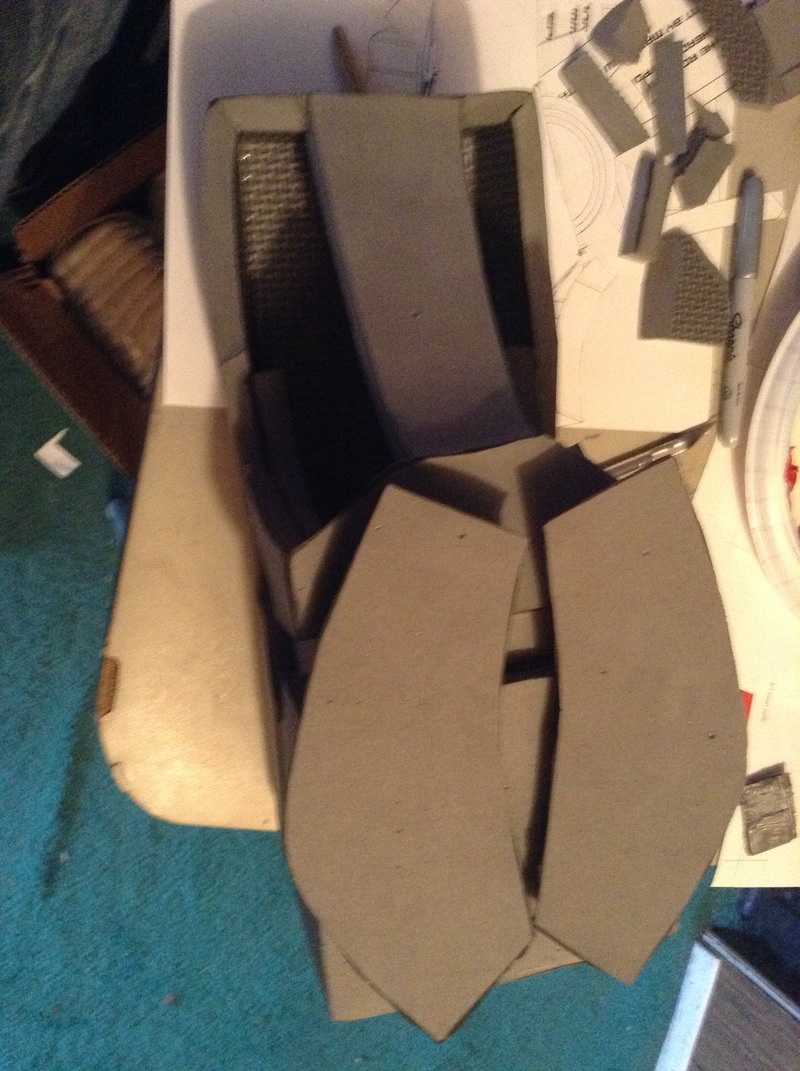
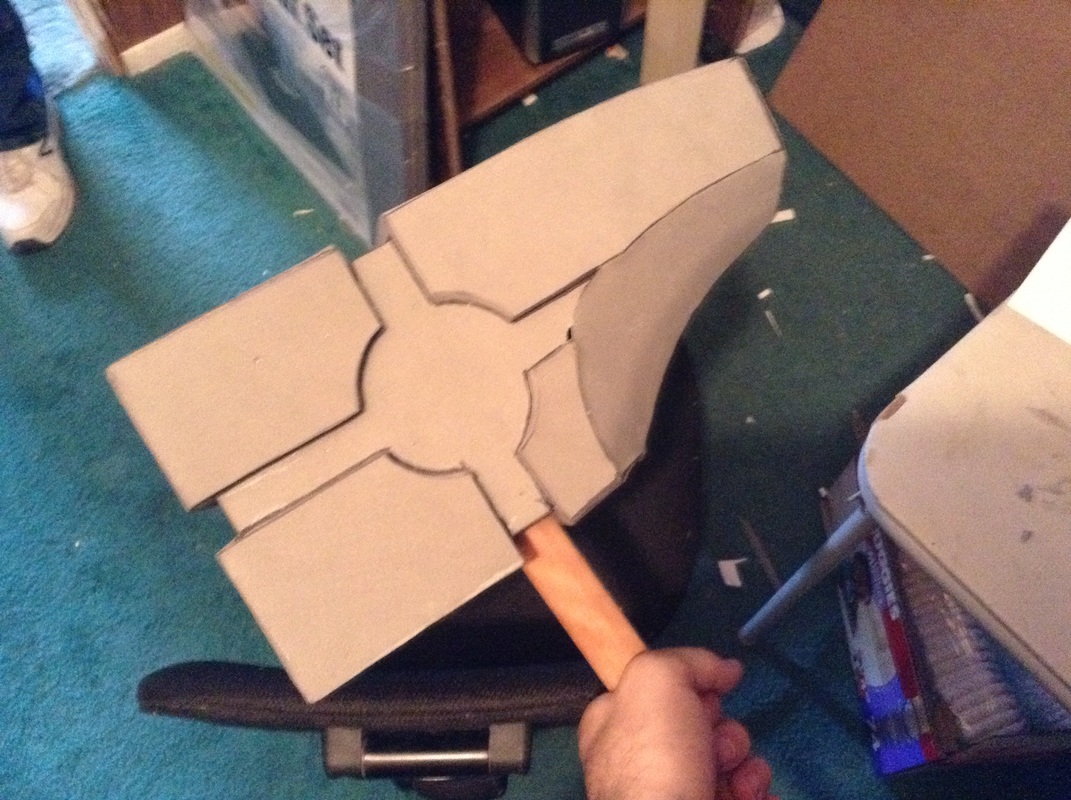
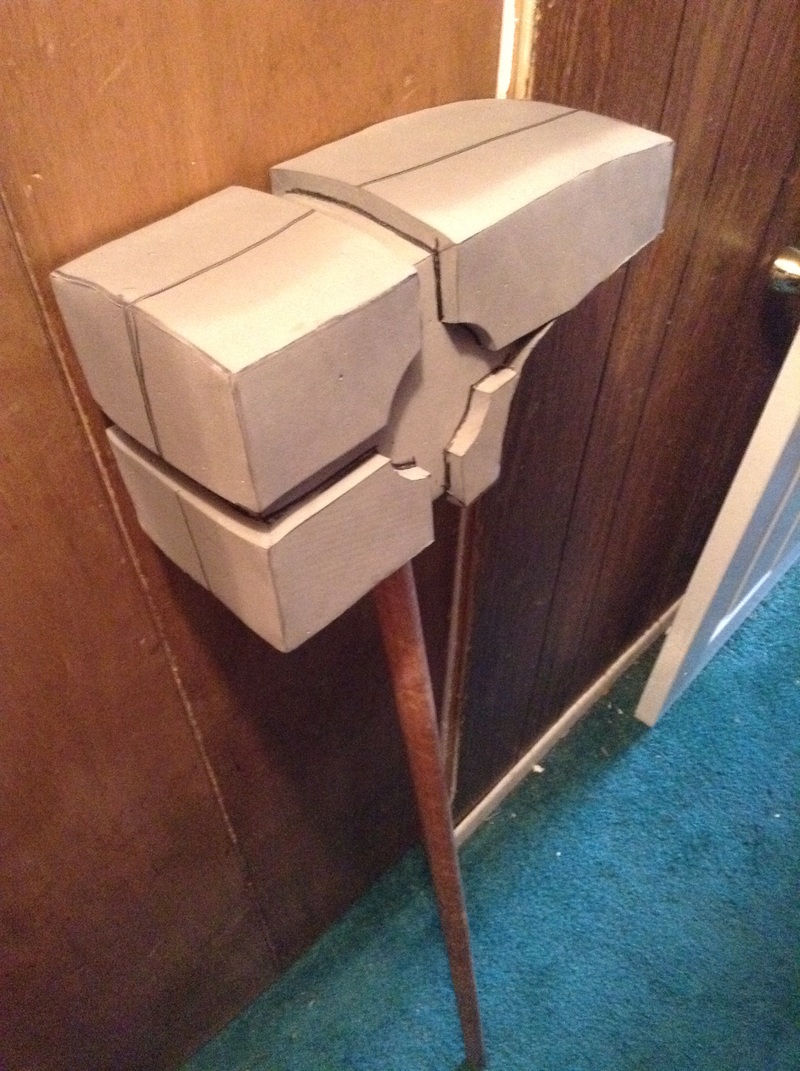
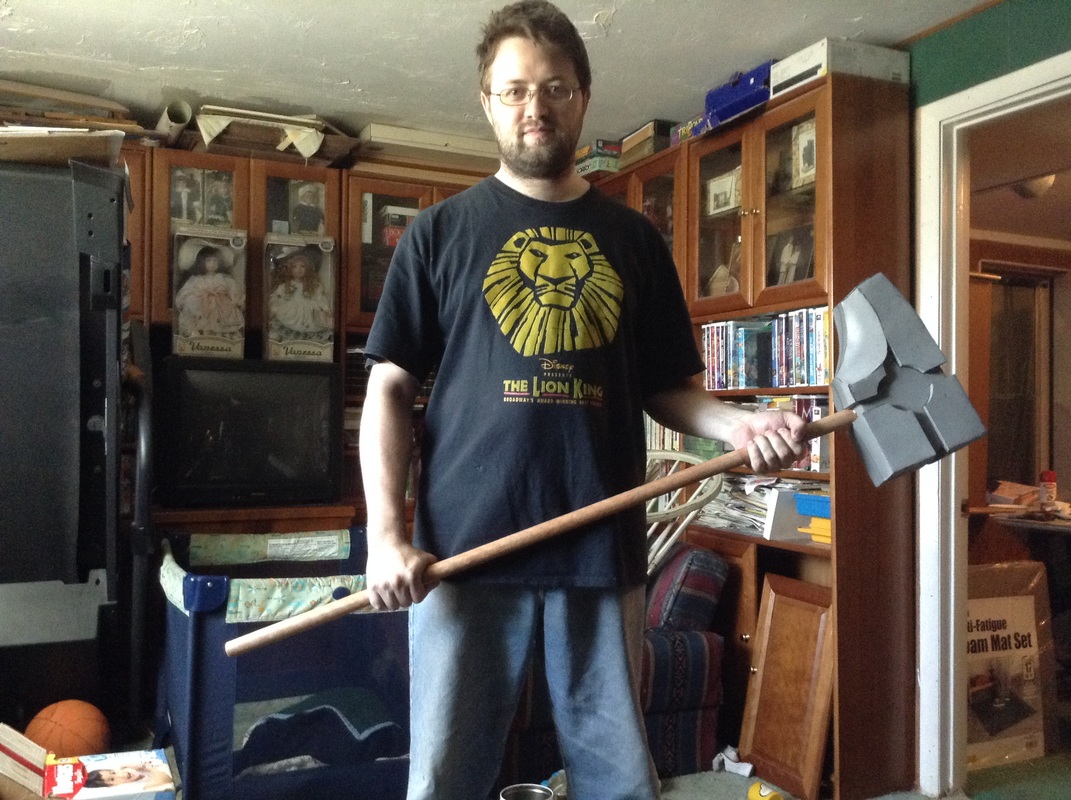
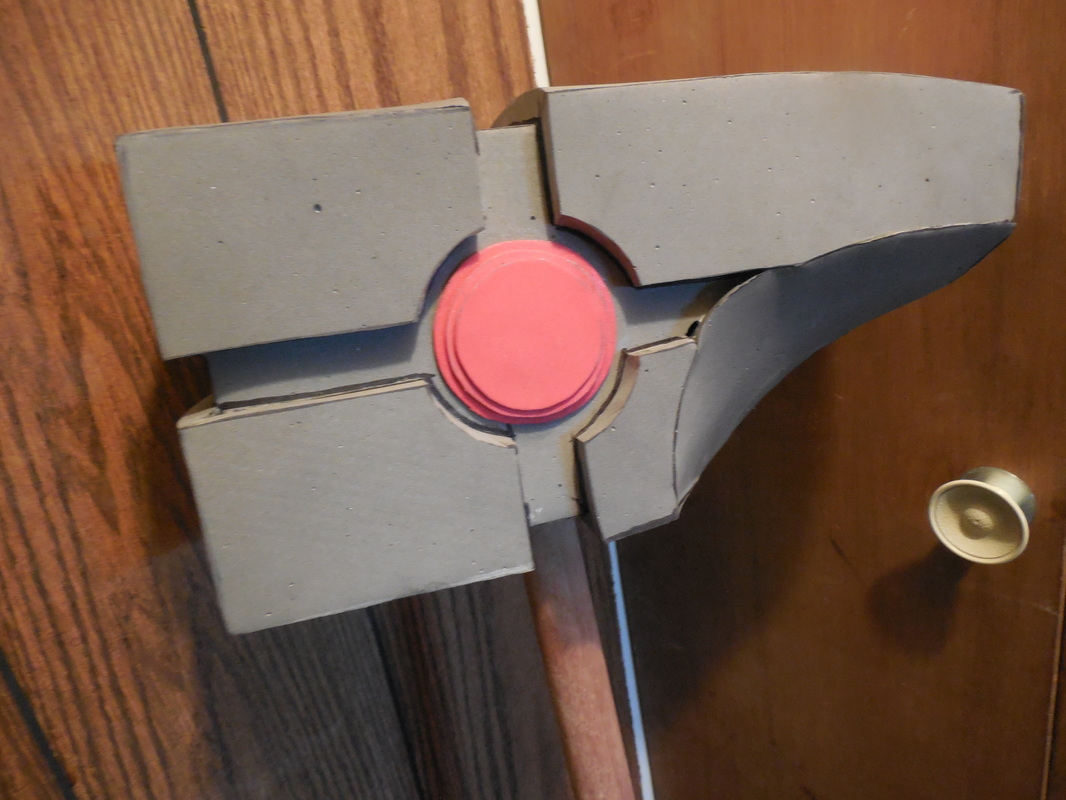
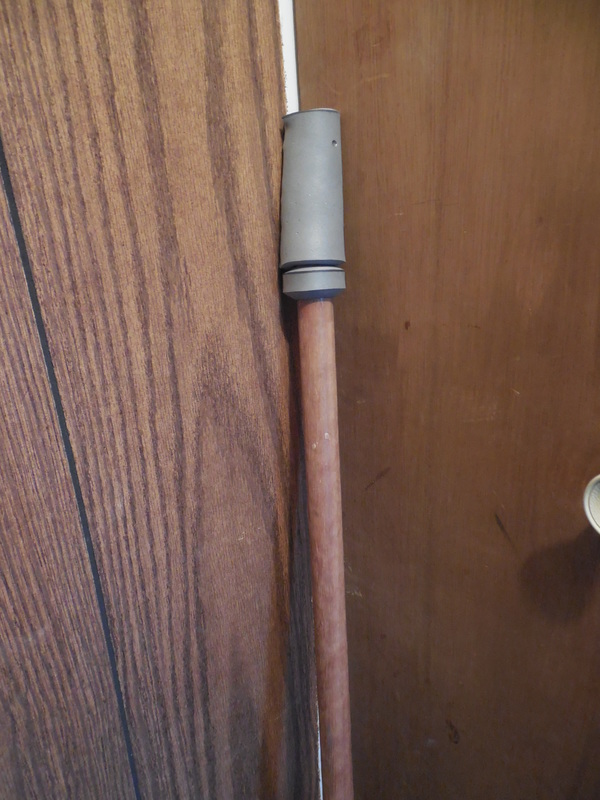
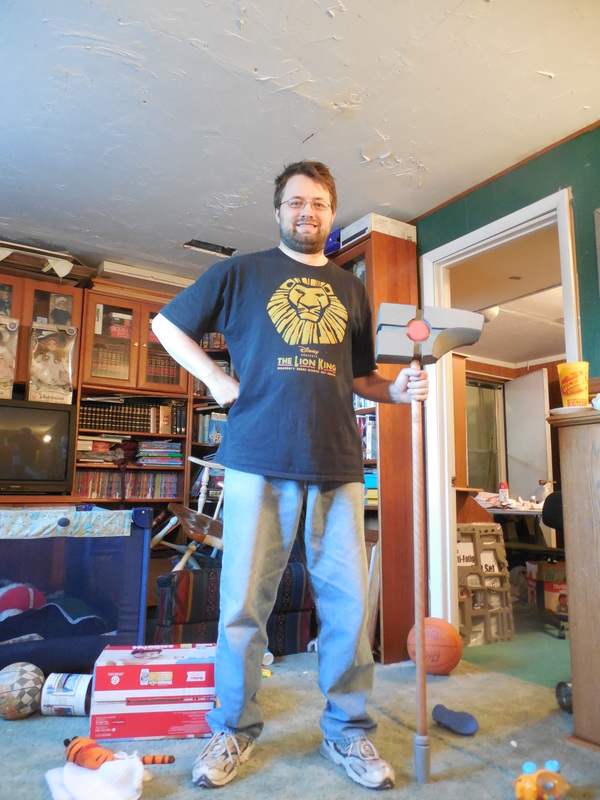
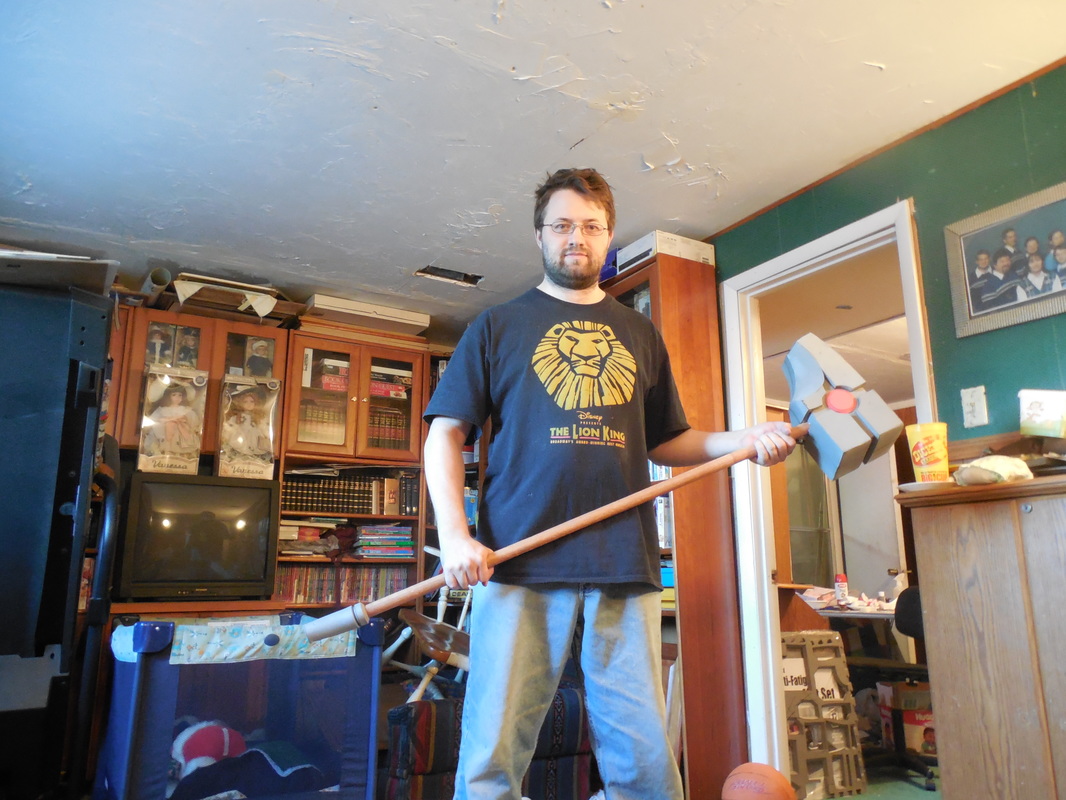
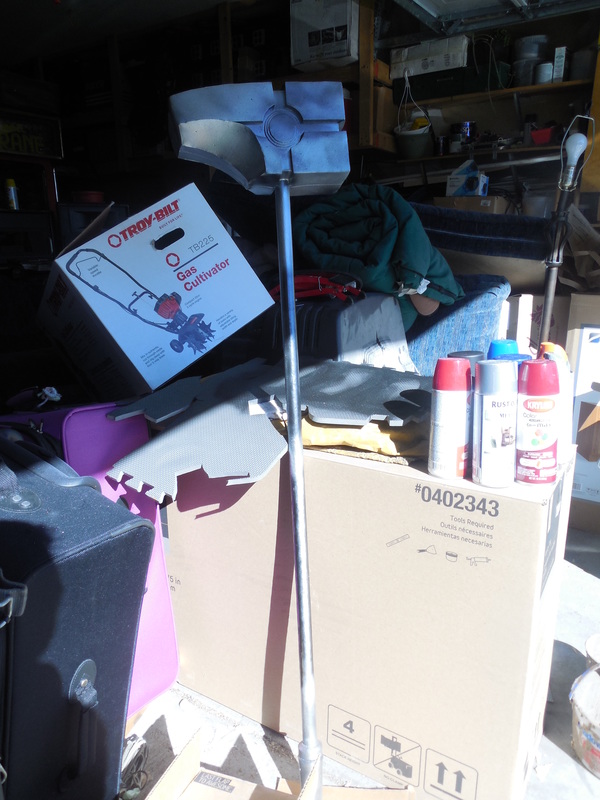
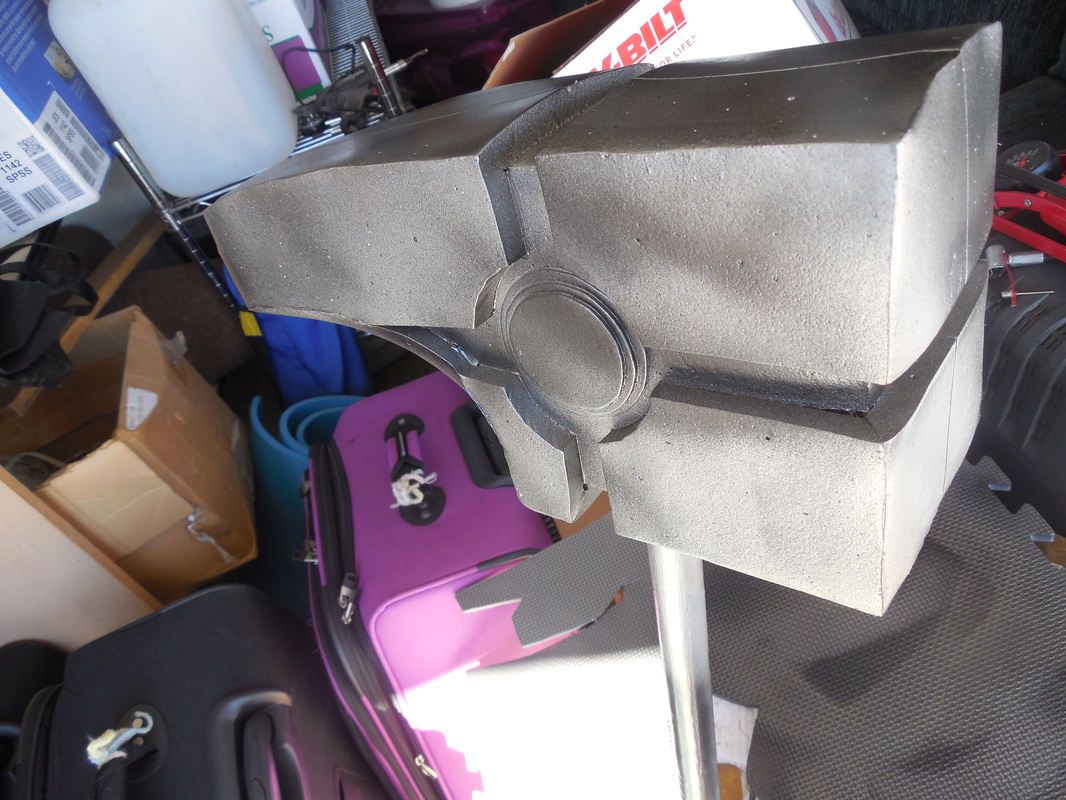
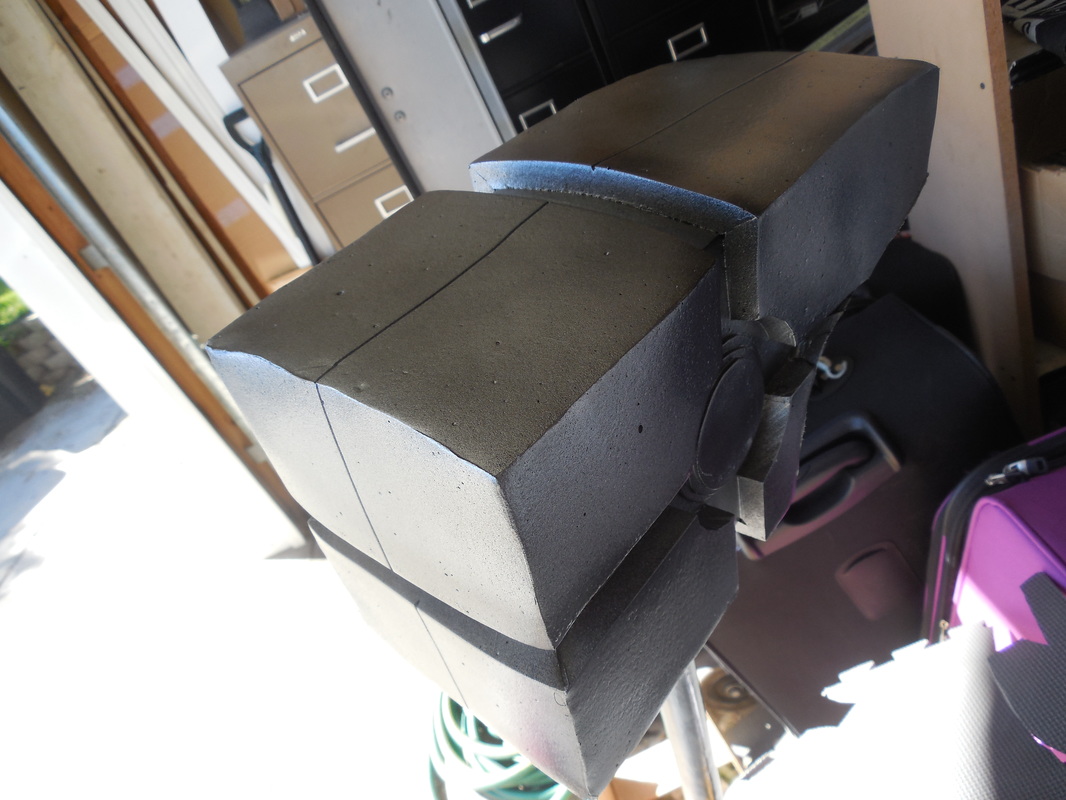
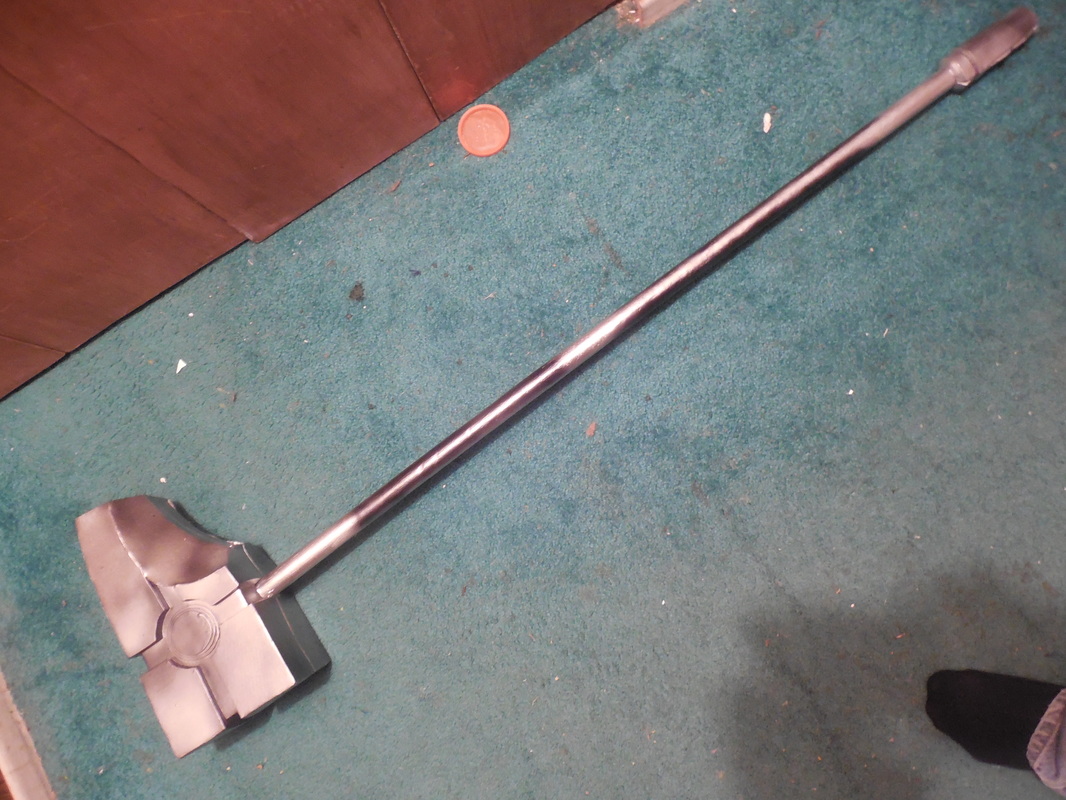
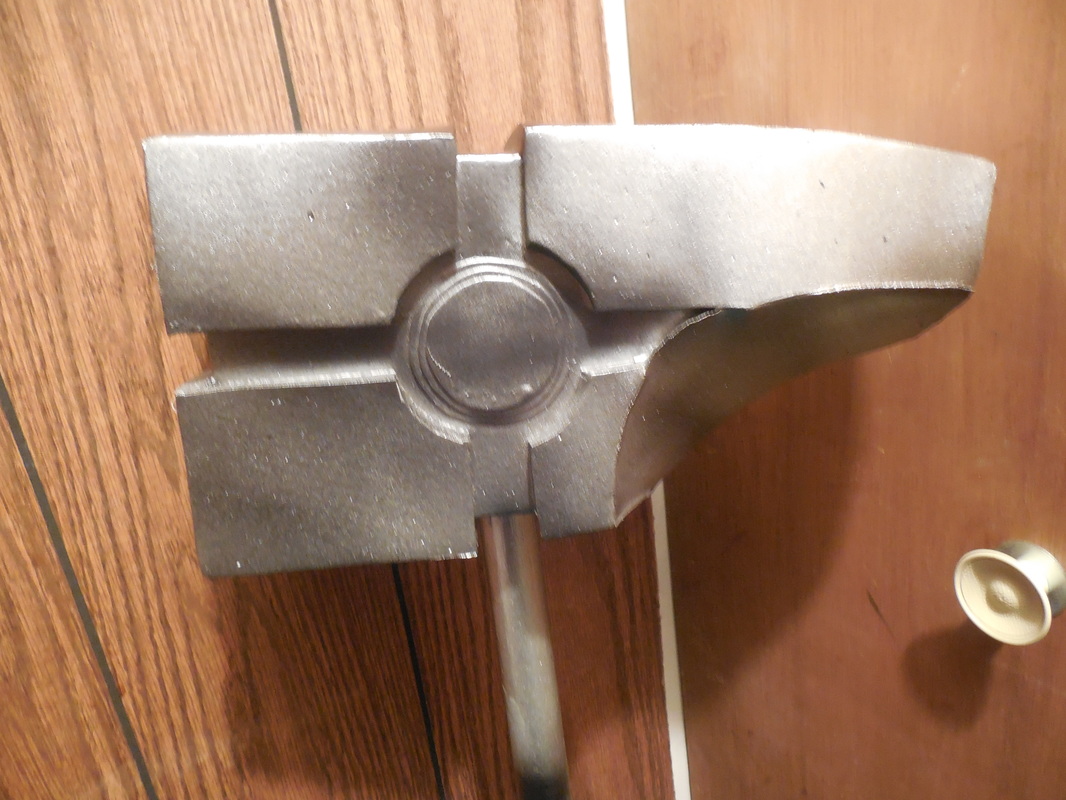
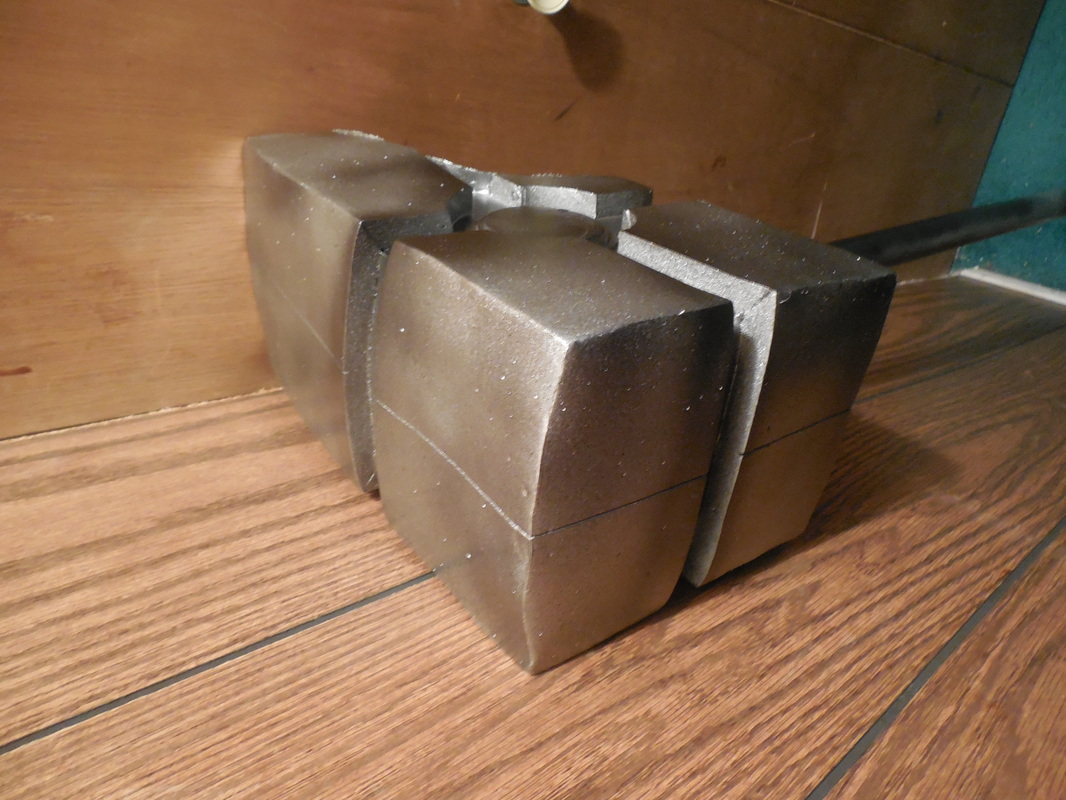
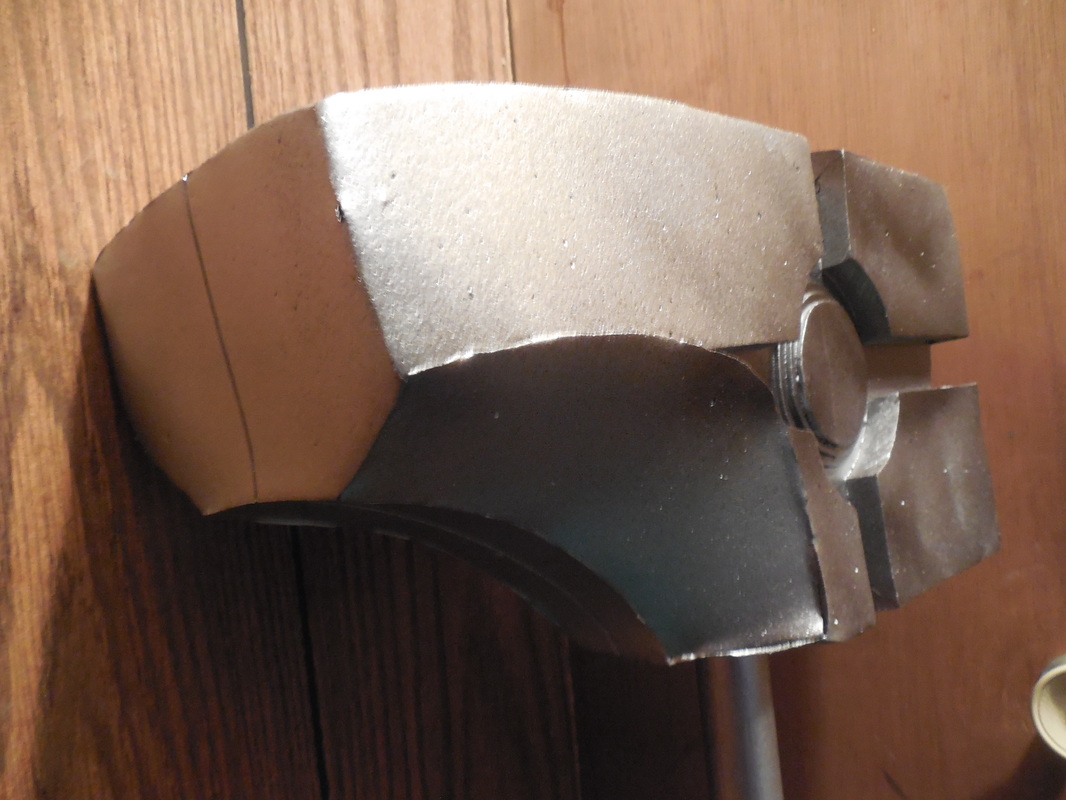
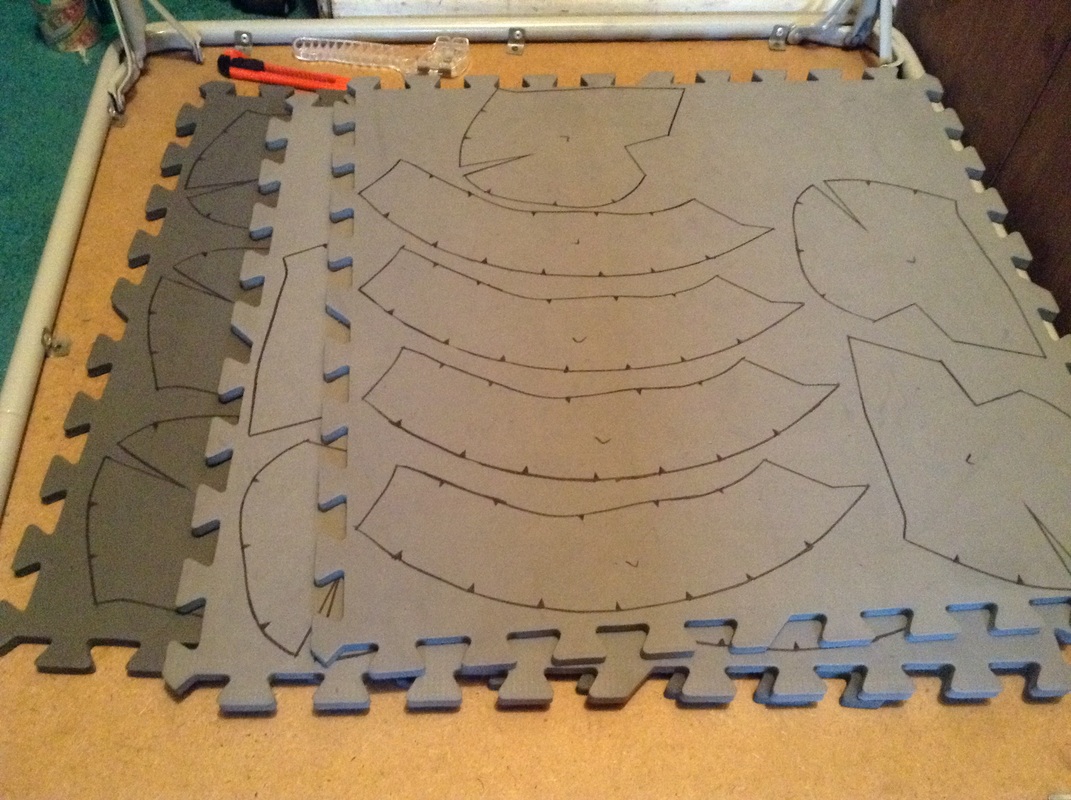
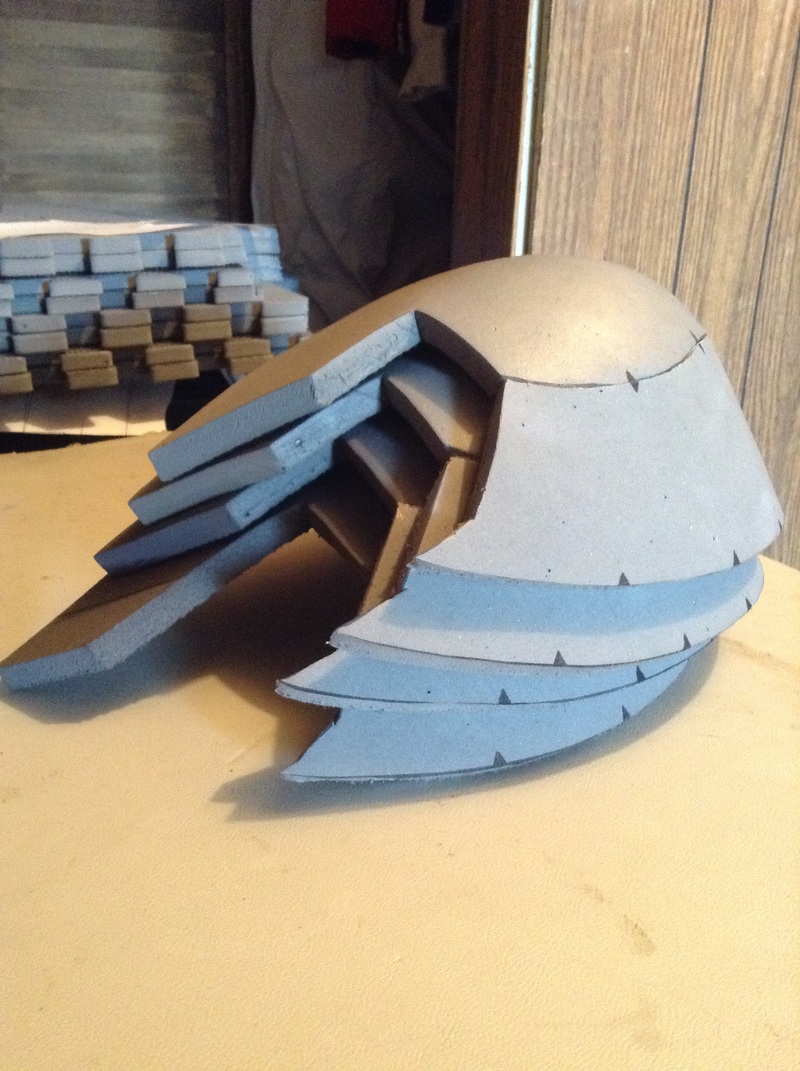
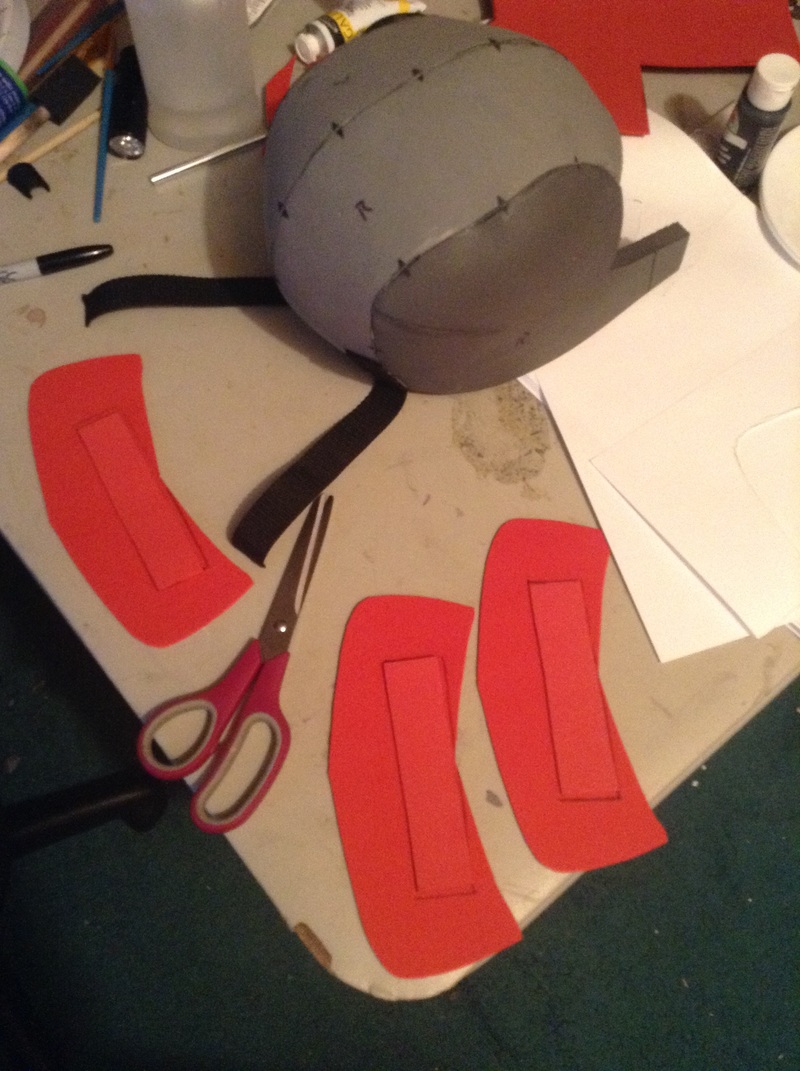
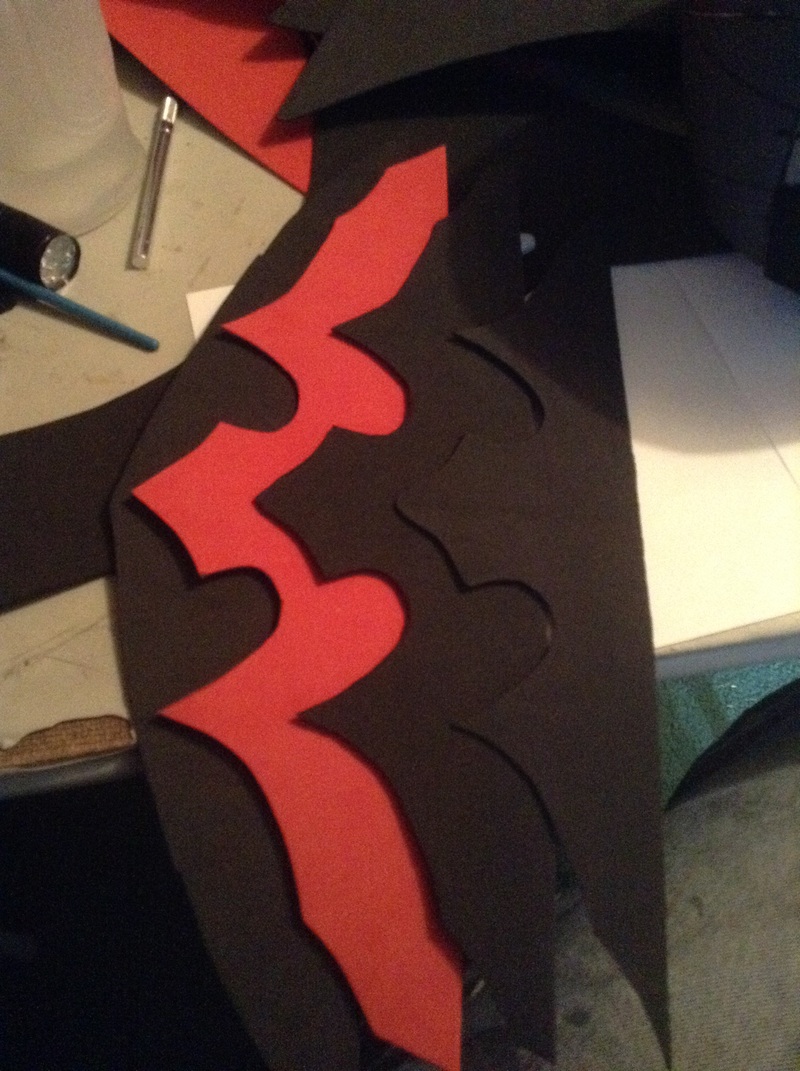
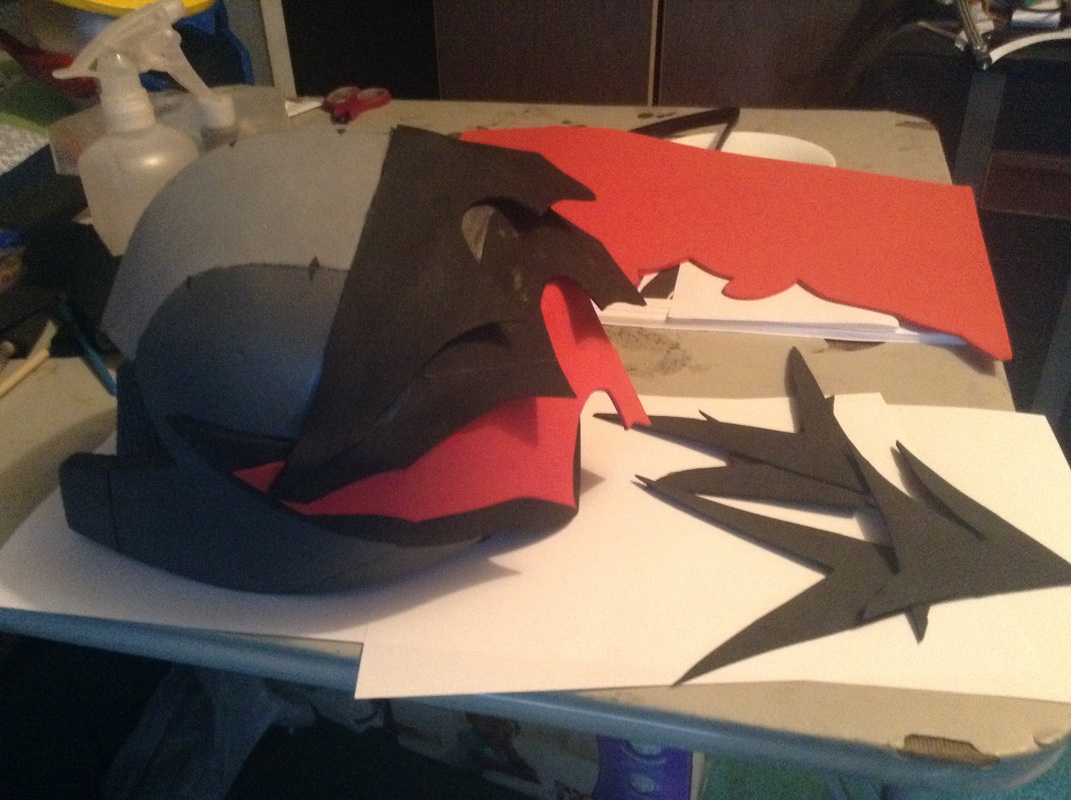
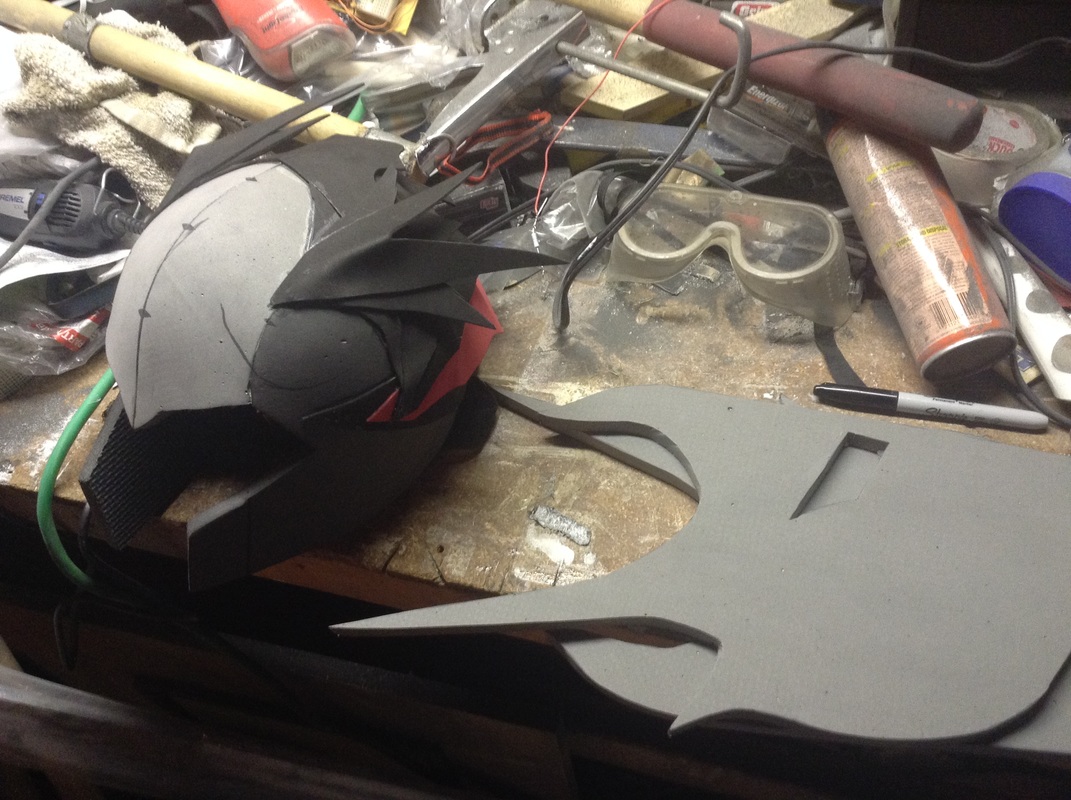
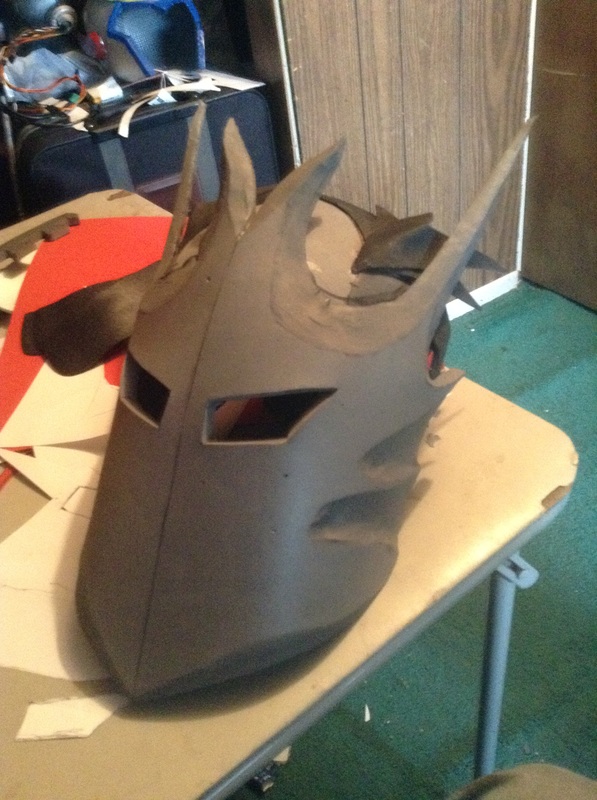
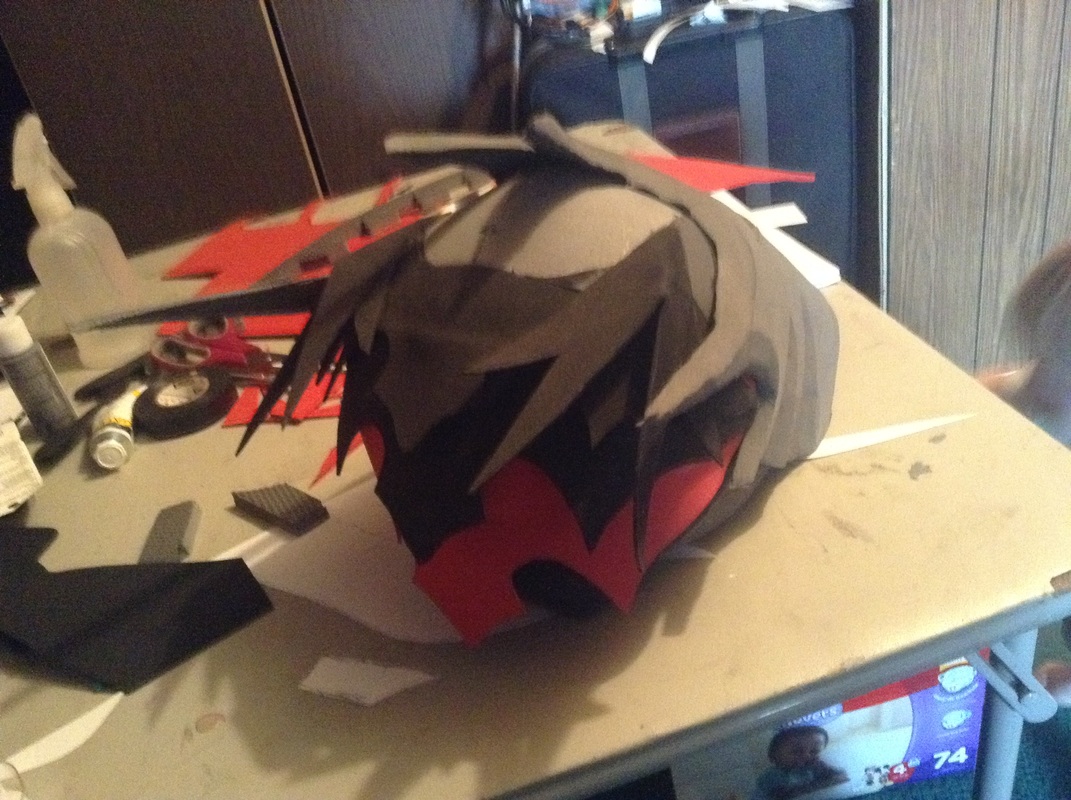
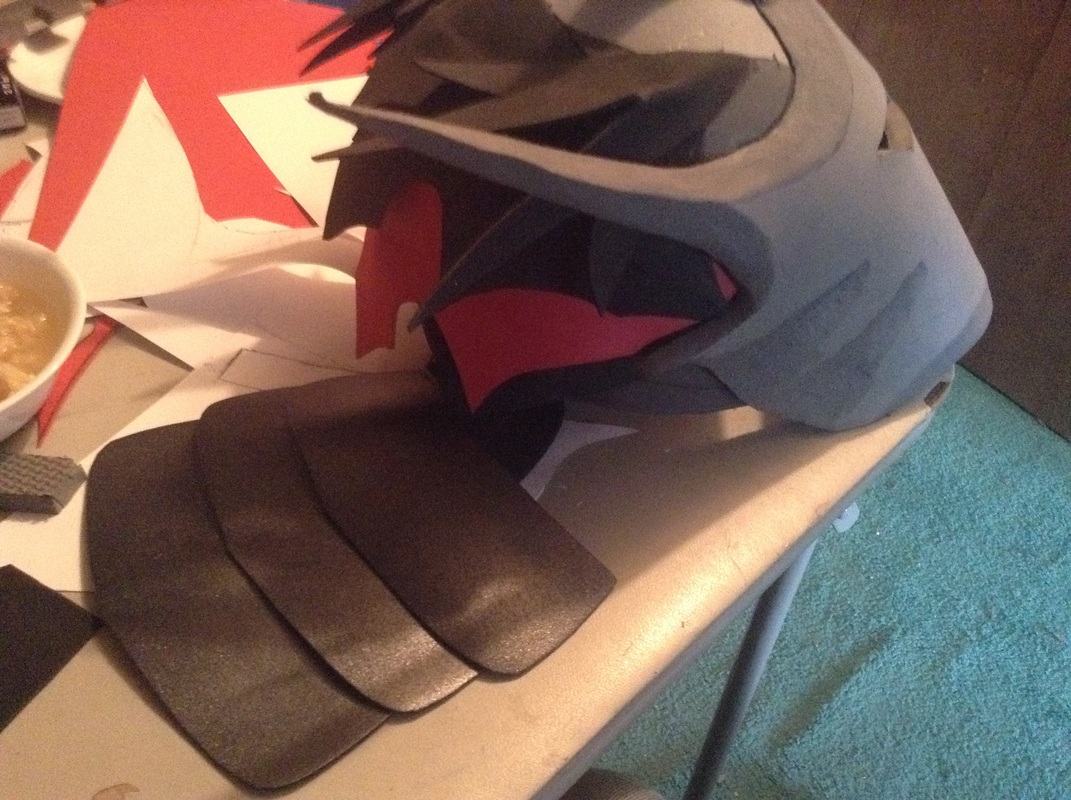
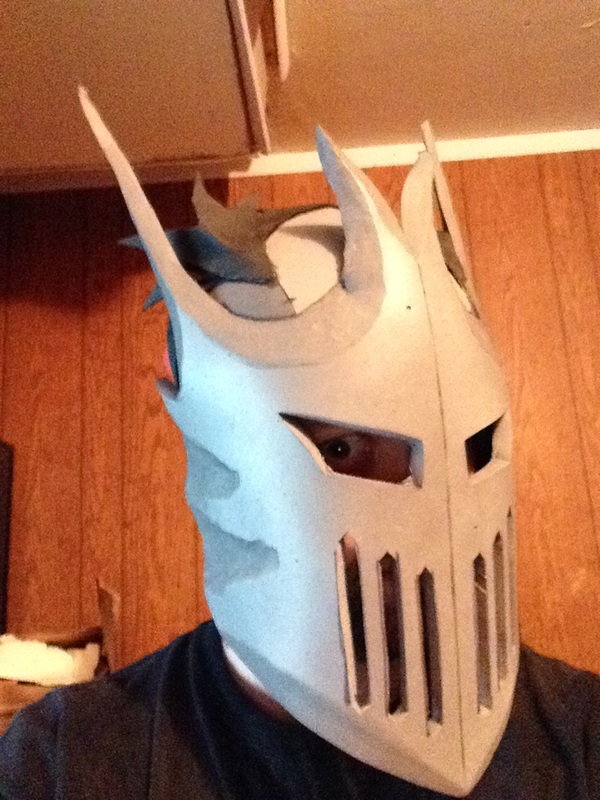
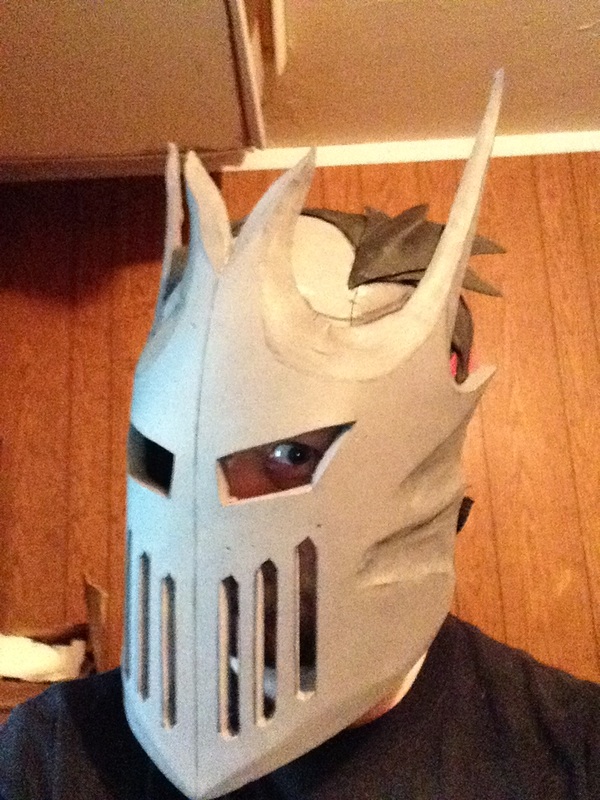
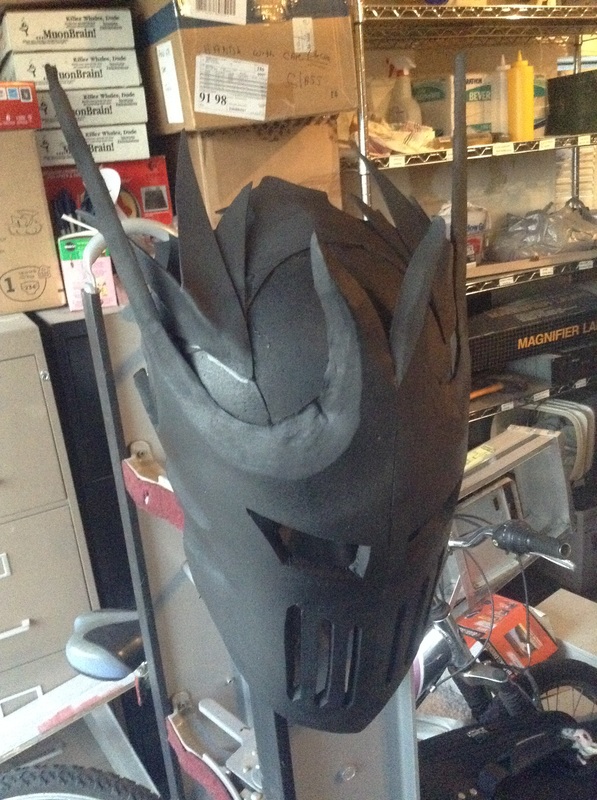
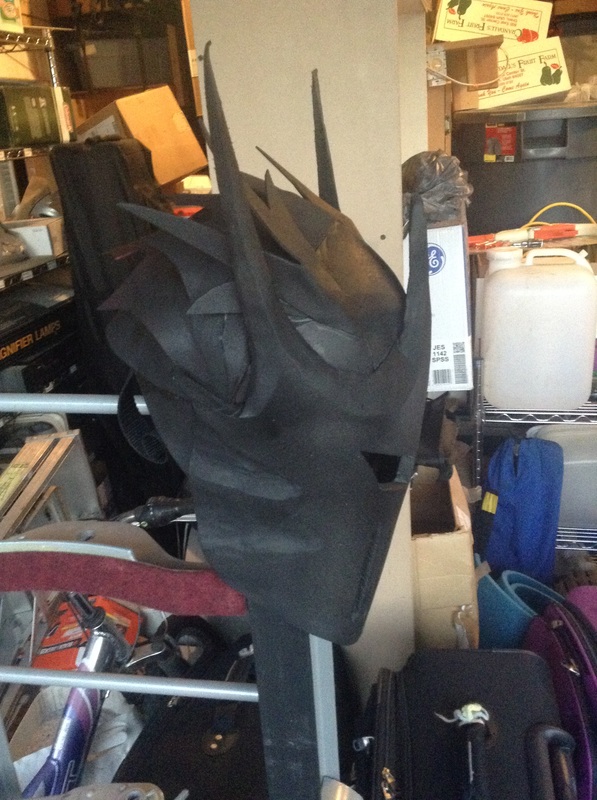
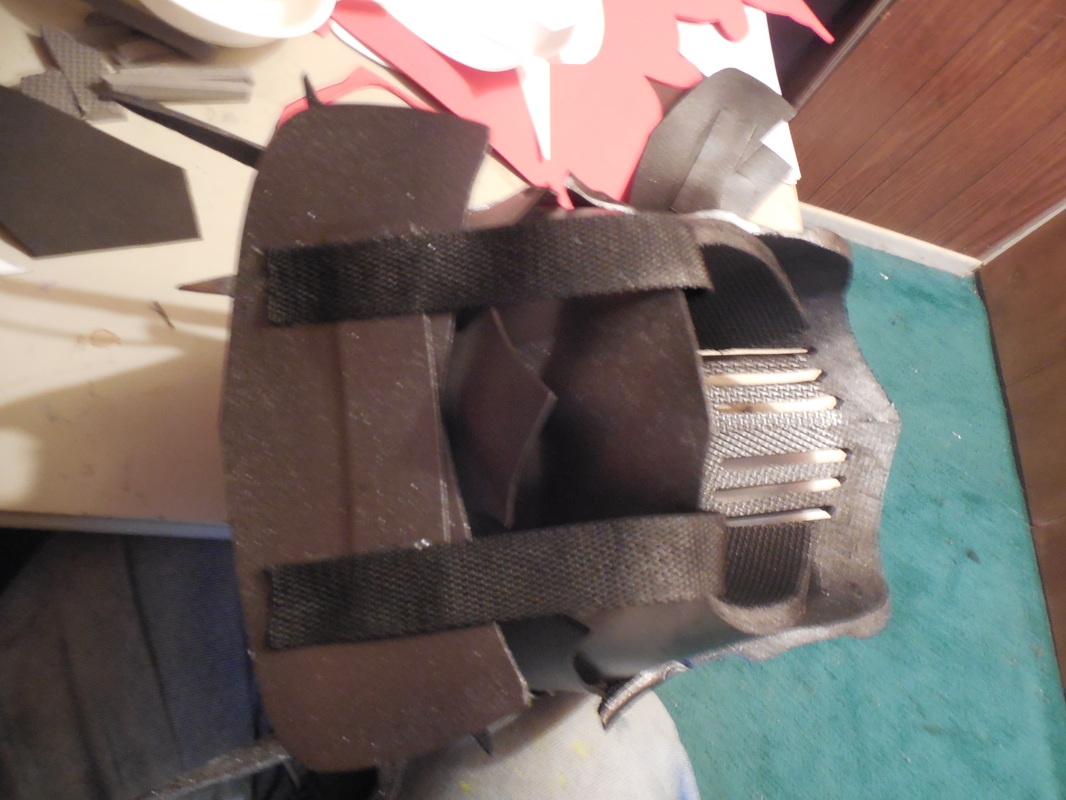
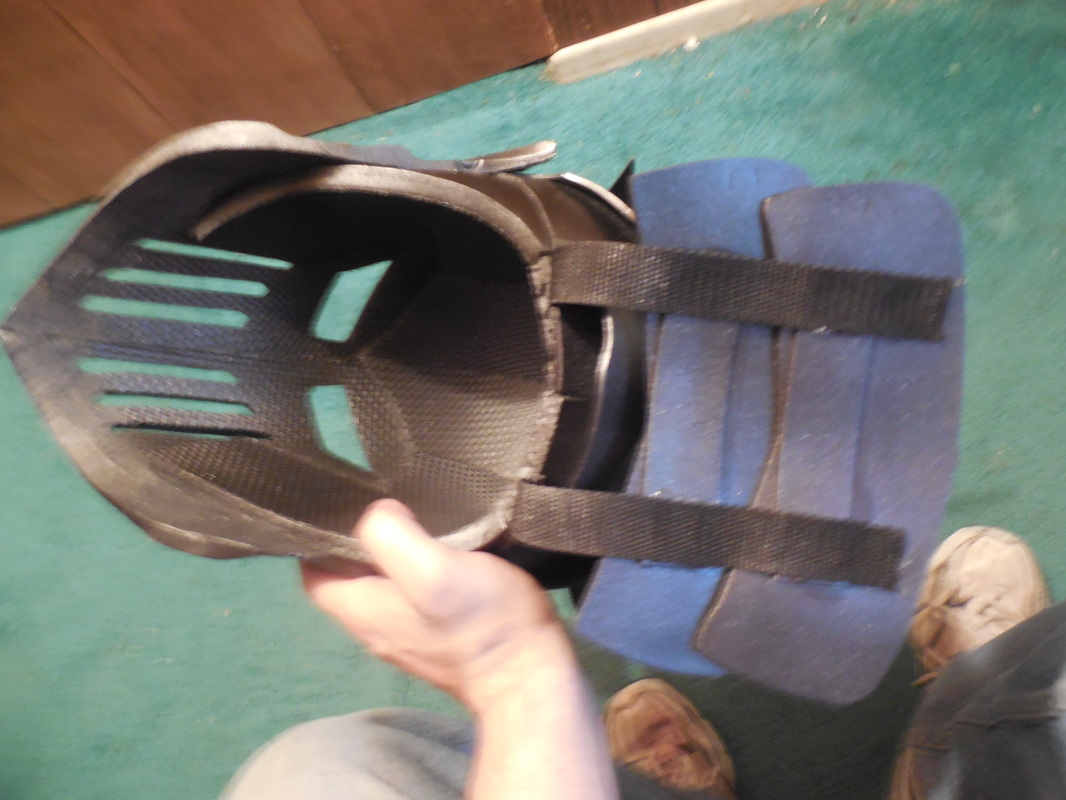
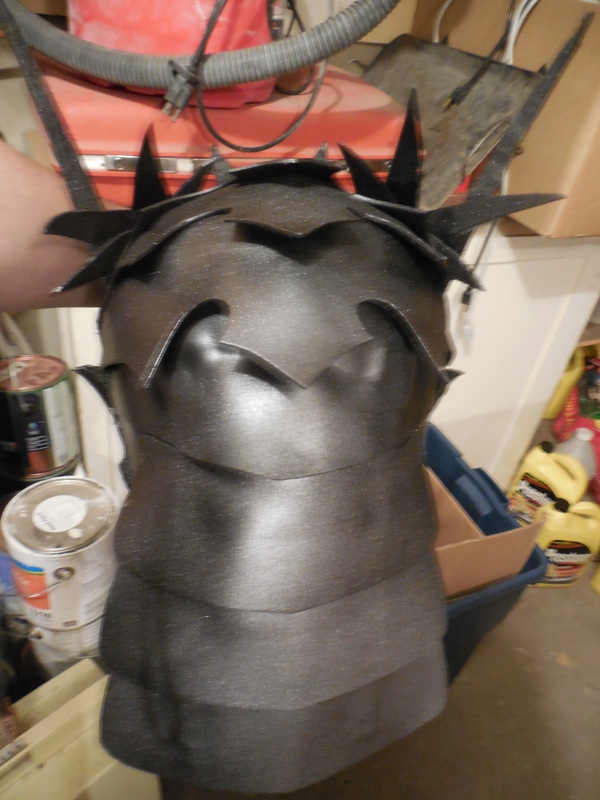
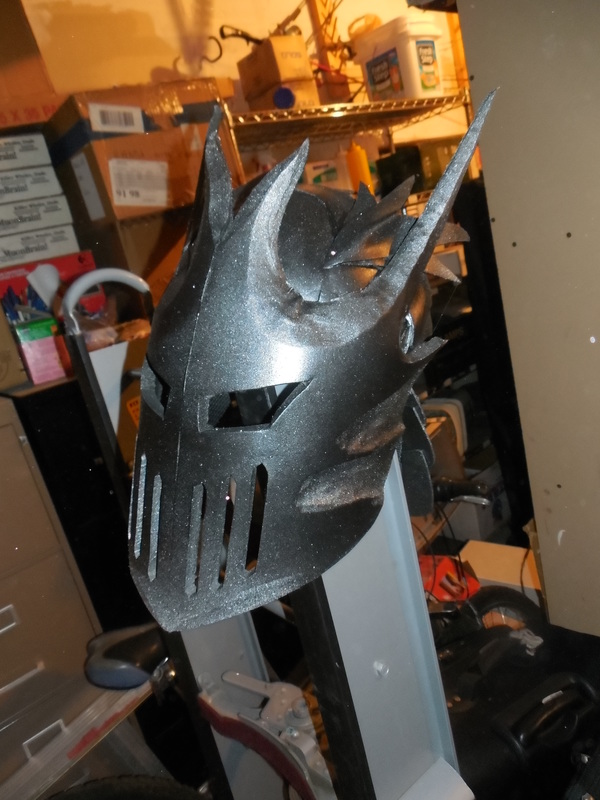
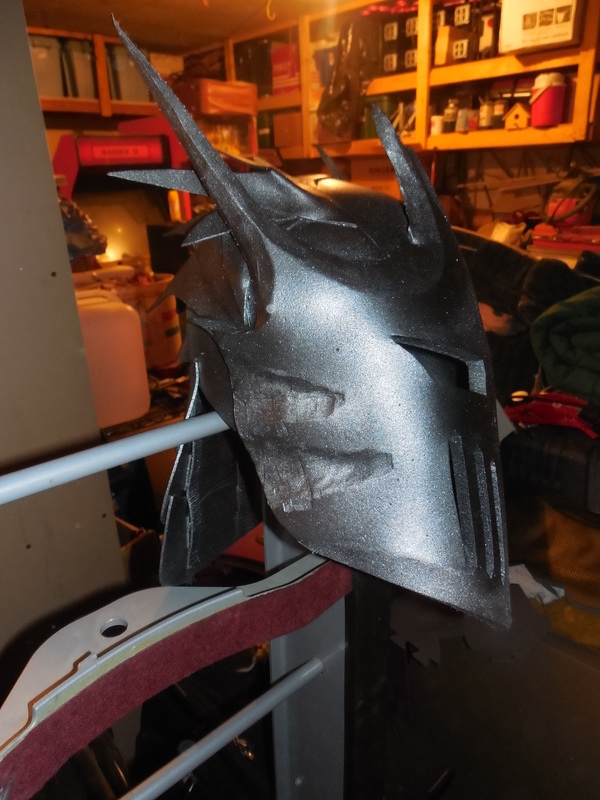
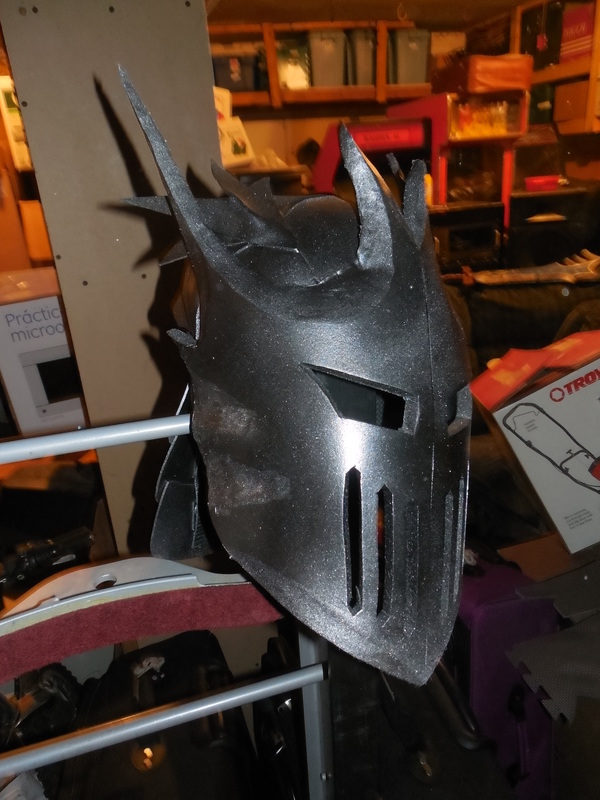
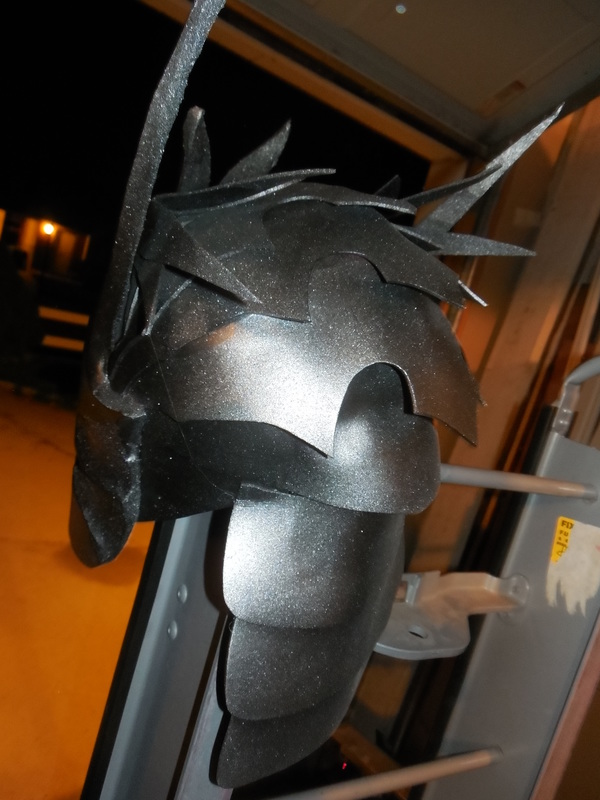
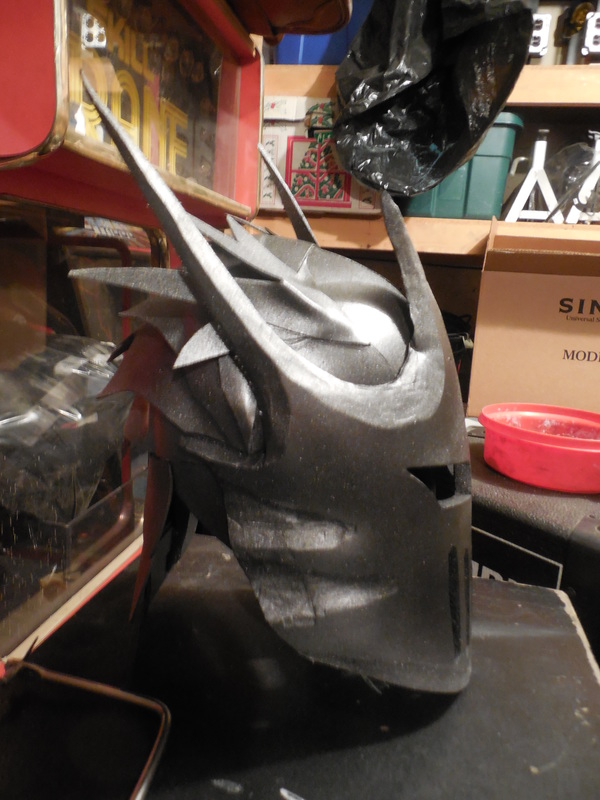
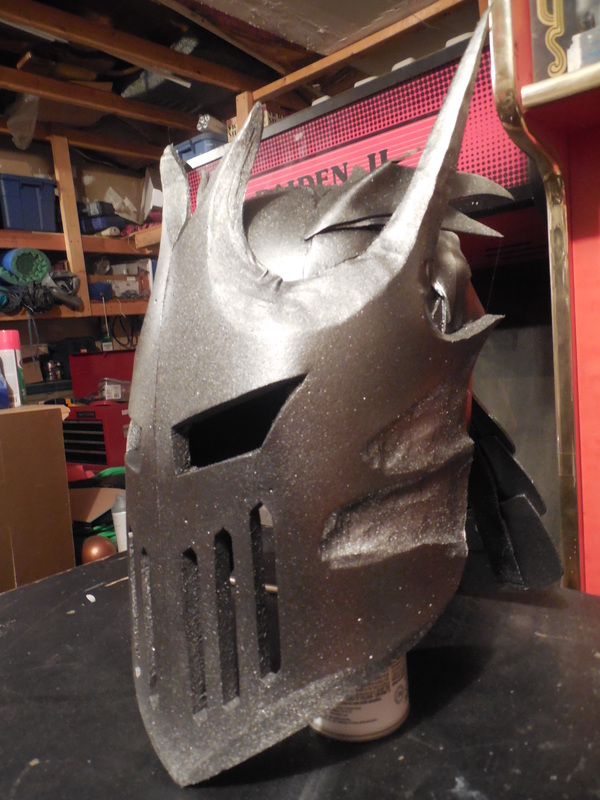
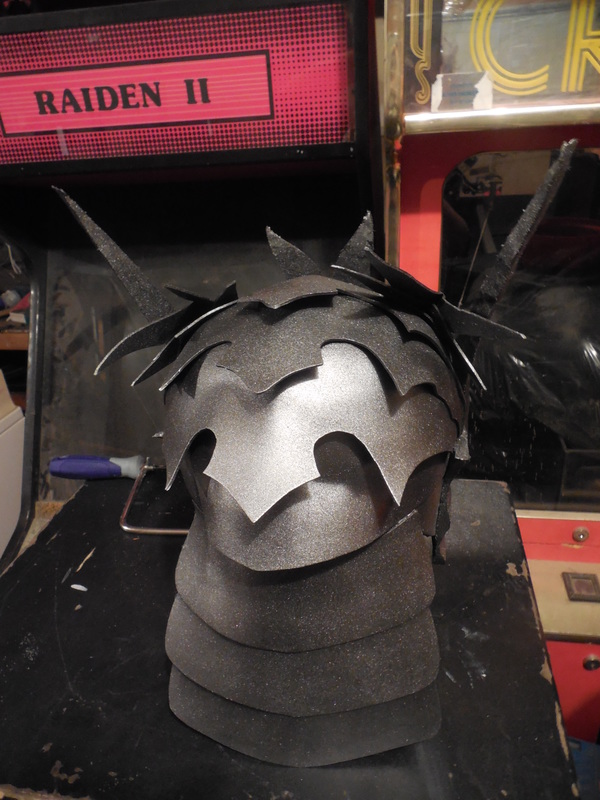
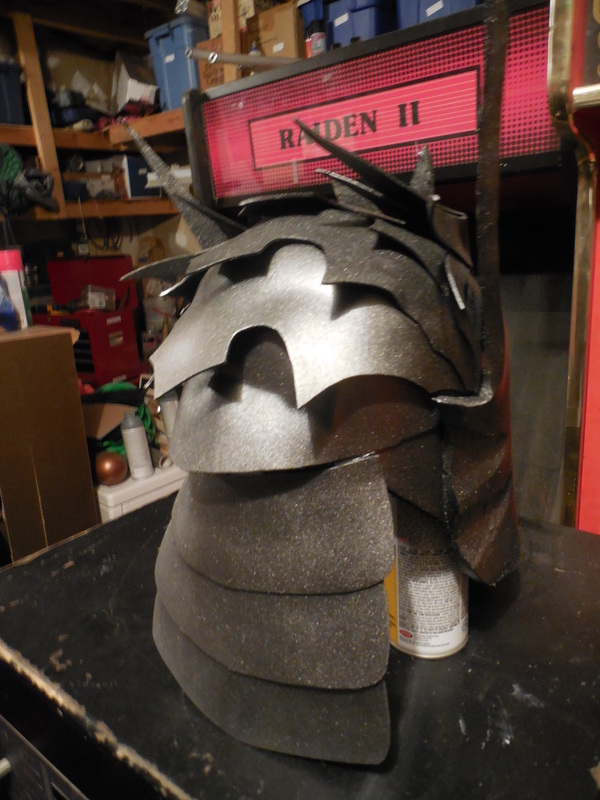
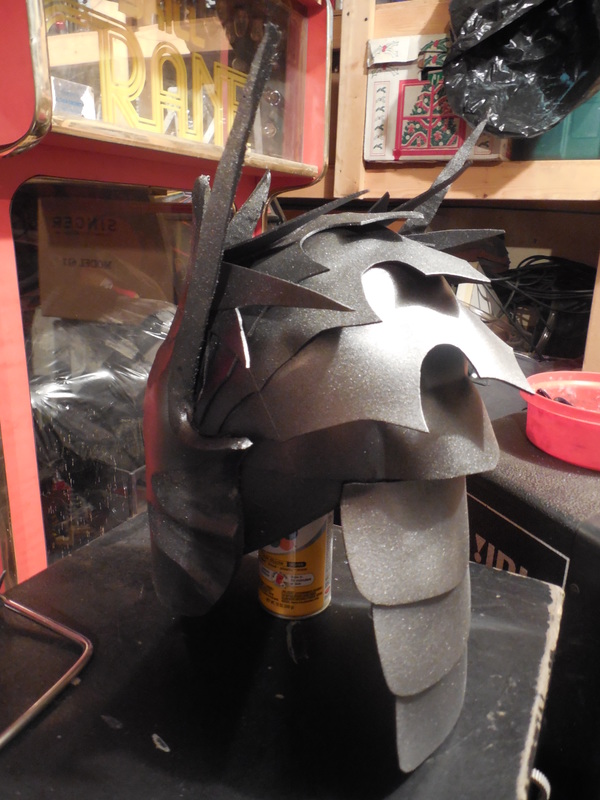
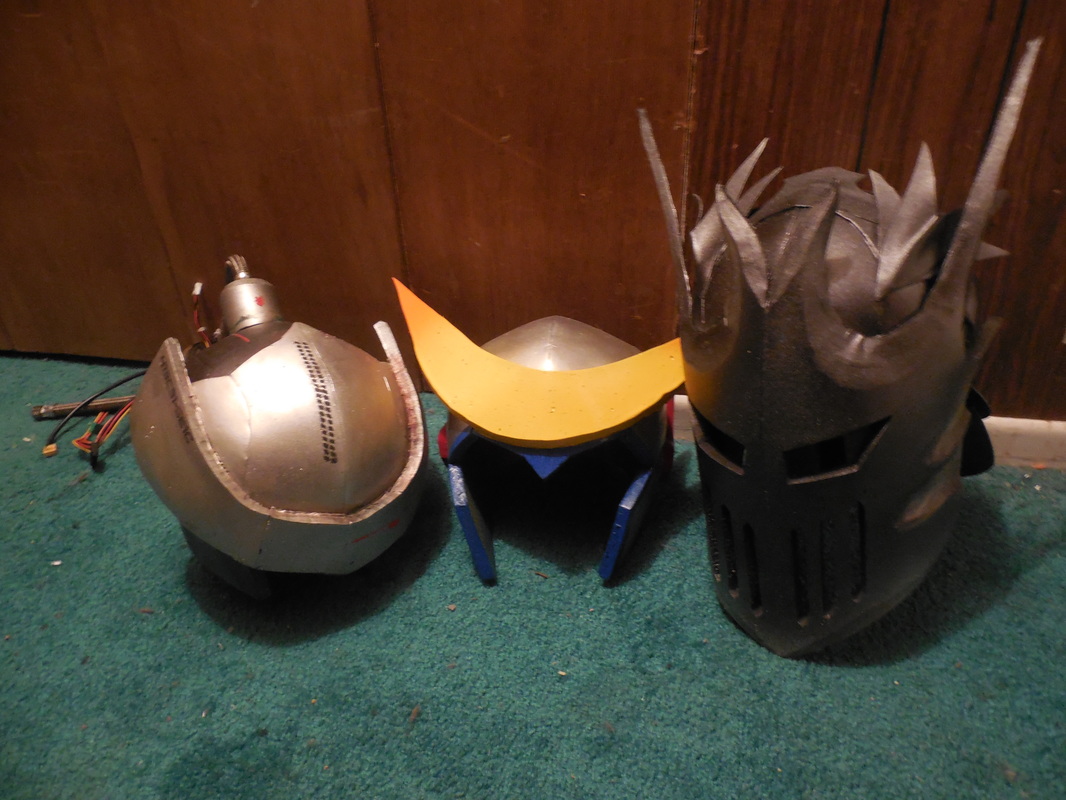
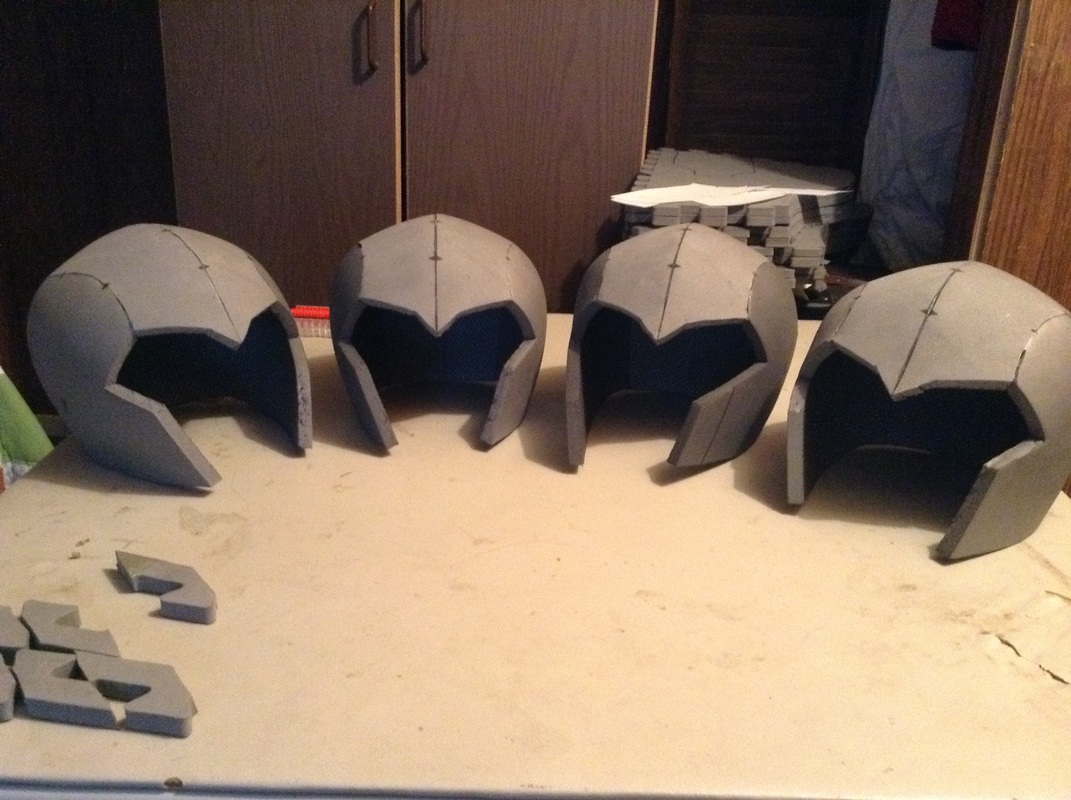
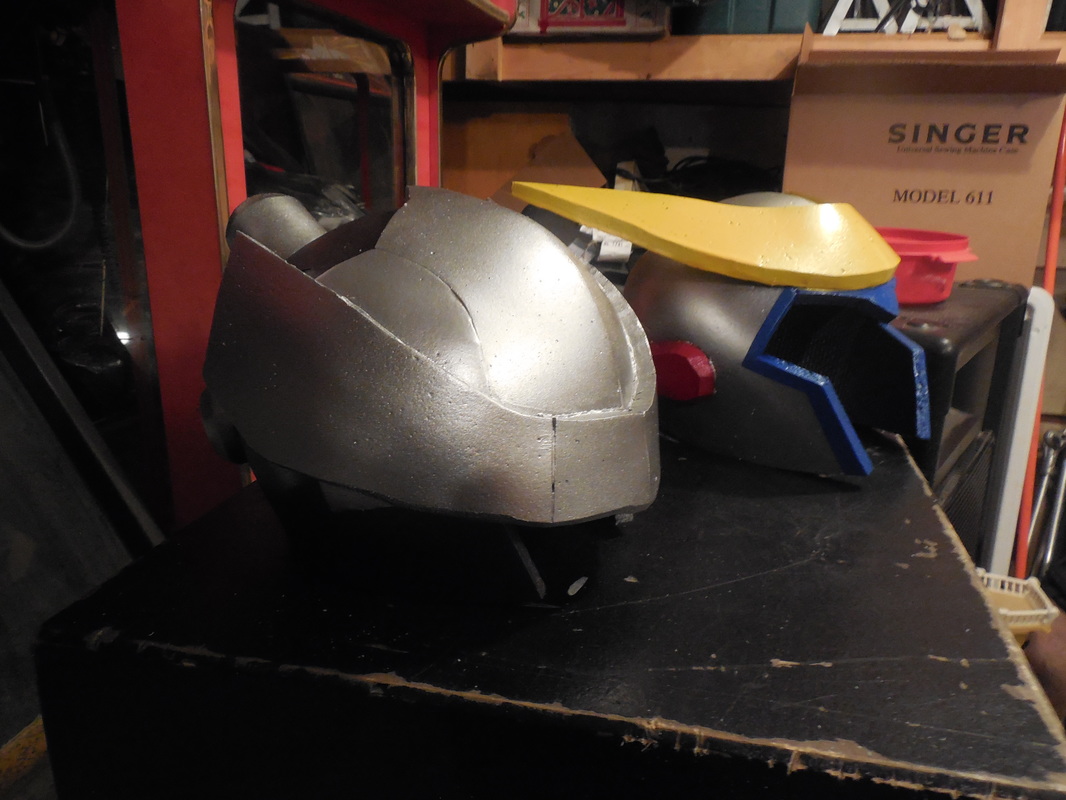
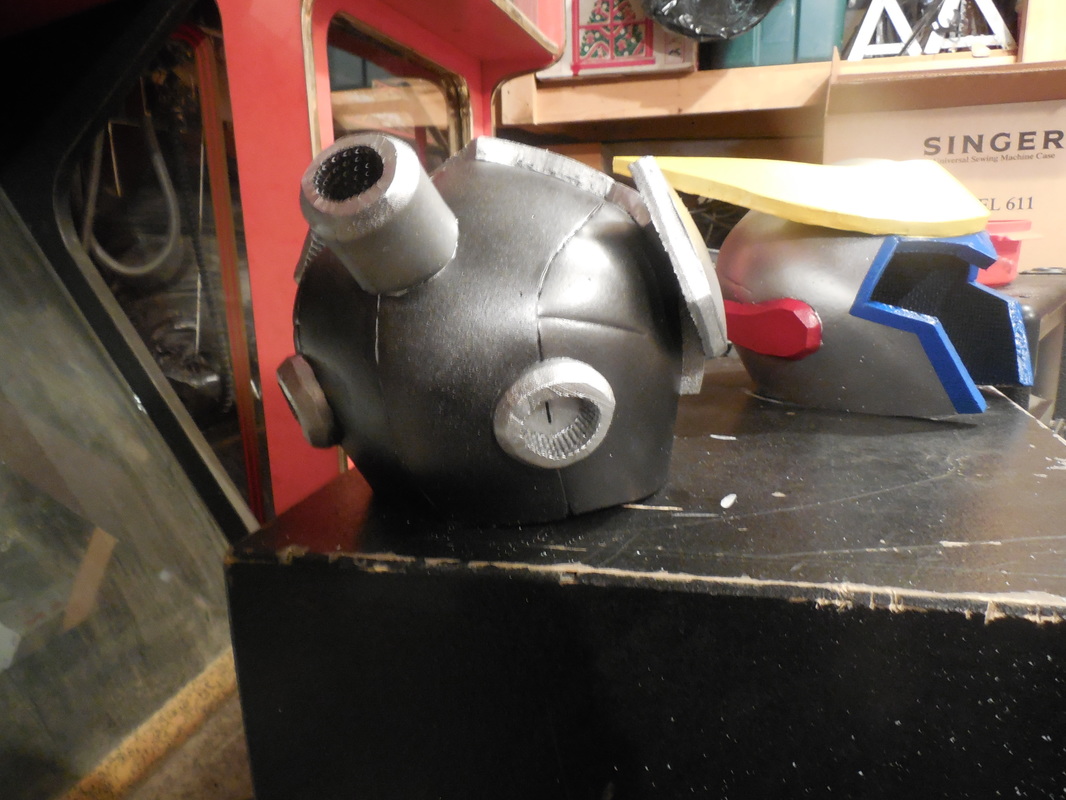
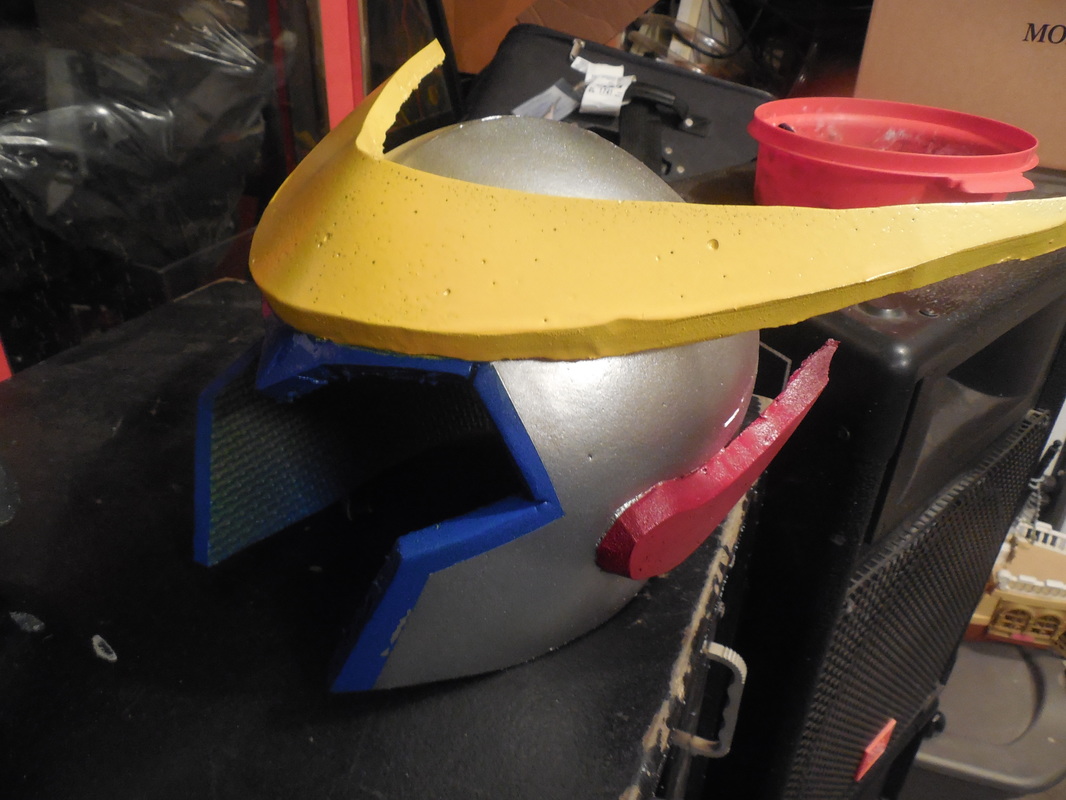
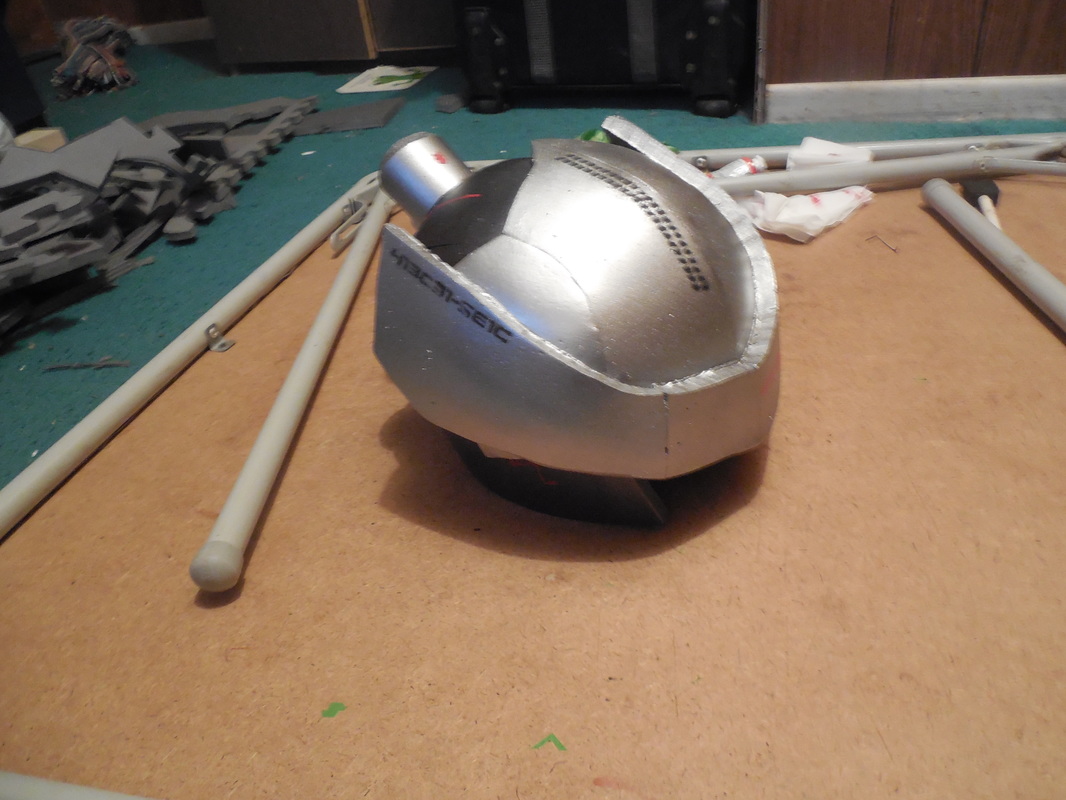
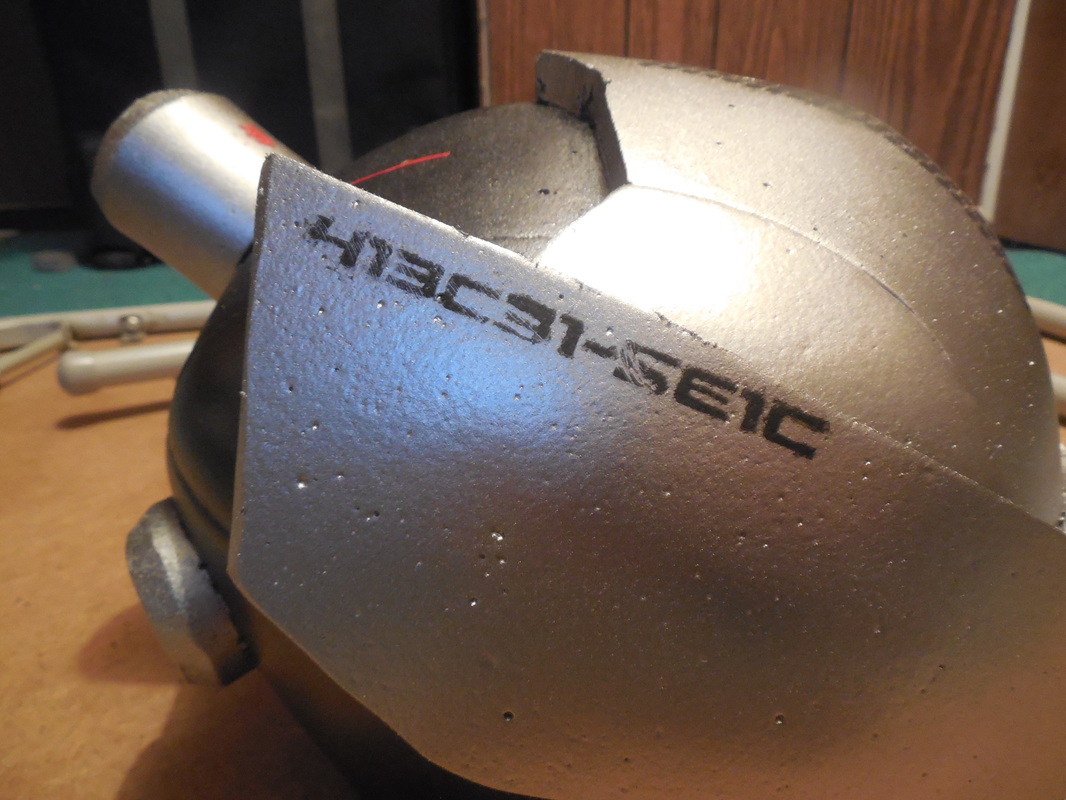
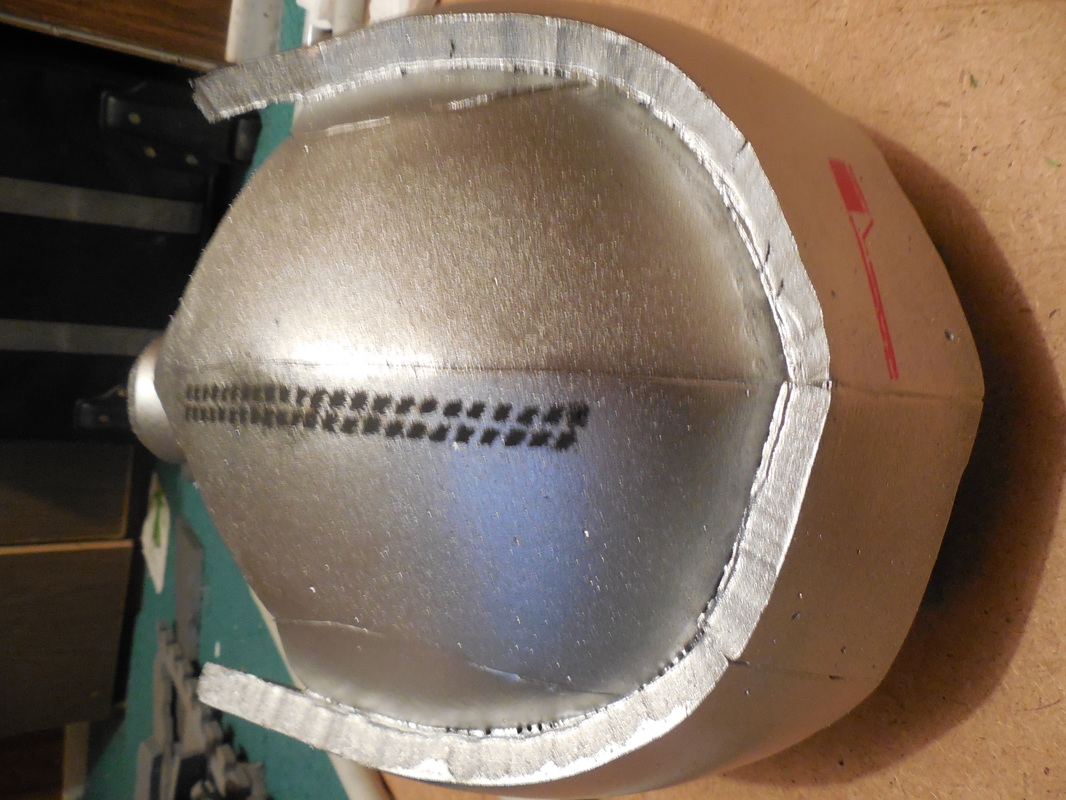
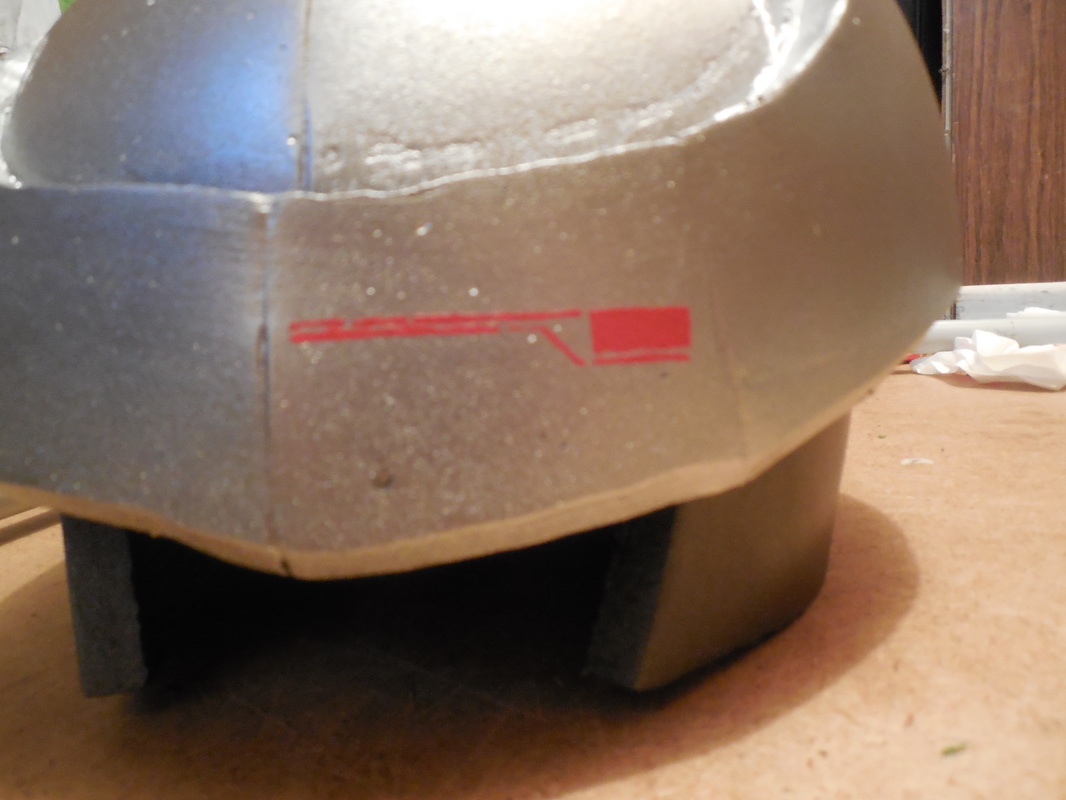
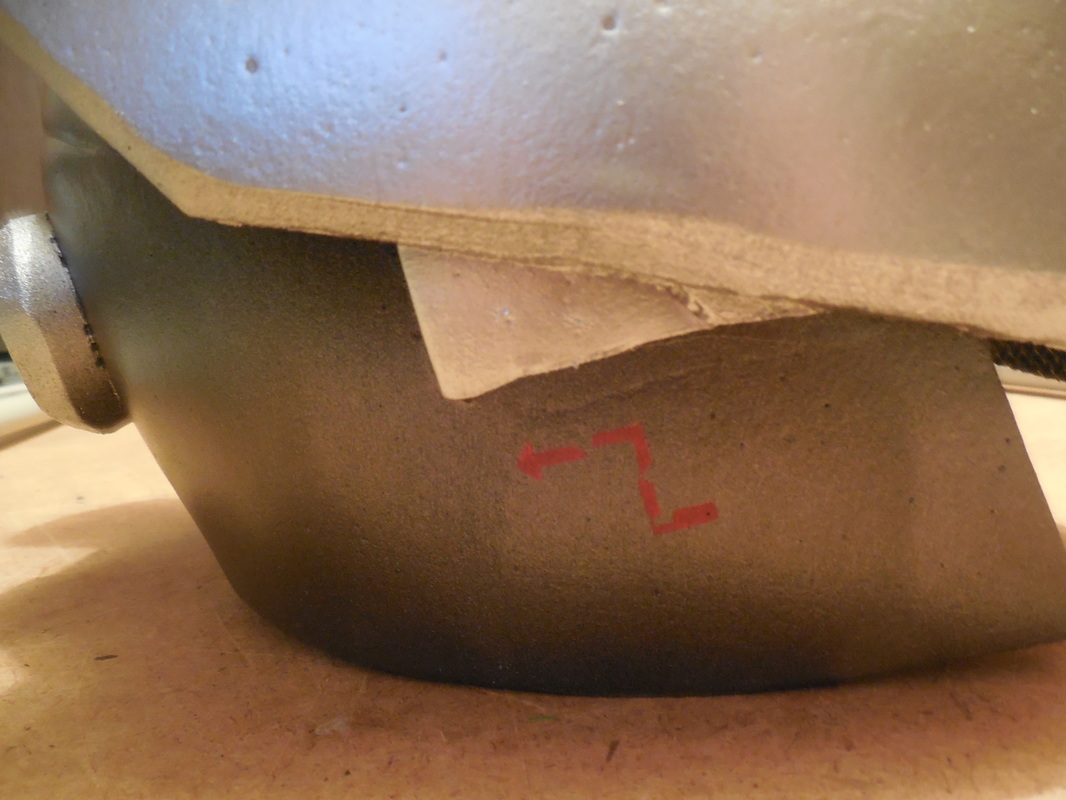
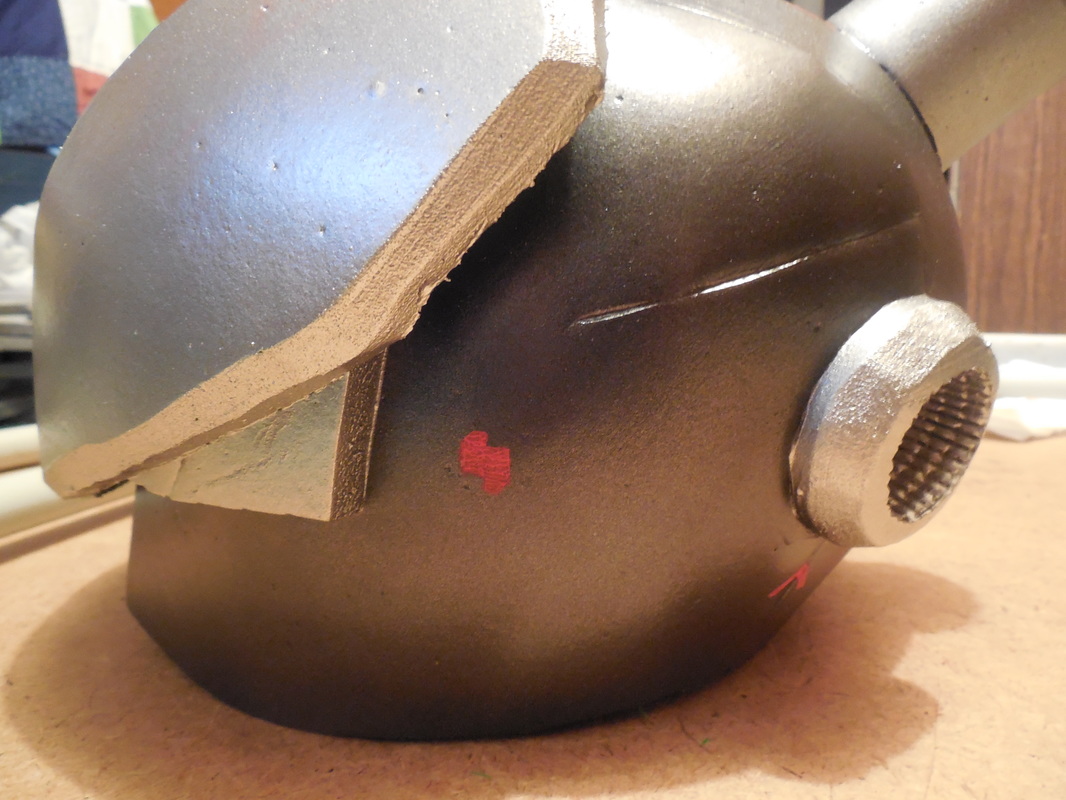
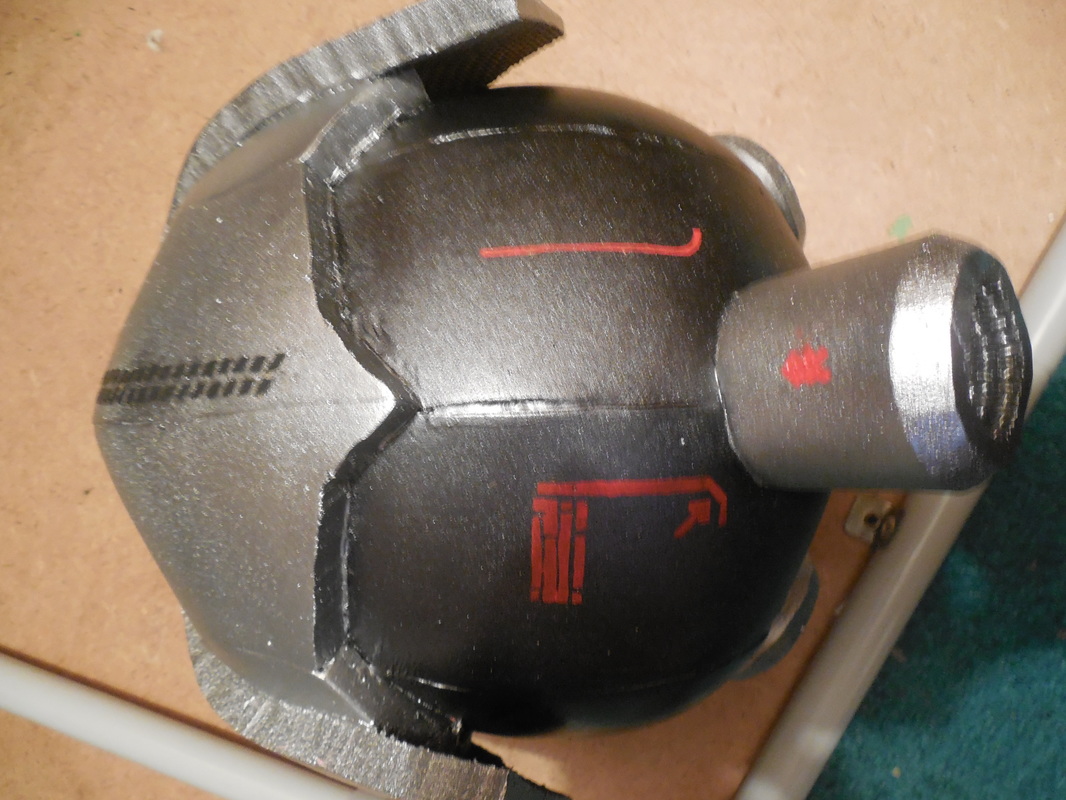
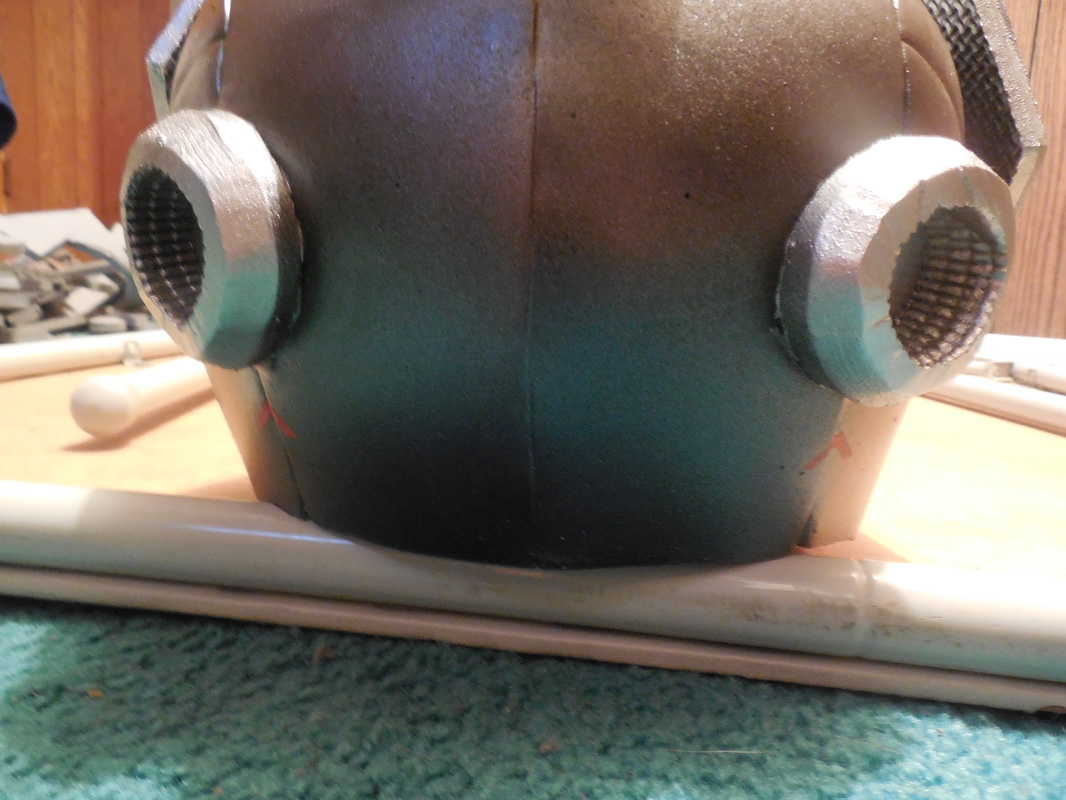
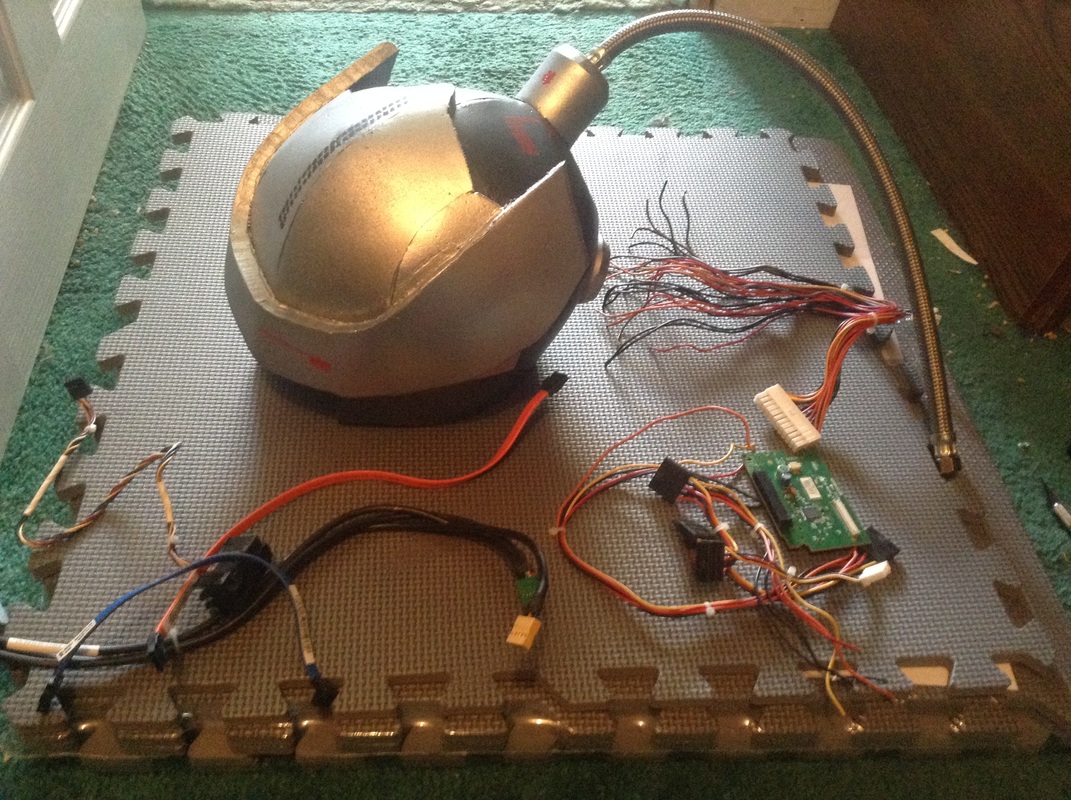
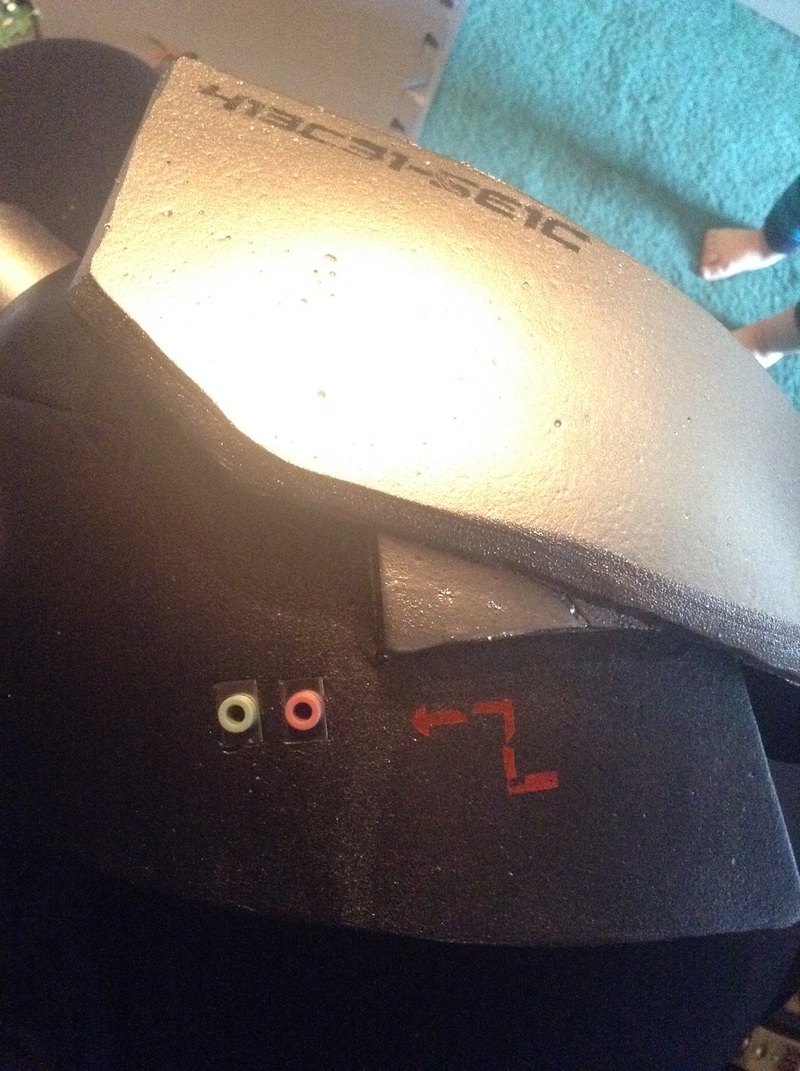
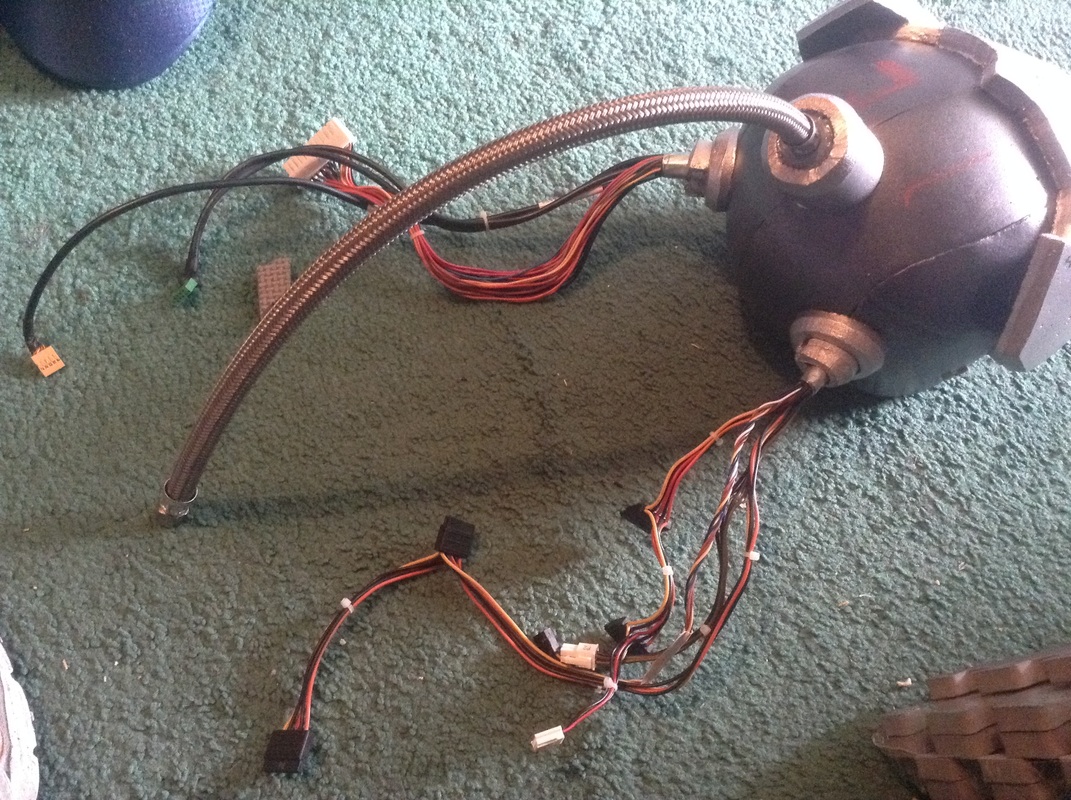
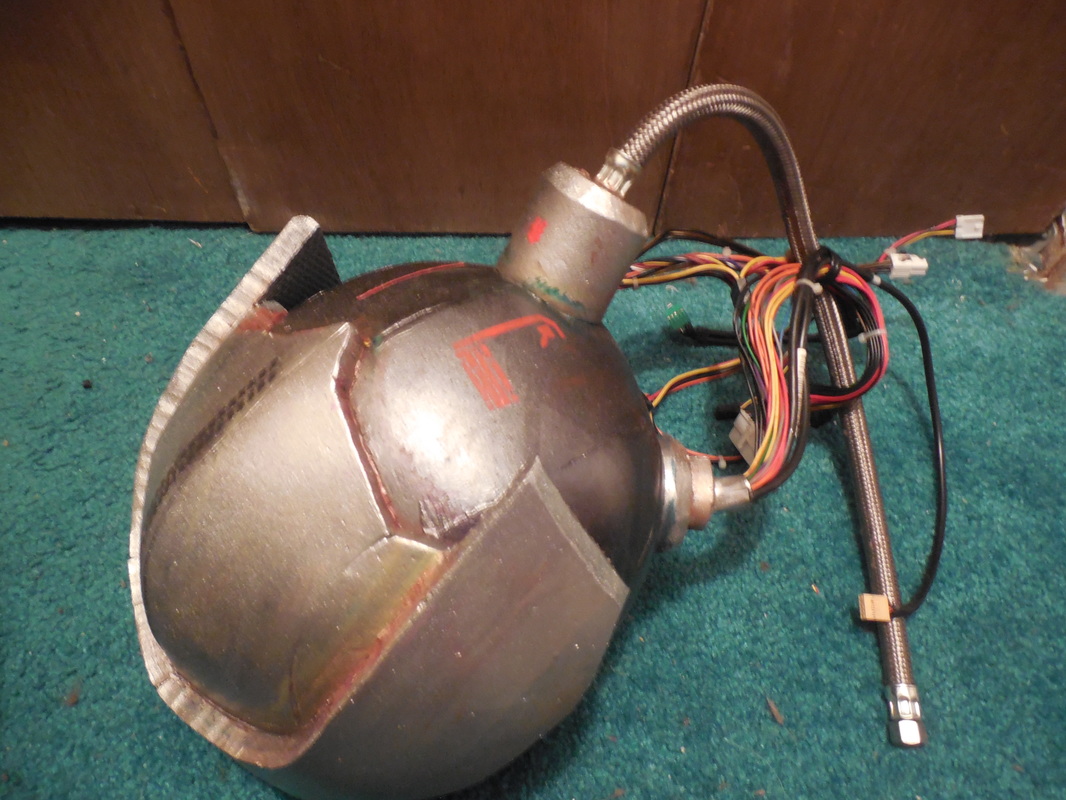
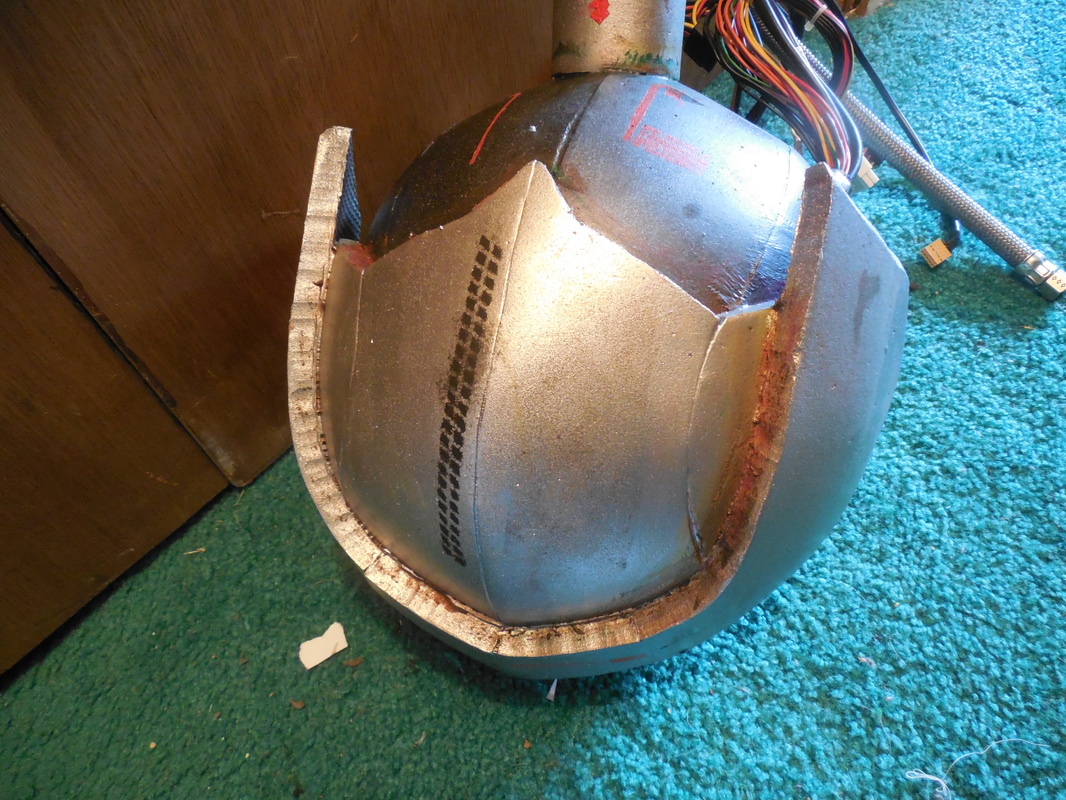
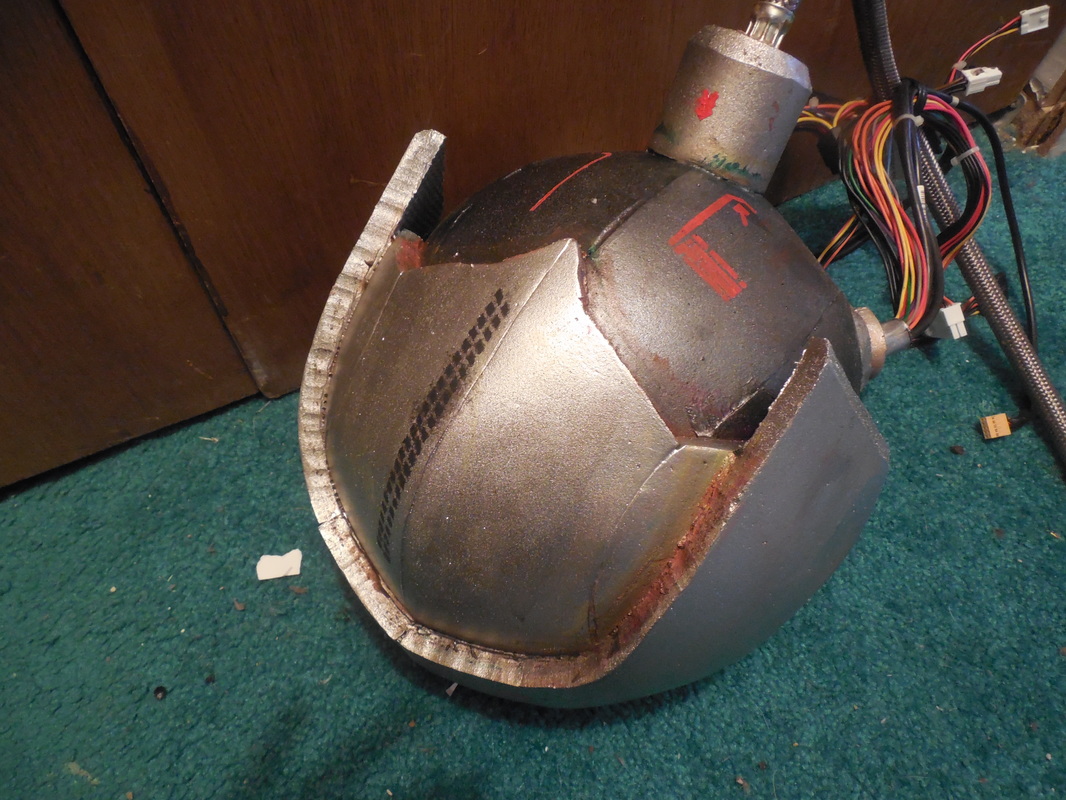
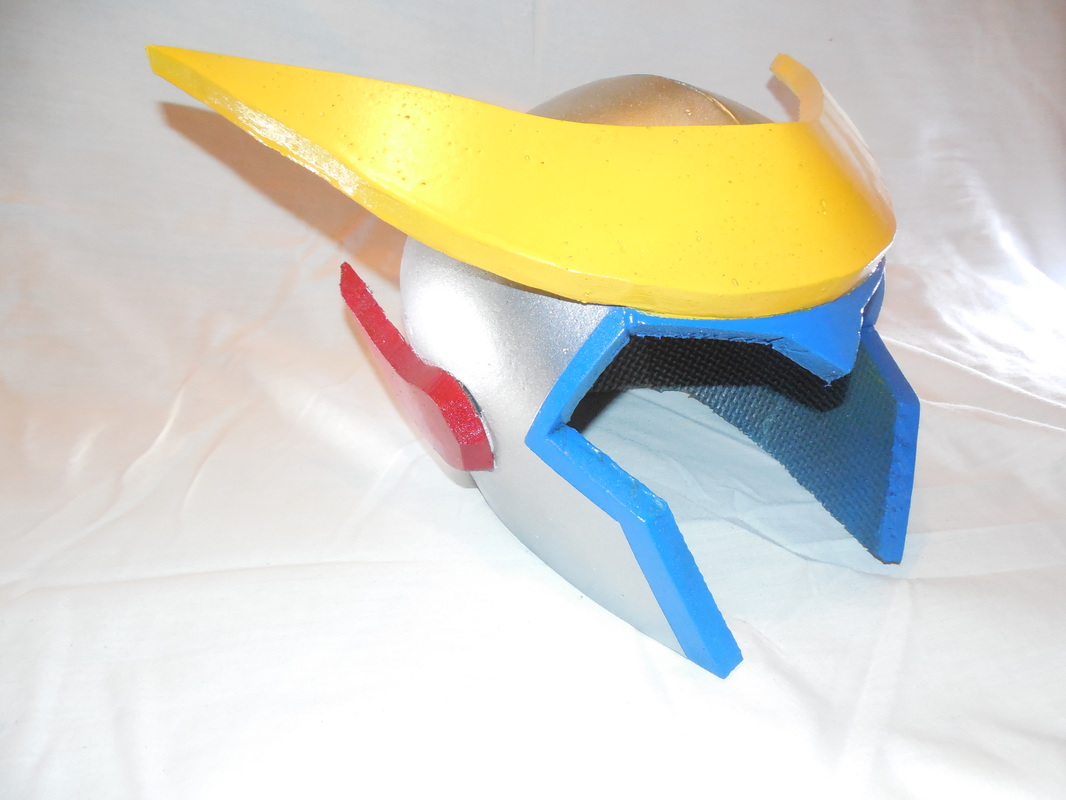
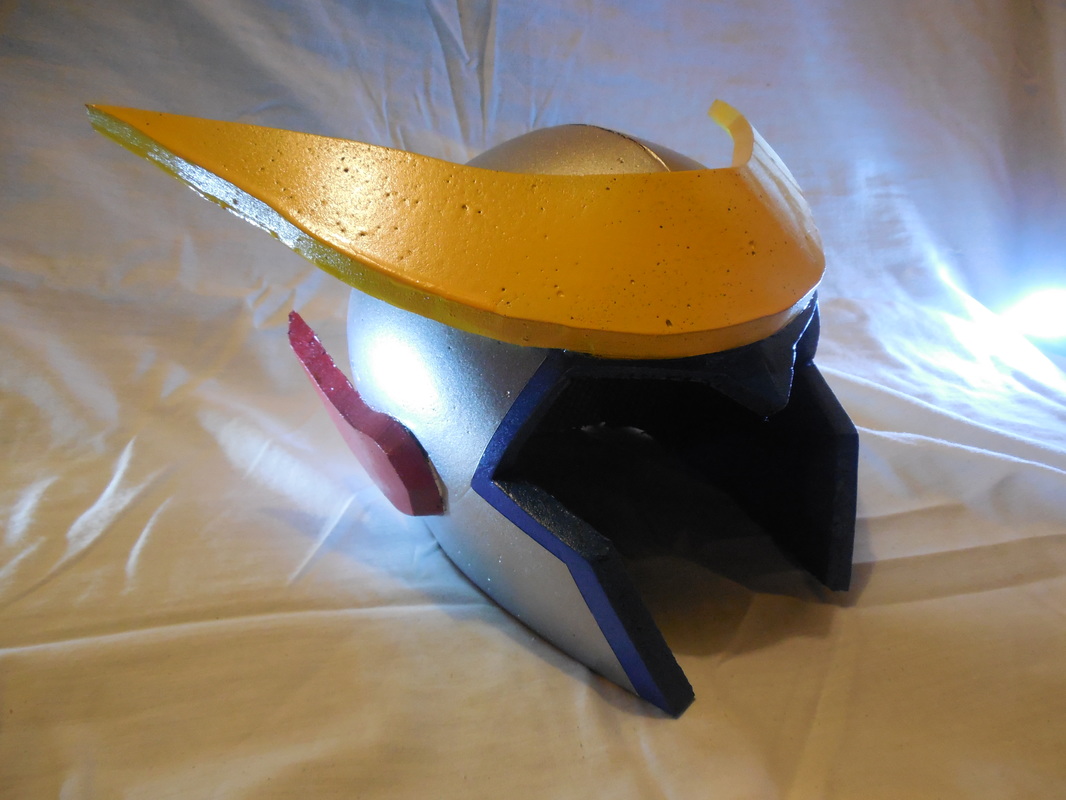
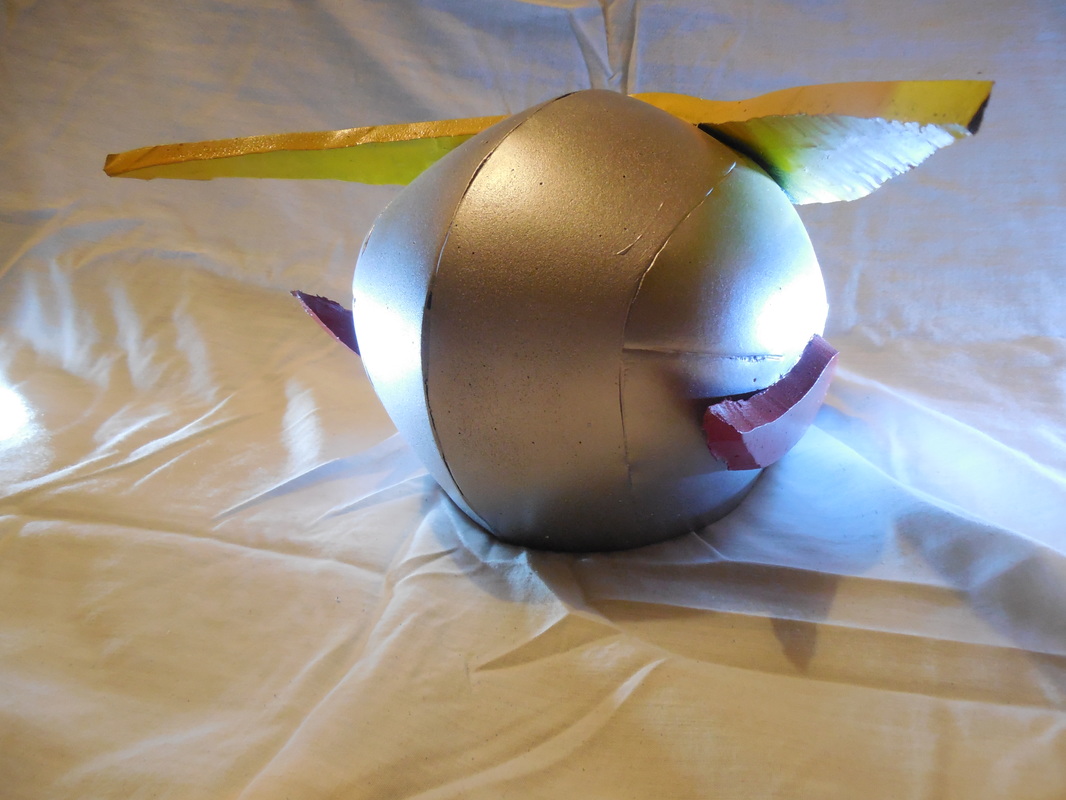
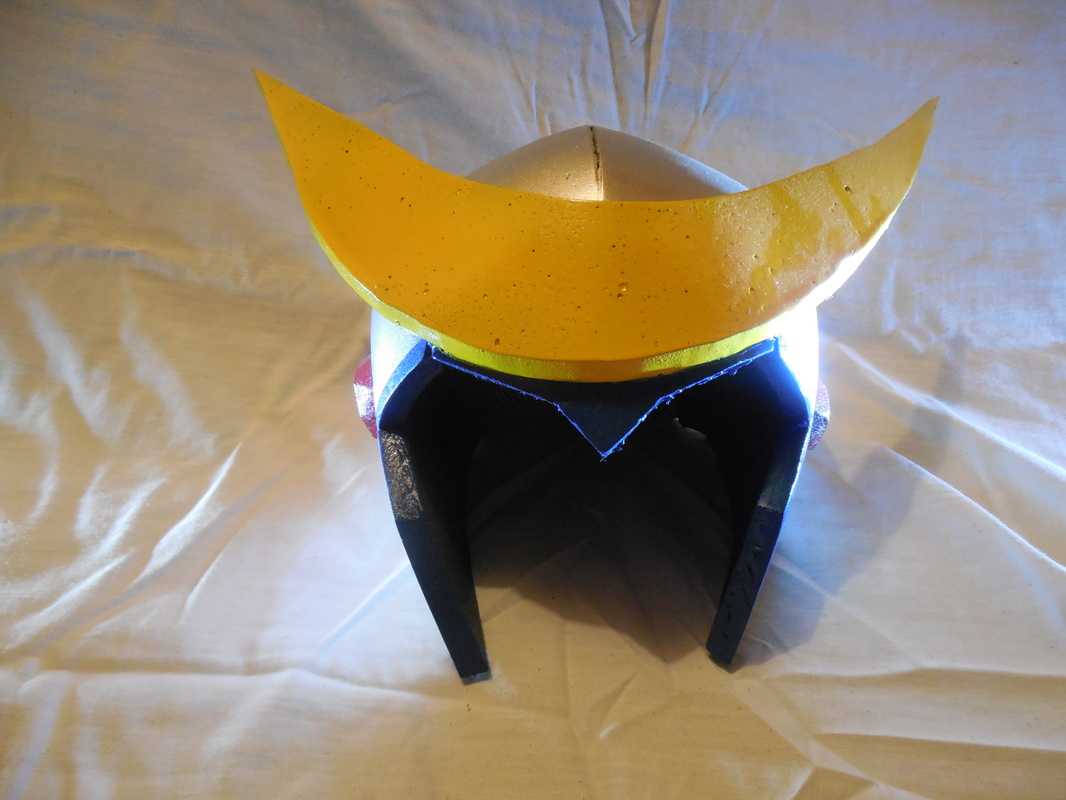
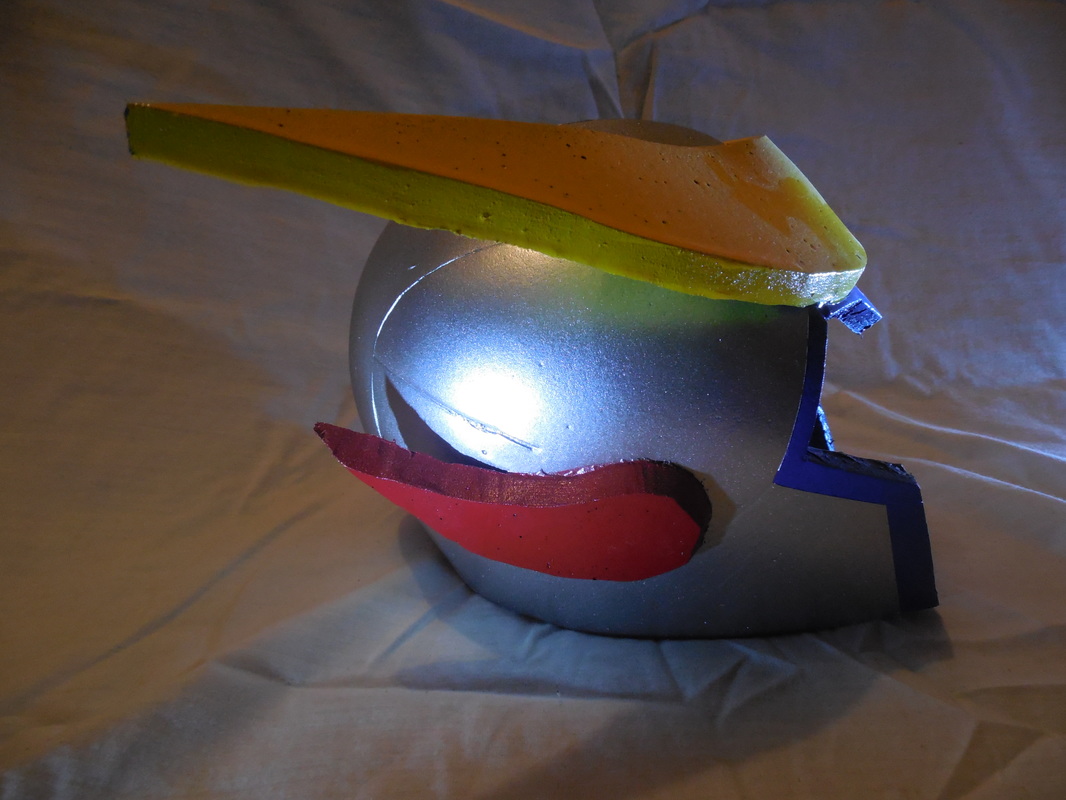
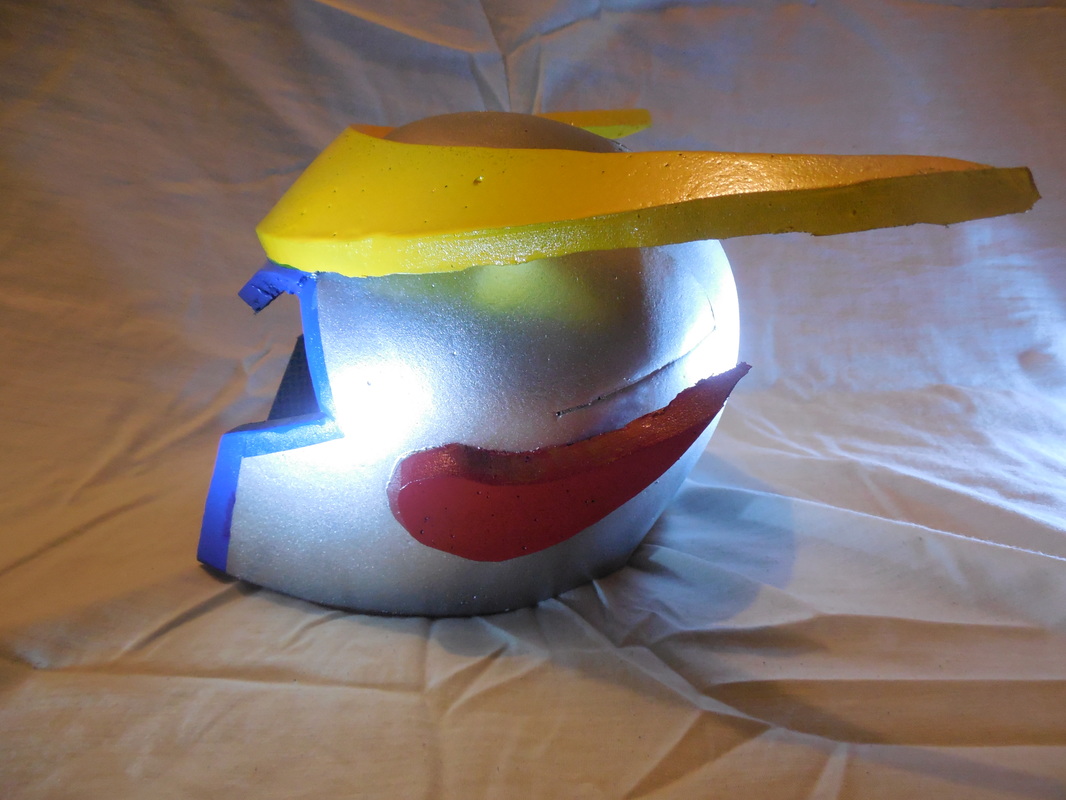
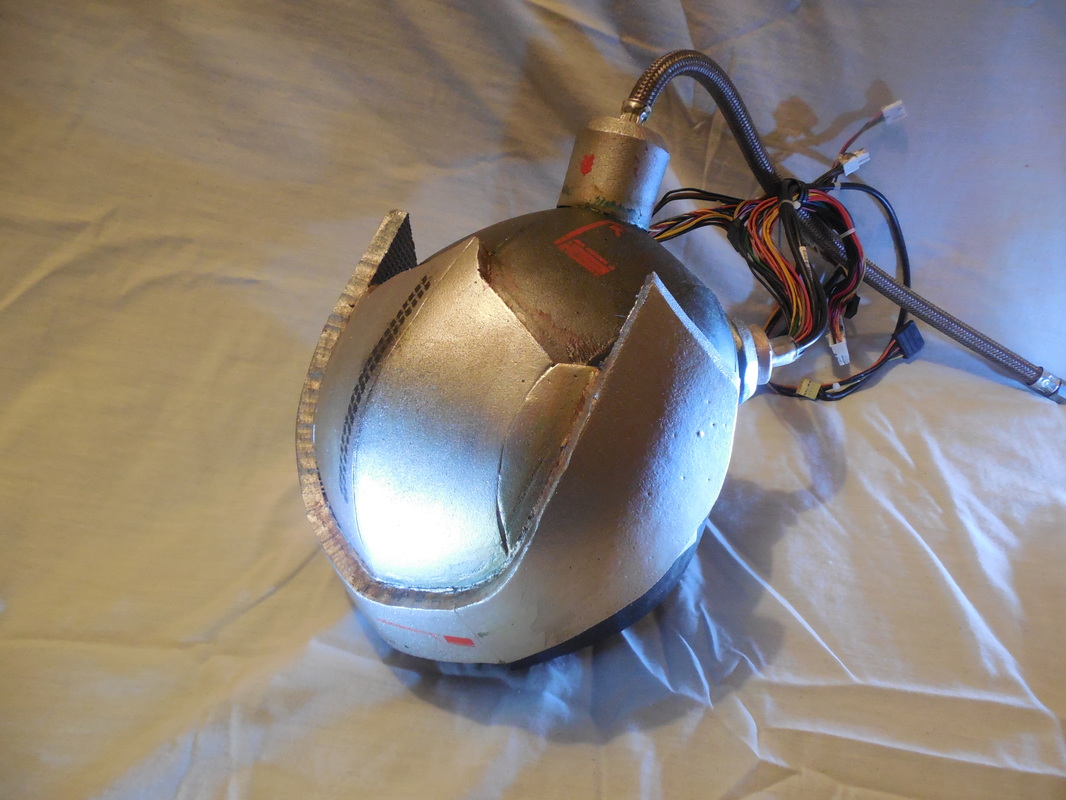
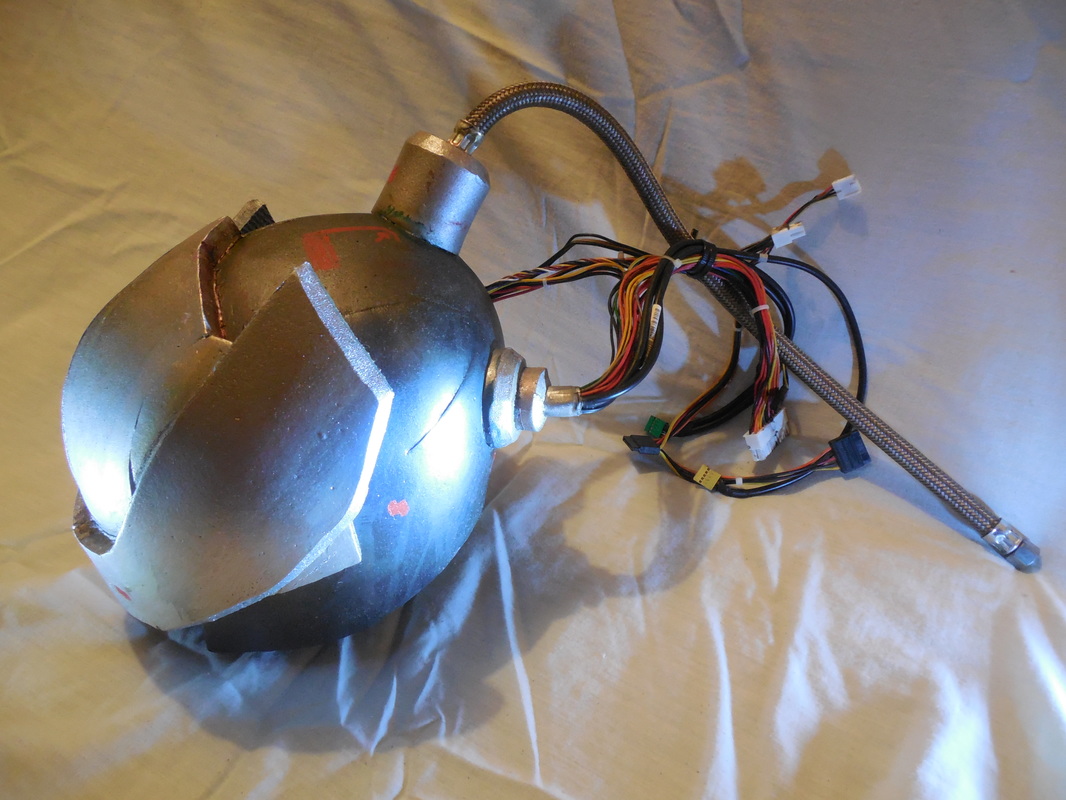
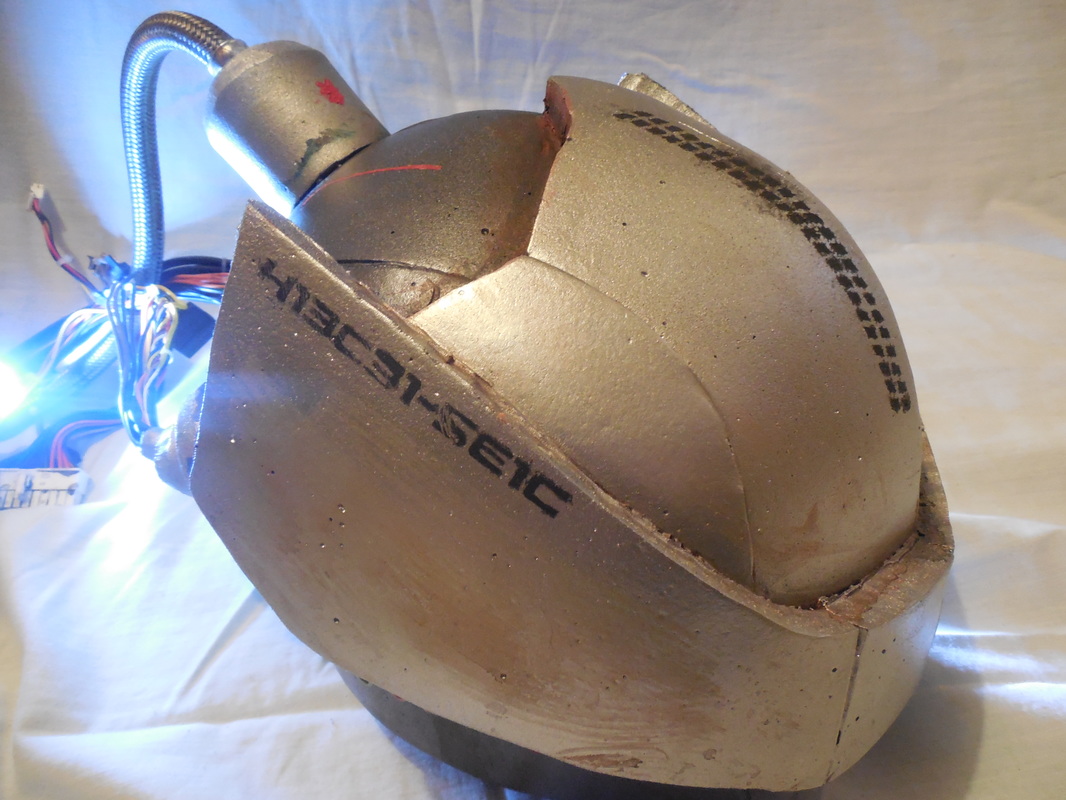
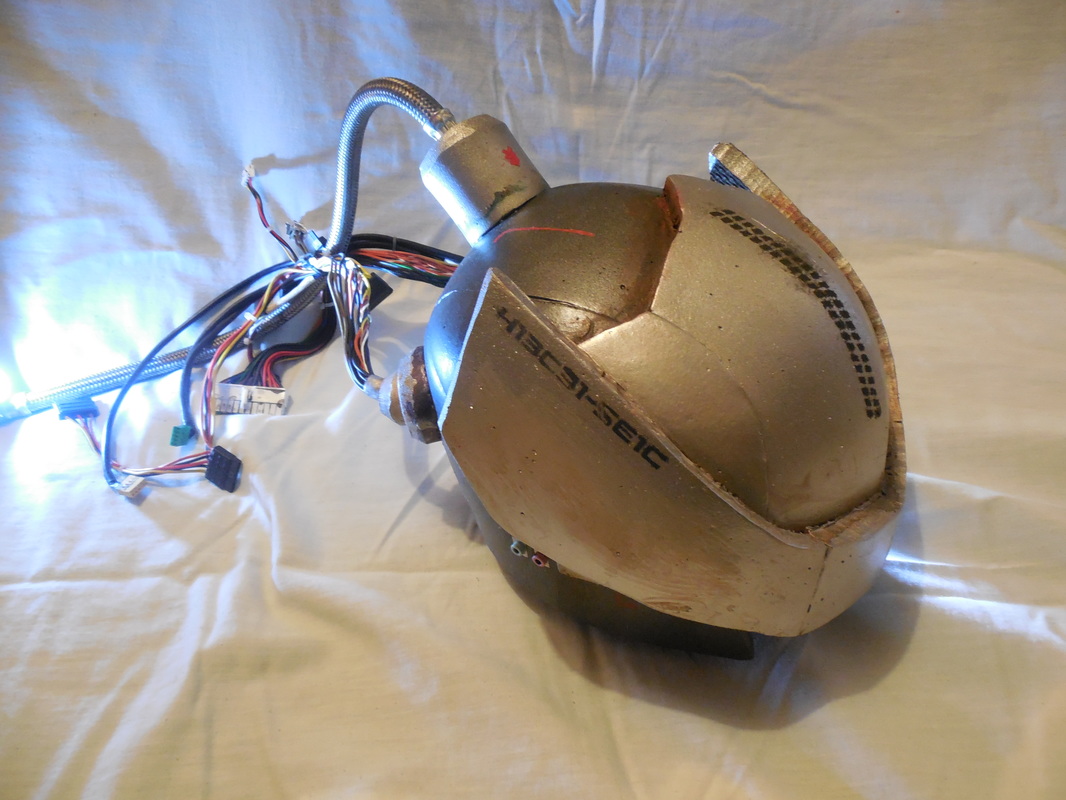
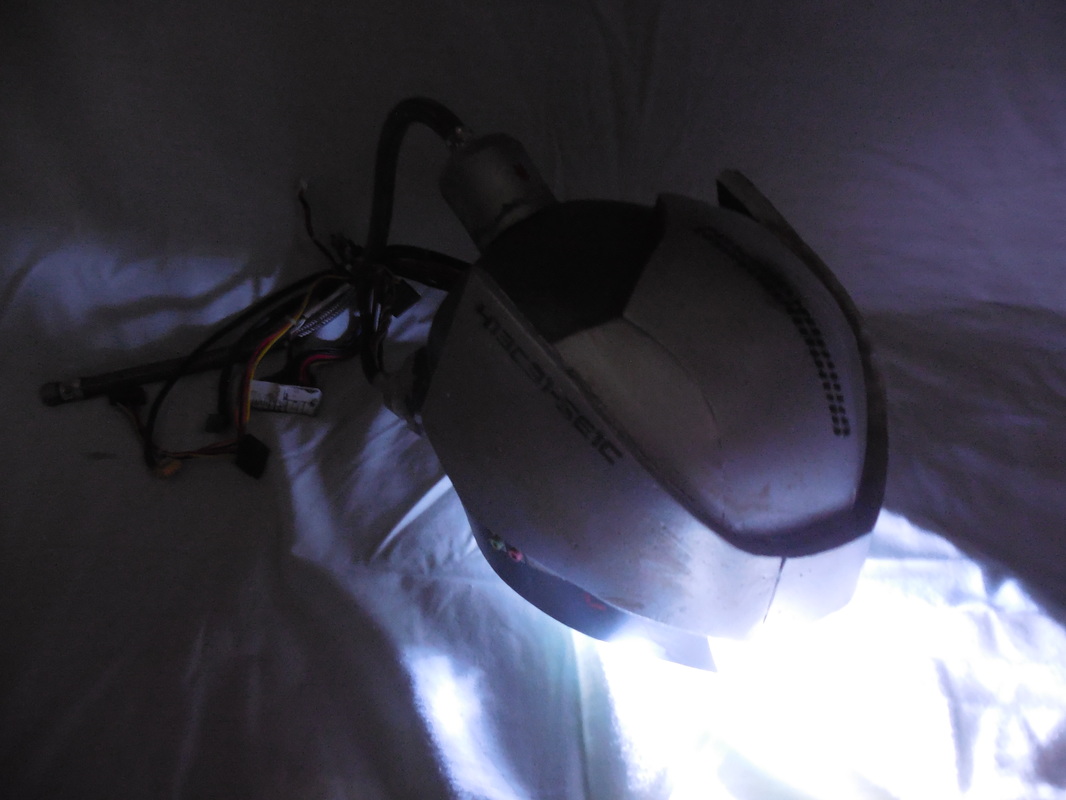
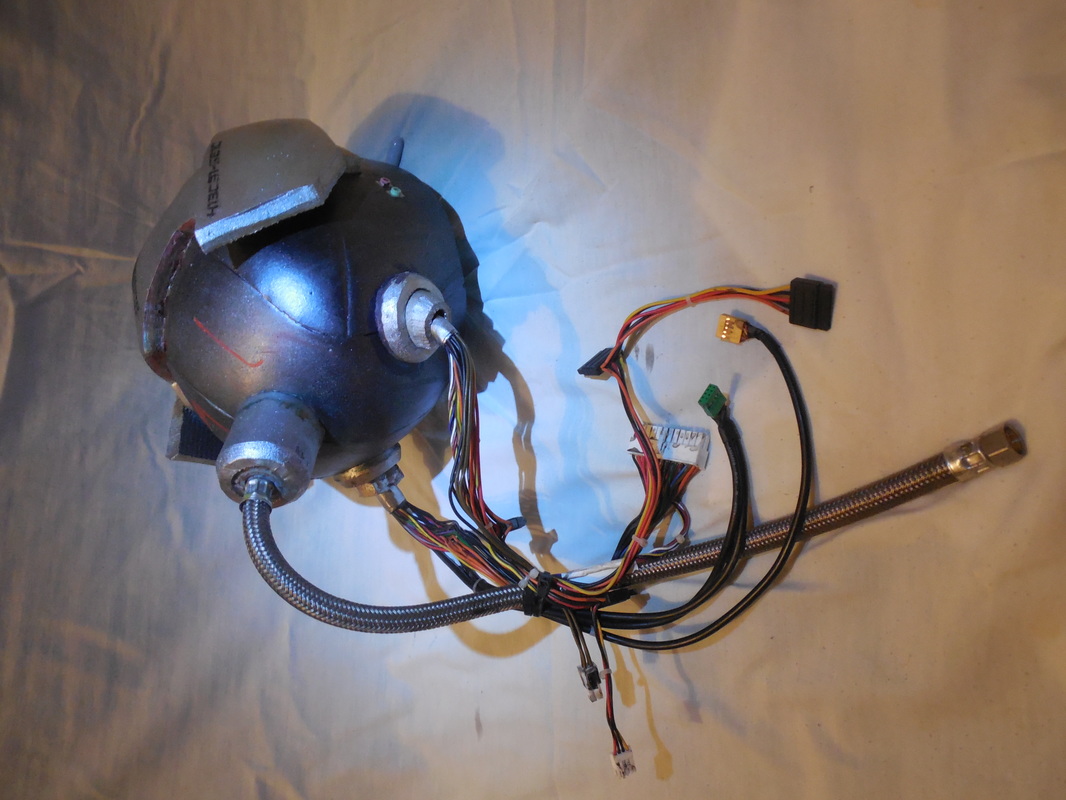
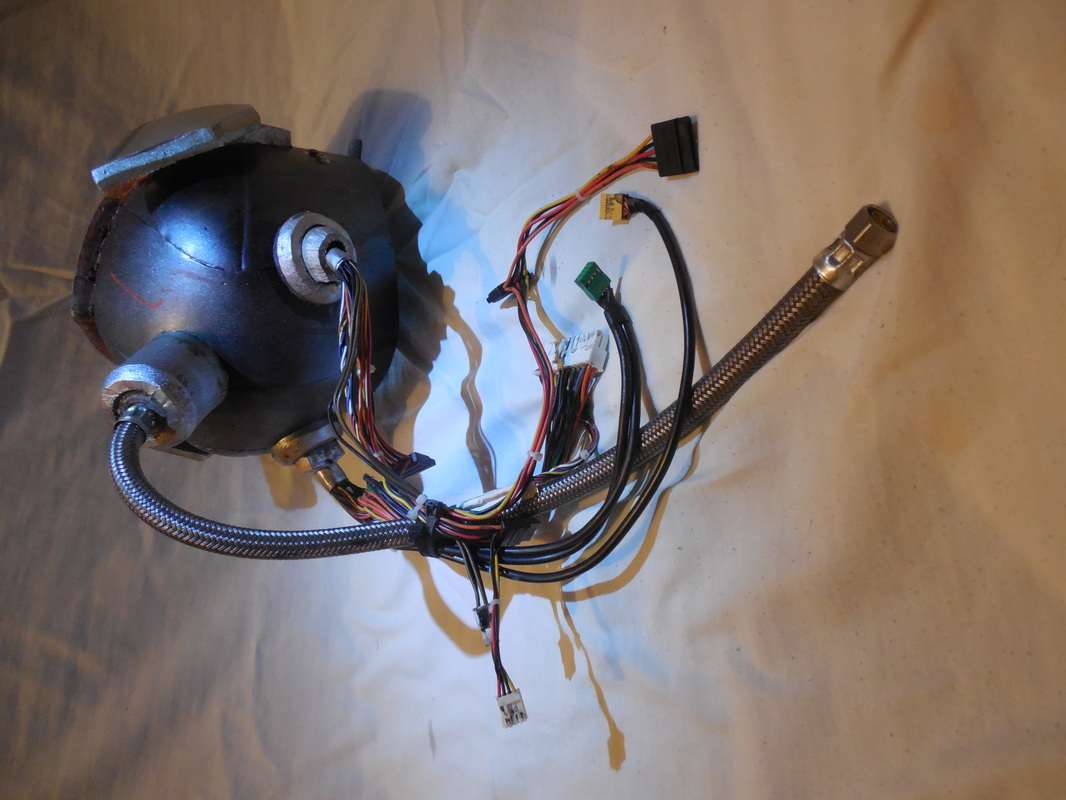
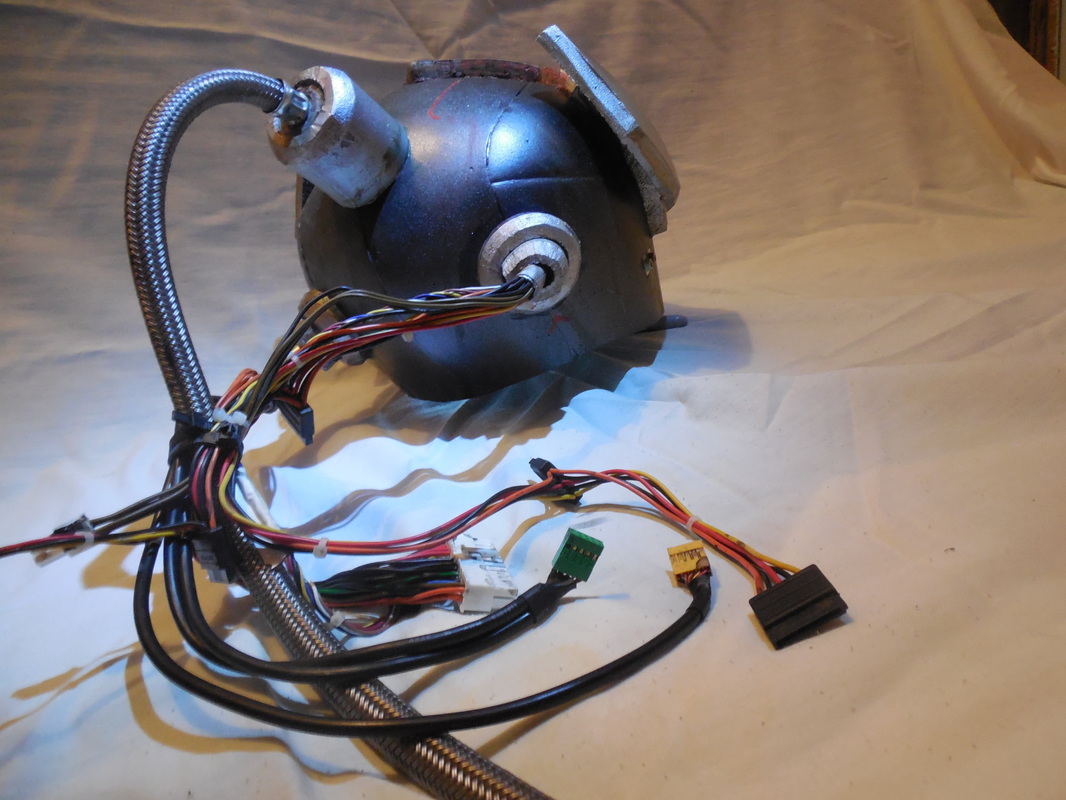
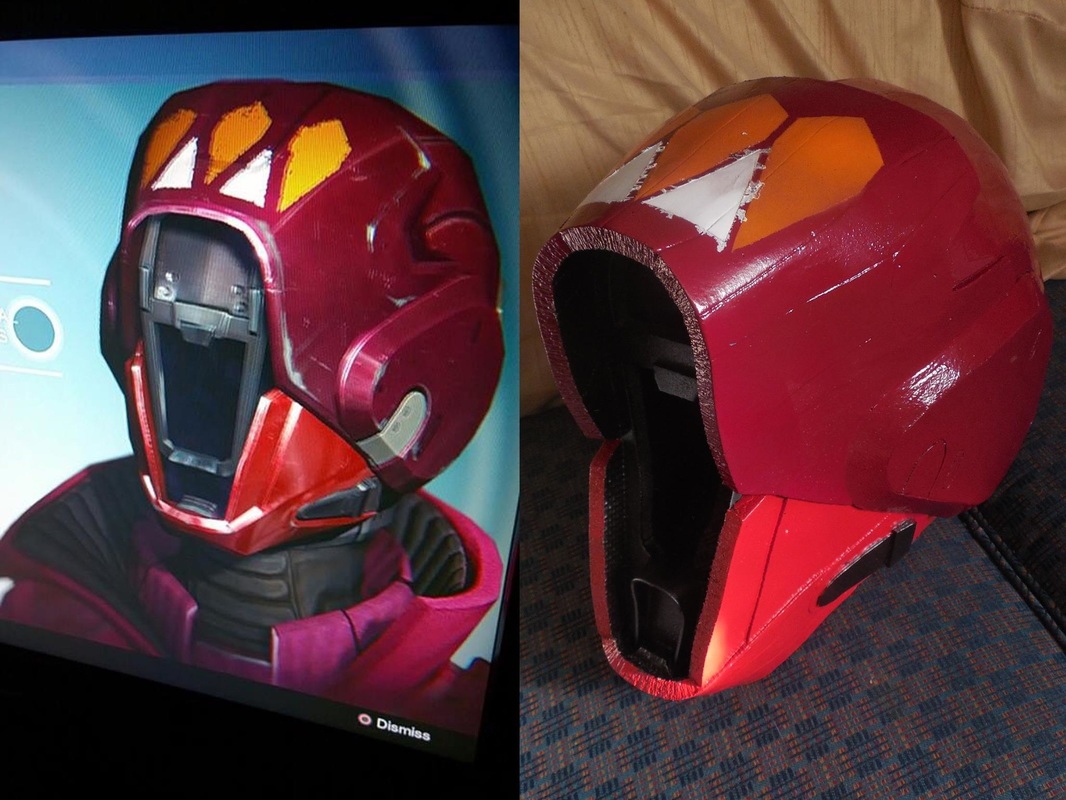 After building the foam Titan helmet for Extra Life ATX, they came to me for a second helmet. This was a special helmet for one of their game casters, who plays a Warlock and really liked the Chroma Vow helmet her character was wearing at the time. For this one, I did a lot of the same things as the rest of my builds, though I started off in a different direction since I couldn't find any proper patterns online anywhere (lack of time meant pep files, but there weren't any out there yet for this one). So, using a standard Warlock helmet file, I opted to attempt to modify it on my own, freehanding the front half. Unfortunately, I didn't have very much experience freehanding, and should have done something similar to the Original Helmet series I made, and it ended up being misshapen and uneven. By this time though, someone had finally made a proper pep file, and I was short on time so I adapted it to foam and started again. (Remember that Titan helmet. It'll be important later!) Already things were looking much better. I was kind of disappointed that my attempts at making the patterns/freehanding had failed, but glad that the redo worked. Sooooooo much better! Attached the last of the visor section pieces, then glued everything down. After that, did the hobby knife/heat gun trick to add the finer details. Did a terrible job at filling the seams with Kwik Seal, then opted to cover the whole thing with Mod Podge since I was out of Plasti Dip at the time. 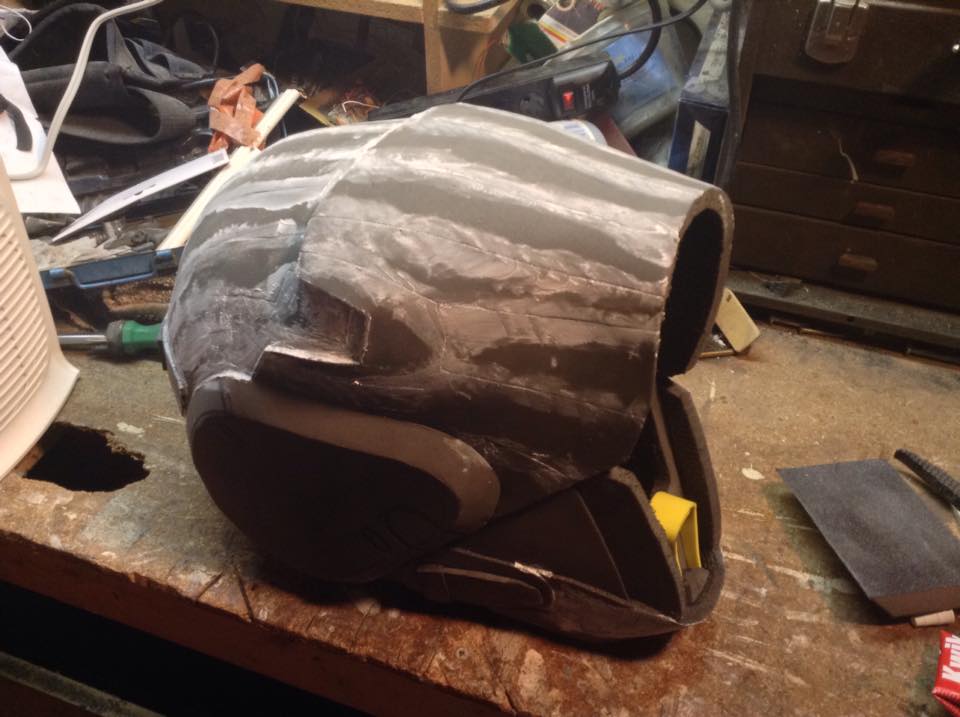 Painting it was a whole new level of interesting. First with the Mod Podge instead of Plasti Dip, then with a few coats of blue primer, since I was out of any black. 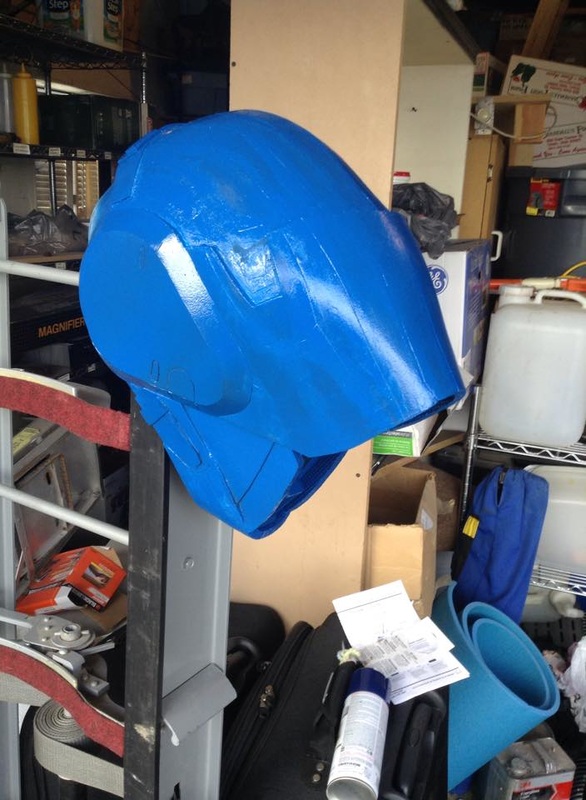 The rest of it was pretty normal, once I could start on the reds. Did the lowest level color first, let it dry, then masked it off and did the next level up with a darker red. After that, more masking, followed by the same gunmetal for the inner visor area and cheek things - what is it with buckles and cheek things, Bungie? Once that was all set, I masked off the top to do the pattern. The orange went on splendidly; the white not so much. I wasn't expecting it to come out as fast as it did, nor as watery, and as a result it bled a ton. Not a *huge* deal, but it really bugged me at the time. Also painted the fine detail areas. Then came the final step: weathering! Black washes with acrylic to start off, then I went over spots a bit heavier with black, dark grey, and silver drybrushing. Worked it into the bleeds around the white, to blend it in a bit better. After all that, a few clear coats to seal it all in. 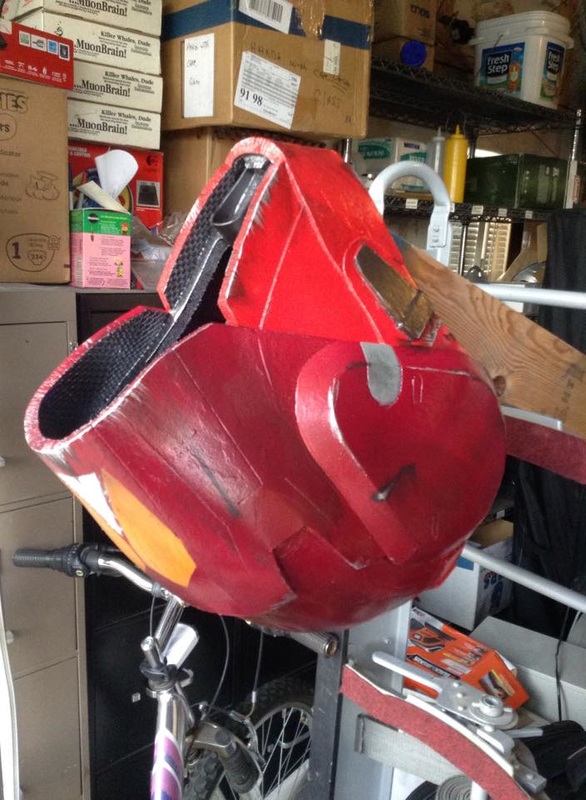 Installed a sheet of smoke grey acrylic inside, so that she could see out of it while she was streaming, and with that I was done! Hope you guys enjoyed this build, it was definitely a learning experience. 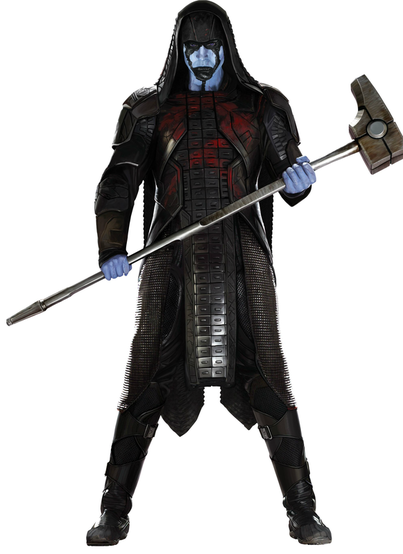 The final of the mass cram session before Anime Banzai, to give me a wide variety of things to show. Only had a few days left, so I couldn't make this as correct as I could, but for a speed build I think it turned out great! Let's get started. I started out by making a blueprint of the hammer head, so that I could size it out to the staff I was going to use. 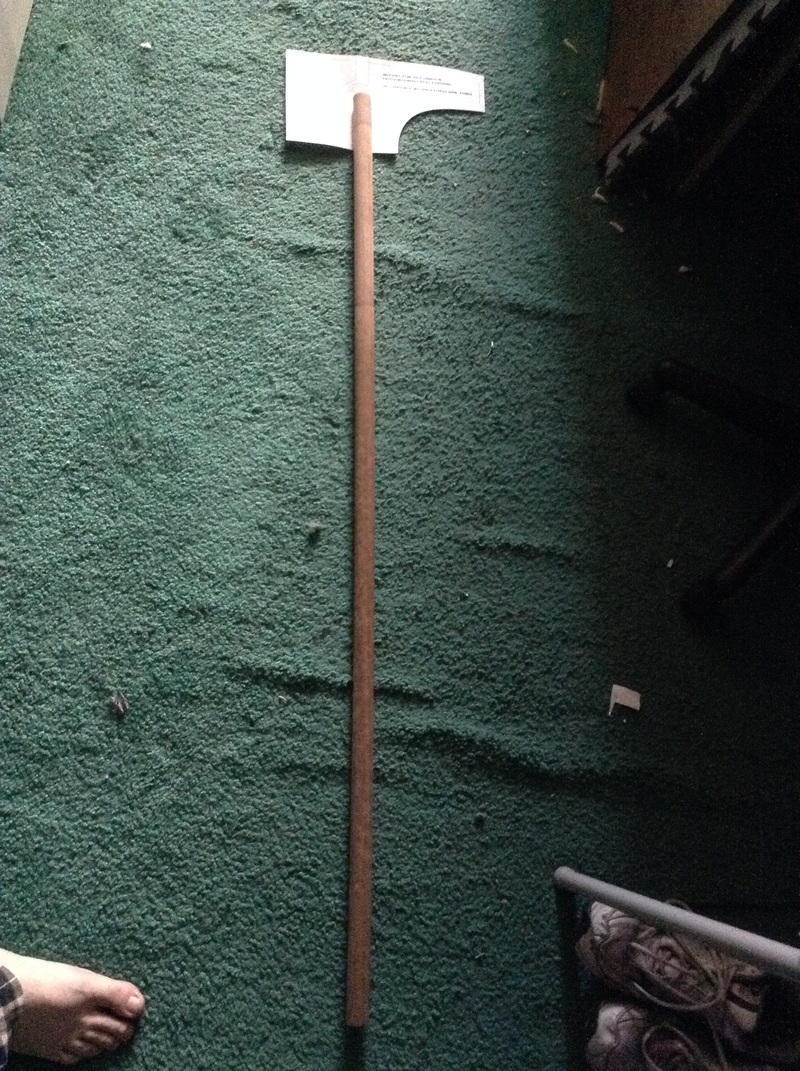 The staff is a 1.25" dowel, four feet long - a remnant of back when I was part of a medieval sword fighting group. That means it's got the scars of battle behind it, what with all the dings and dents! Perfect height for the warhammer. The hammerhead may look small in this shot, but I didn't have anything to scale it to nearby. Once the scale was set, I started cutting parts out! 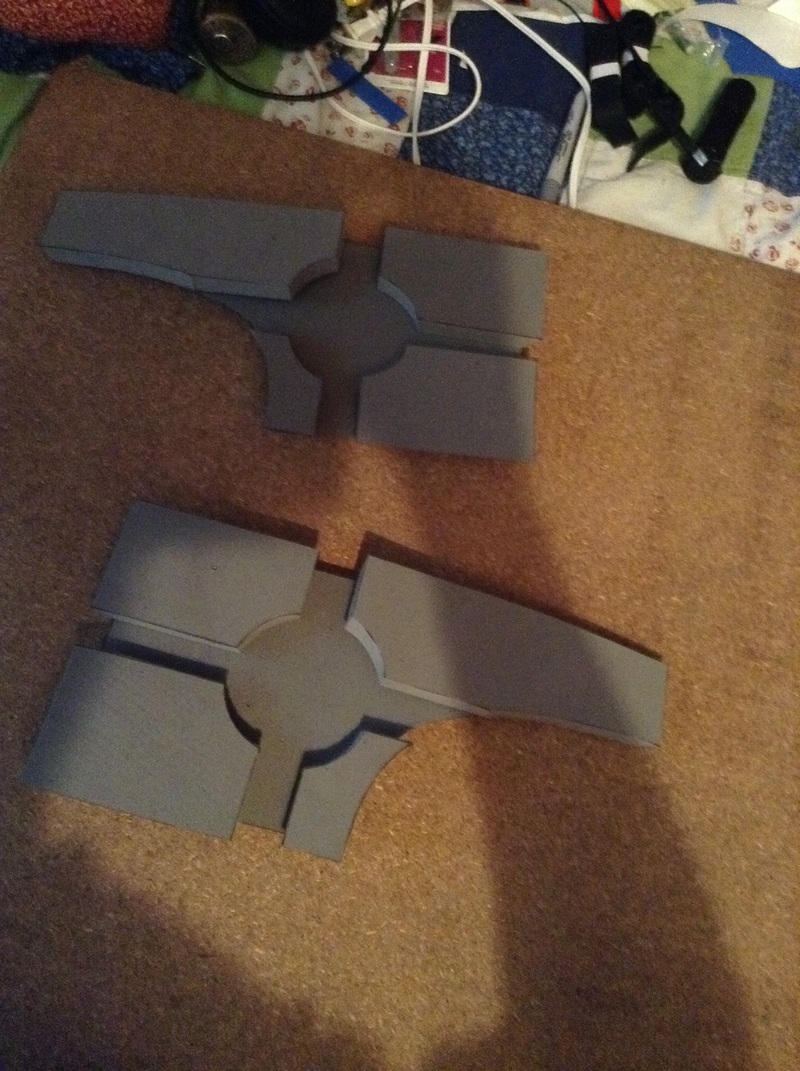 I did the hammerhead in two full layers: the inner support layer, and the outer detail layer. Both were the 1/2" floor mat foam. Once the side sections were cut out, I started making the three dimensional parts - that is, making a whole bunch of boxes! 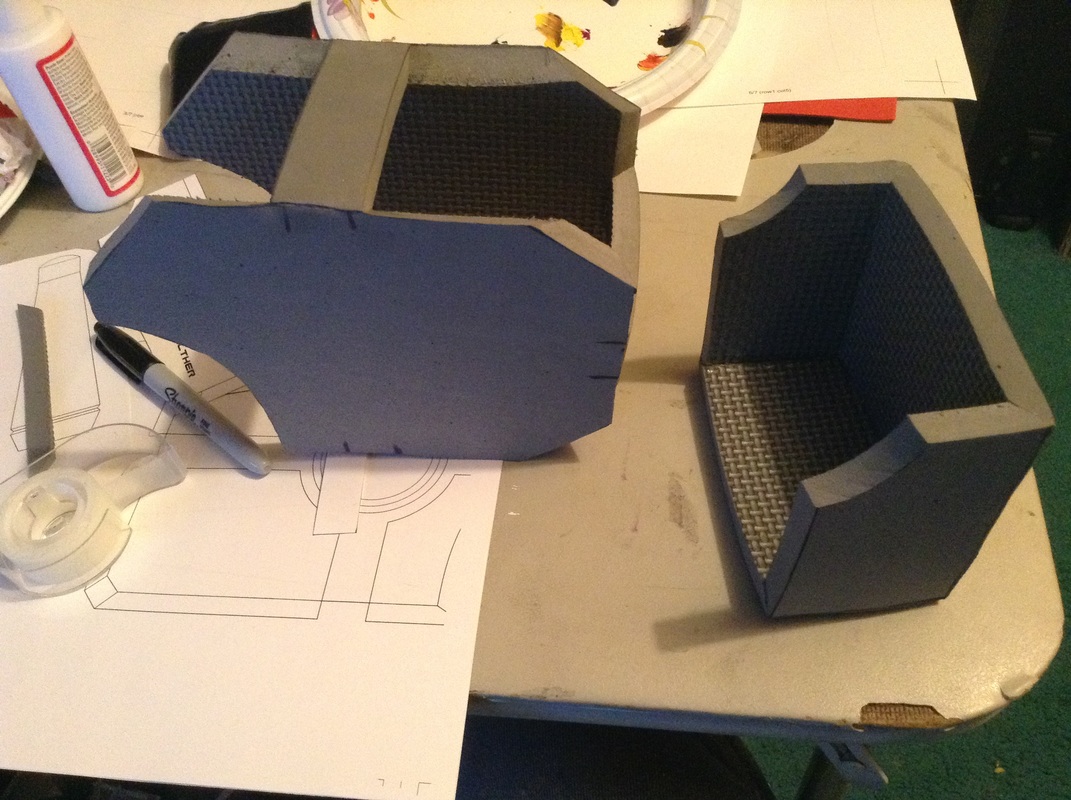 I marked off where each outer layer piece would sit, then made a strip a little wider than the marking for the inner track to support everything. Then I assembled the inner box and used that as a guide to freehand the sections to attach the outer details together. Worked like a charm! 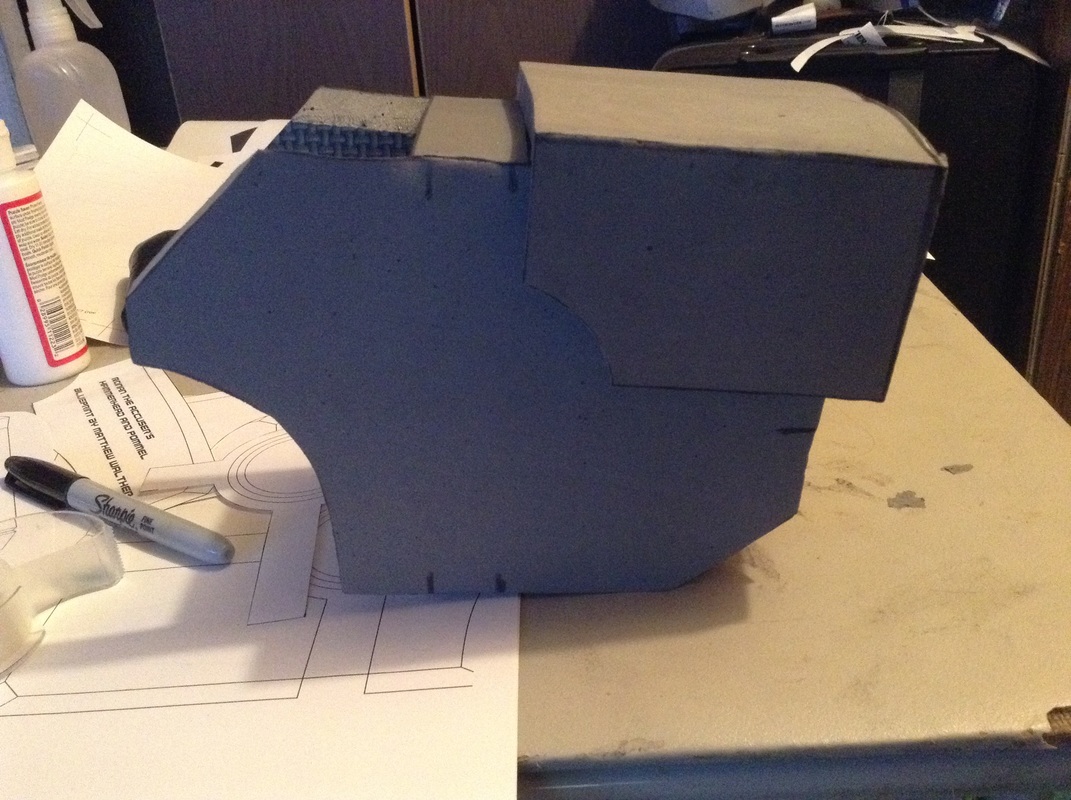 The upper back area has a curve, which meant interesting measurements to get everything to fit right. In the end it worked great though. 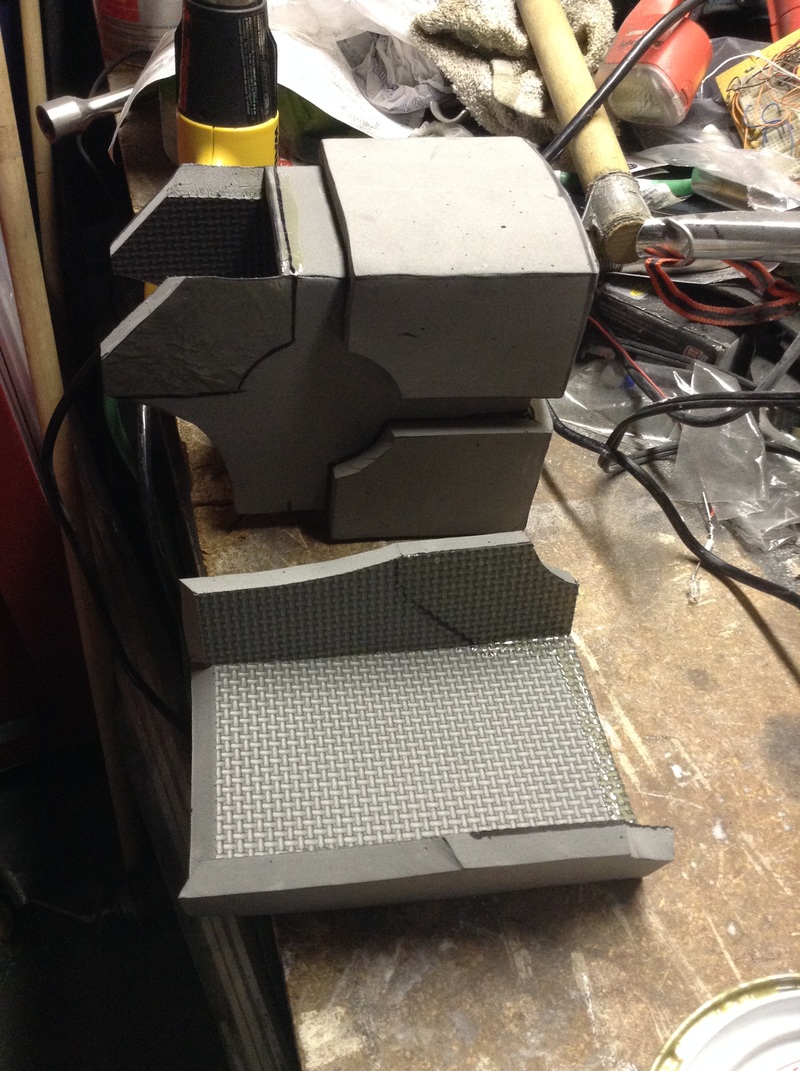 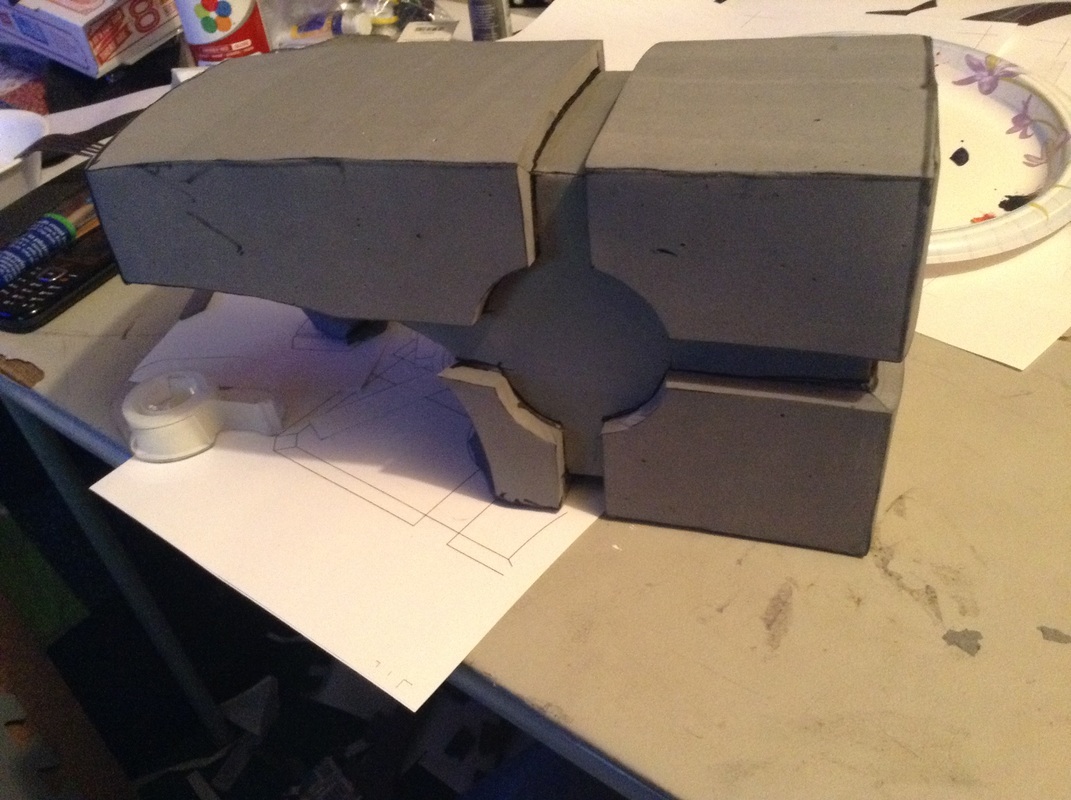 The last section was the most difficult, as it wasn't just one flat area - it was three. Two angled in and curved from the sides, and one final piece that connected it all at the back. And all that connected to an odd shaped piece in the very back for the hammer's claw. For this, I made the back and bottom piece to the shape I wanted, then attached them and used the opening to trace the shape I needed. After that it was a simple thing to cut it out and give it a slight curve with the heat gun, though gluing it was an absolute pain.... Got those on, traced and cut a hole for the staff, and hot glued that right in! After that, all it needed was the discs in the center and the pommel. This was easily done with layered craft foam on each side, and by rolling and gluing some 1/2" foam down at the bottom. Nothing fancy, nice and simple. Size-wise, I think it turned out juuuuuust right! No time to spare, it went right into the paint. Covered the foam sections in Plasti Dip, then covered the whole thing, staff included, with what turned out to be exactly how much Krylon Ruddy Brown primer I had left. 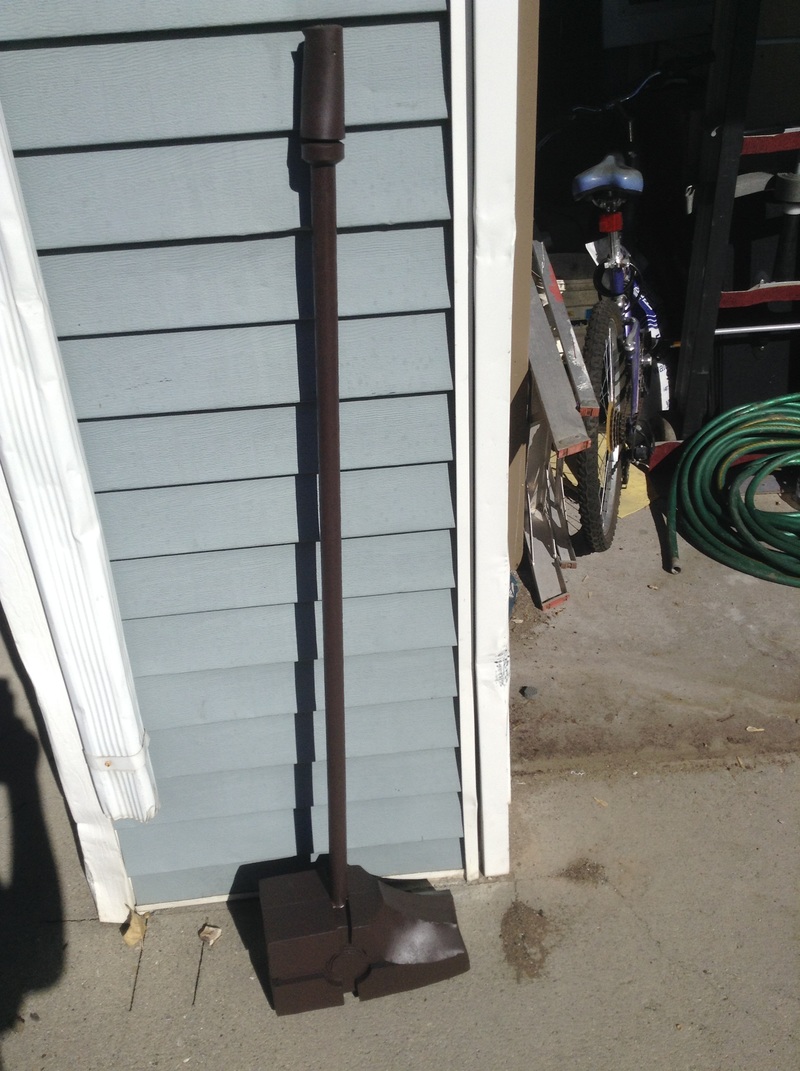 After that some metallic silver. No, the staff isn't leaning. That's it resting on the curved part of the hammer, the only way it would sit still long enough for a picture! 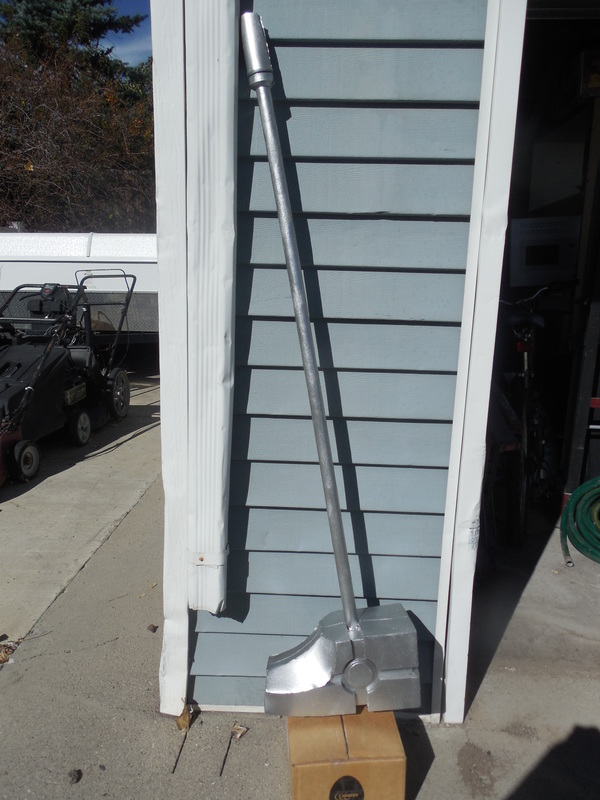 And then, out of time and needing to let it dry, I did a quick spray over some areas with more of that automotive gunmetal I had, including where the indents of the staff would normally be. I would have preferred to actually cut those out, but I just had zero time left. And that was done just in time! It was another big hit at Anime Banzai, though once again no one bought it despite the low price point I put it at. Oh well, no big deal! Just means I can toss it on the wall once I have space to! Thanks for reading! Enjoy some final pics of it and the rest of the pile I took to Anime Banzai! 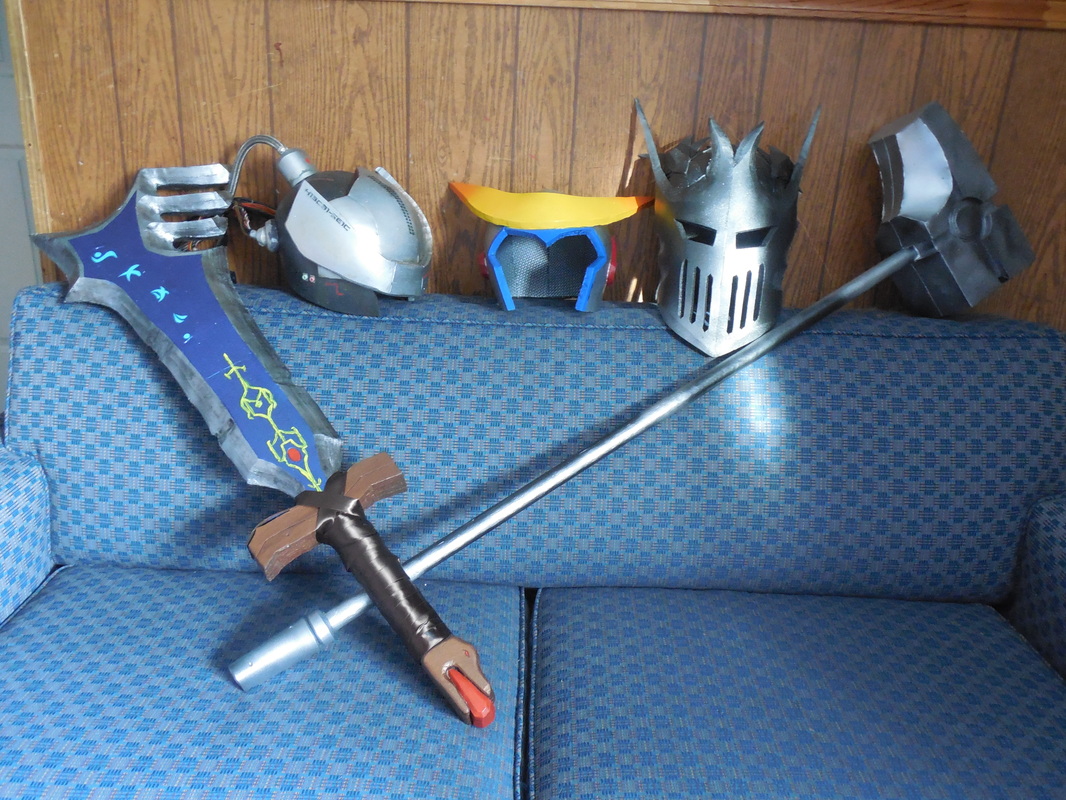 Time for something new and exciting! I wanted to make a dragon style helmet a la Prince Armory, though my skills with foam are nowhere near their skills with leather. Still though, there was time for it, and I needed one more helmet to put up on display at Anime Banzai, so I did what I could. Here's the start of the helmets again! Having already used all three of the other helmets, I needed to make something new to add to this one. So, I started with a pattern for the back, and grabbed my craft foam. I started with a gothic-style pattern, then copied it in various sizes. These I layered onto the back, giving it a nice flare effect. It also conveniently covered the seams so I didn't have to! ;) I also cut out and attached two straps to the back, which would later attach to those craft foam panels you see. More on that later, while those are being painted! I also added several layers of v-shaped pieces on top, bending them in the middle to look like the ear fringes. Then I drew up the pattern for the face mask, cut them out, and used a dremel to bevel the points and give depth to the cheeks. By now I had also finished painting the back panels, but again it isn't quite time for them! Still some work to do on the rest of the helmet. Debated back and forth with my wife for a while, trying to figure out what kind of slits to add to the front of the facemask, and we opted with long, vertical slits. Of course, this is about when people started asking me if I was doing Sauron, or that one guy from League of Legends, so I guess I'm doing something right? lol Anyway.... Got that all done, so off to paint! Started with Plasti Dip to seal it, then used an automotive gunmetal spray paint to cover everything. 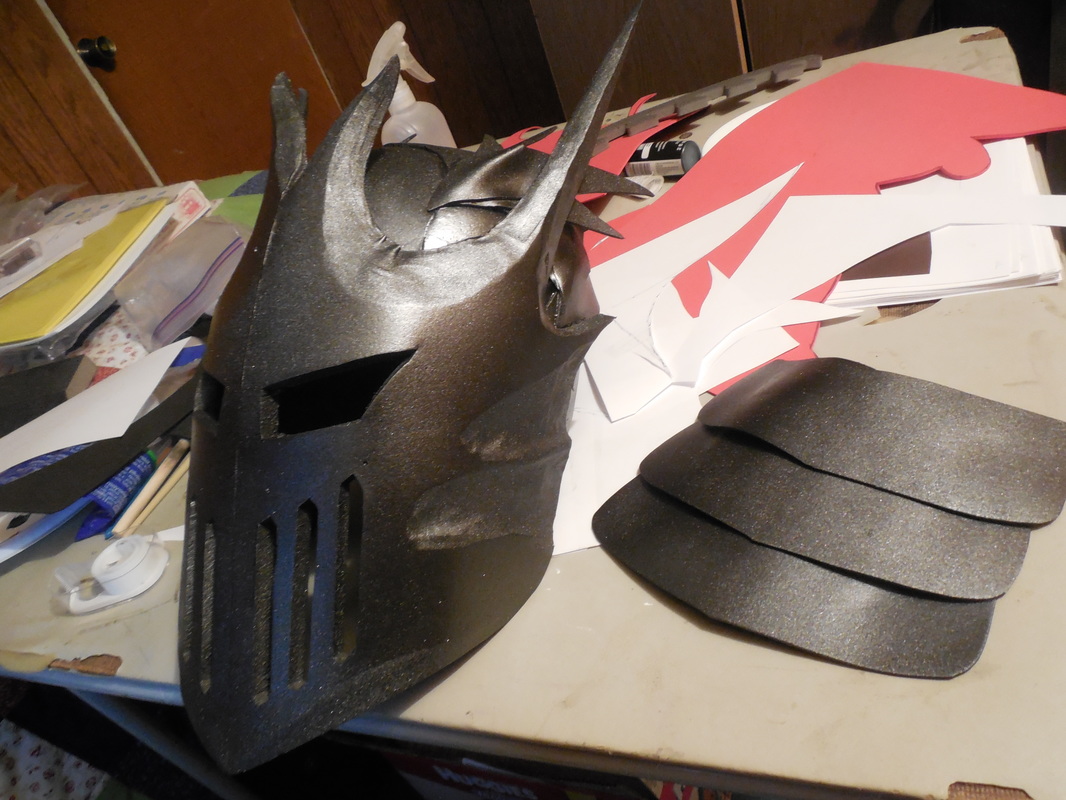 Now, finally, it was time to add the back panels. I attached them onto the straps from before, staggering them like plate mail, so that it could move freely and look more like a piece of armor. Decided against weathering this just like the Anime style helmet, but I still wanted to give it some sheen. So, I took a silver spray and lightly highlighted some edges, and the cheek bits, to give it some more depth. Then I finished it all with a few coats of clear. This one was a ton of fun to make. I do have it up for sale in the store, though I may end up holding on to it and making a full set of custom armor to go with it. We'll see! Before I moved back to Utah, I got a hankering to make my own helmet design. Lo and behold, the amazing Evil Ted Smith came out with a video series on how to make foam armor and costumes, and the first series he put out focused on helmets! You guys may remember the end results of that. Well, a good friend of mine invited me to help her out at her booth at Anime Banzai, and in return offered to display a few of my things for sale. I didn't have anything made at the time, having just moved back here, but I figured why not make a few more helmets? So, it being an anime themed convention, I decided to go generic space anime helmet! Nice, simple, same-old same-old foam floor mats. I used the same pattern I made in the previous build (which is up for sale in the Store if you want to make your own), and prepped the base to 4 helmets. I grabbed the first, and put the other three aside for later! Now, just so you don't get confused, this one is extremely simple and doesn't really have a lot of photos. I also did a lot of the next helmet - the Cyberpunk one - at the same time, so a lot of the pics will overlap. On with the show! 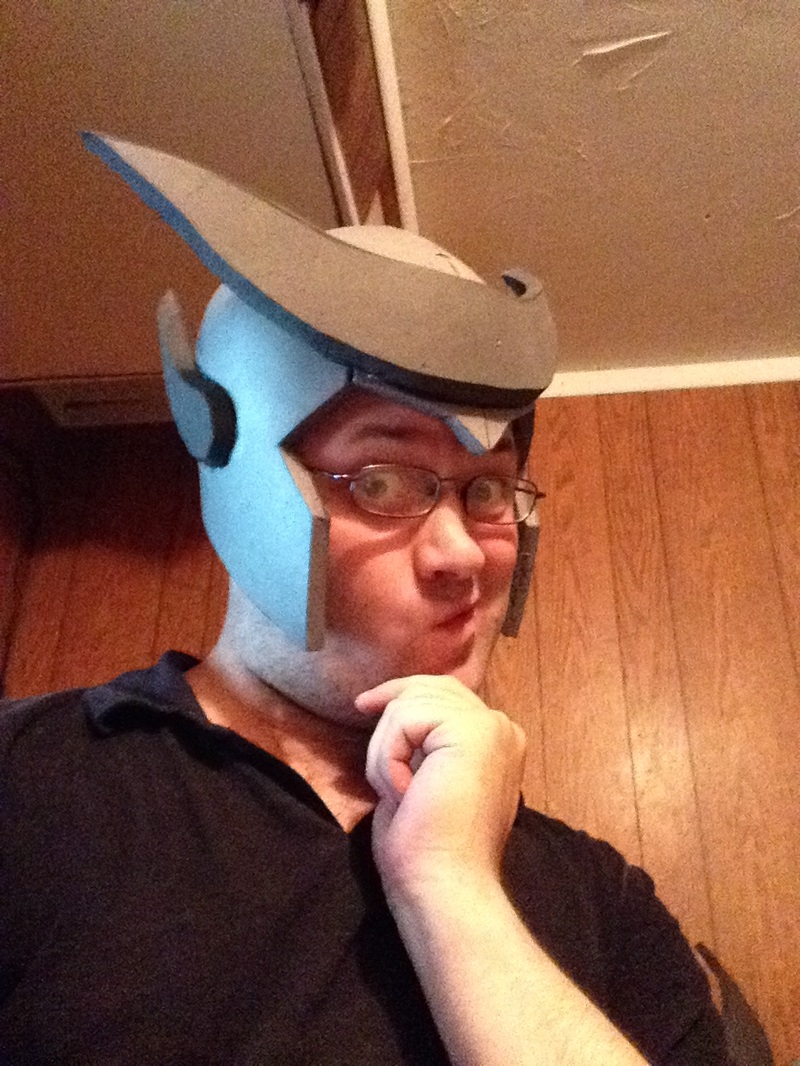 I opted for a super basic helmet, keeping it recognizable as an anime style, but not as any one specific series. The ears and horn were completely freehanded, and I beveled the ears inward with my dremel. Once that was done, I grabbed the next helmet, then ended up grabbing the third helmet and chopping it to pieces. 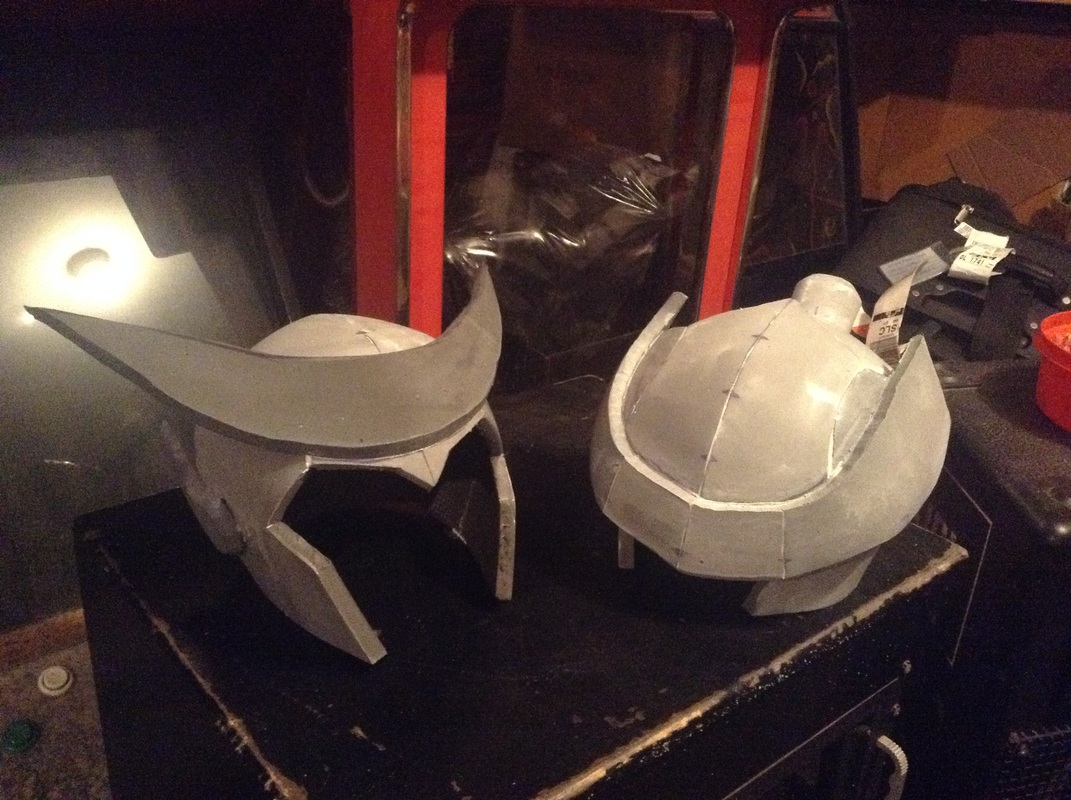 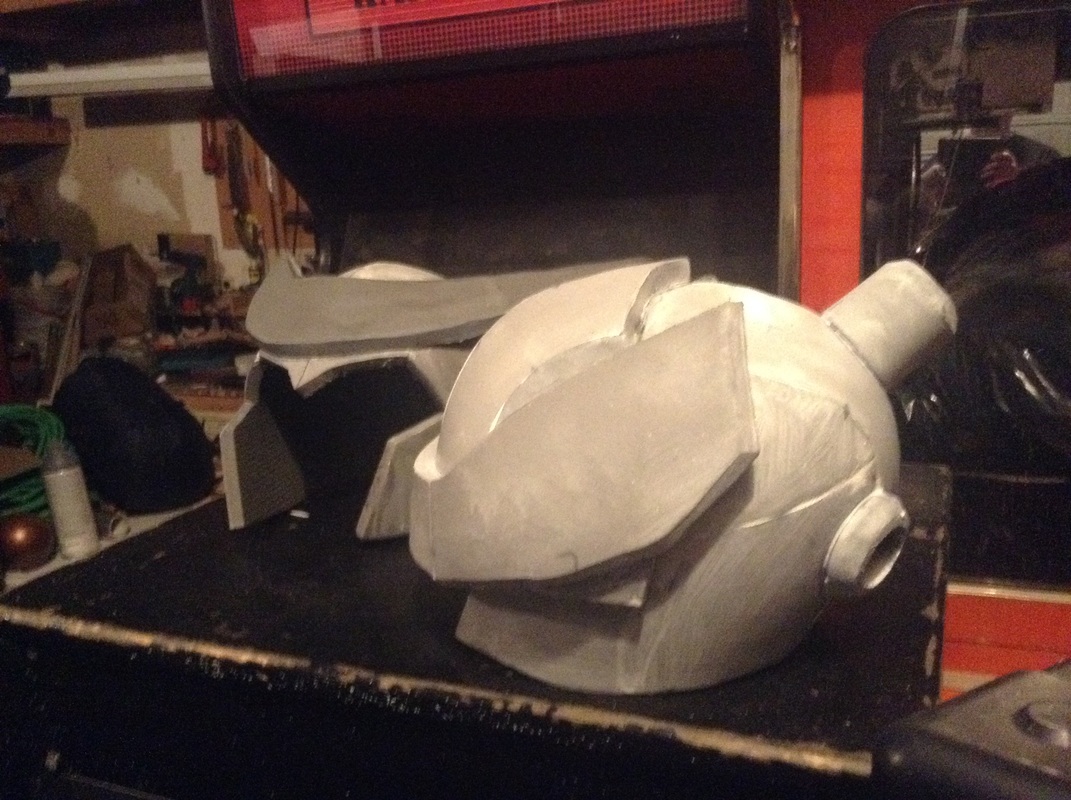 Kind of hard to tell, but I cut the third helmet in half horizontally, turned it backwards, and attached it to the front. Then I took the bottom half, turned it backwards AND upside down, then stuck it on top of that. The goal here was to make a sort of visor screen thing that covered the eyes entirely. Also made some tubes and stuck them to the back for the wires and tubes and things. Tried something new with the caulk from before. Was suggested to me to thin it with water and paint a few coats onto the foam - told it would fill the seams and work about as well as the Plasti Dip. I wasn't as successful with that method, so from now on I'll just be doing it the same way I used to. Anyway, on to paint! The anime one was simple: paint the upper horn yellow, tape it off, then paint the ears red and tape those off. Once that was done, I also painted the front of the helmet blue (don't worry, it'll make sense in a minute). The Cyberpunk helmet I painted a metallic black, then the upper visor and wire tube things silver.  After that I taped off the front of the anime style one, then painted everything else silver. Tape came off, and I got to see firsthand how terribly the new sealing method worked. Can you see all the bubbles on the yellow horn? Not terrible, but not up to par. You can also see all the seams, though I wasn't too worried as it kind of accented the look of the Cyberpunk one. Anyway, sprayed a little, light bit of orange on the horns and a darker red on the ears, to give it a bit of a gradient look. I wasn't weathering it at all, so that added a bit more depth to it and made it look a bit better. Anime helmet done! (Final shot pre-gradient) 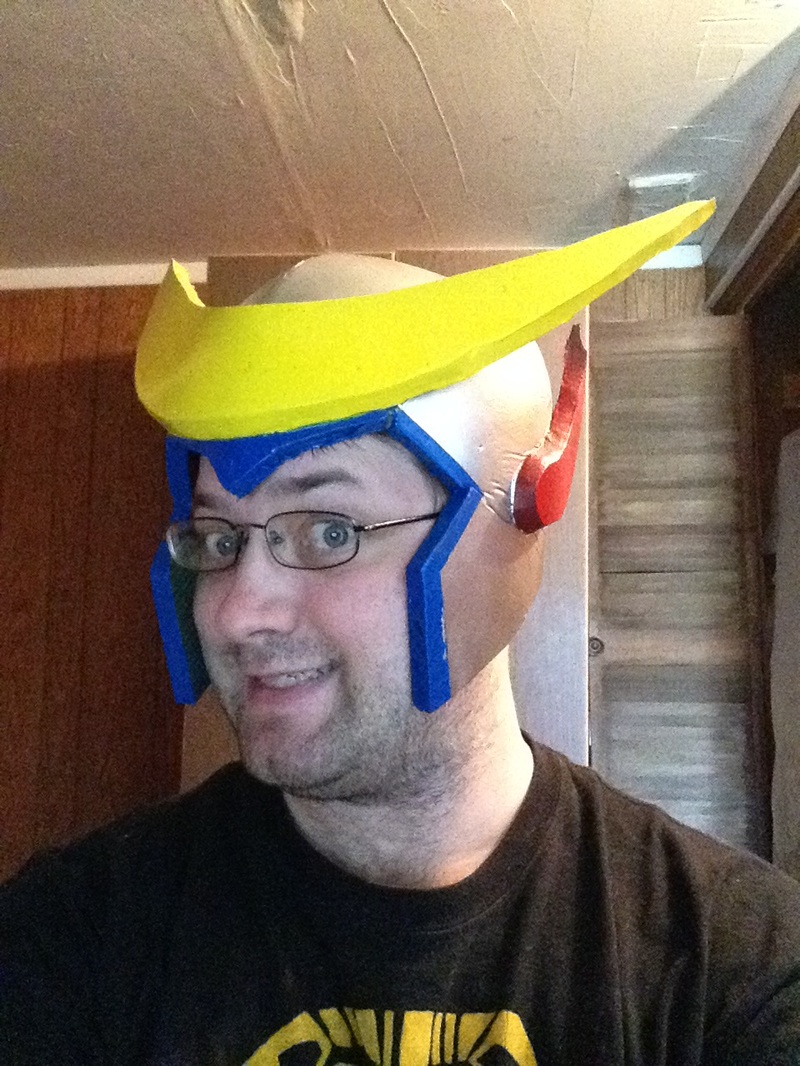 To finish off the Cyberpunk helmet, I used a method of stenciling I learned from Punished Props: print a stencil, lay it on some painter's tape, cut it out with a hobby knife, lay it in place, then paint it on! This was a lot of fun to add, though definitely time consuming. I will absolutely admit to some of those splotches being on purpose! Fit the look anyway, even on the accidents, so I was happy with it. Test fit: 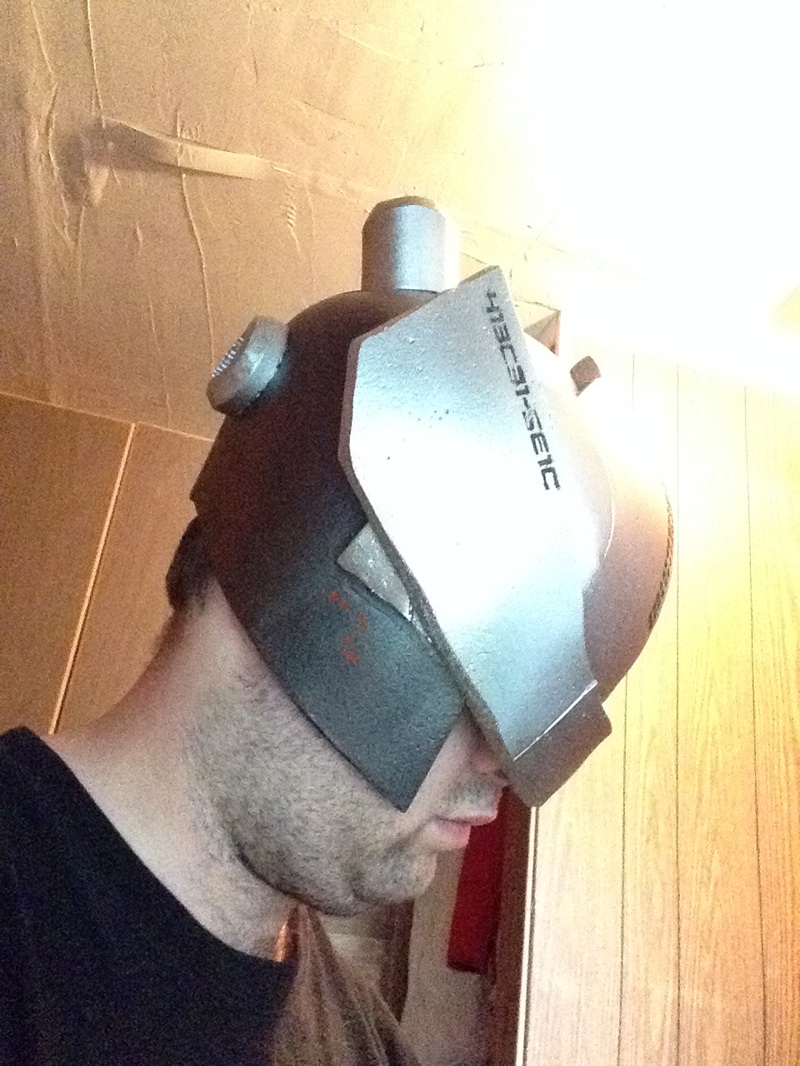 Hooray for craptacular selfies when you can't see! Time for some tubes and random wires. A good friend of mine, Keelah Monster Cosplay, sent me a ton of random computer parts and wires, so I put them all to good use! Also snagged a random plumbing tube from Walmart, then arranged them all and hot glued them in place. Tied 'em all up with a zip tie so they weren't bouncing around loosely and bashing the wearer painfully, called it good, and took another silly selfie! 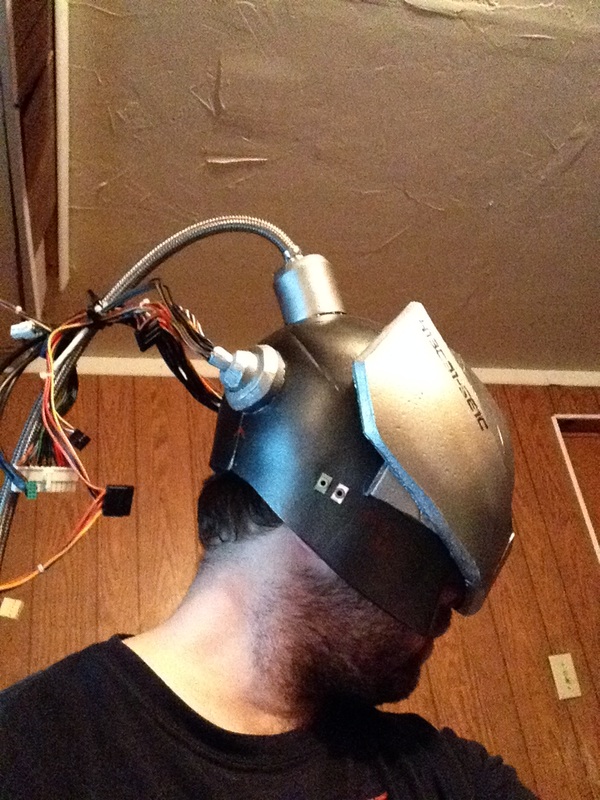 After that I had a ton of fun messing around with acrylic washes, drybrushing, and actual painting. I messed around with a bunch of different colors of paint, giving it a really nice, rusted, dirty grungy look. Hope you had as much fun reading about these two helmets as I did making them. They were a big hit at the convention, and even though neither of them sold, I got a lot of compliments on them! Here's some finished fancy shots to send you off with. If anyone is interested, the Anime style helmet has been purchased already but the Cyberpunk helmet is still available! You can find it here.
|
|


 RSS Feed
