|
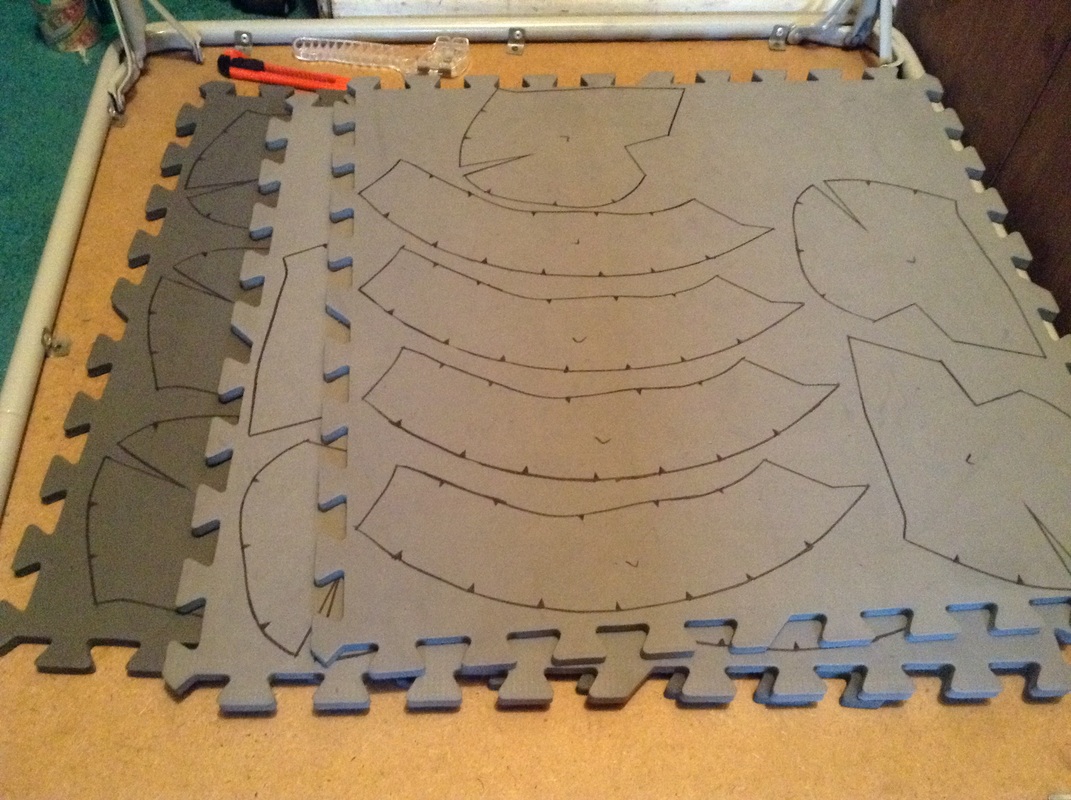
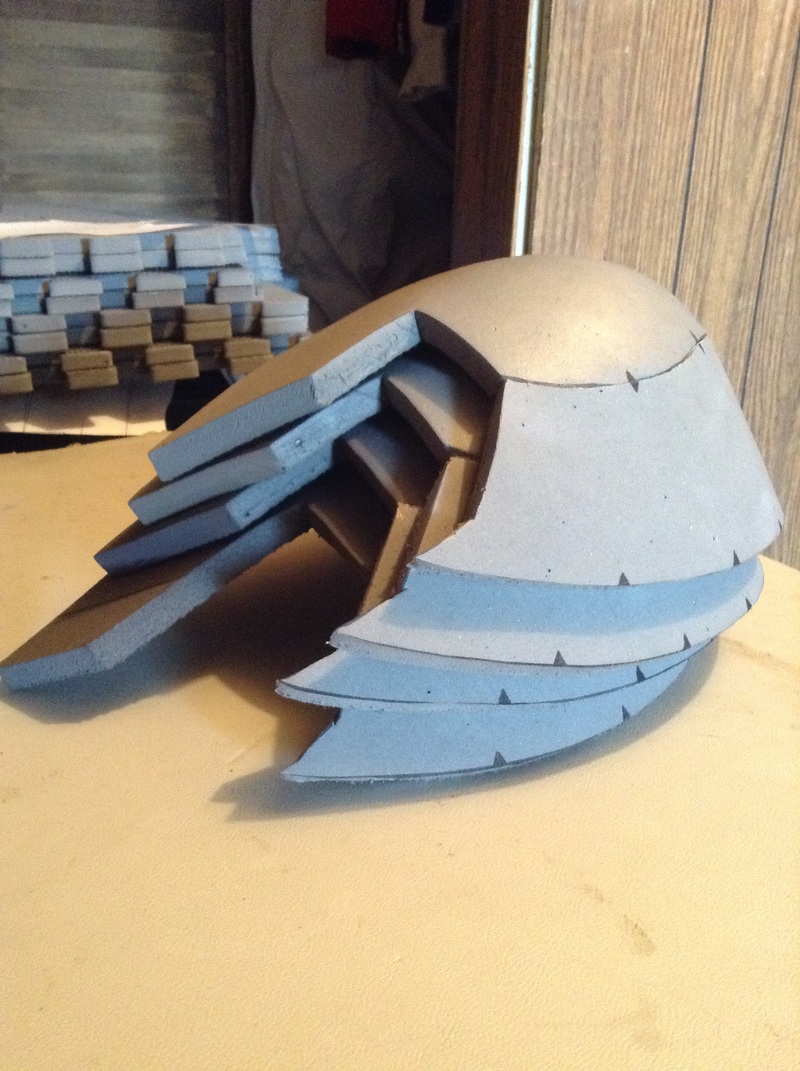
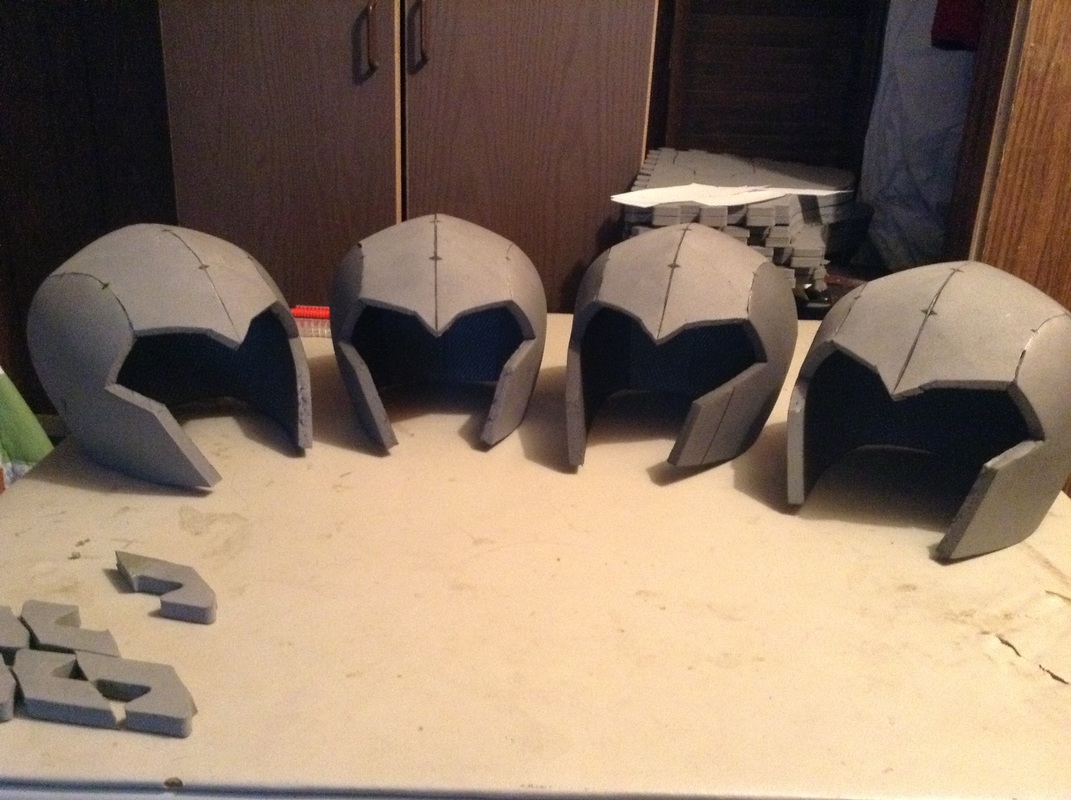
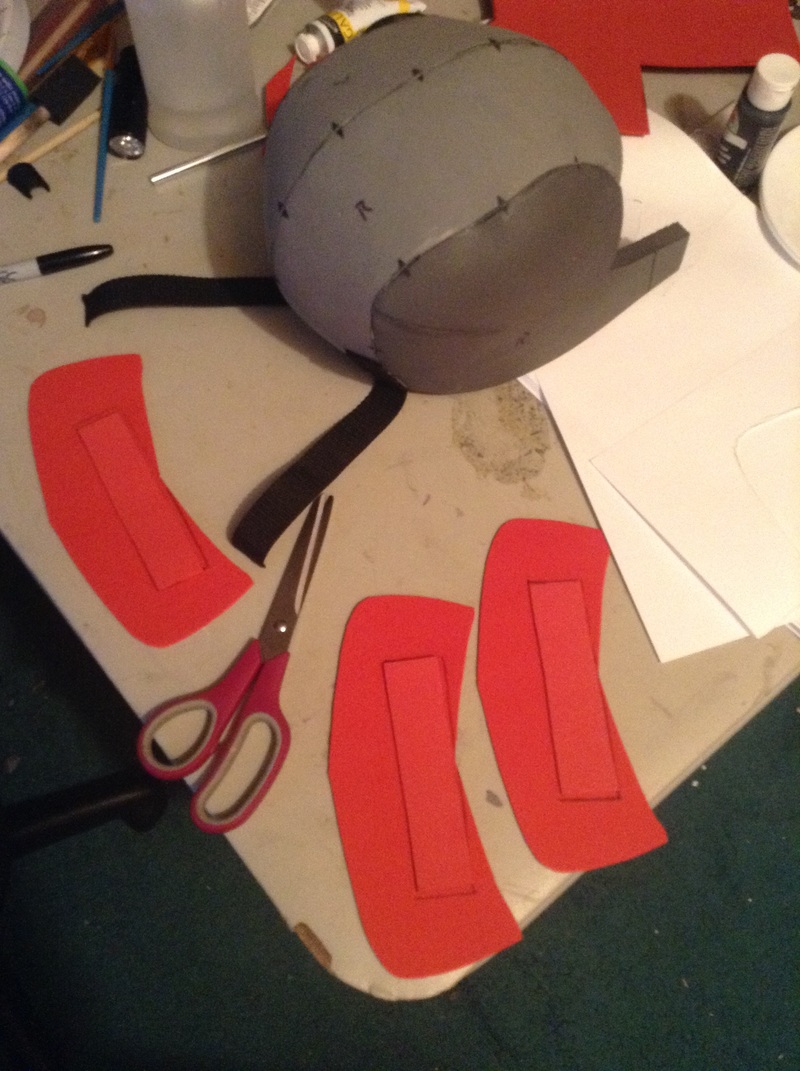
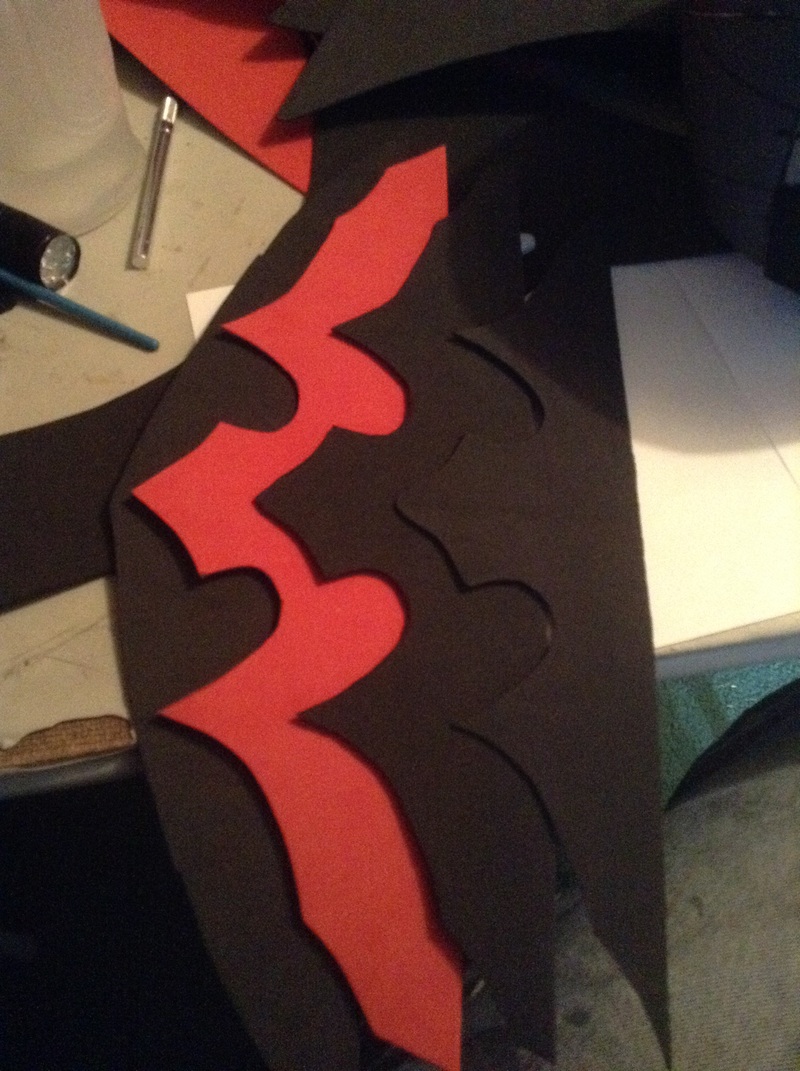
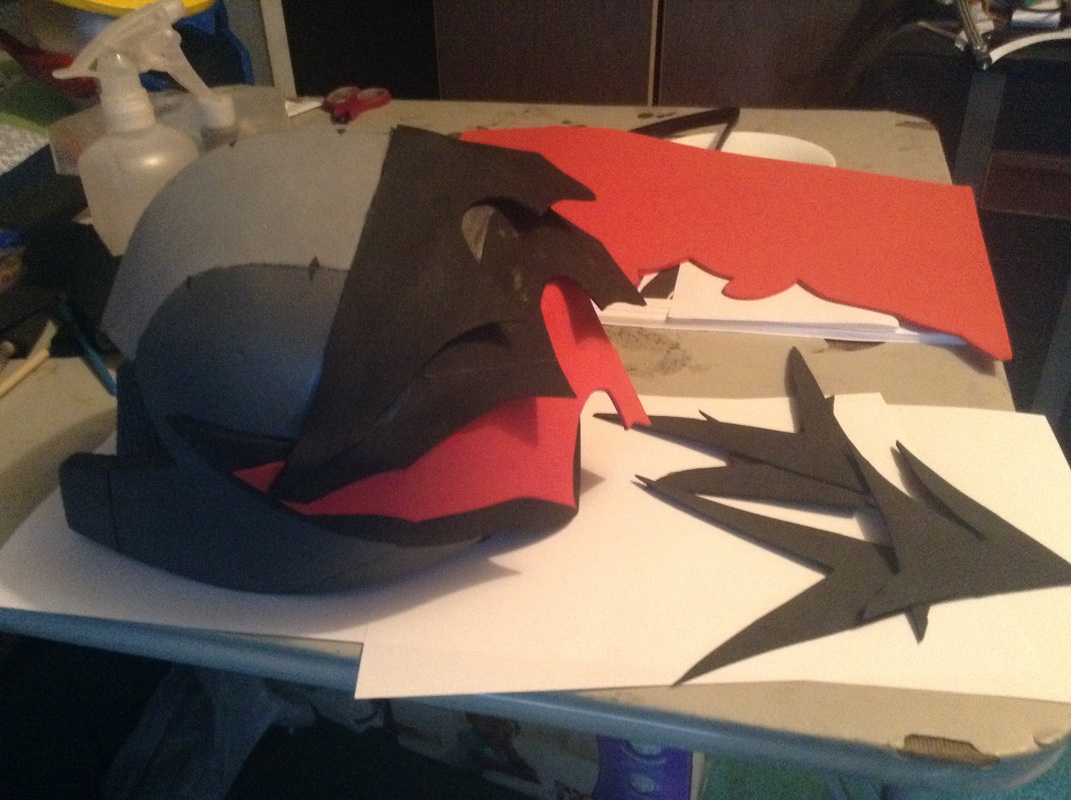
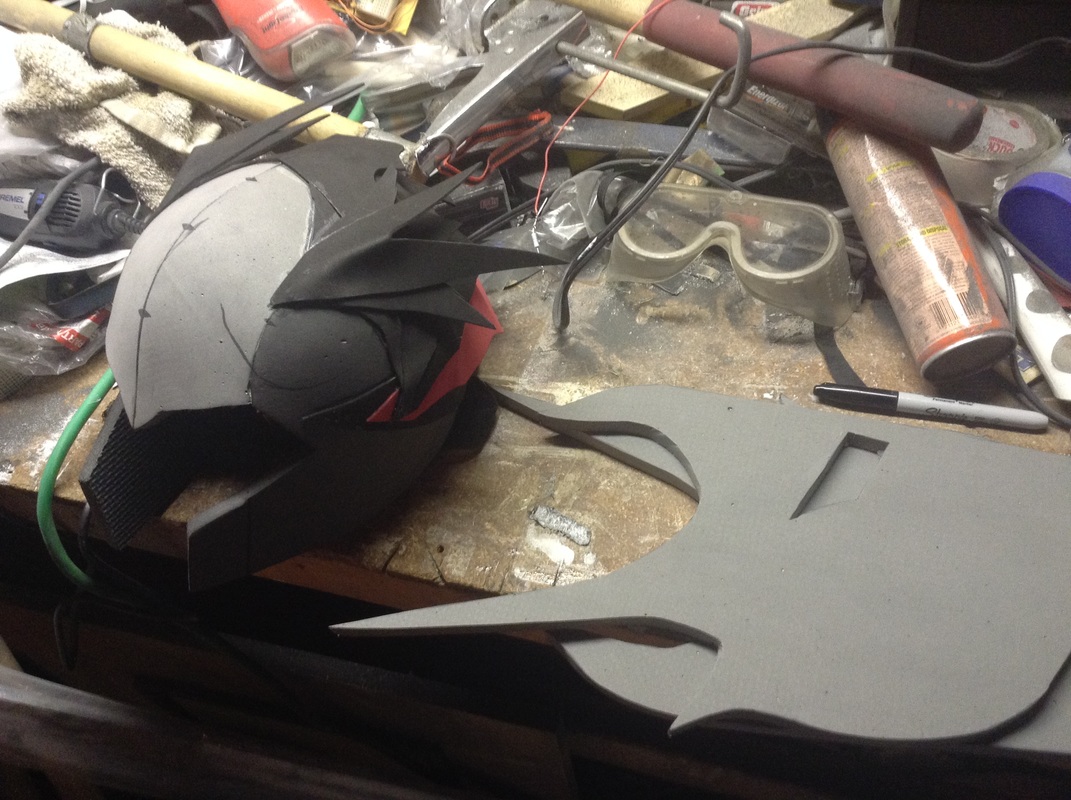
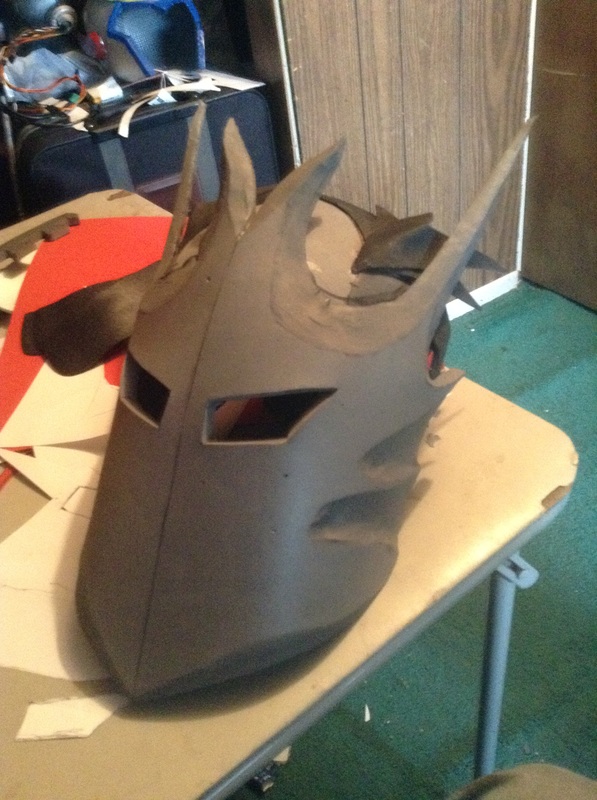
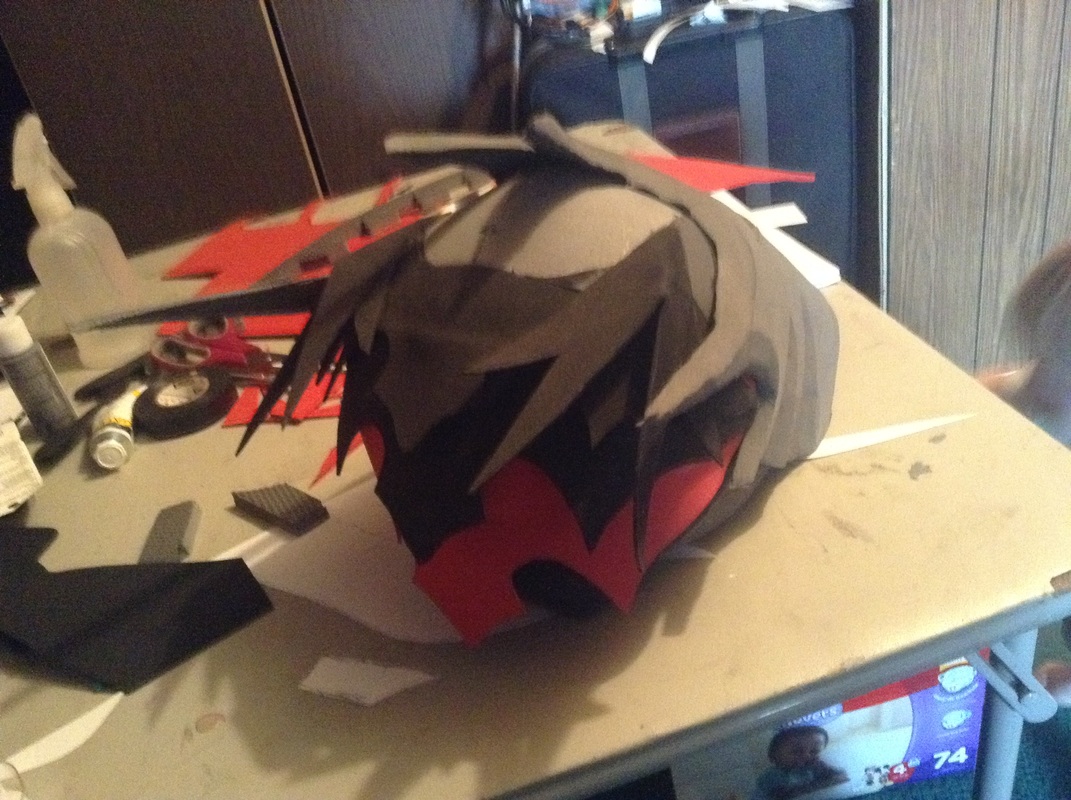
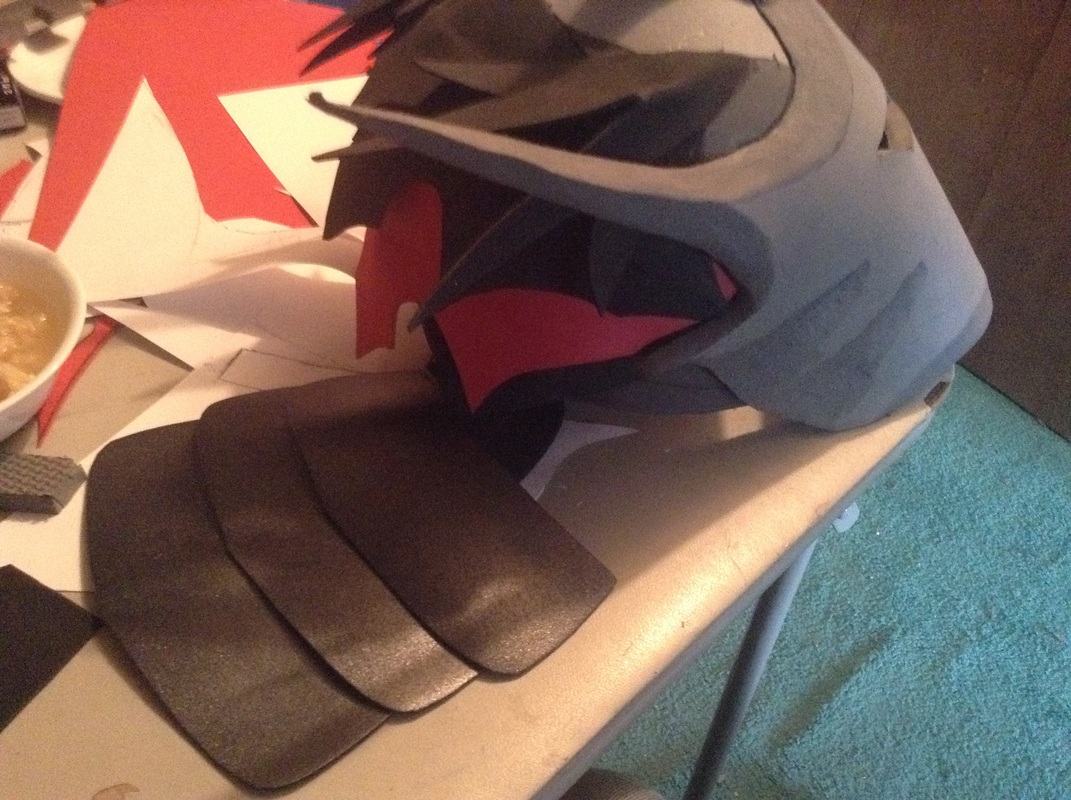
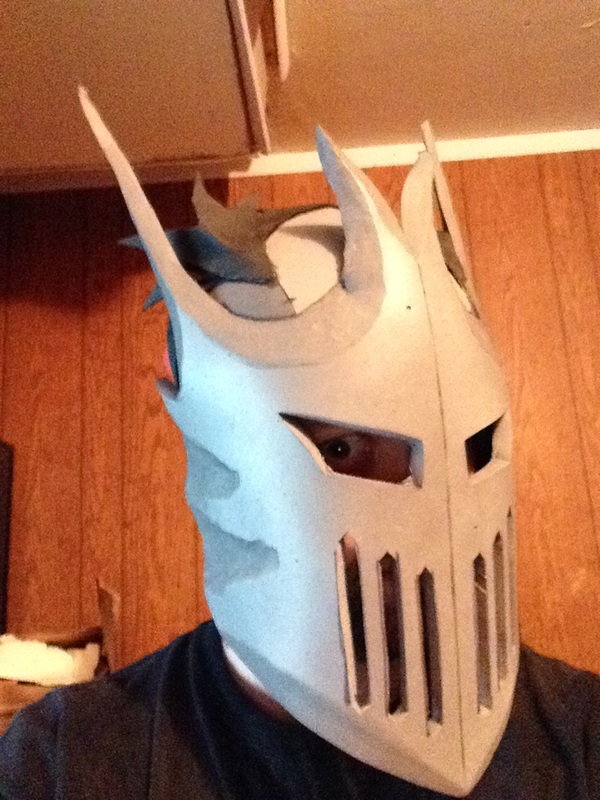
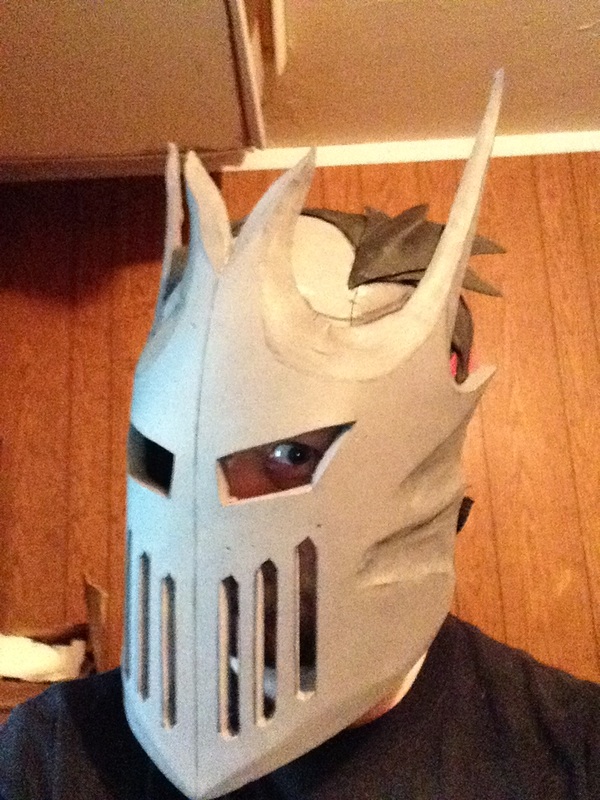
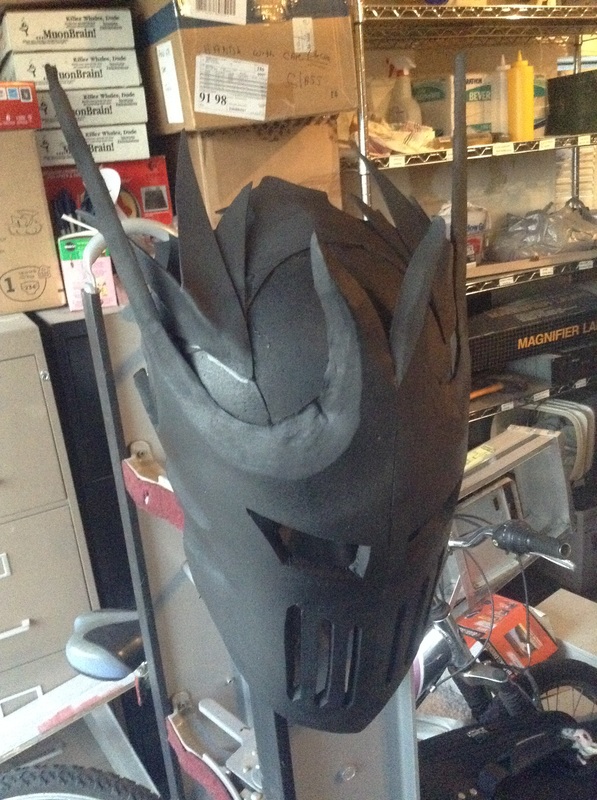
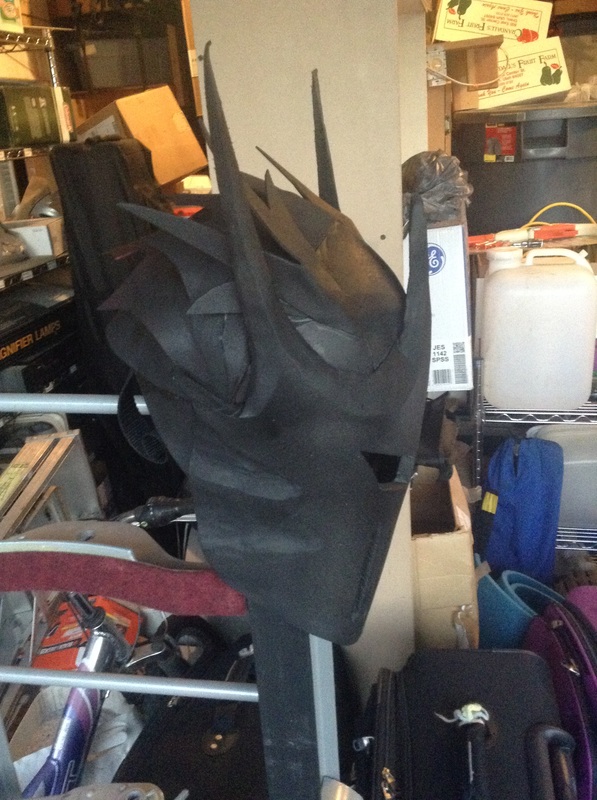
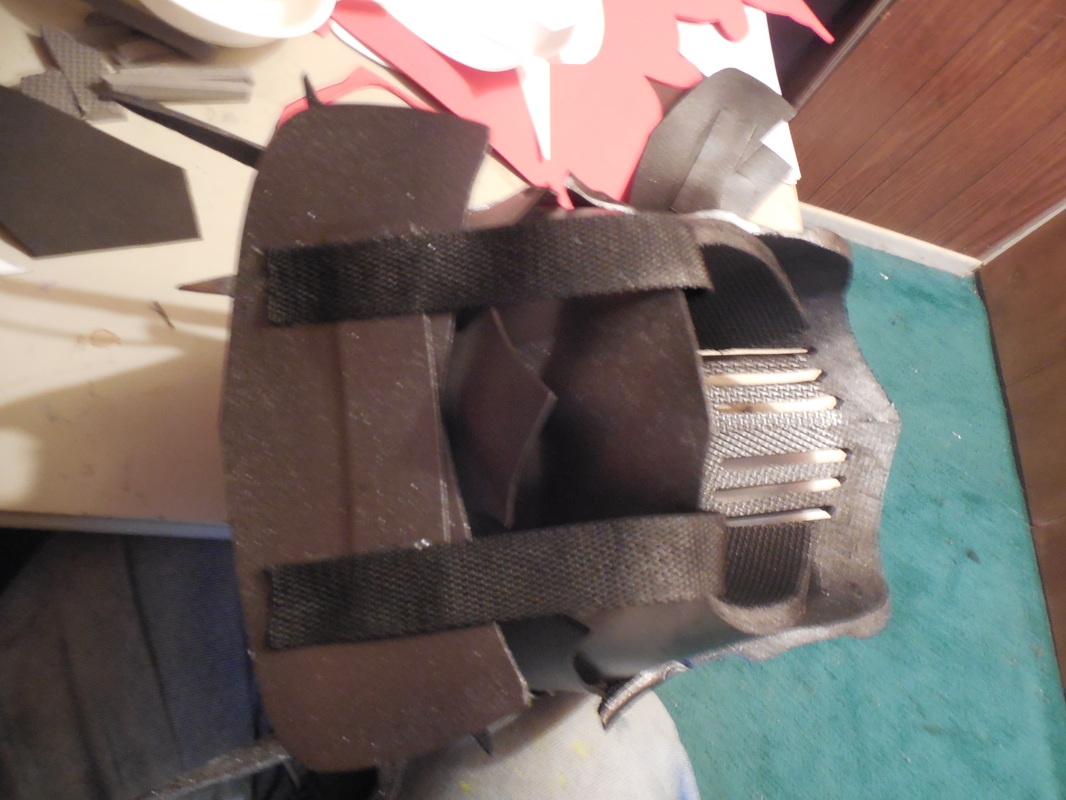
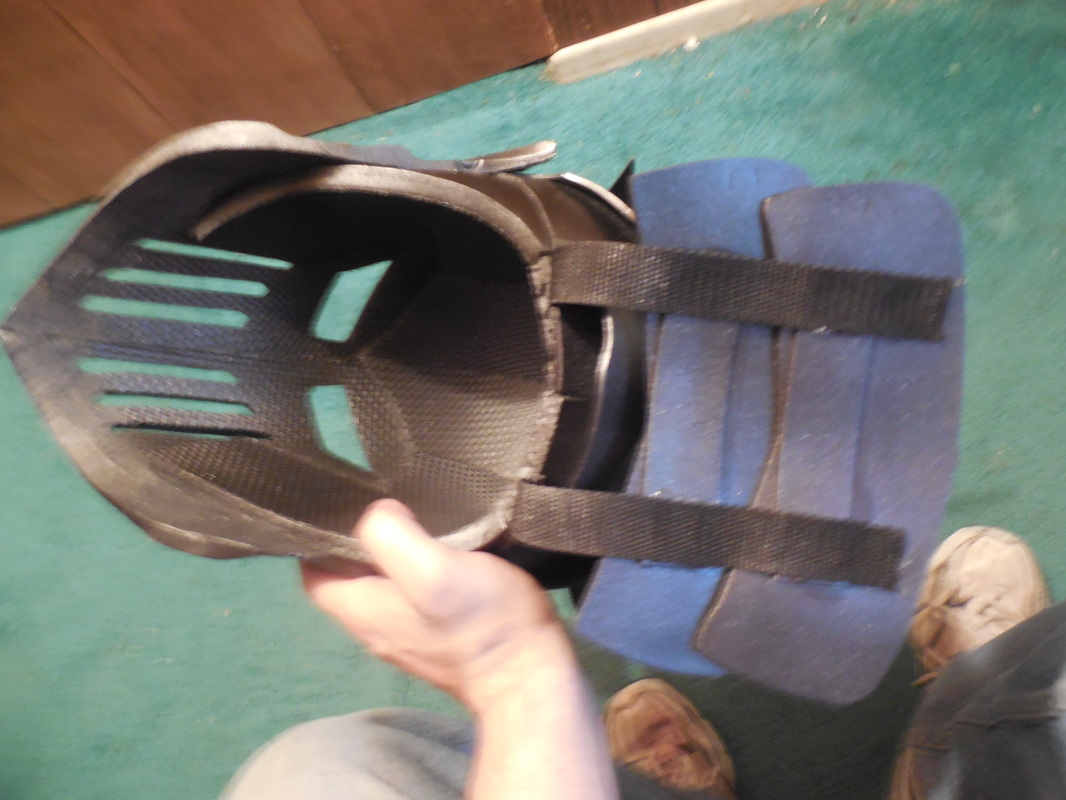
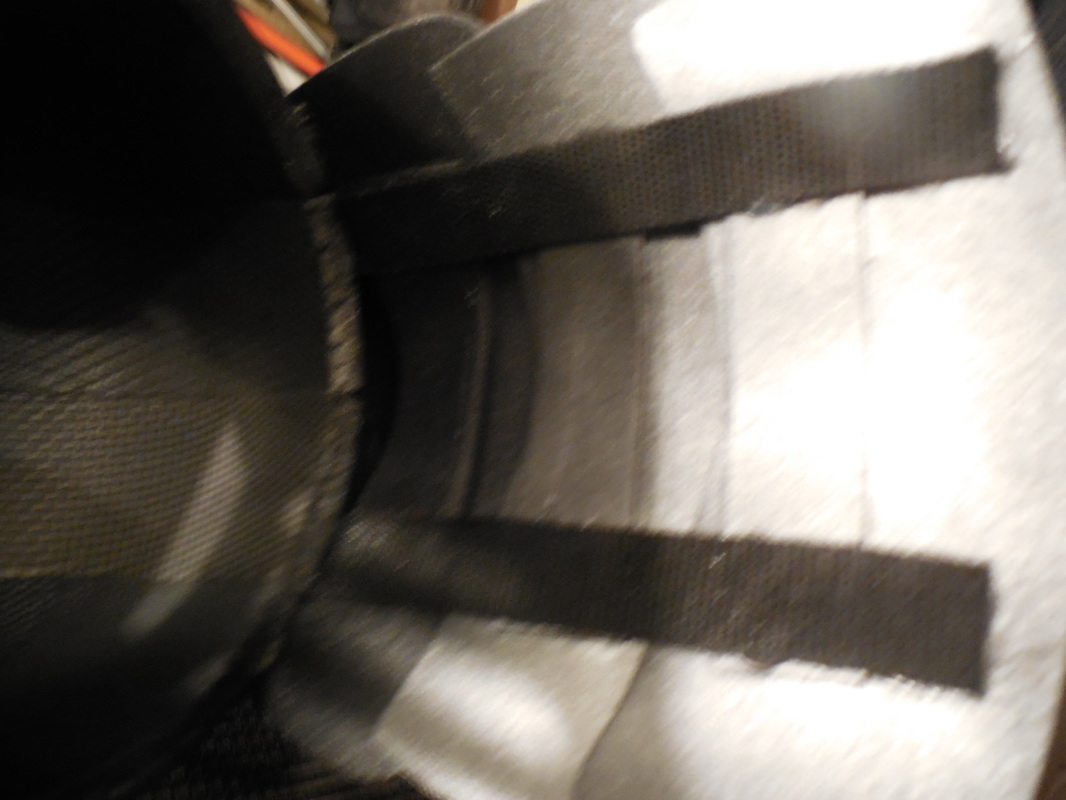
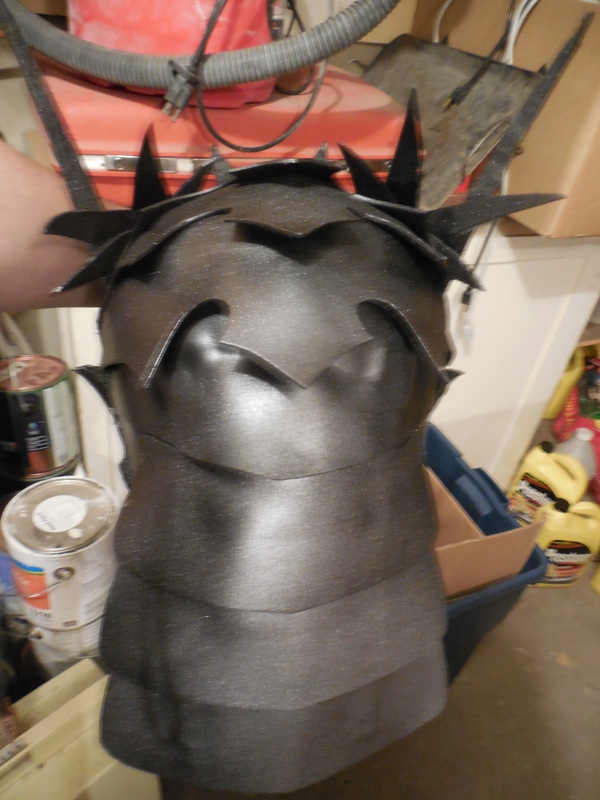
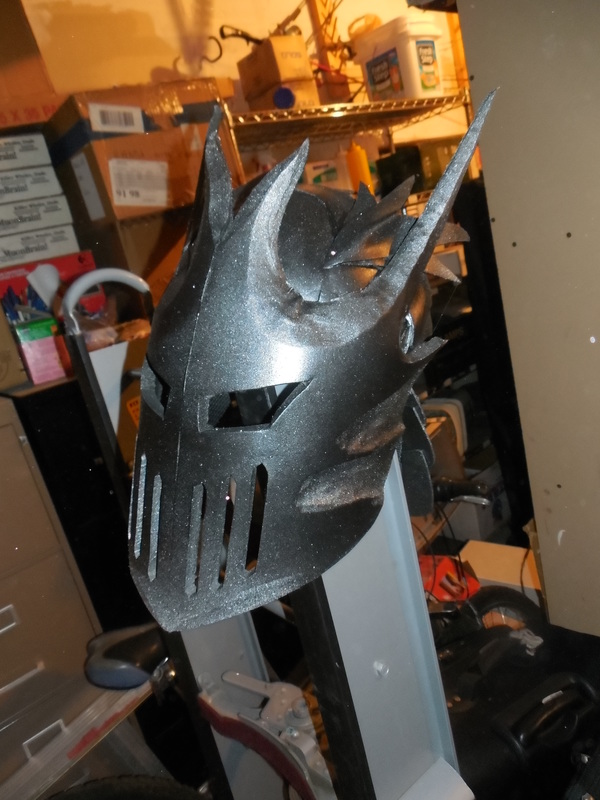
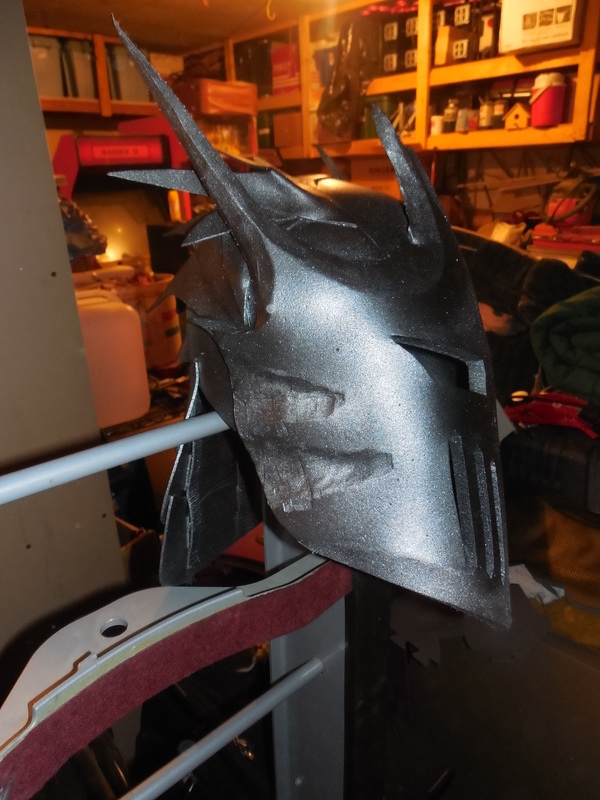
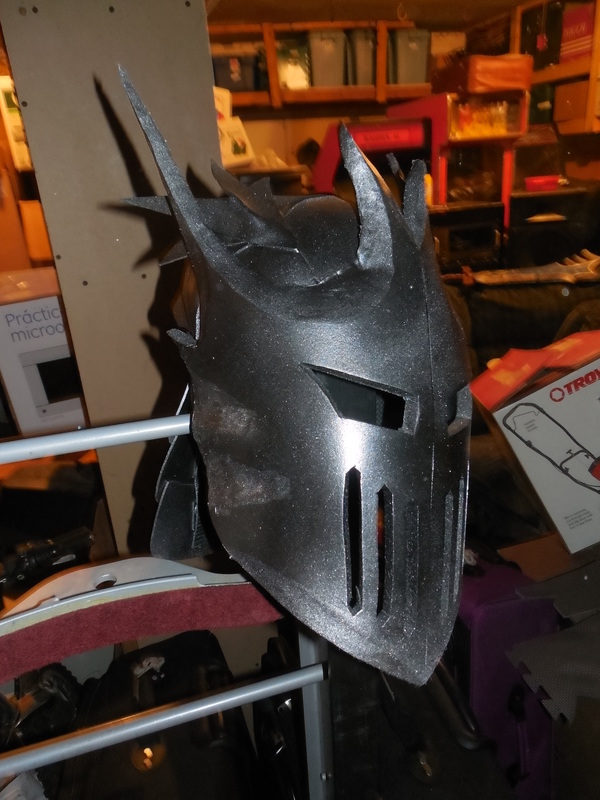
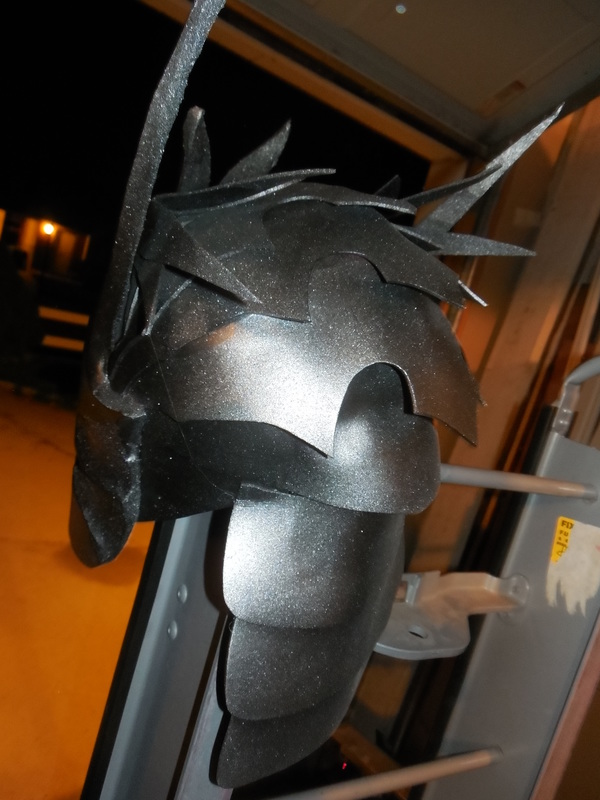
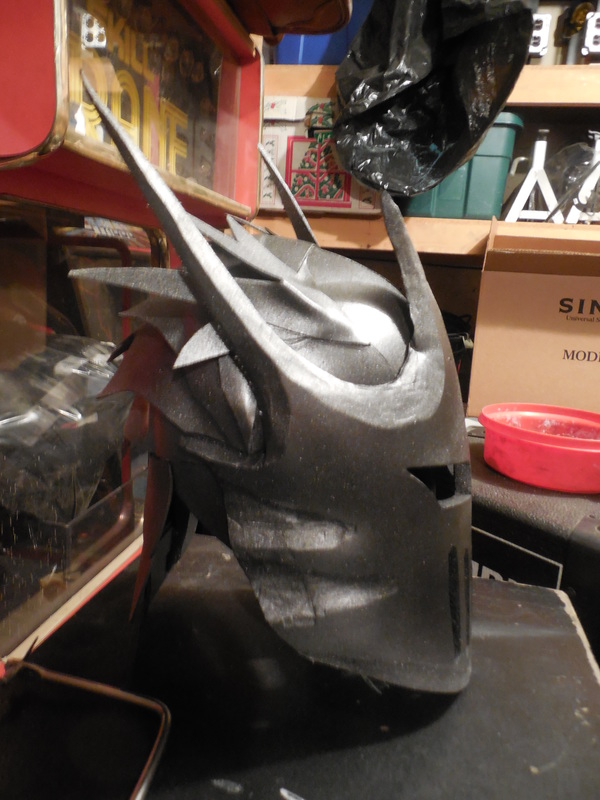
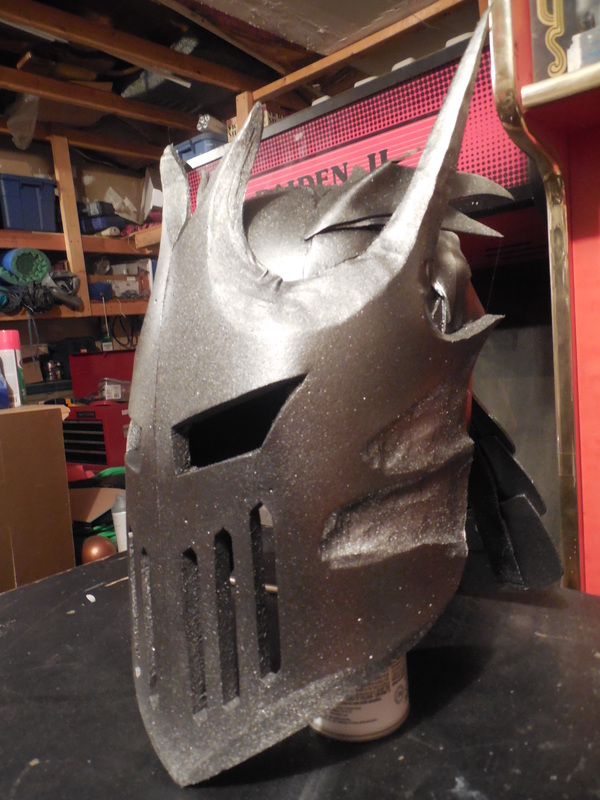
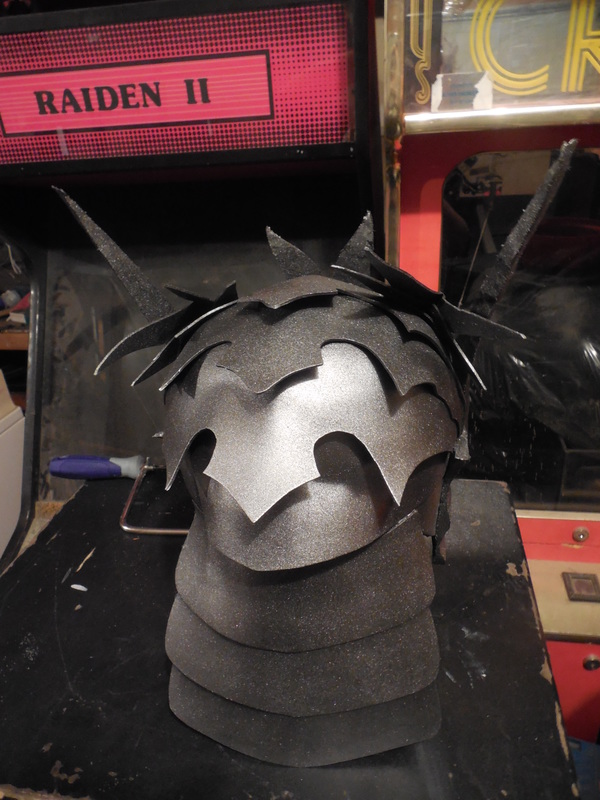
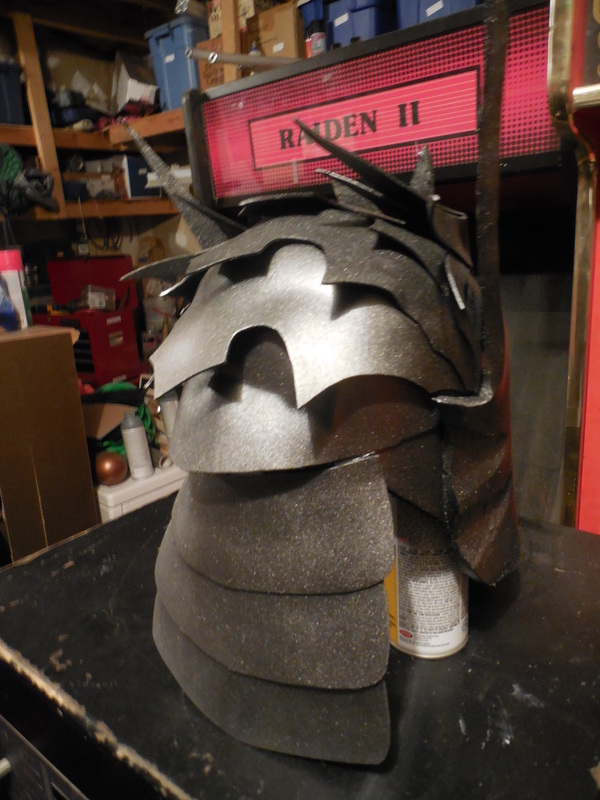
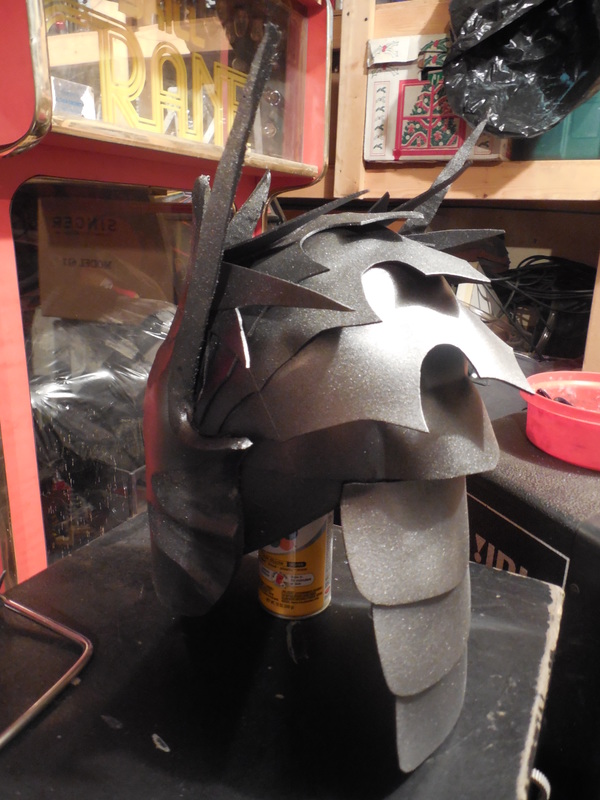
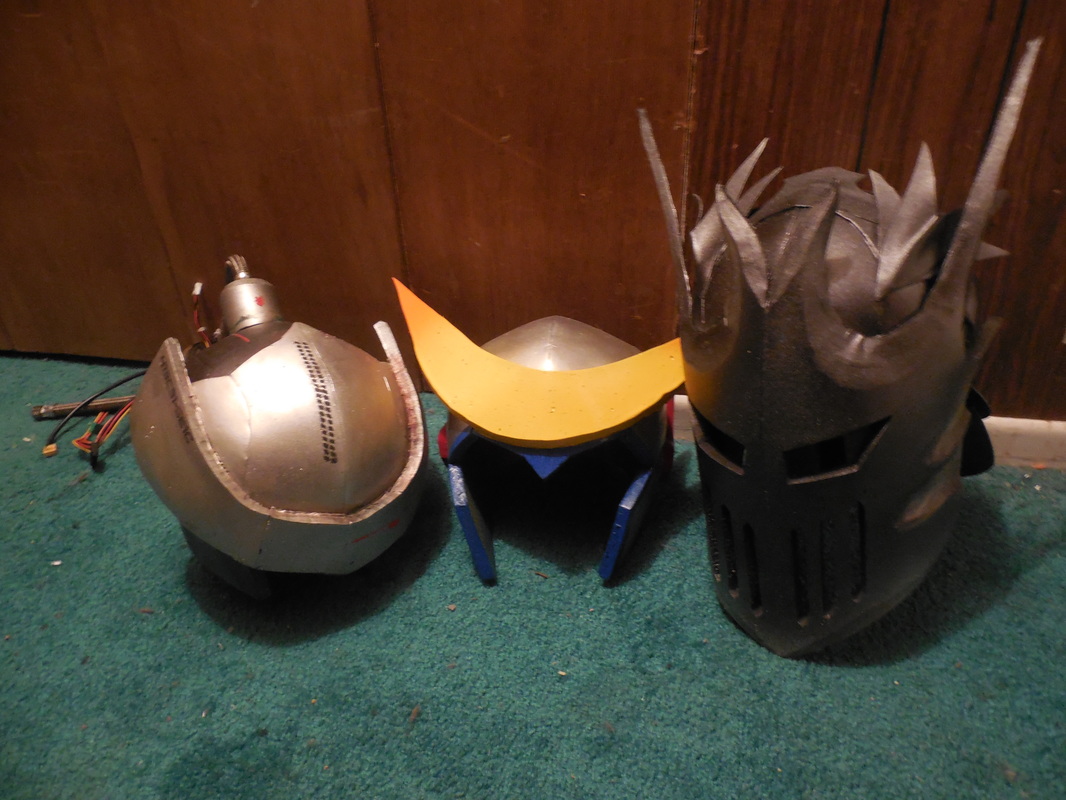
Time for something new and exciting! I wanted to make a dragon style helmet a la Prince Armory, though my skills with foam are nowhere near their skills with leather. Still though, there was time for it, and I needed one more helmet to put up on display at Anime Banzai, so I did what I could. Here's the start of the helmets again! Having already used all three of the other helmets, I needed to make something new to add to this one. So, I started with a pattern for the back, and grabbed my craft foam. I started with a gothic-style pattern, then copied it in various sizes. These I layered onto the back, giving it a nice flare effect. It also conveniently covered the seams so I didn't have to! ;) I also cut out and attached two straps to the back, which would later attach to those craft foam panels you see. More on that later, while those are being painted! I also added several layers of v-shaped pieces on top, bending them in the middle to look like the ear fringes. Then I drew up the pattern for the face mask, cut them out, and used a dremel to bevel the points and give depth to the cheeks. By now I had also finished painting the back panels, but again it isn't quite time for them! Still some work to do on the rest of the helmet. Debated back and forth with my wife for a while, trying to figure out what kind of slits to add to the front of the facemask, and we opted with long, vertical slits. Of course, this is about when people started asking me if I was doing Sauron, or that one guy from League of Legends, so I guess I'm doing something right? lol Anyway.... Got that all done, so off to paint! Started with Plasti Dip to seal it, then used an automotive gunmetal spray paint to cover everything. 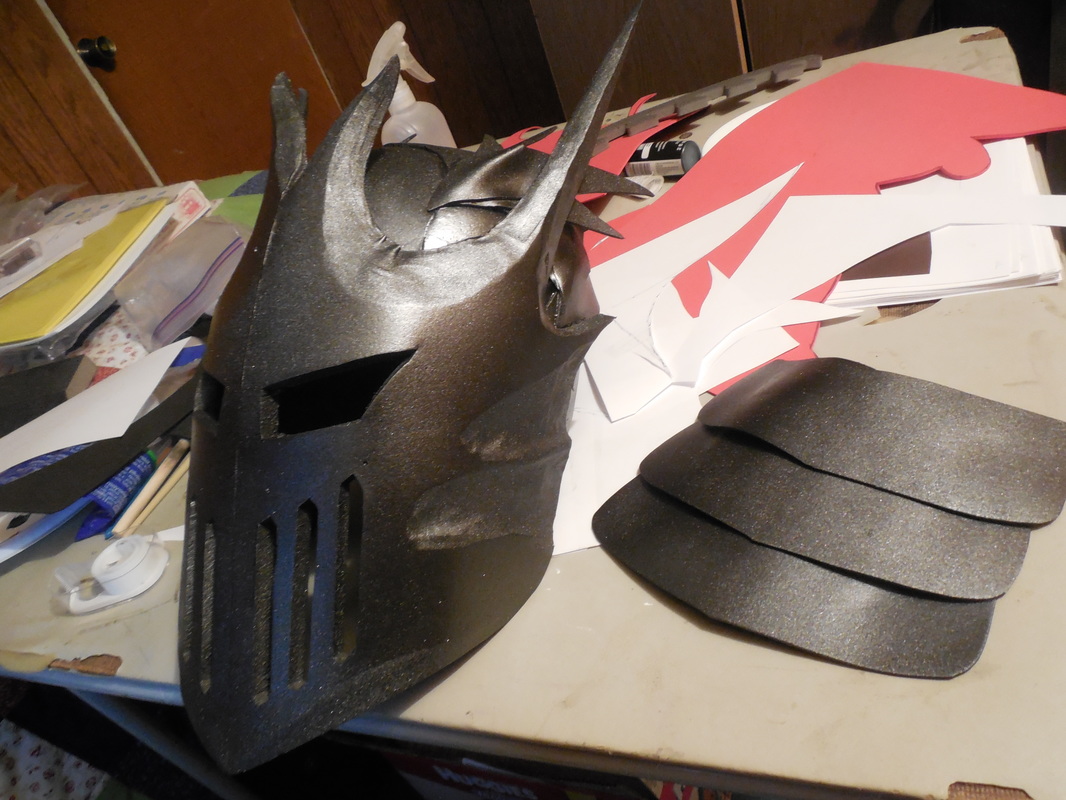 Now, finally, it was time to add the back panels. I attached them onto the straps from before, staggering them like plate mail, so that it could move freely and look more like a piece of armor. Decided against weathering this just like the Anime style helmet, but I still wanted to give it some sheen. So, I took a silver spray and lightly highlighted some edges, and the cheek bits, to give it some more depth. Then I finished it all with a few coats of clear. This one was a ton of fun to make. I do have it up for sale in the store, though I may end up holding on to it and making a full set of custom armor to go with it. We'll see!
1 Comment
|
|


 RSS Feed
