|
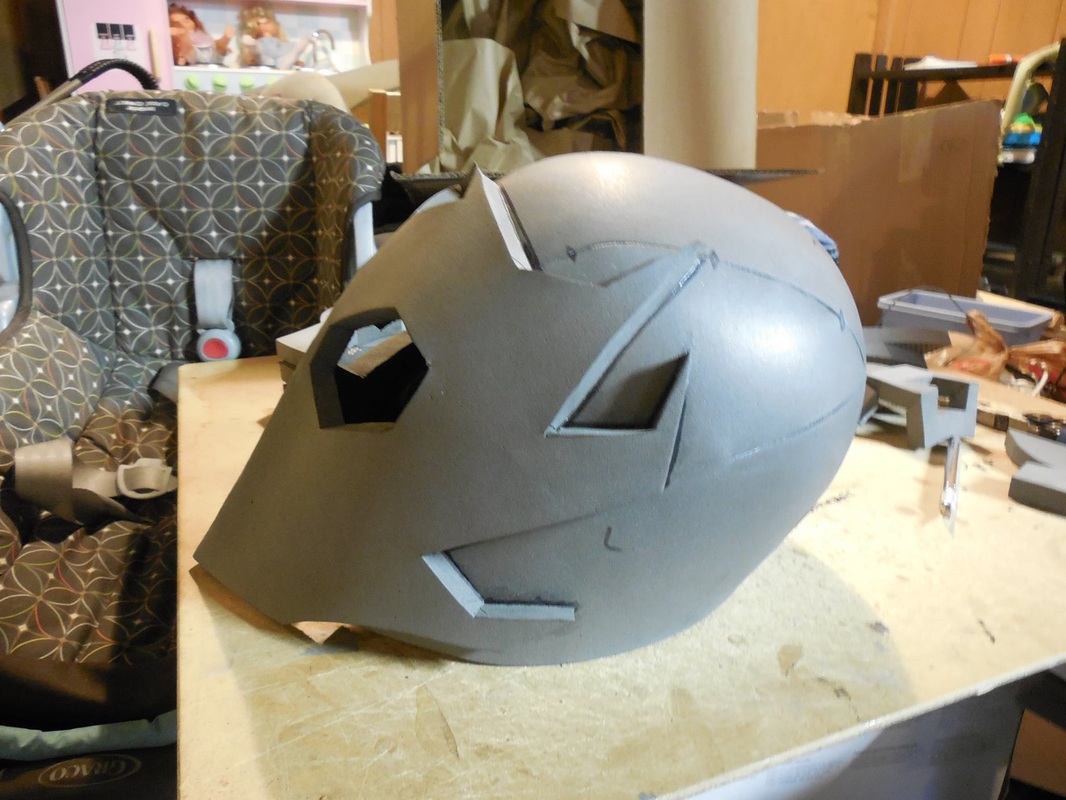
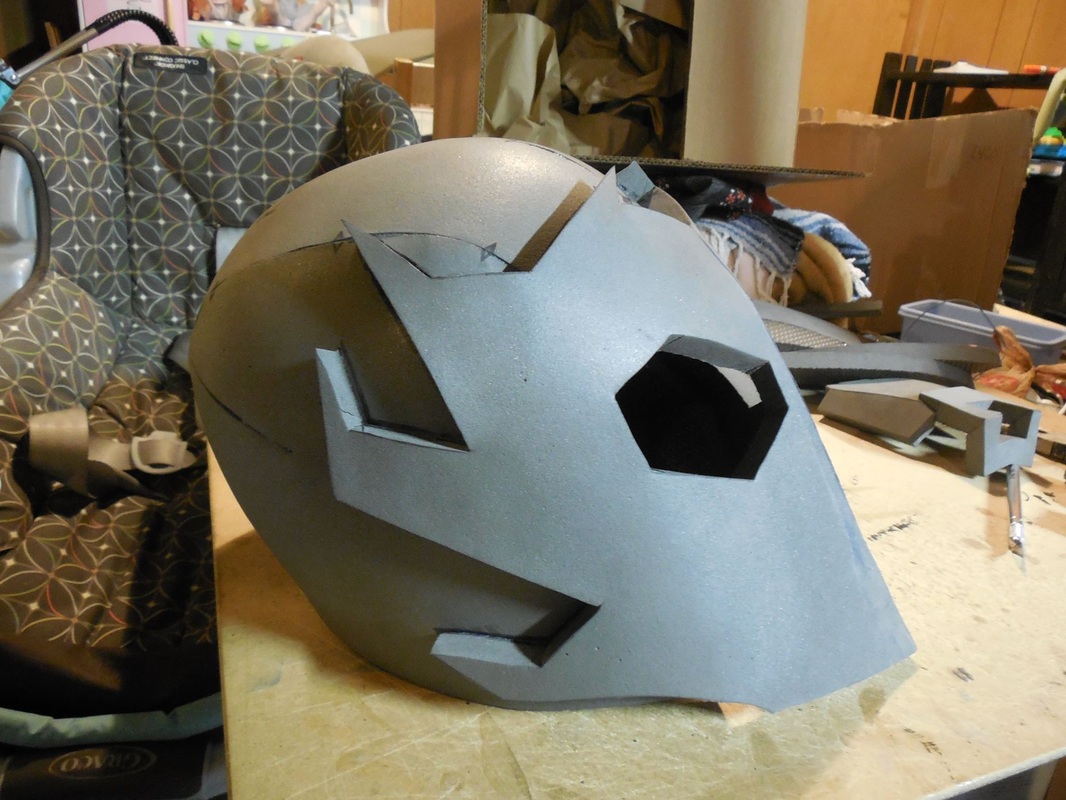
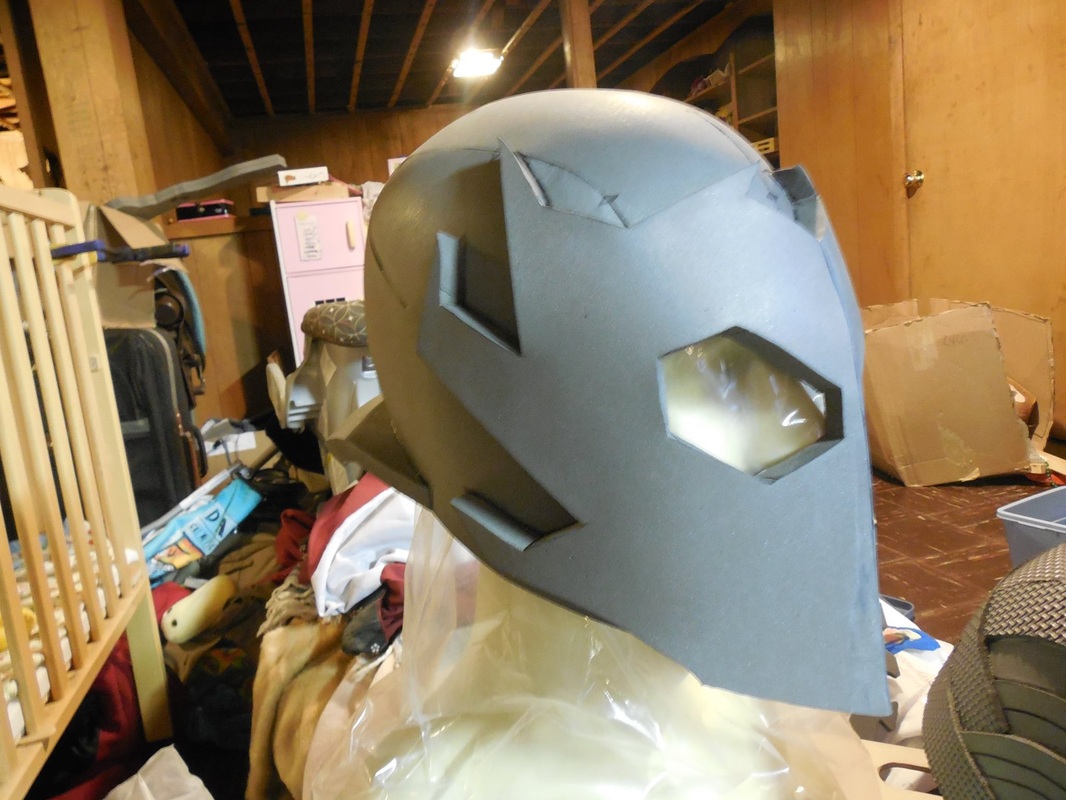
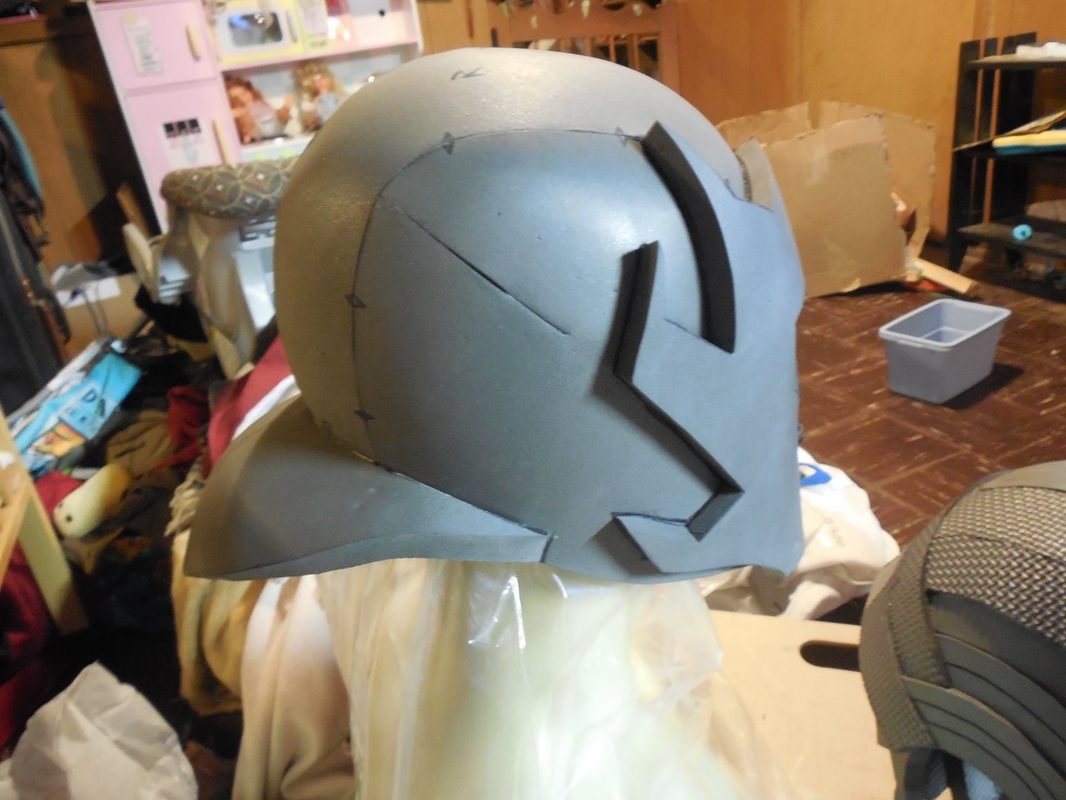
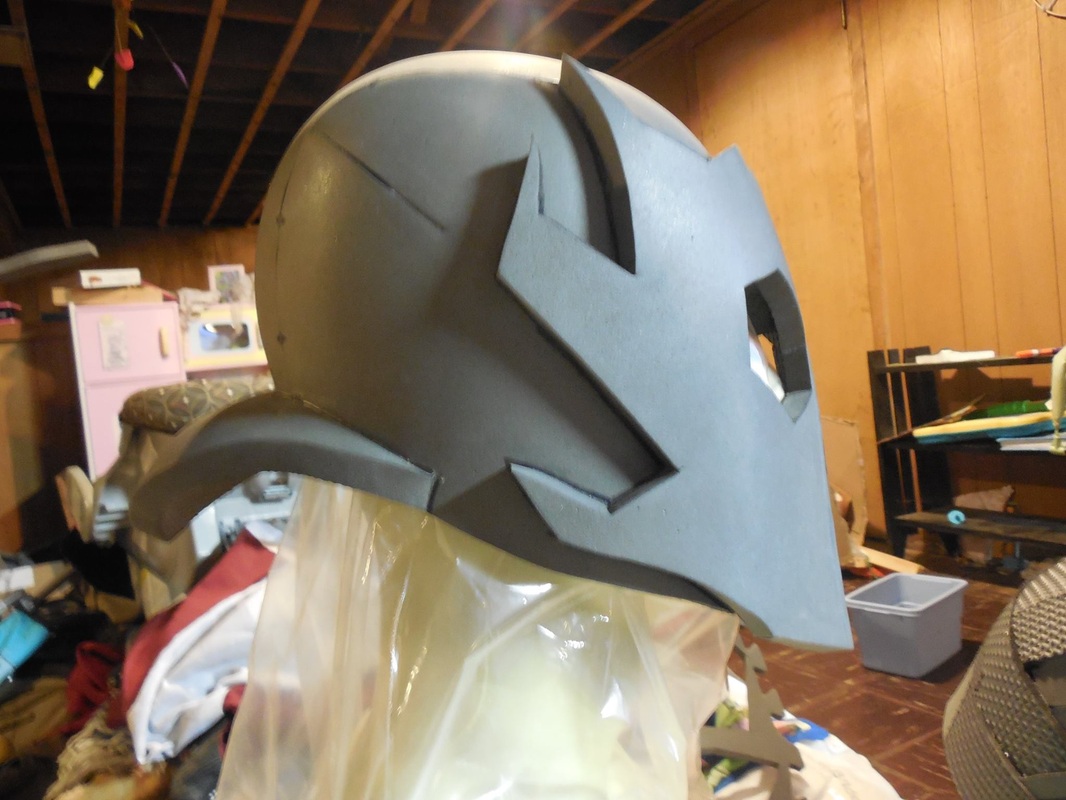
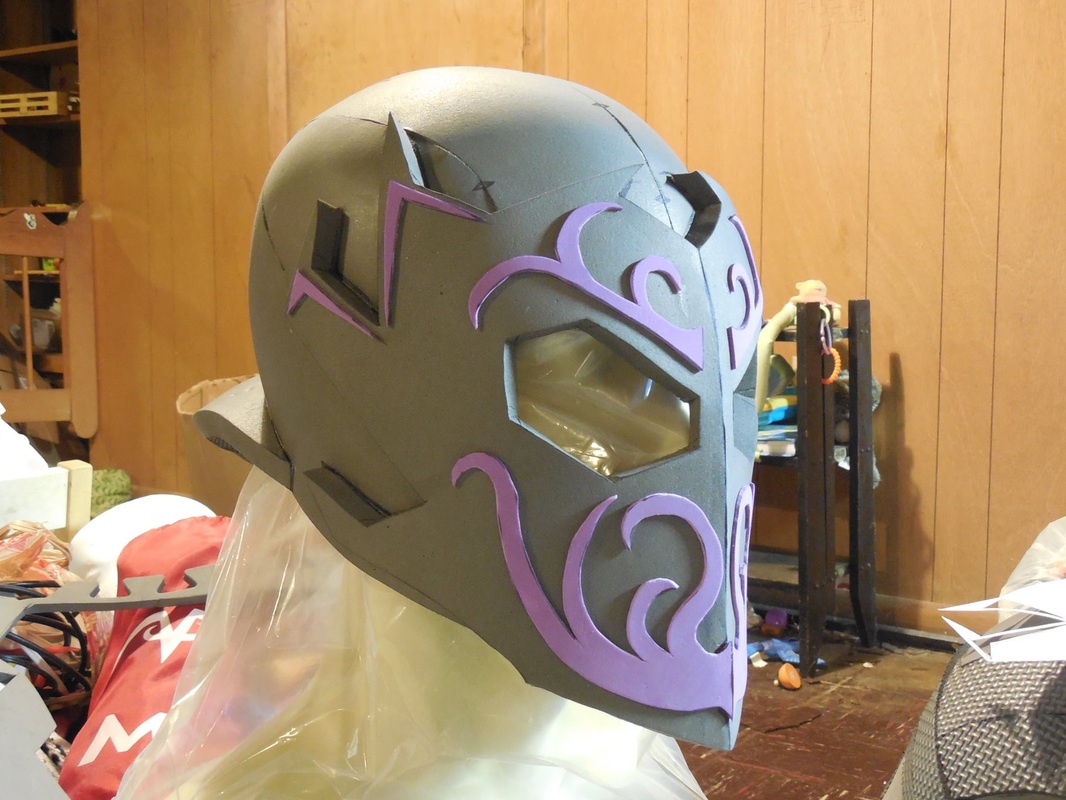
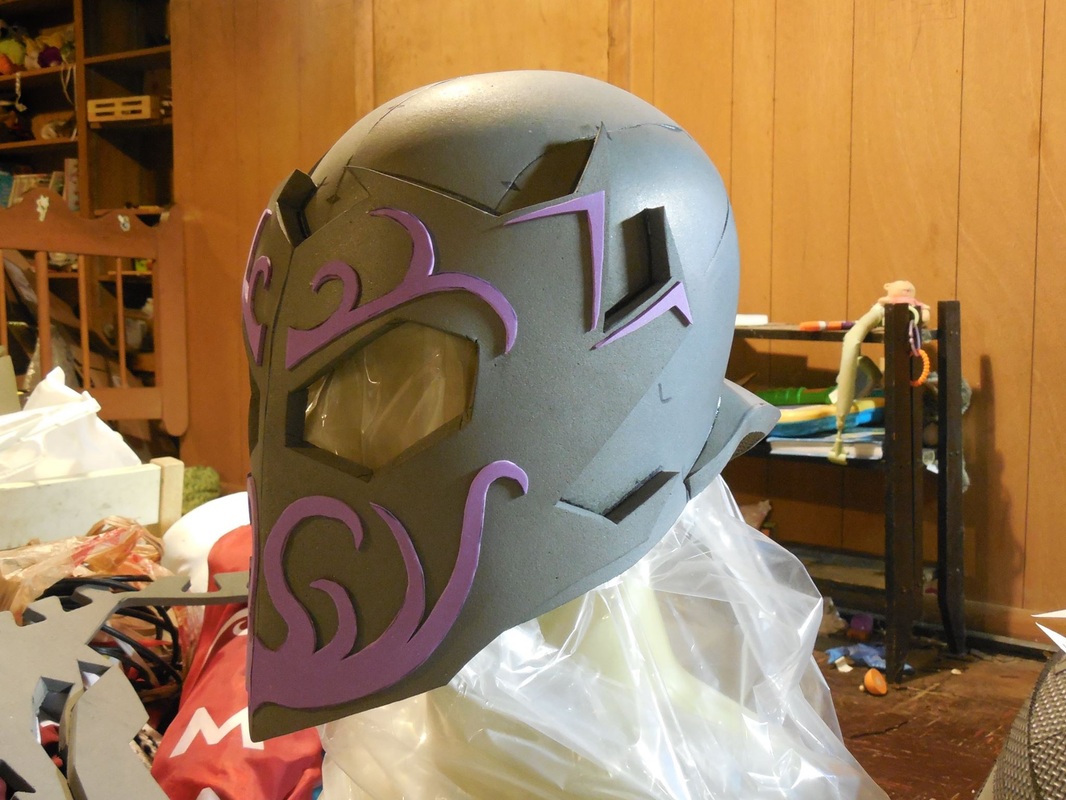
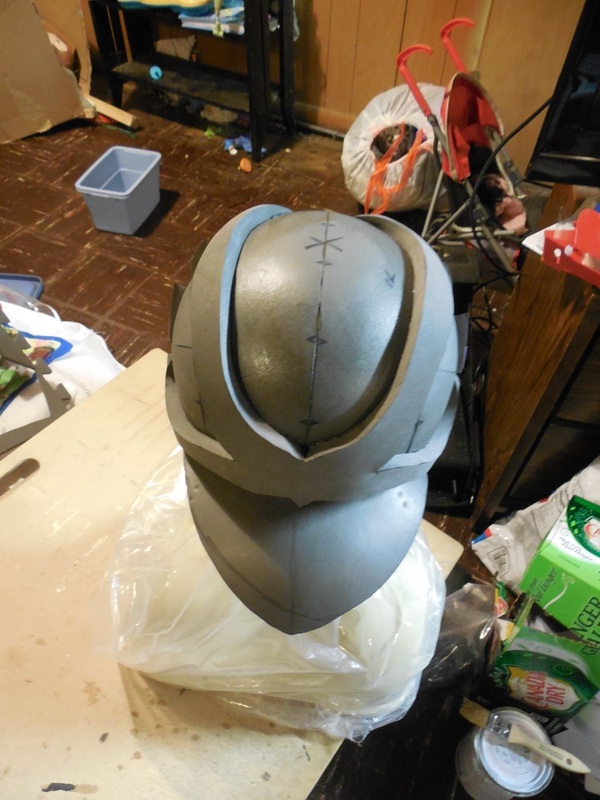
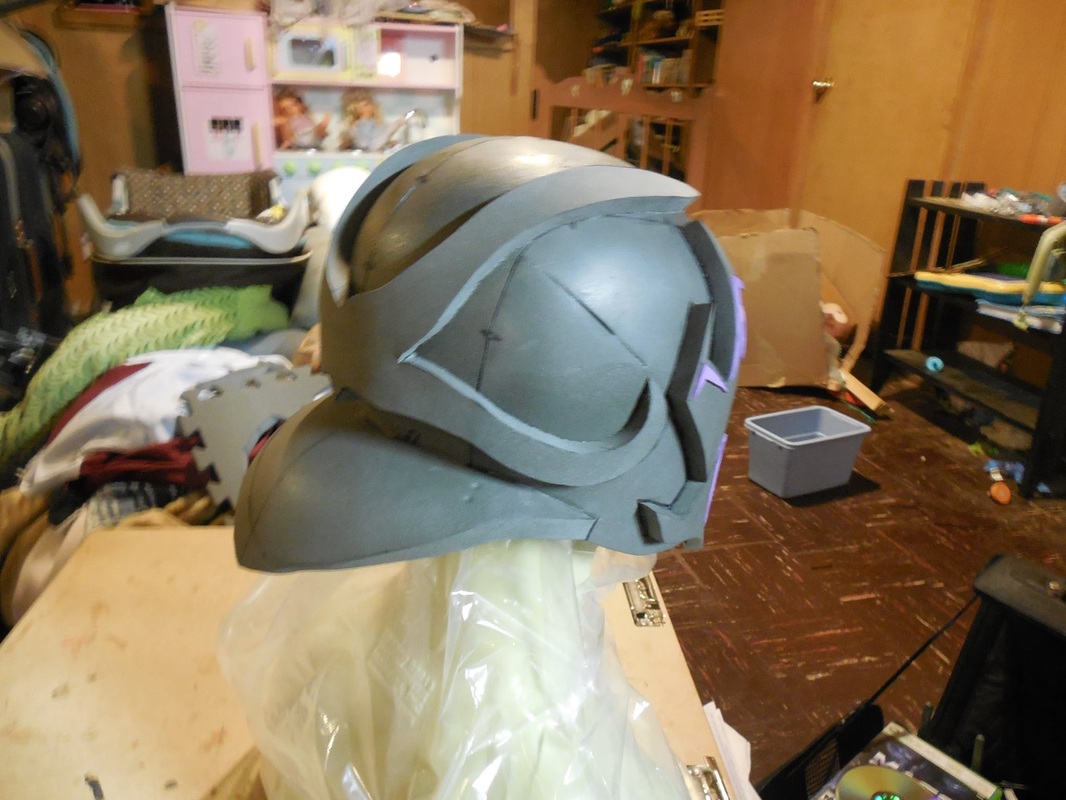
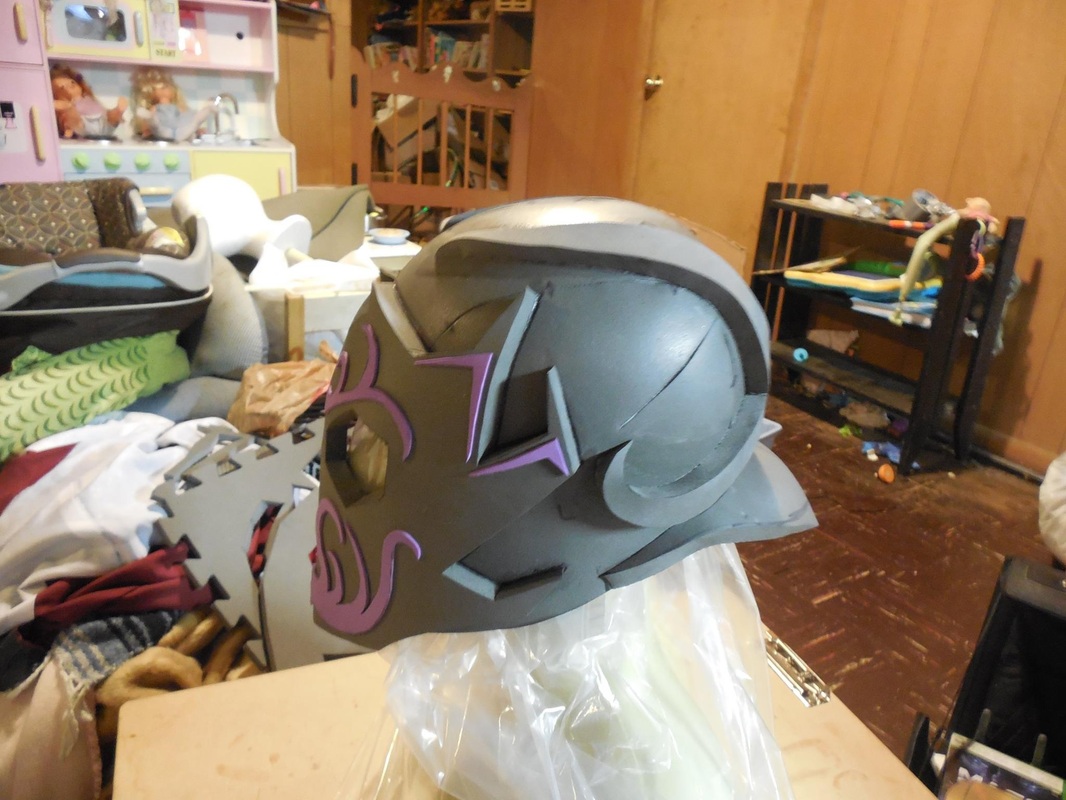
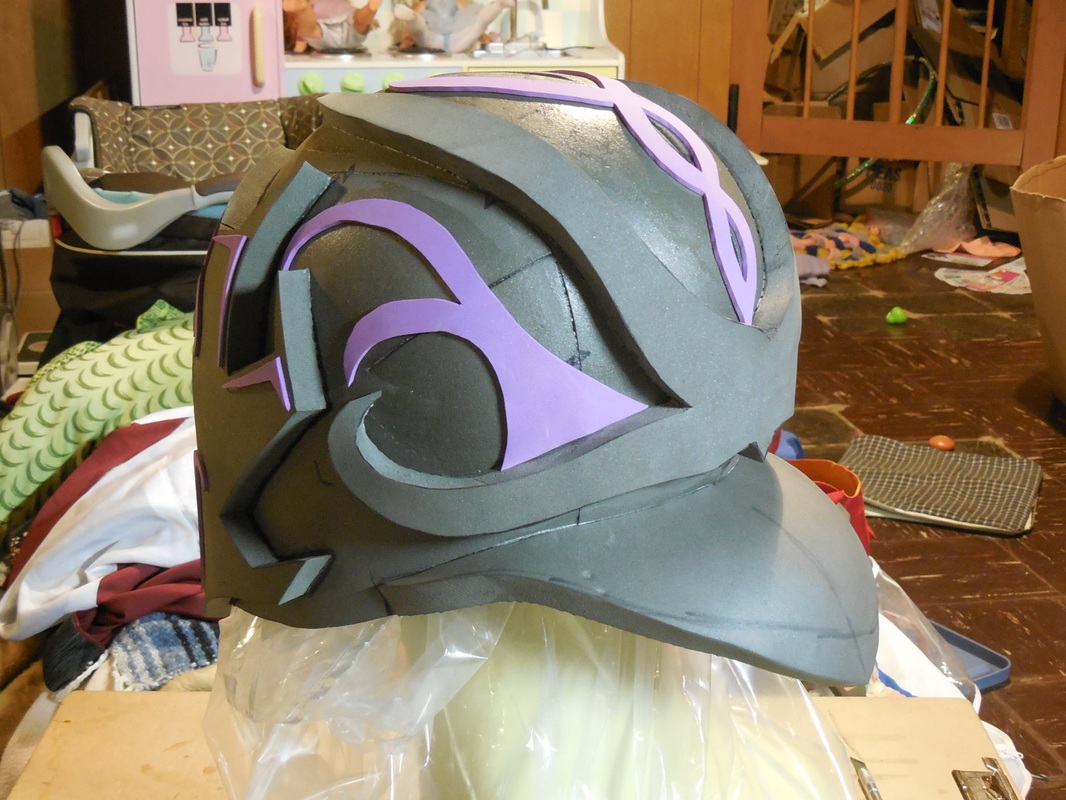
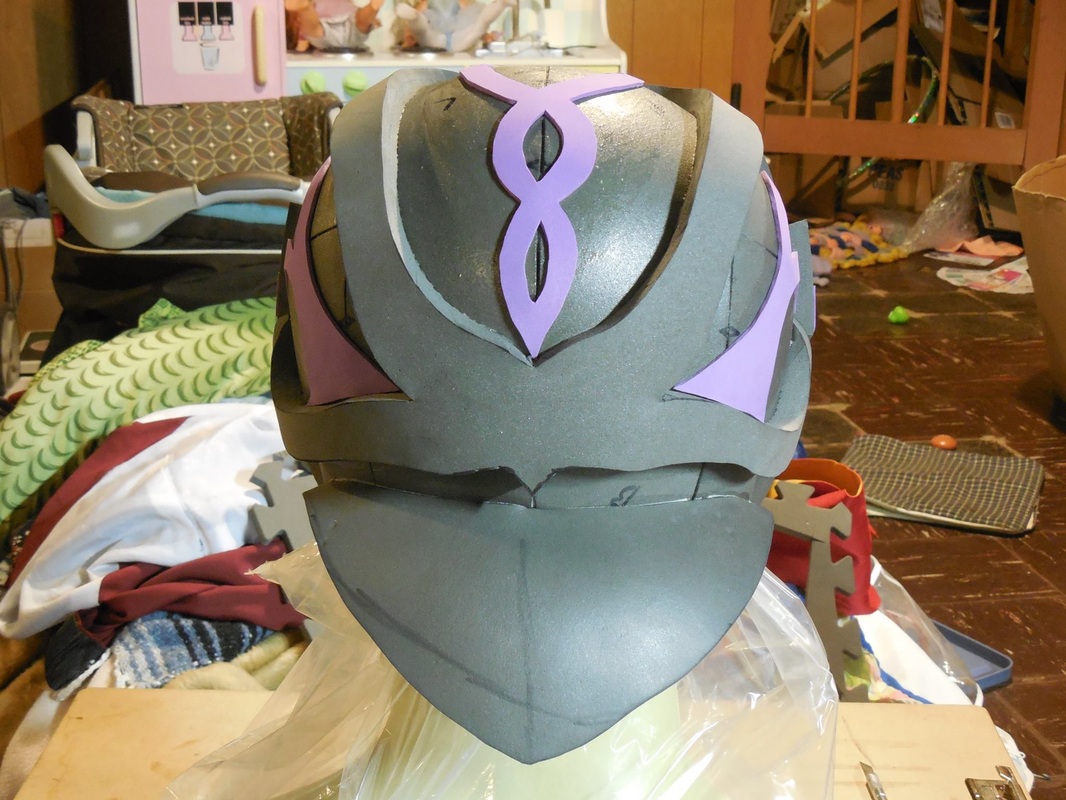
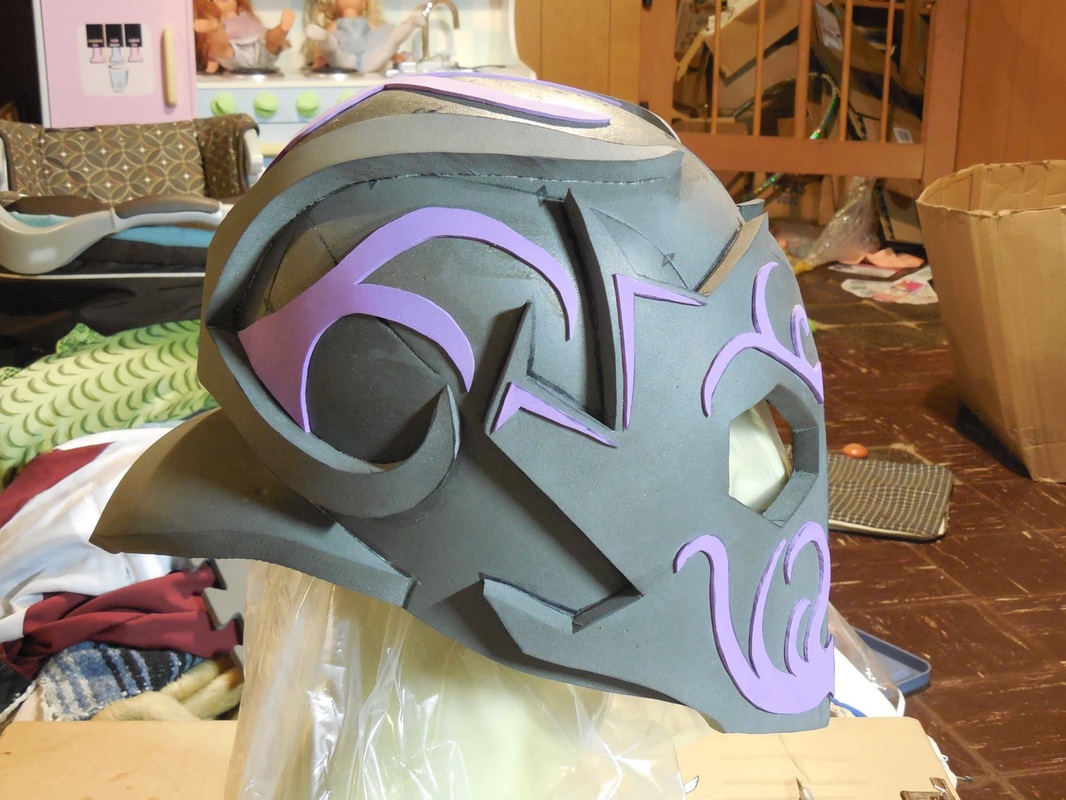
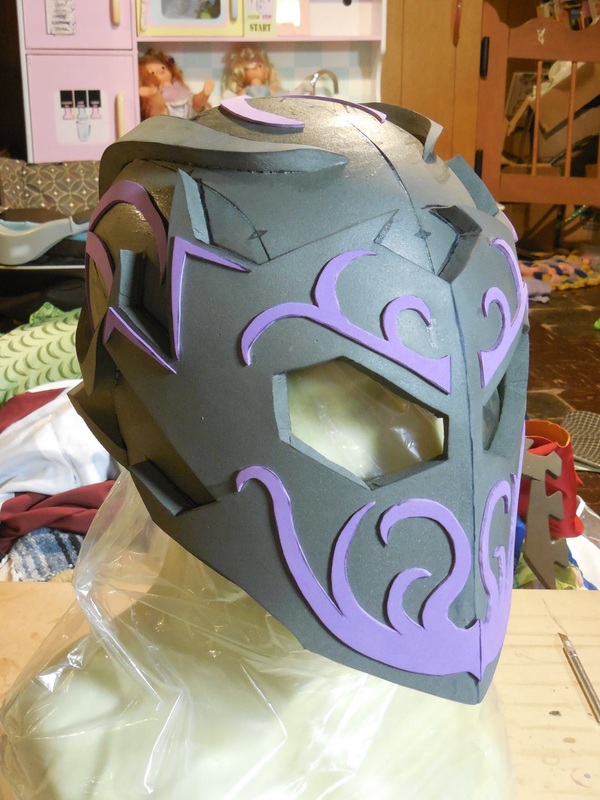
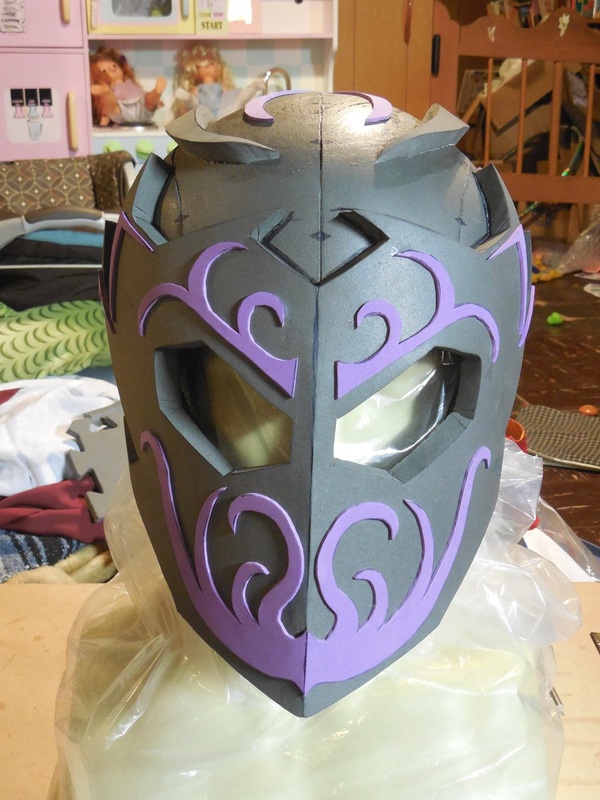
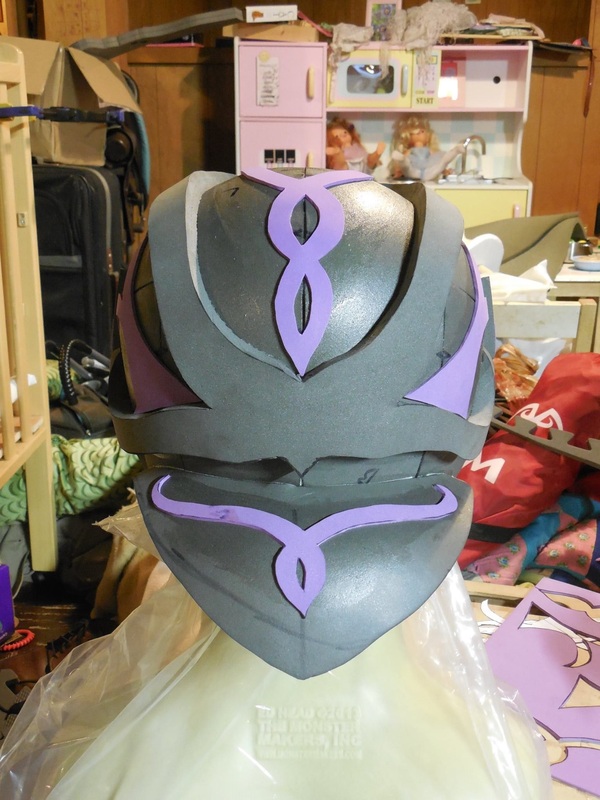
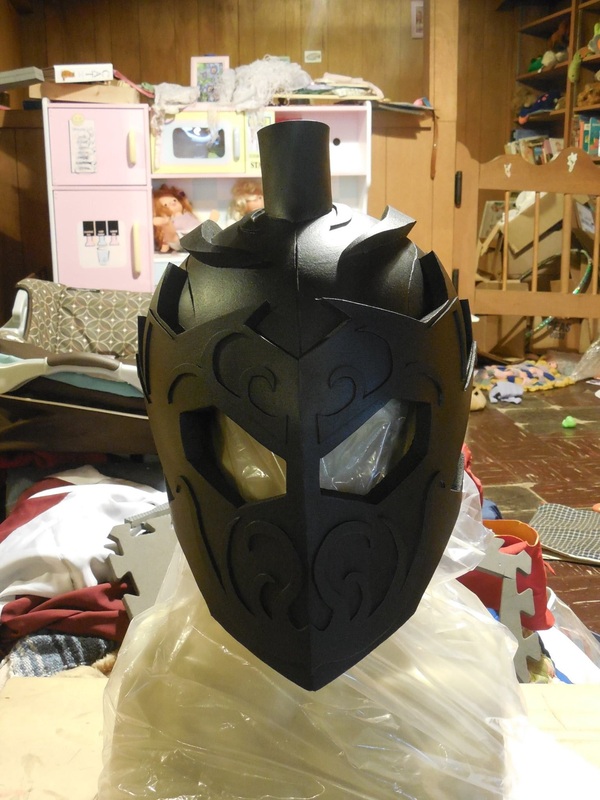
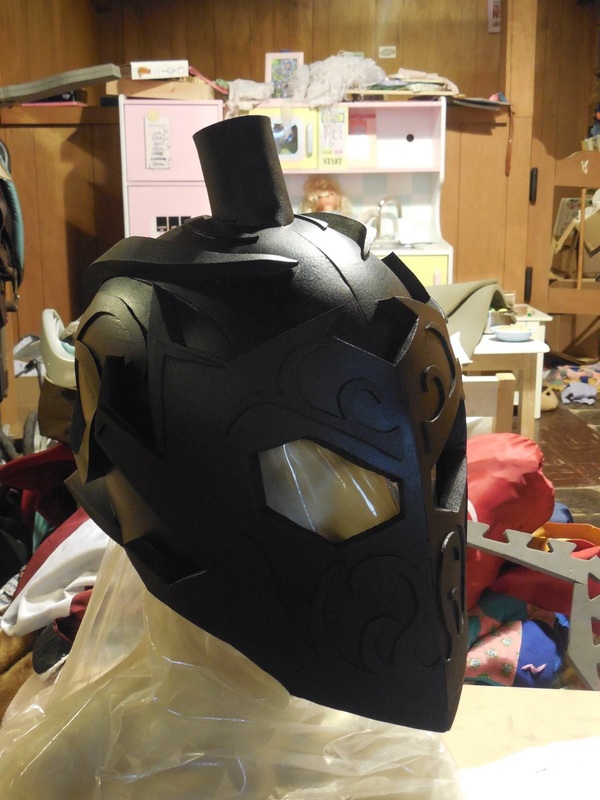
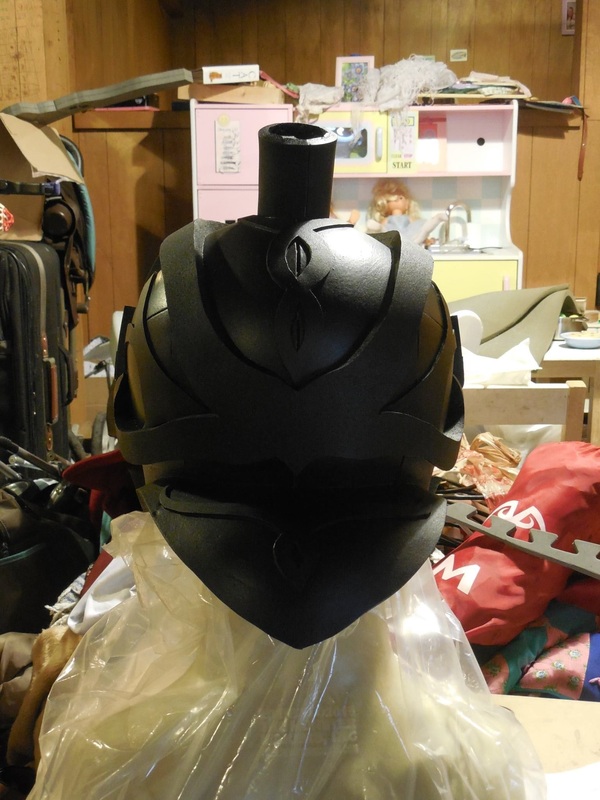
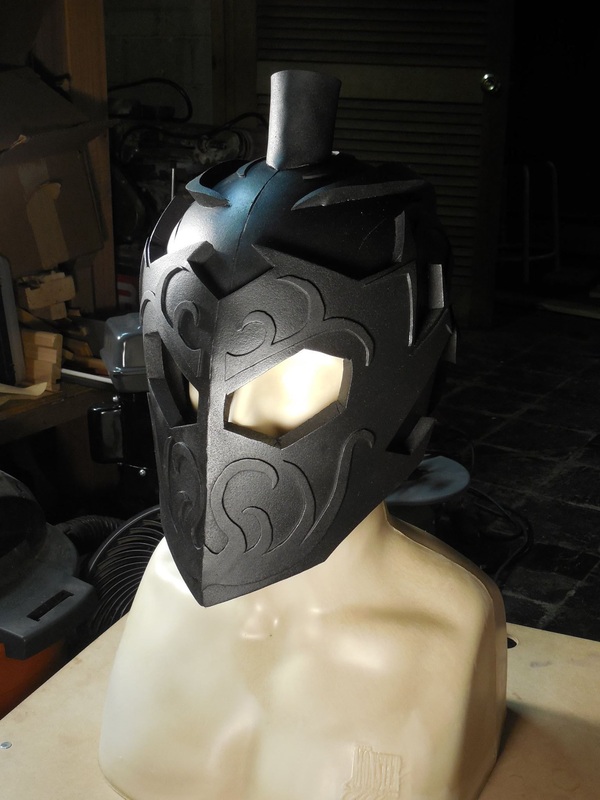
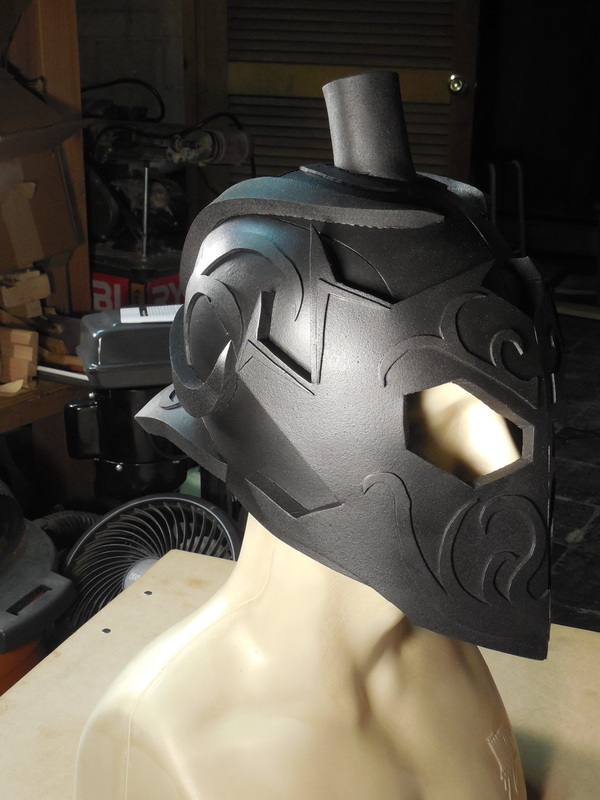
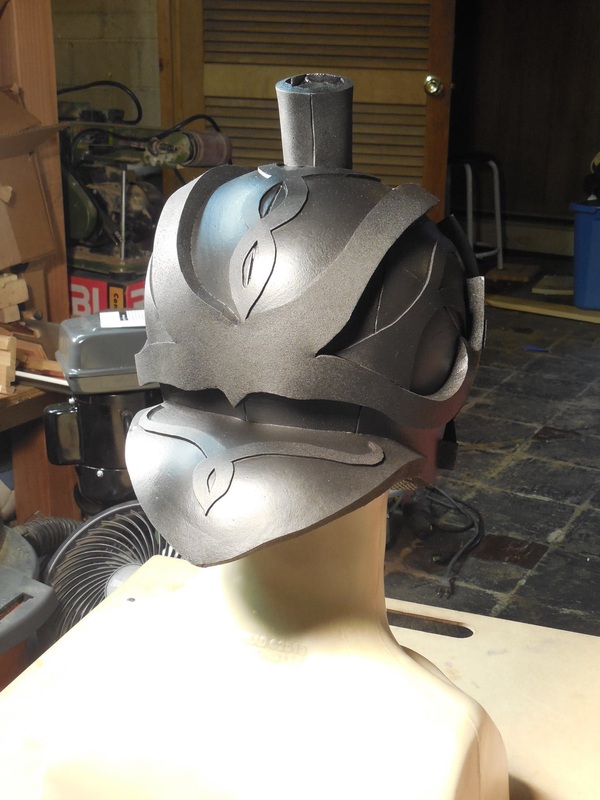
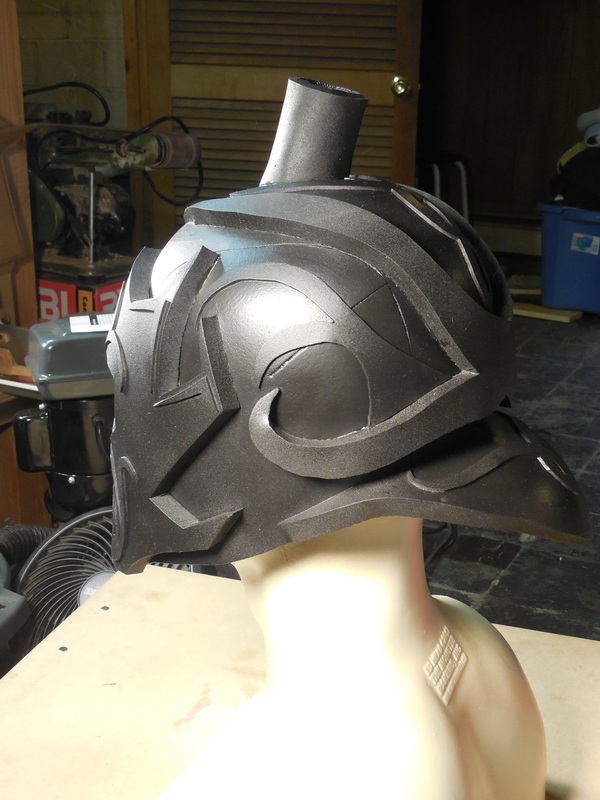
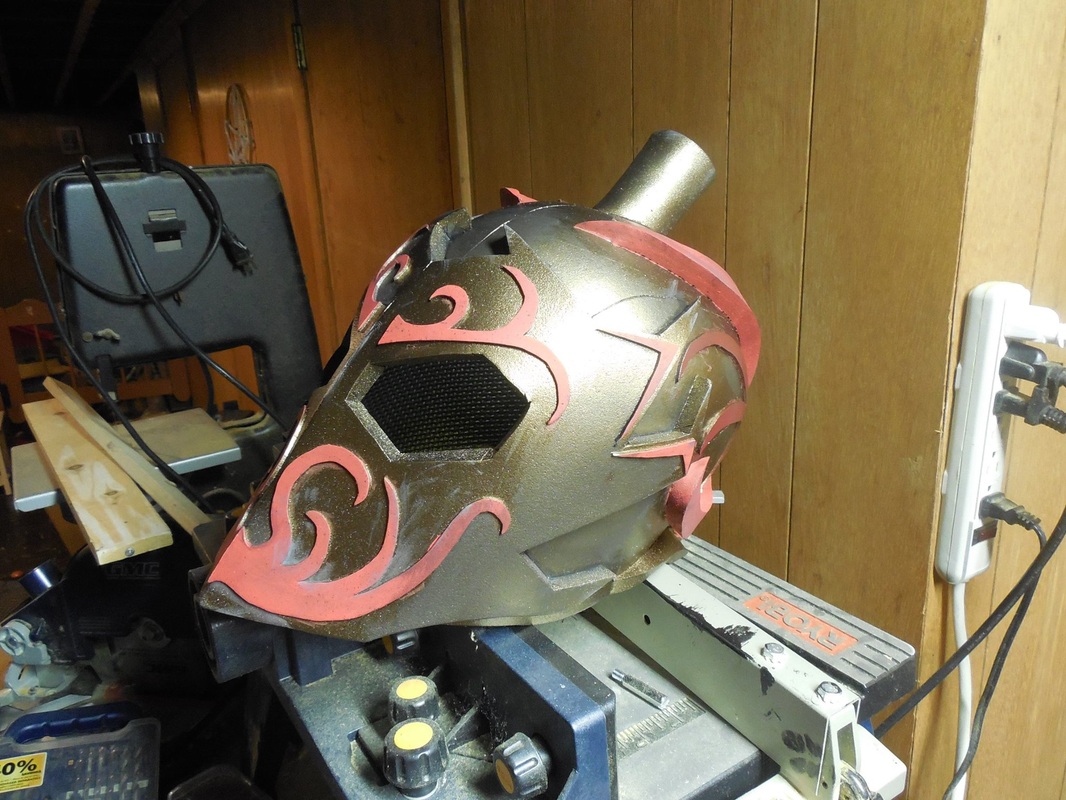
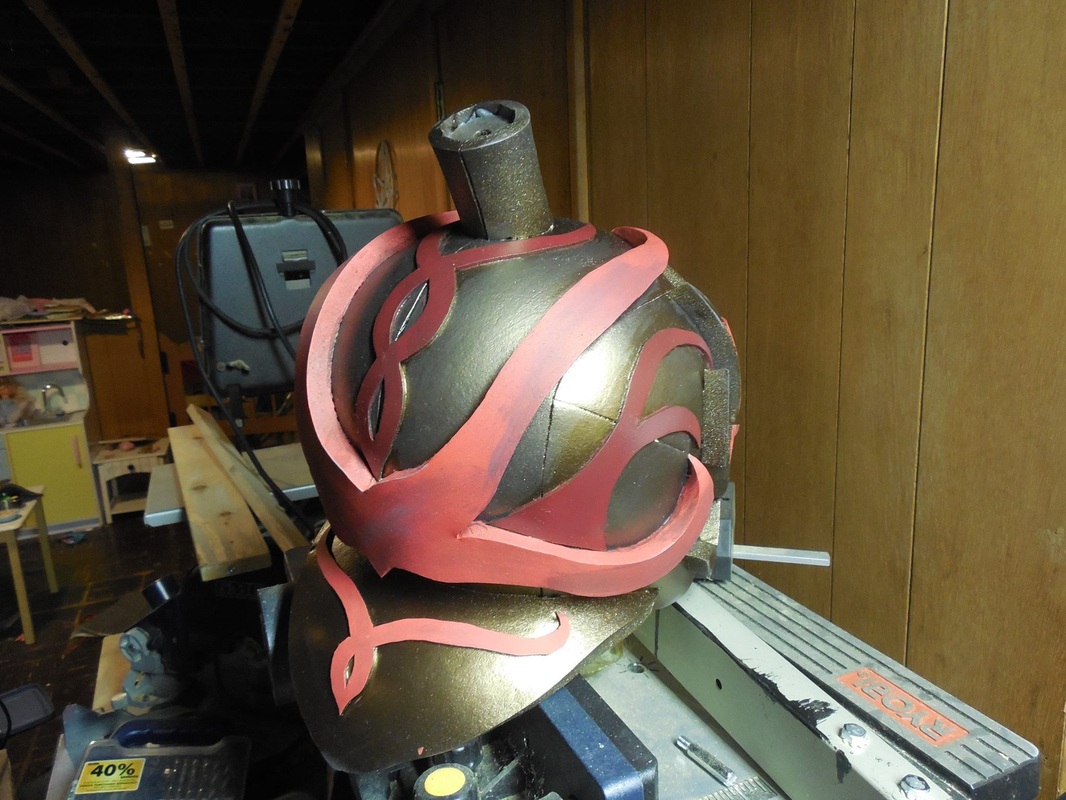
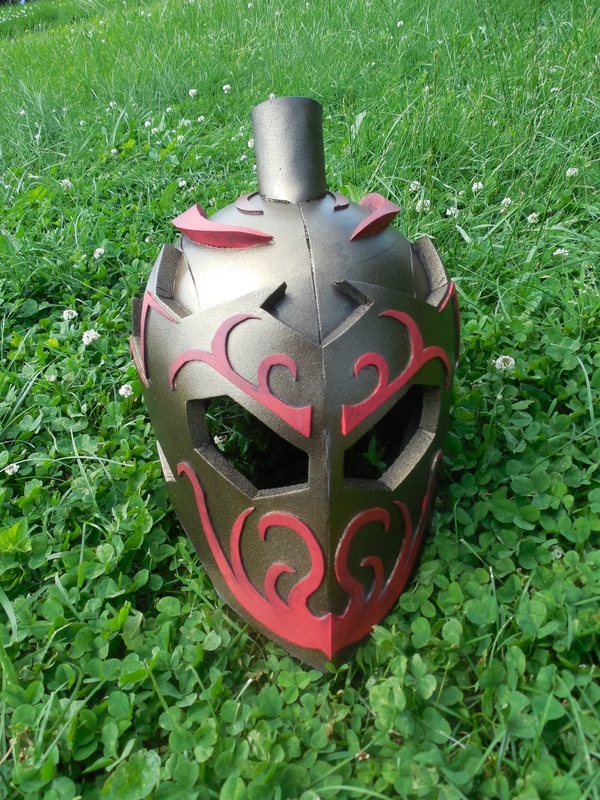
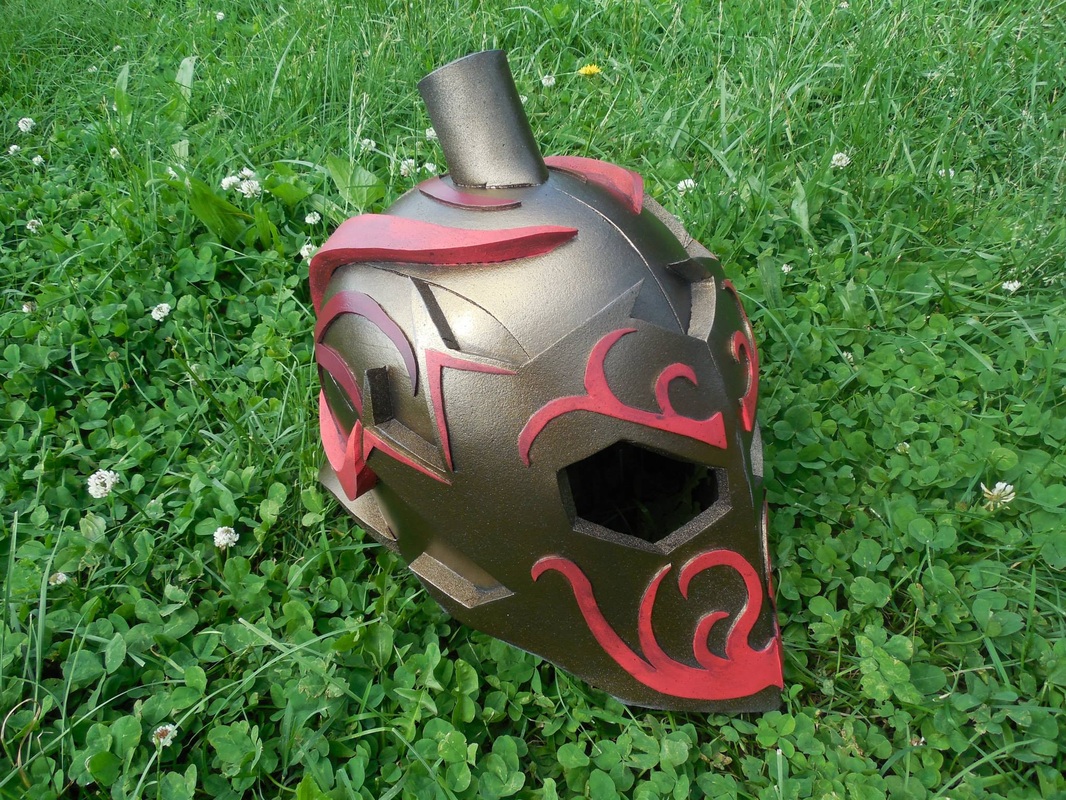
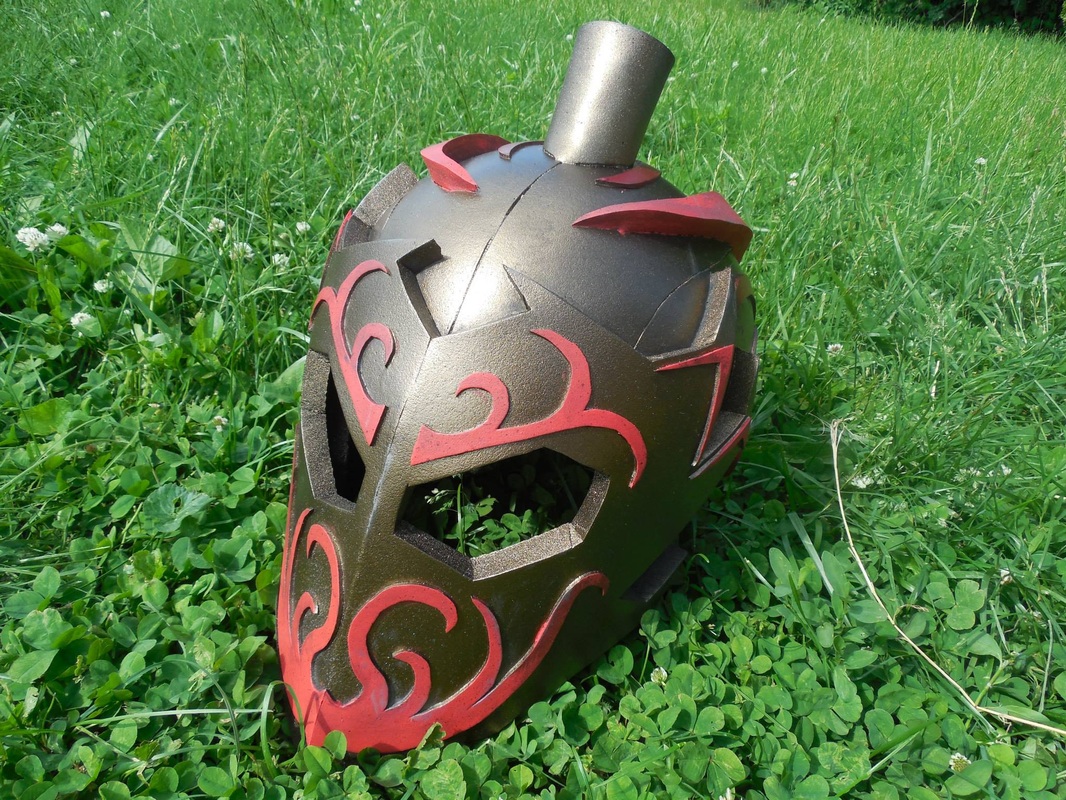
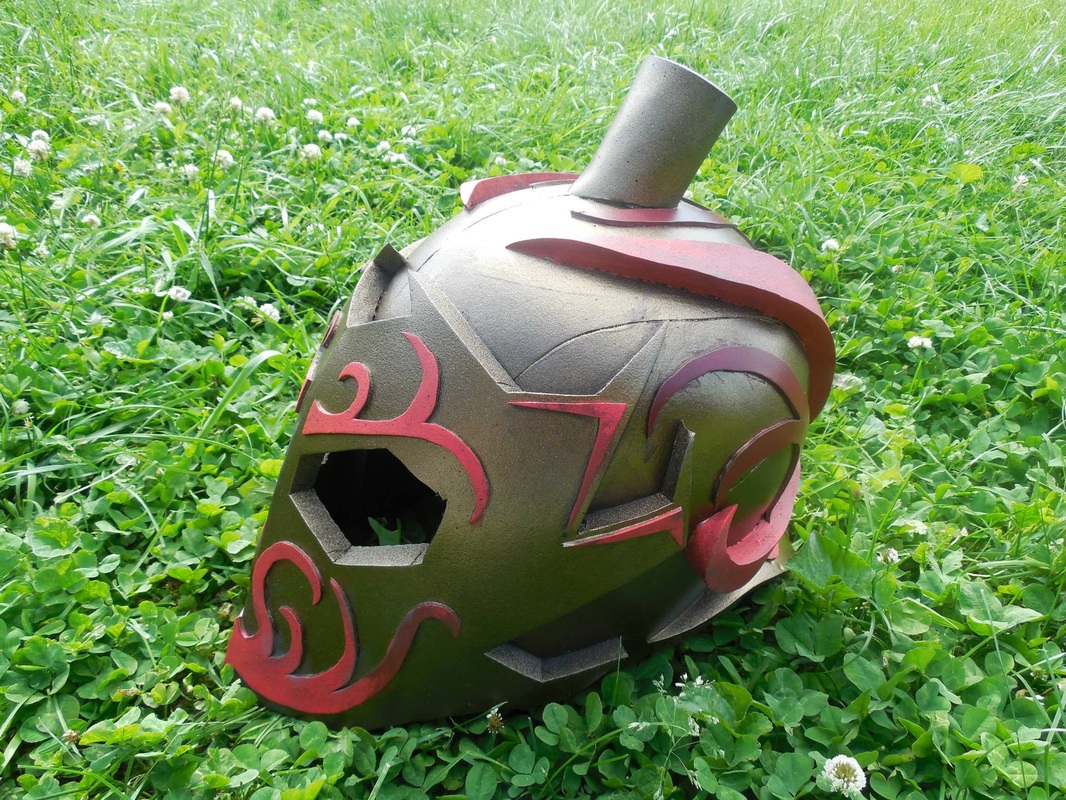
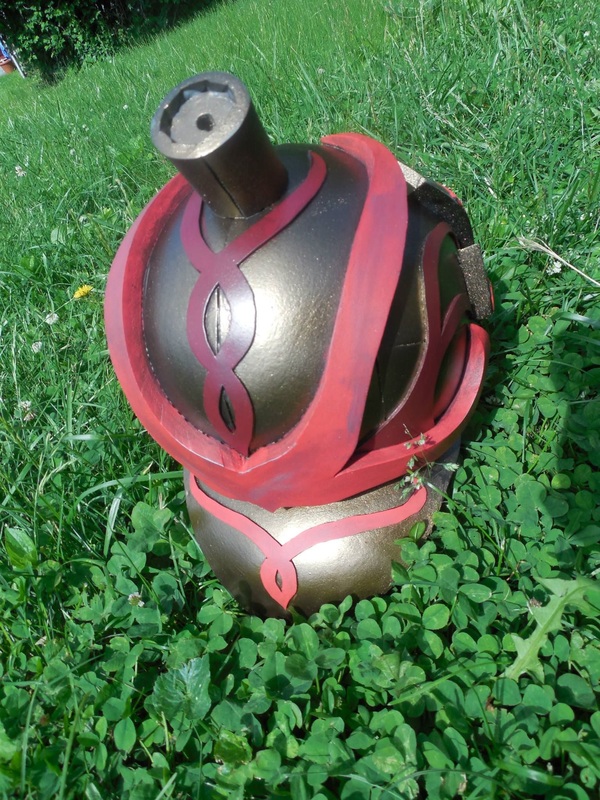
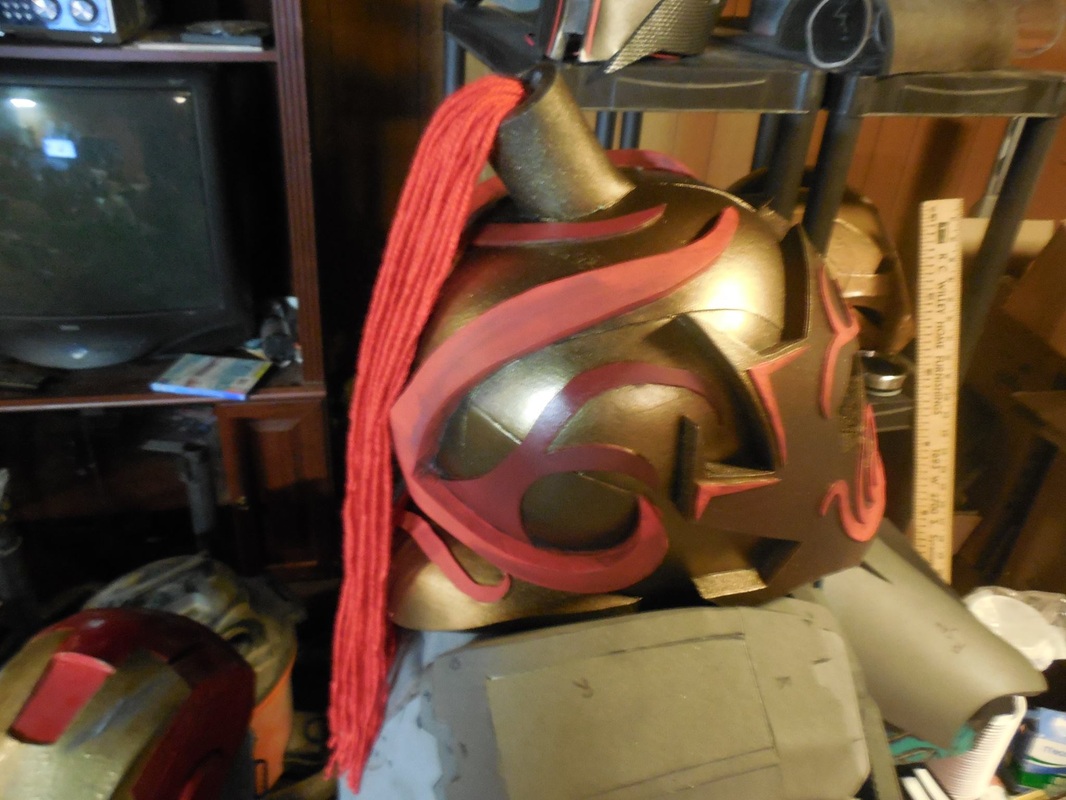
Normally I start my write-up posts with a preview picture of the prop or armor I made, or an example of something similar I'm basing my build on. This time, however, other than the base helmet everything I did to make this custom build was by the seat of my pants, going off an idea I had in my head. I got started with the helmet base, which I give 100% credit to Evil Ted Smith and his foam fabrication videos. If you haven't already, go check them out and learn some neat tricks of the trade! Really helpful video series. Anyway, I started by grabbing my new Ed head, from Monster Makers. It's the right circumference, though the rest of the head is pretty skinny. We'll work on that, though! 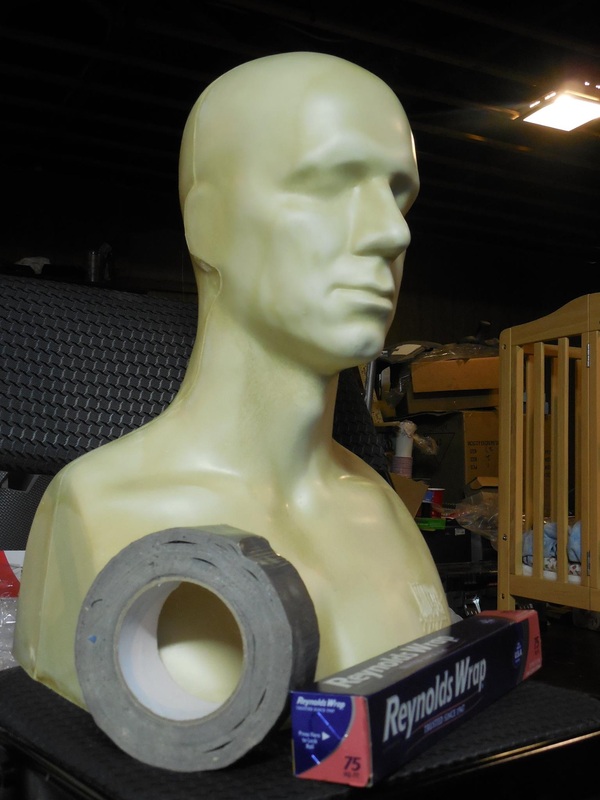 Great head for the cost, and they leave a hole at the bottom so you can fill it with something more solid to sculpt on it. Really is a quality head! Anyway, I covered the head in aluminum foil.  Then, I covered that in duct tape, making sure to keep the facial details there as best I could. Once that was all done, I traced two patterns: one on one side, and a different one on the other, then cut both off with a razor blade. 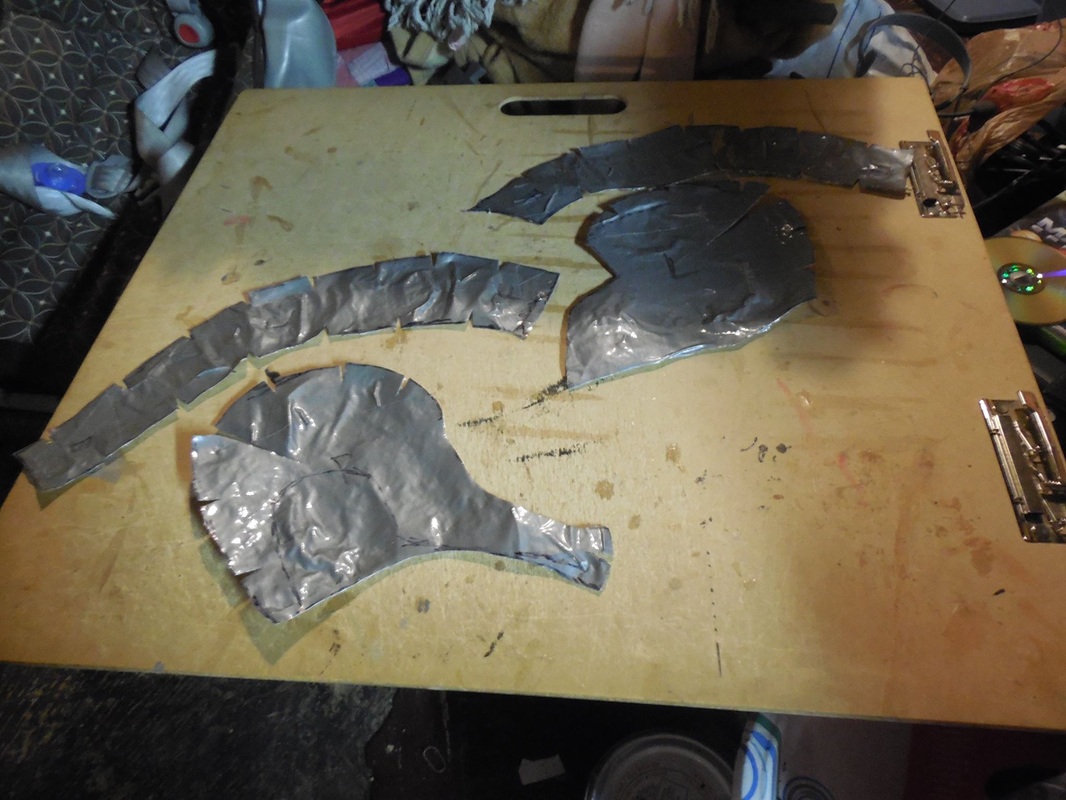 Since I was making a pattern that would be flipped and repeated on the other side, I figured making a second, different pattern on the other side would save time and materials. It also got me two patterns in one go, which sure was nice! Both varieties give me several styles of helmets I can make, so it works out well. Also, those cuts you see, the small darts? That's another trick I learned from Evil Ted's videos: alignment marks! Helps to make sure everything fits pack together the way it should. Literally a godsend. :D So I flattened out the pieces, then transferred them on to paper and enlarged them a bit, to account for the 1/2" thick foam (and the slightly small head). Once that was done, it was on to the foam!  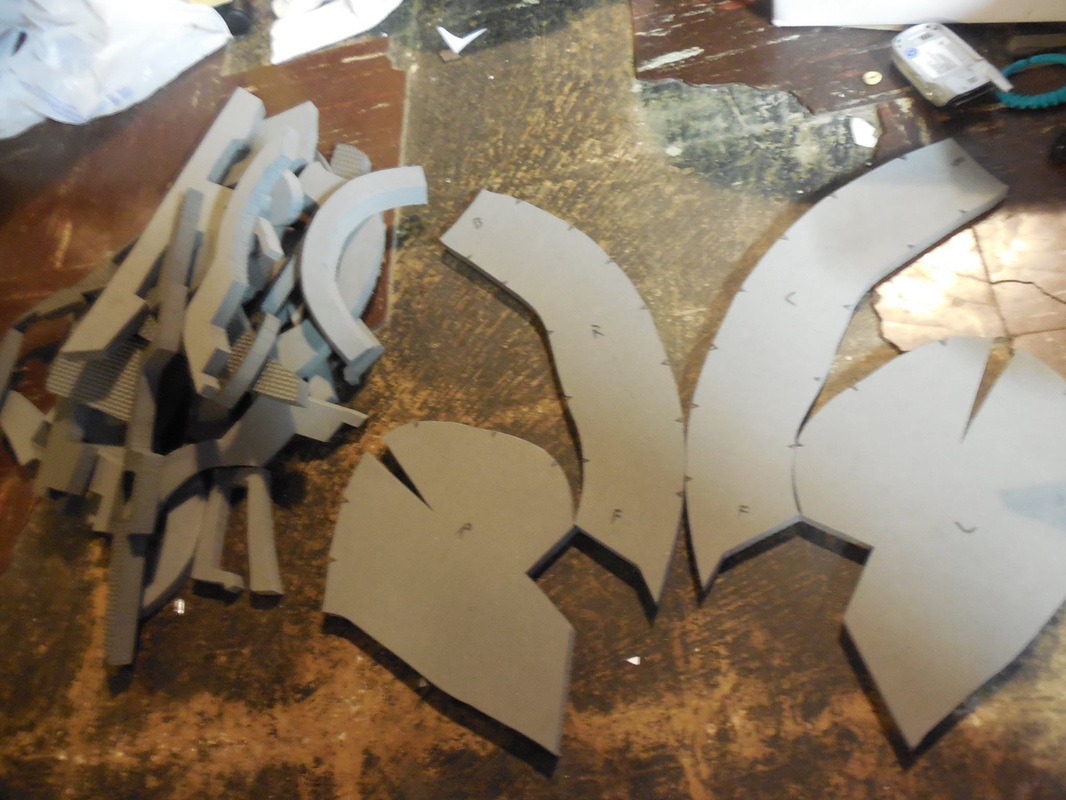 After that it was the usual heat gun to shape it, and I grabbed the contact cement to glue it all together. Love that stuff! 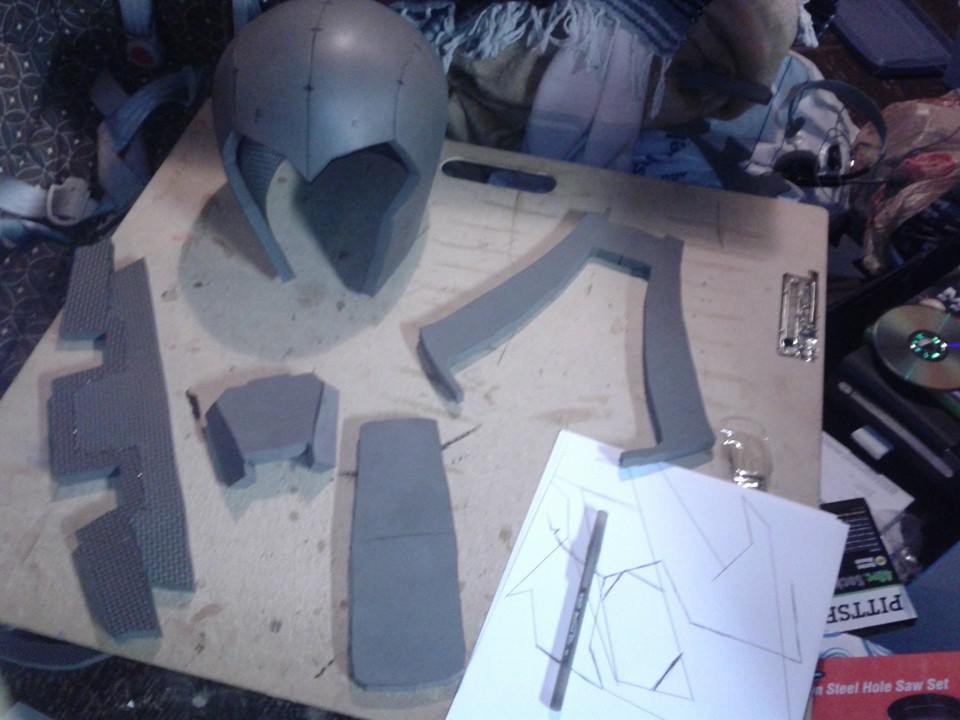 From here on out you'll be seeing lots of angle sets, because I wanted to get as many shots of it as possible from as many angles as made sense. Being an original item, I really wanted to show it off right. So, bear with me as I share a bunch of photos at once of each step! Next came the face plate, which you can see the early sketches for in the above picture. I drew out one side, then traced it, flipped it, traced the other side, and gave the inner seam a slight angle in the middle. The result: 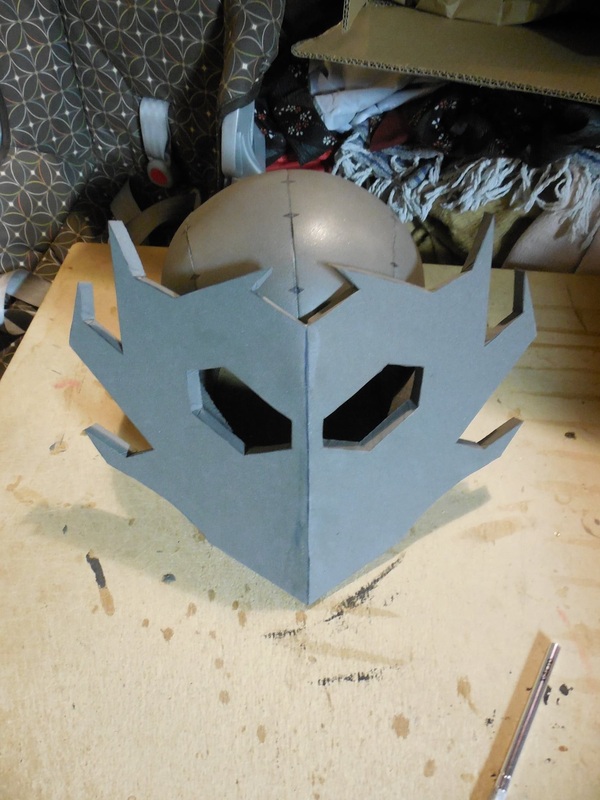 Thanks to the middle seam it was easy to line it up straight to attach it, though it was interesting gluing the rest on evenly. I bent each side one at a time and marked off where it would end up sitting, put down the contact cement, then glue the two together. And, naturally, then repeat with the other side. Then I threw a neck guard thing on the back, which ended up sitting a bit high - but I went with it anyway since I was making it up as I went along. It was fun, it looked neat, and I was on a roll! After that came some filigree, to fill in a lot of this empty space and cover up some of the seams. First I threw on some craft foam doodads all over the face plate. To ensure I wasn't making them too large, I used the original face plate pattern, drew the designs on that, then cut them out and traced them onto the craft foam. The mouth bit I cut an angle, like the main section, just to keep things as even as possible. Really proud of myself here, since I don't normally do the curly stuff very well when freehanding it. Next, I threw on some more 1/2" foam on the back, as more filler in the huge empty space. After that, more craft foam to fill it in even more, plus an extra bit on the neck guard. And, finally, I decided to add a conning tower to the top at a slight angle, because I decided it needed a plume. 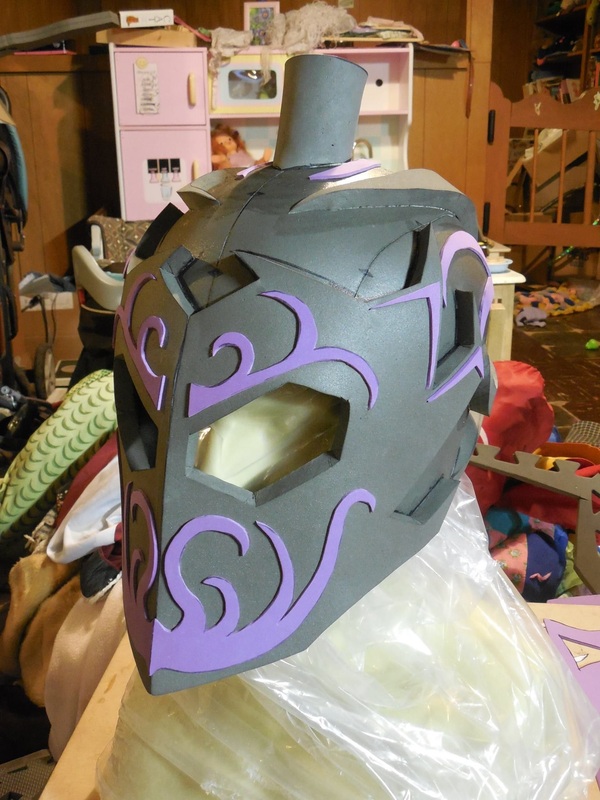 Once again, this was all a freehand, flying by the seat of my pants, no idea what I'm coming up with next kind of build. I had no idea what I was going to next when I hit each step, but by this point I was finally happy with it. It looked awesome! That meant it was Plasti Dip time. Put it up as a giveaway on my Facebook page, and took some better pics of this stage then while I waited for some bites. Never panned out, but was fun all the same. Here's the better shots: Since the giveaway didn't end up happening, that meant I got to choose the color scheme and final look. I decided on gold and red, with a red plume. Started off with the gold as the base: 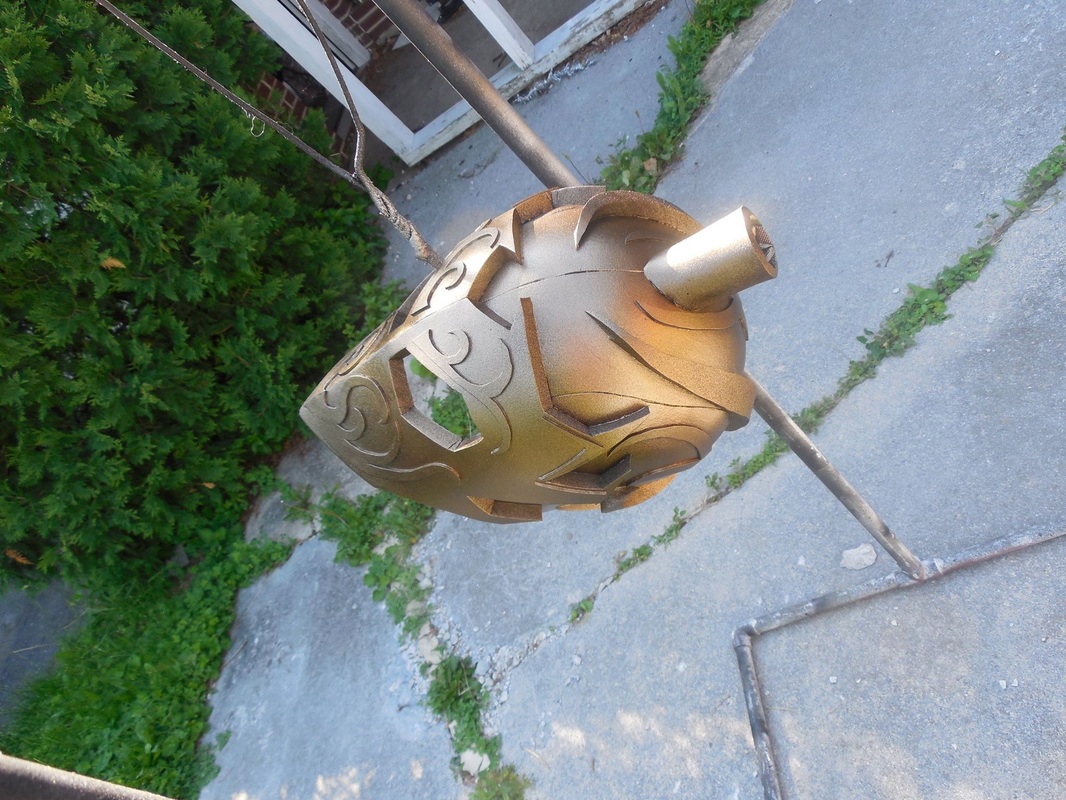 ...taped off areas for a deeper, darker red: 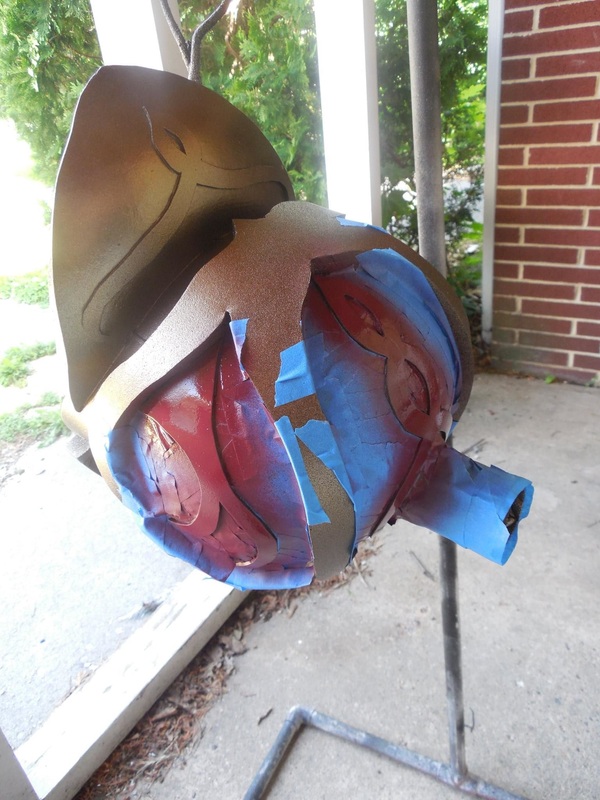 ...and hand painted the lighter red on the rest: 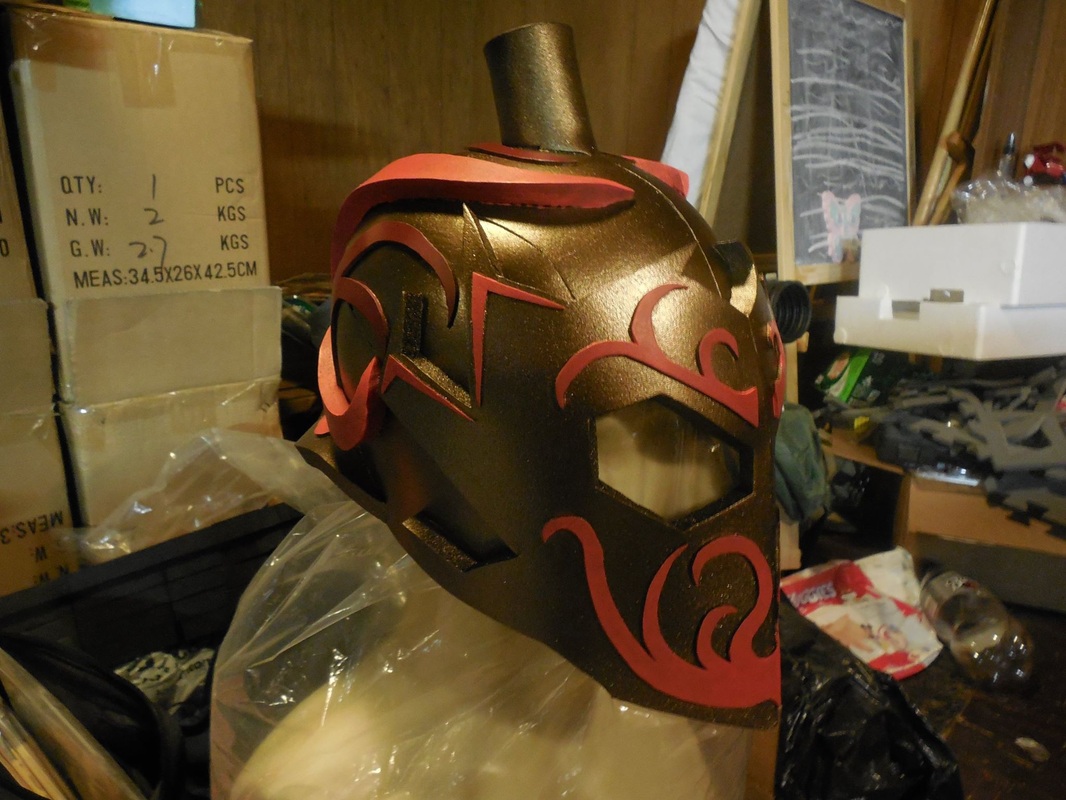 After that came the usual weathering. I did the acrylic wash all over it, no dry brushing this time, and I did it pretty heavy at first because I knew that the clear coat would take some of it away again. Then I took it outside, did the clear coats, and took some nice pictures of it with some good old natural light. Had to put the next part on hold for a bit, since I needed to get to a craft store but didn't have a way to get there for another week. Was originally going to go with a red wig, but couldn't find one that would work like I wanted so I decided on another tip from a good friend of mine: yarn. I'd have to brush out all the twists and whatnot, but it would work pretty well for what I wanted. A week passed, finally got the yarn, gathered a bunch of strands and cut the ends apart, then tied one end and secured the knot in the hole on the conning tower. Then I brushed the strands as best I could to separate them. Left: before, right: after. Turned out pretty nice! Not perfect, but hey it was still that seat-of-pants build. :) Here's the final product! Hope you enjoyed that one as much as I did. 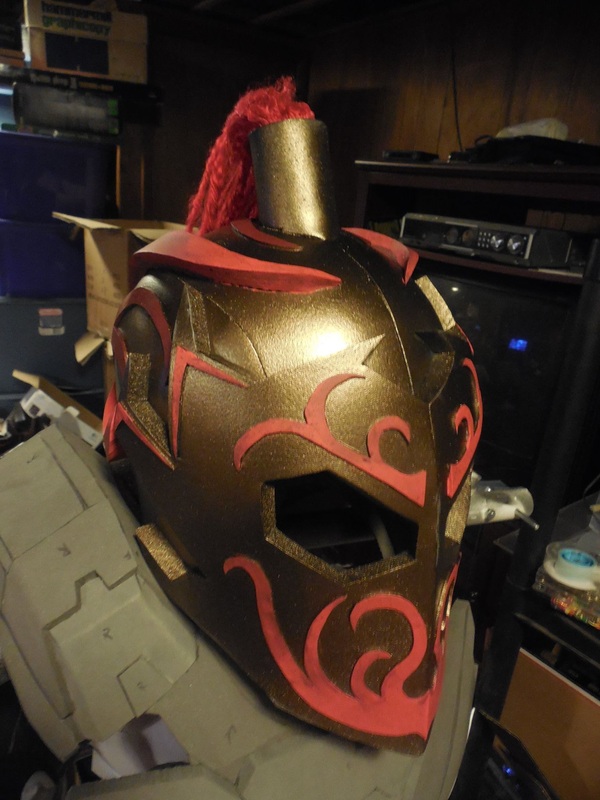
0 Comments
Leave a Reply. |
|


 RSS Feed
