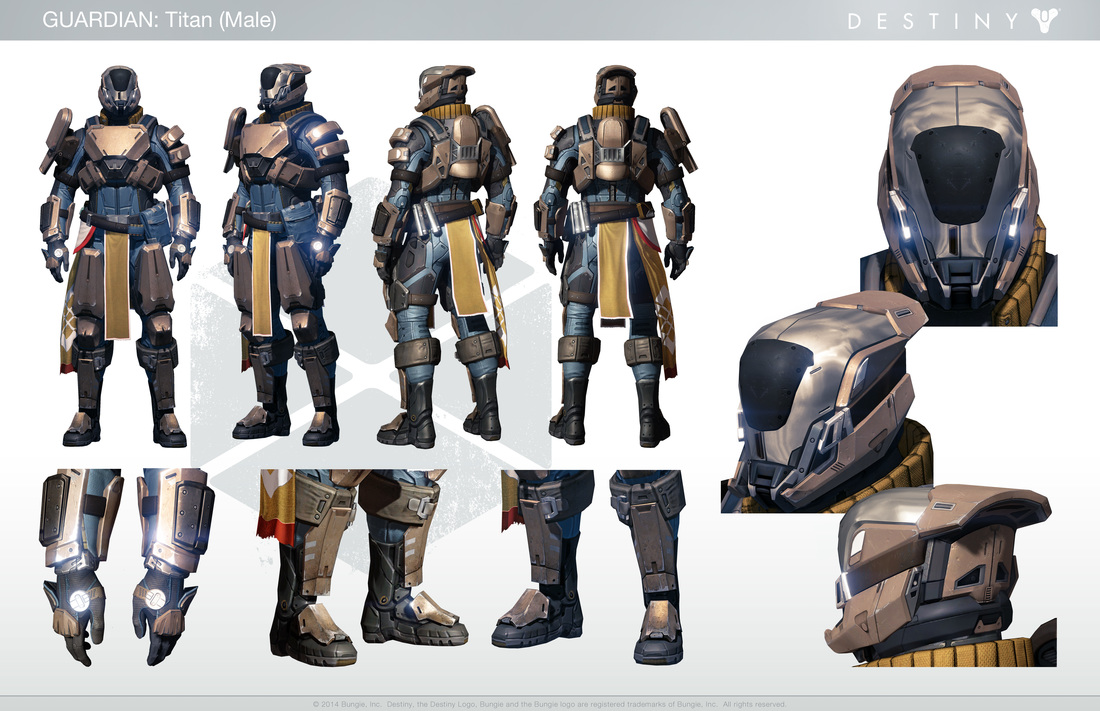
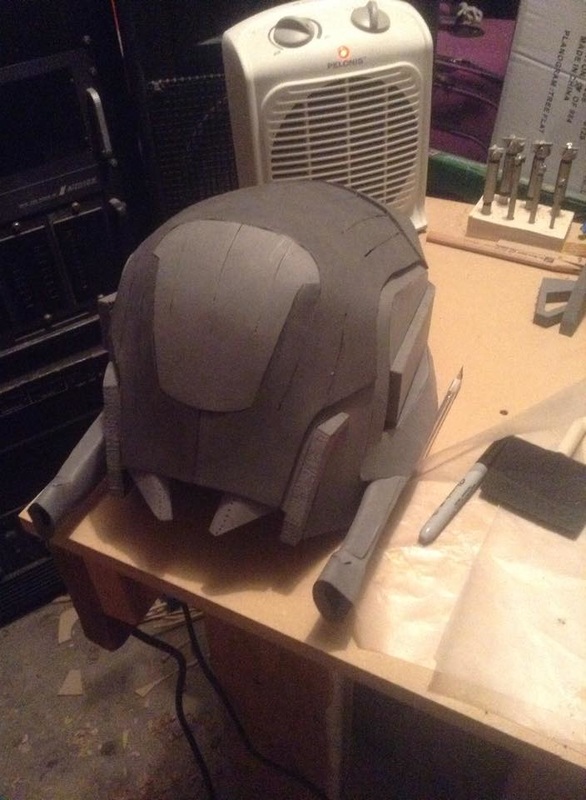
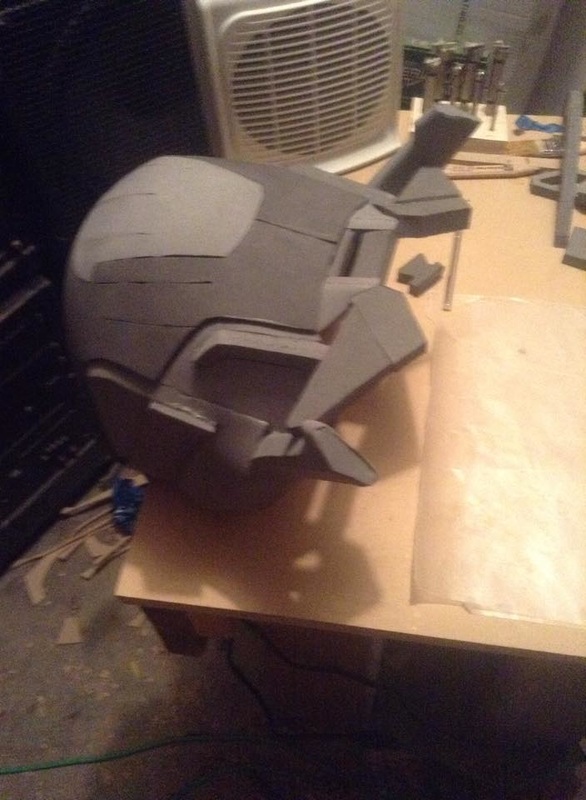
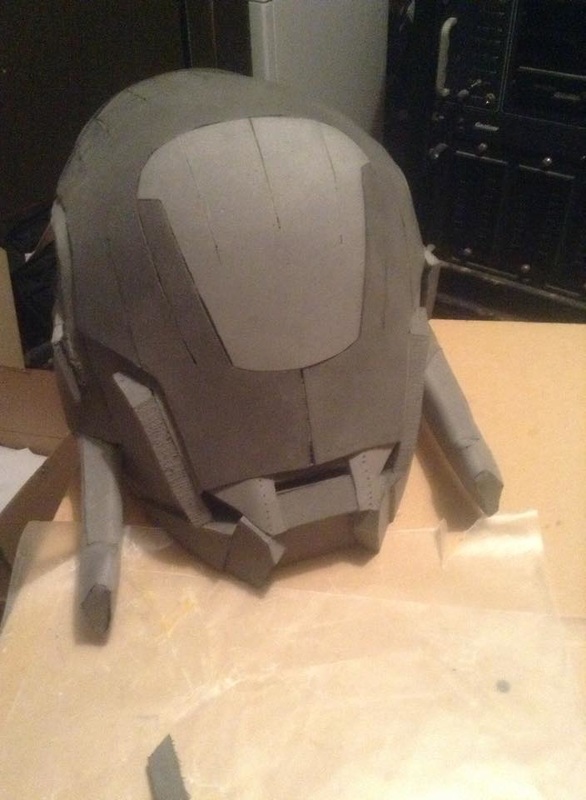
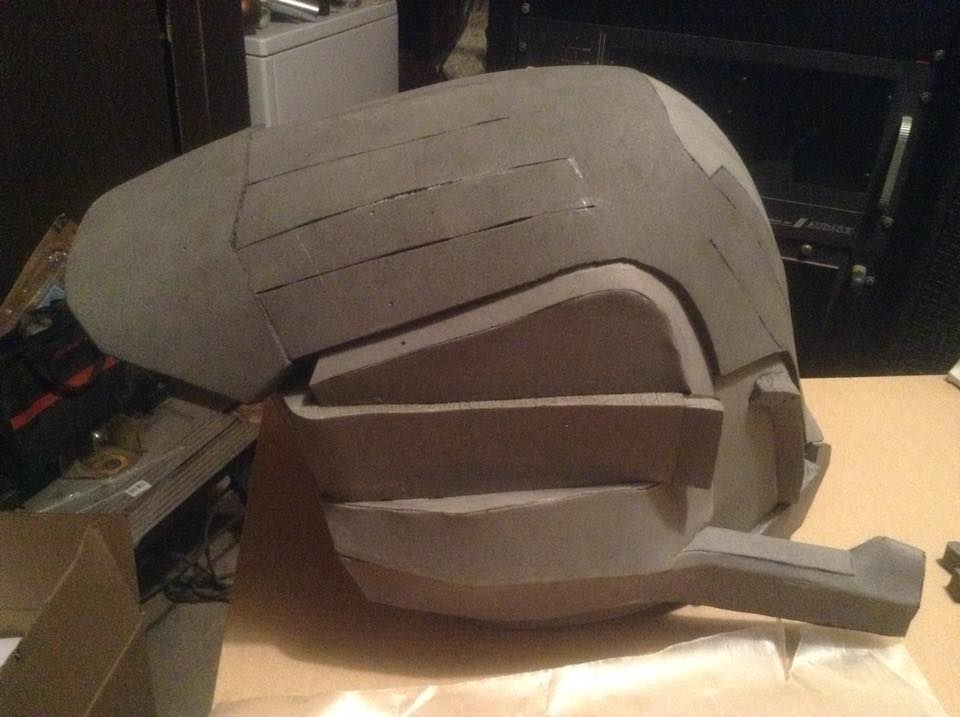
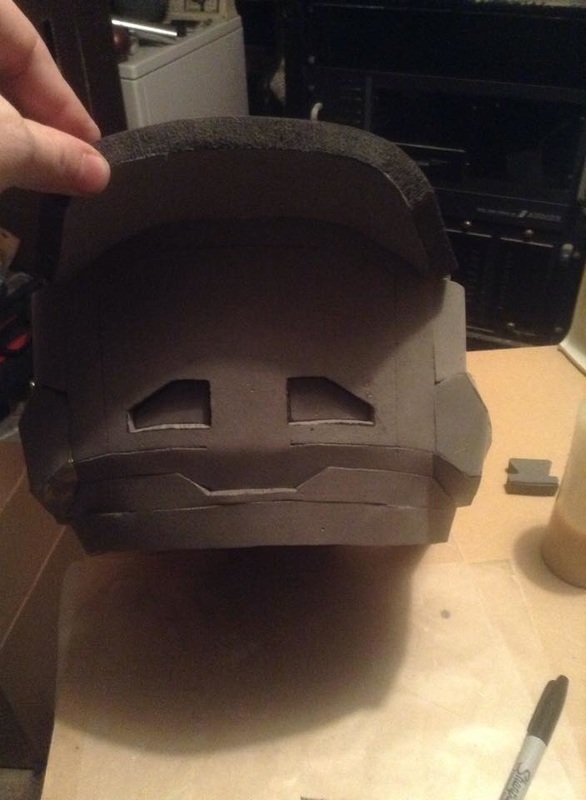
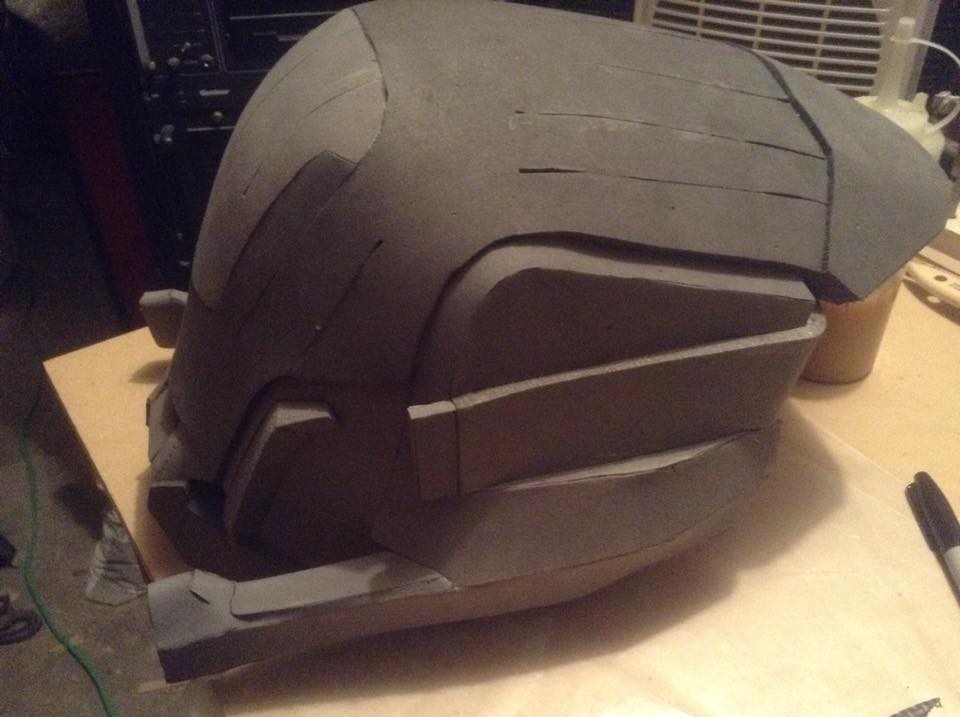
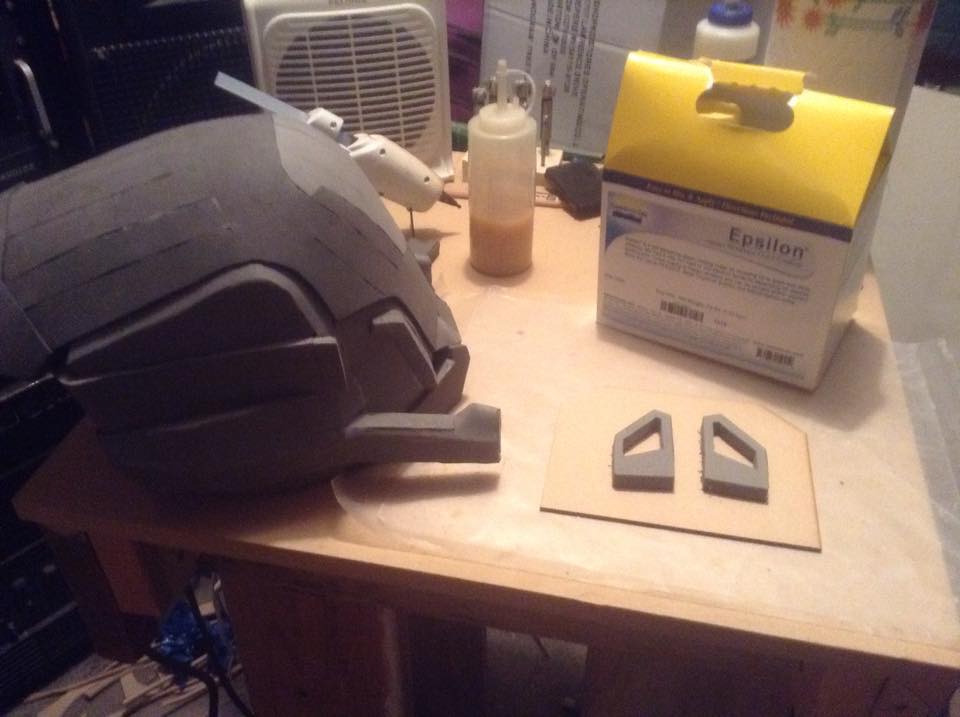
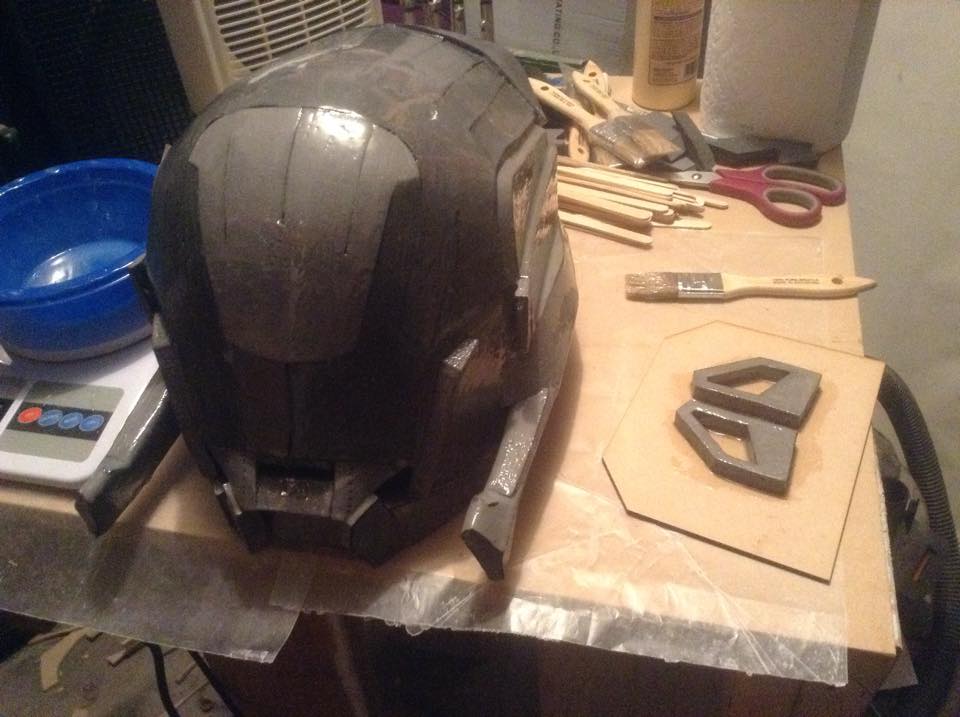
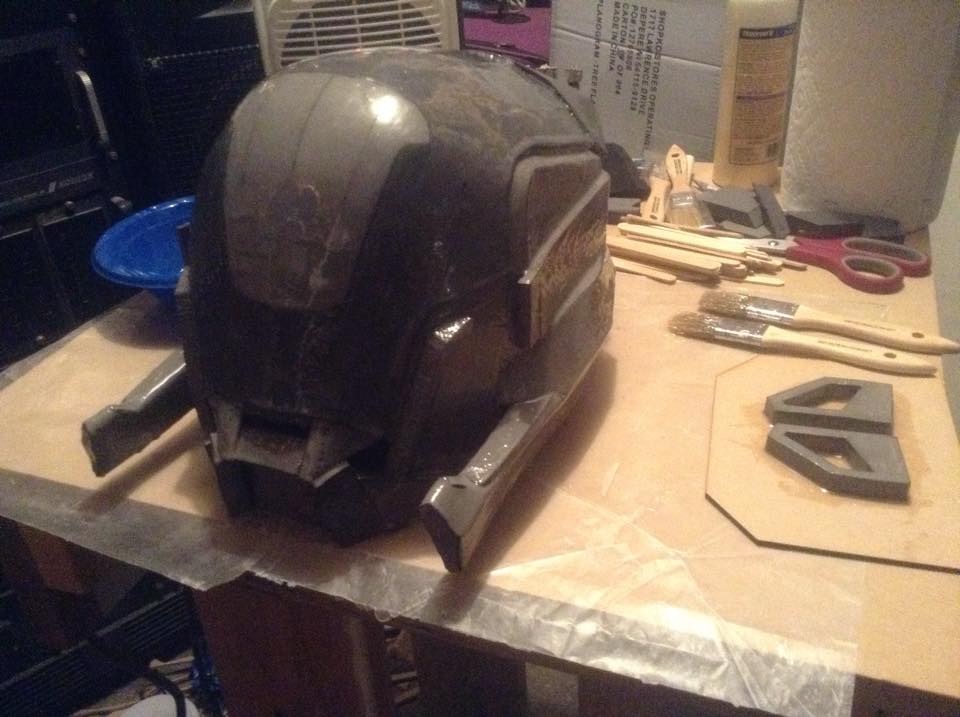
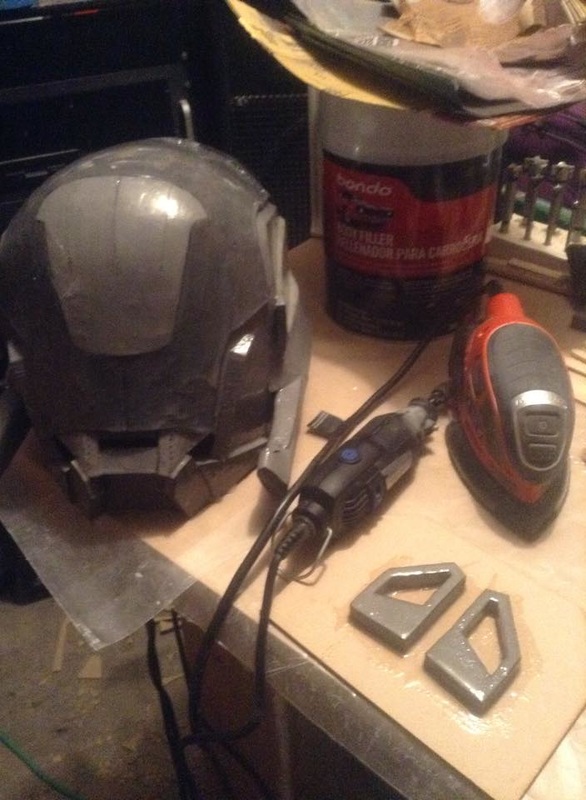
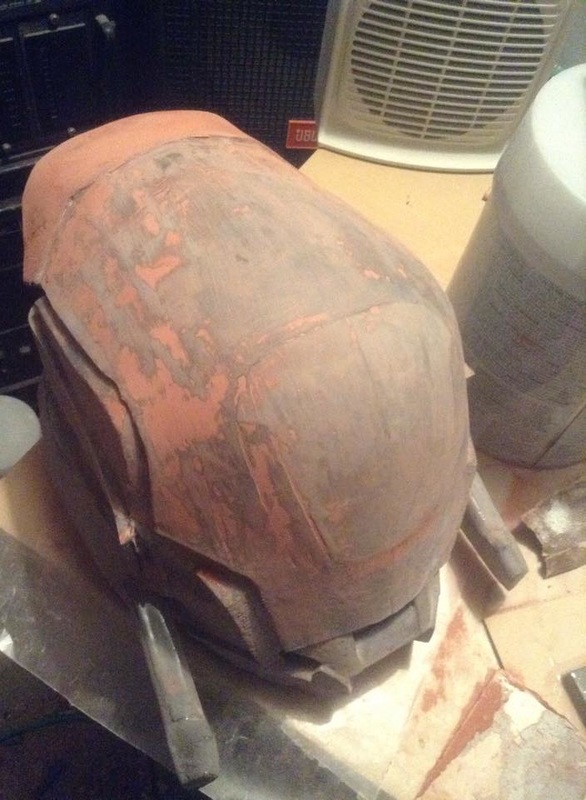
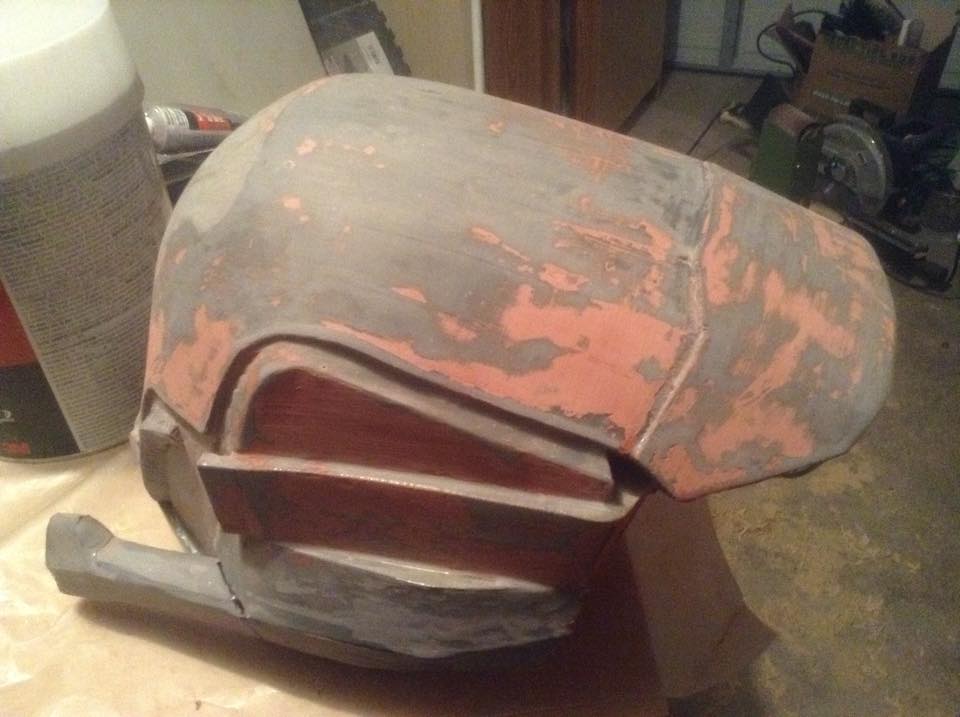
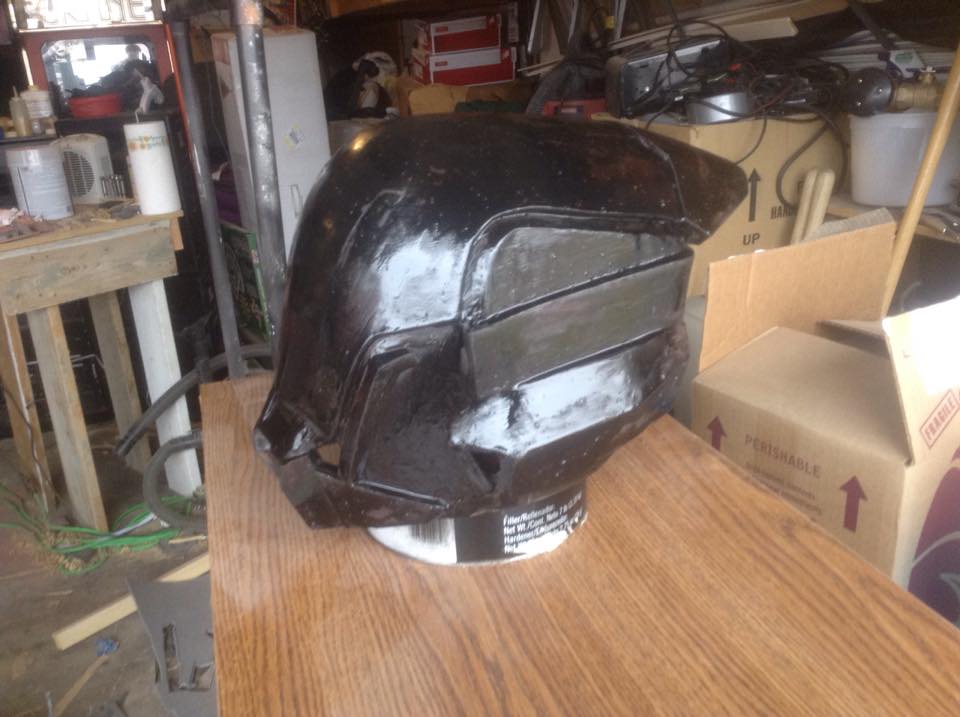
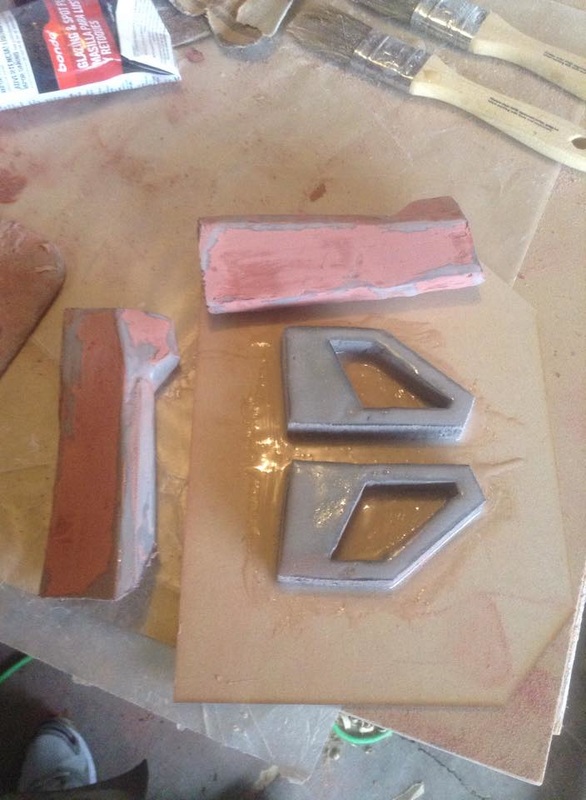
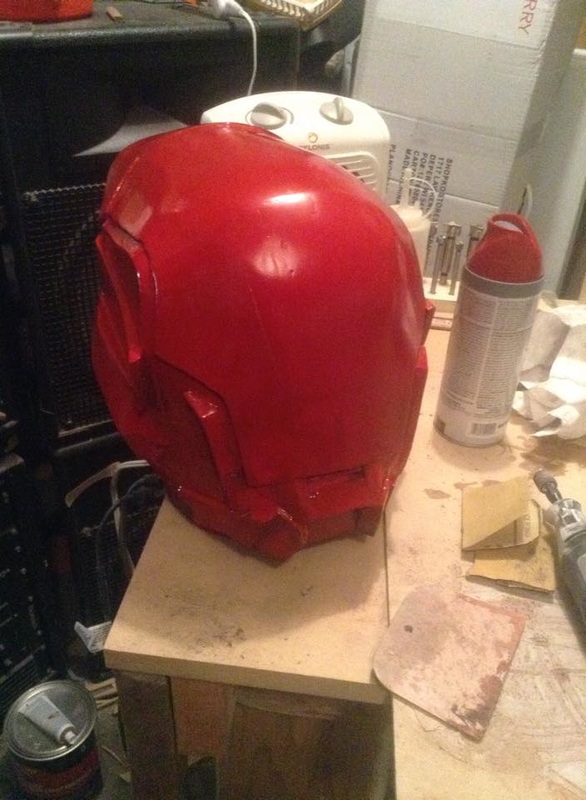
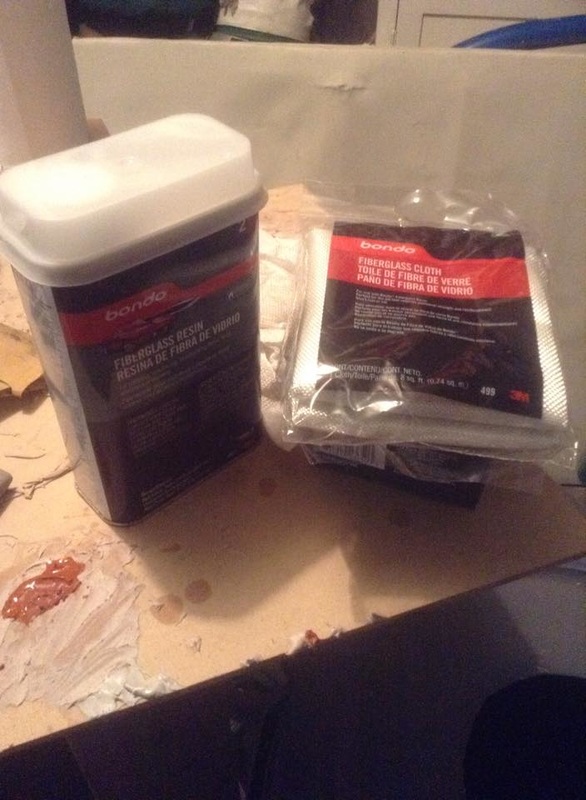
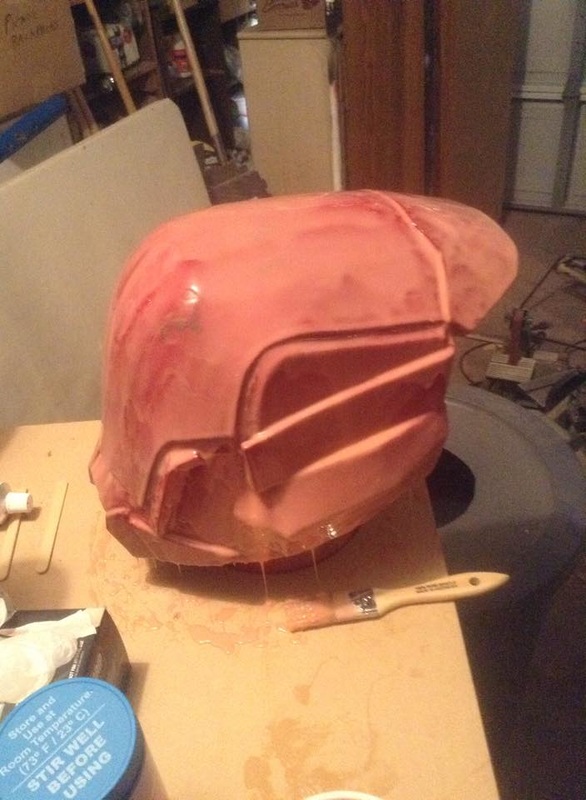
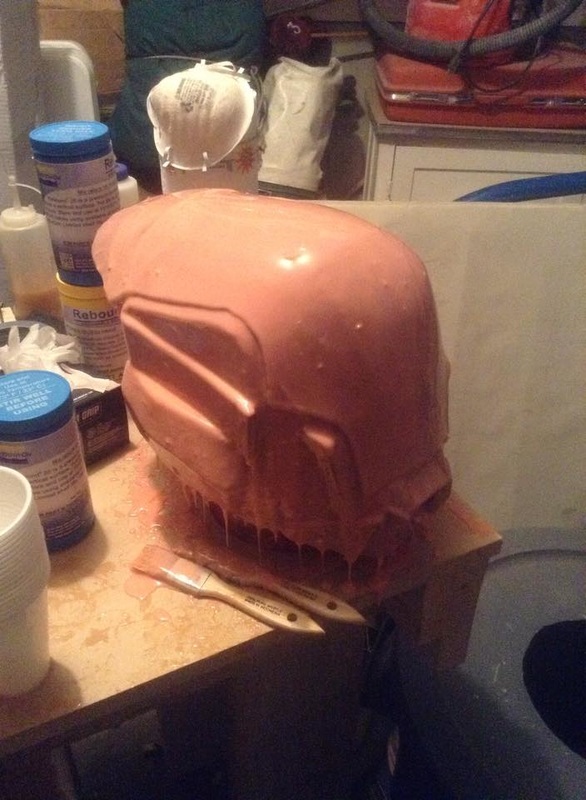
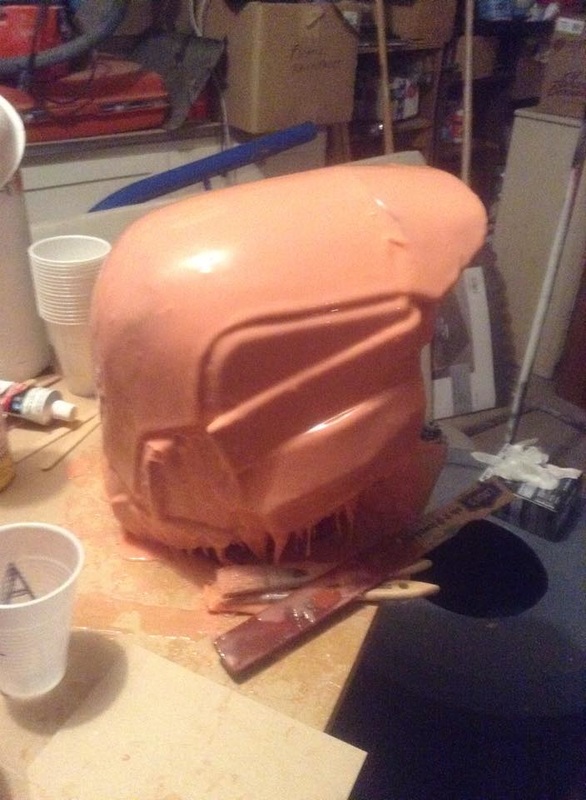
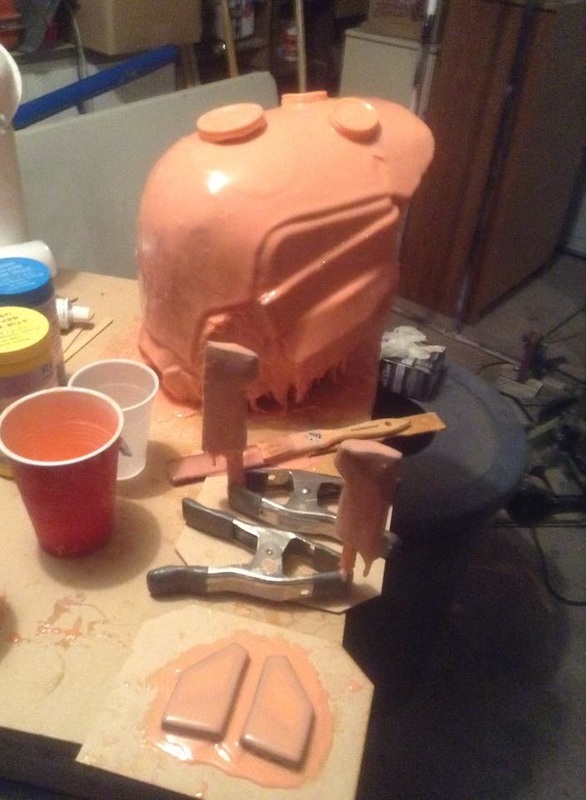
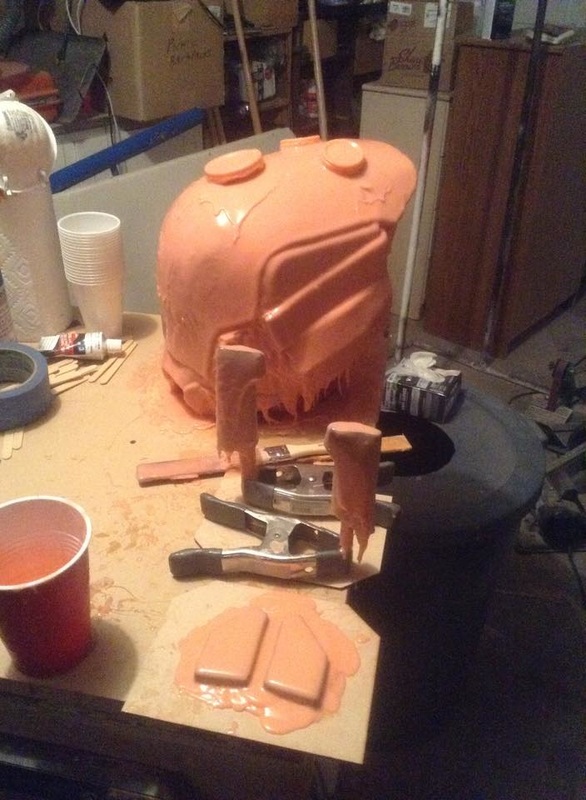
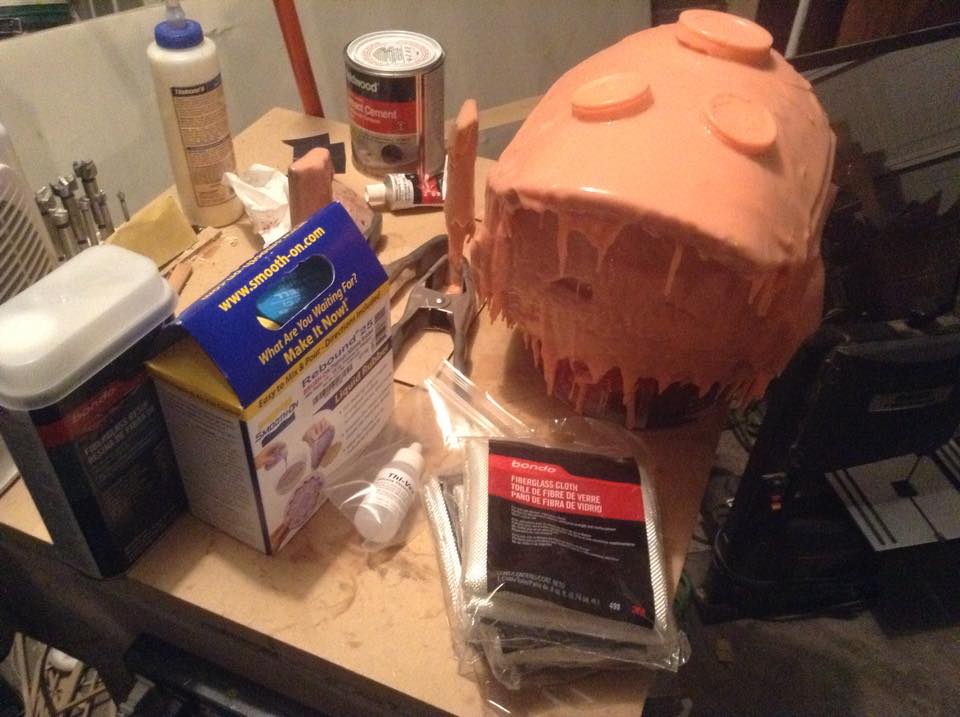
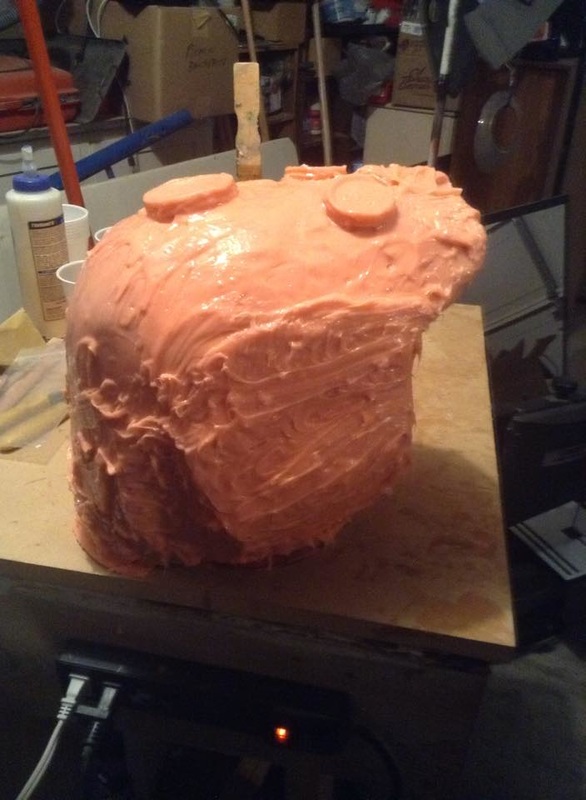
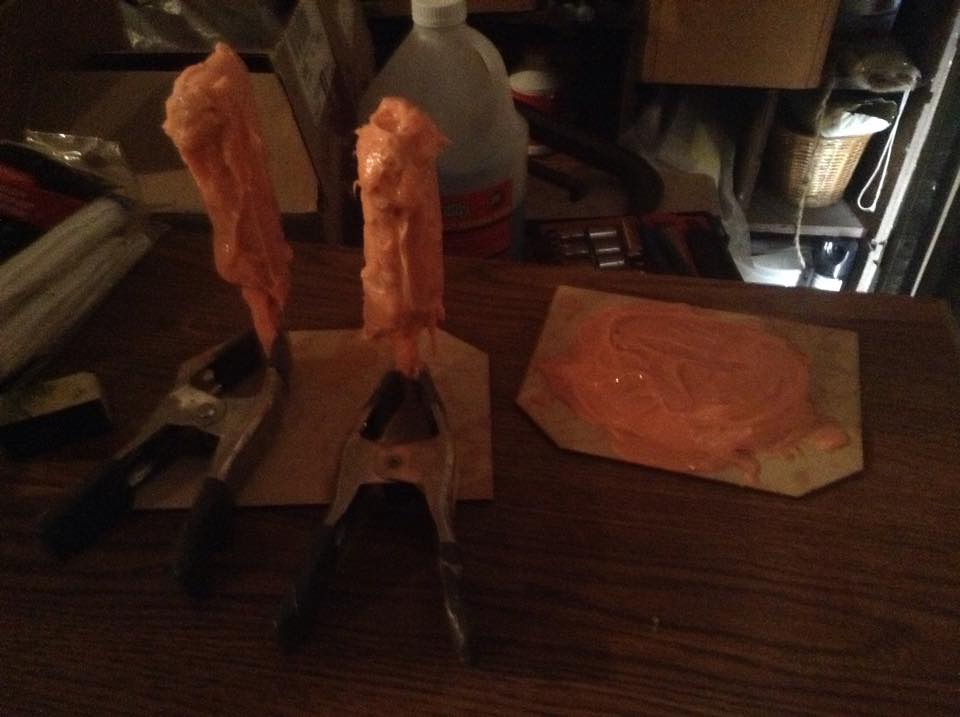
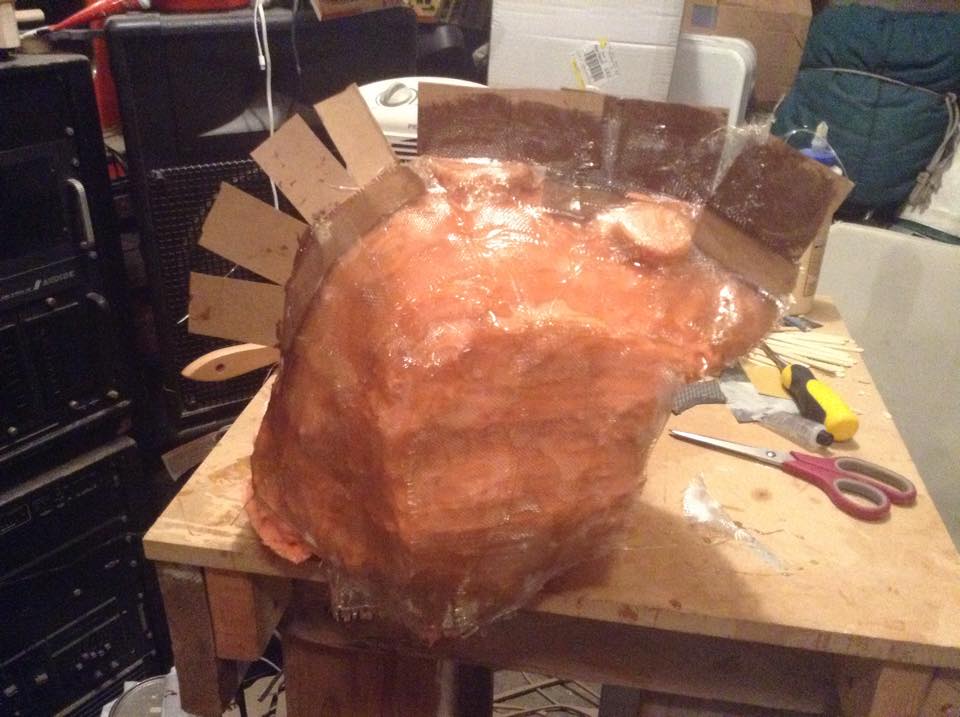
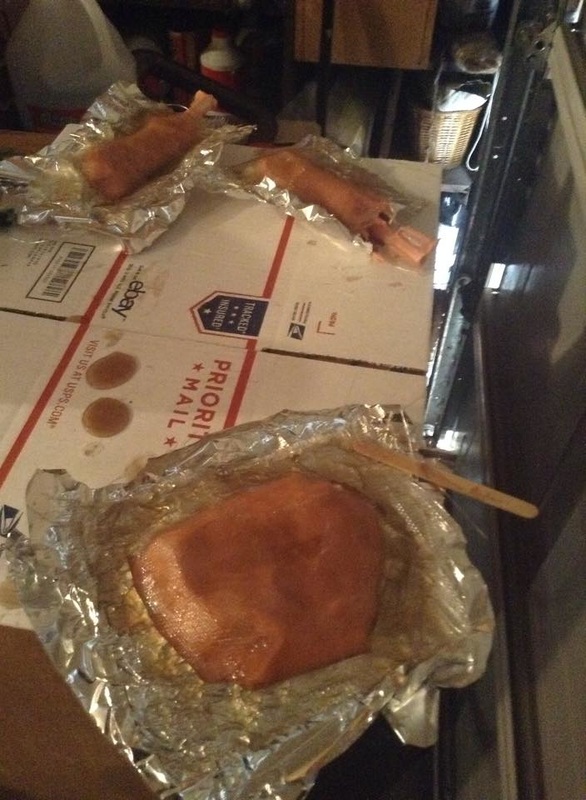
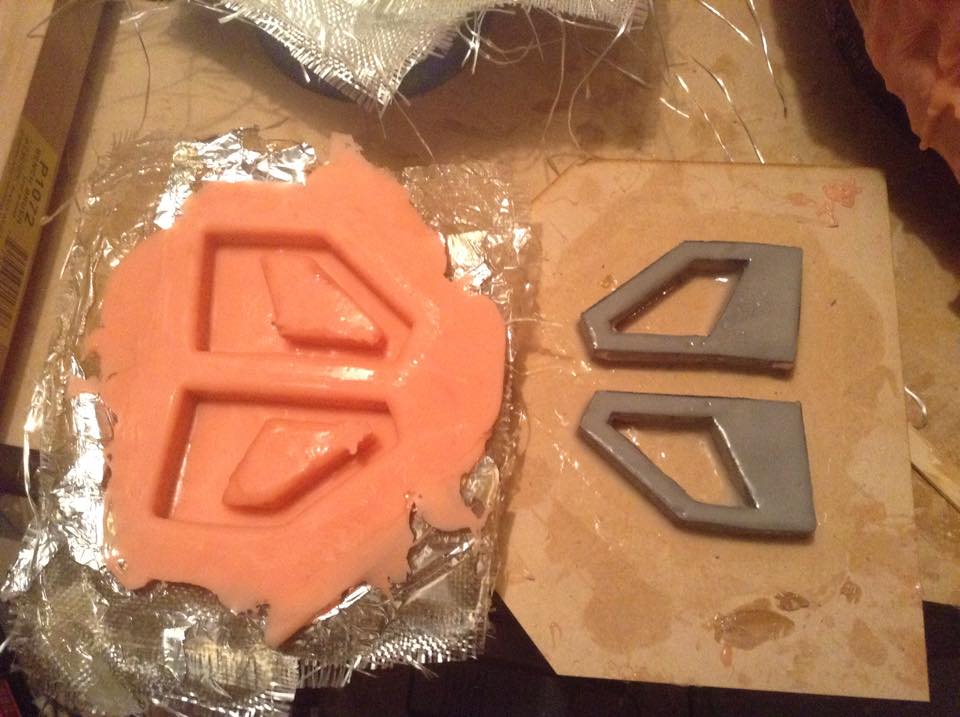
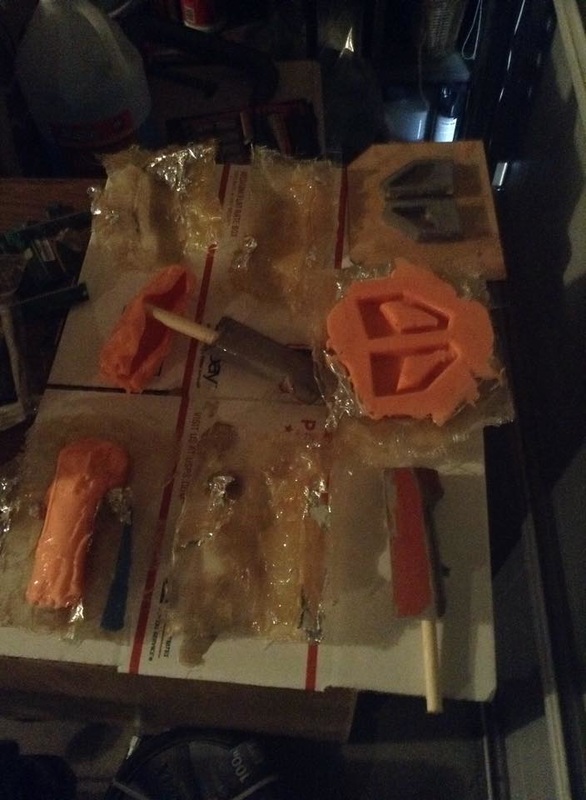
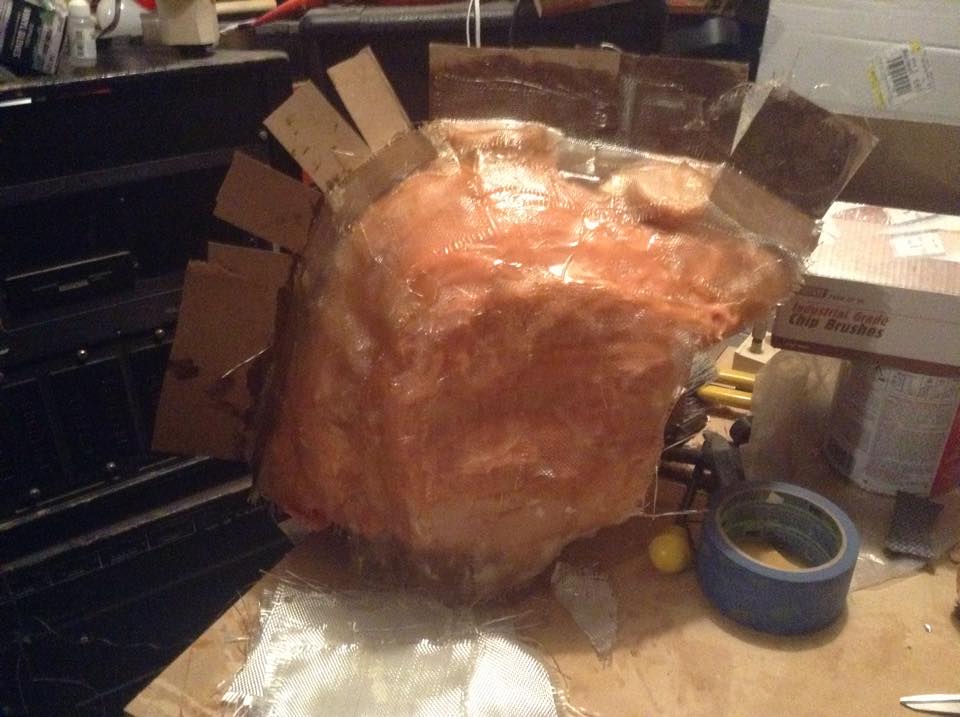
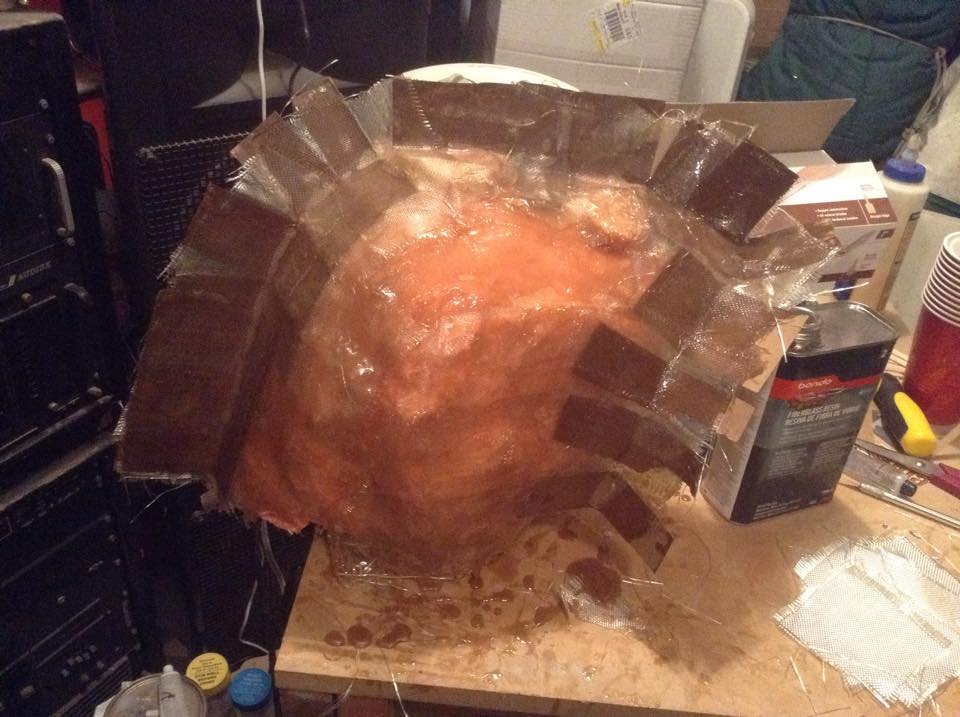
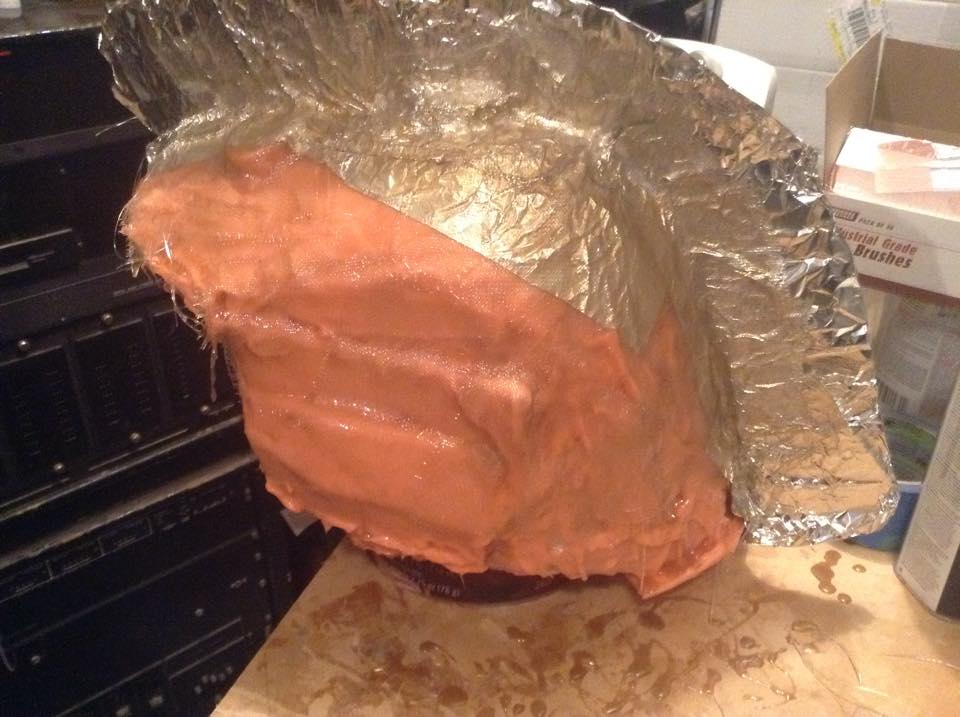
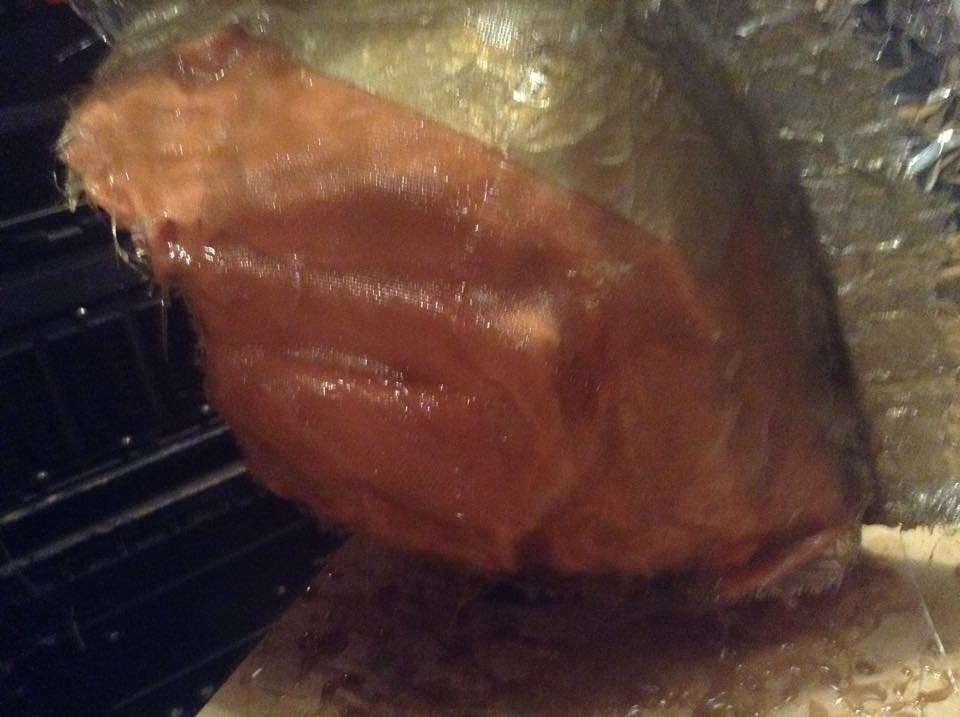
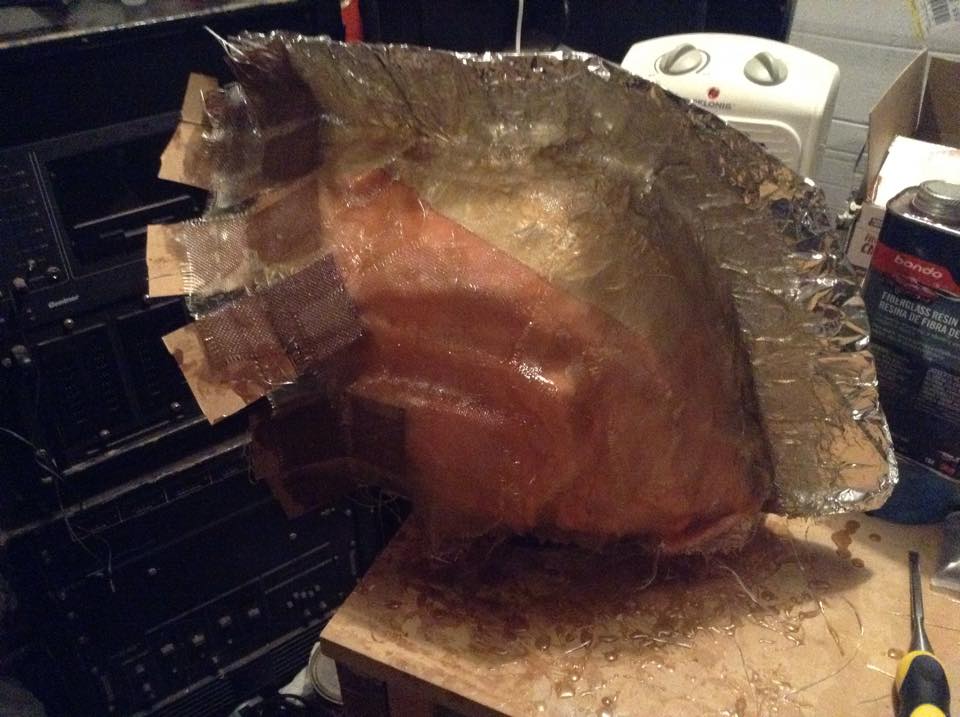
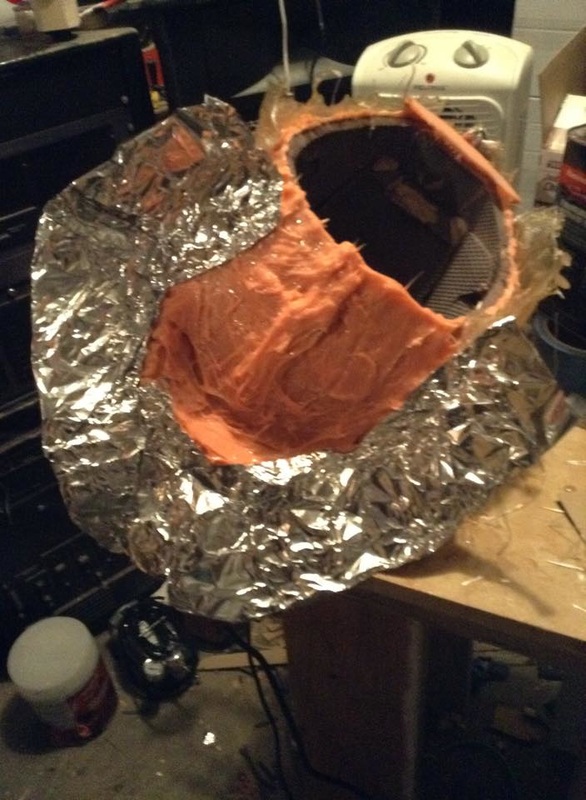
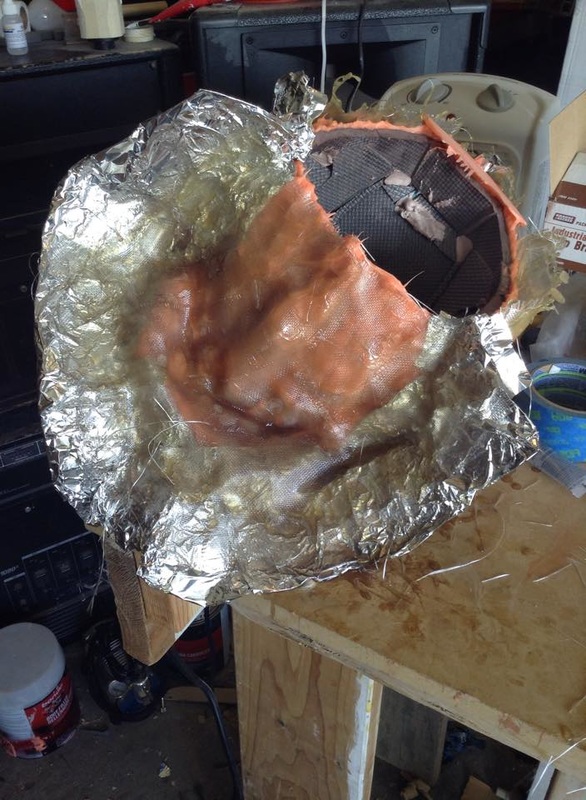
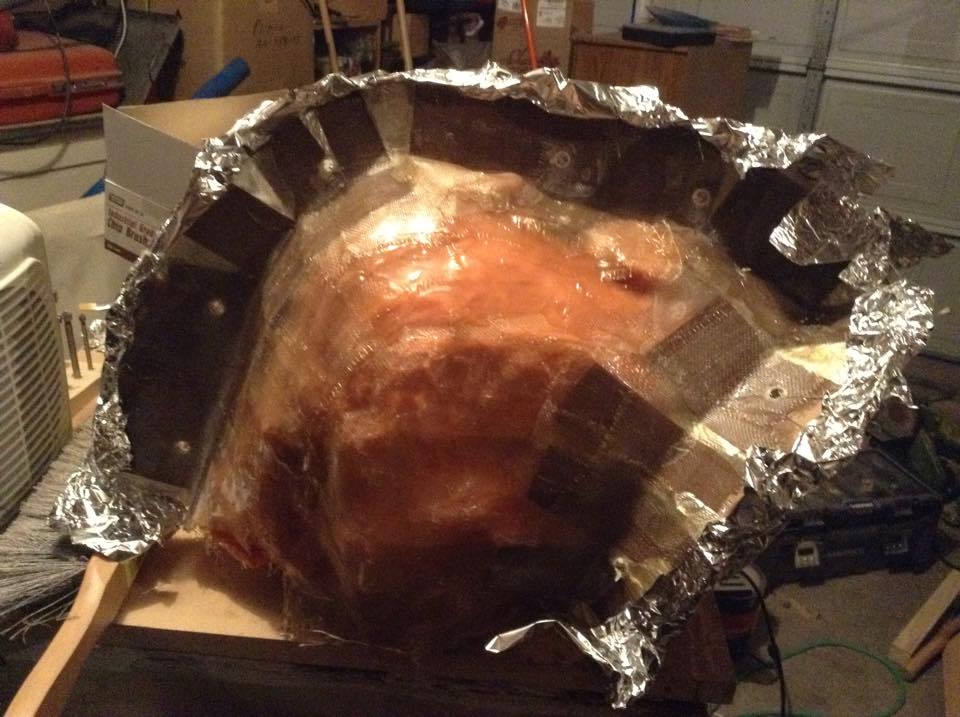
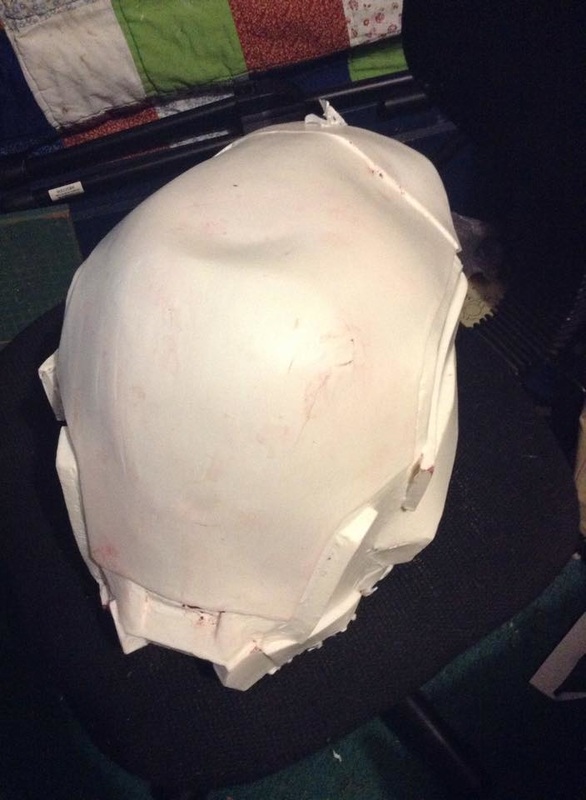
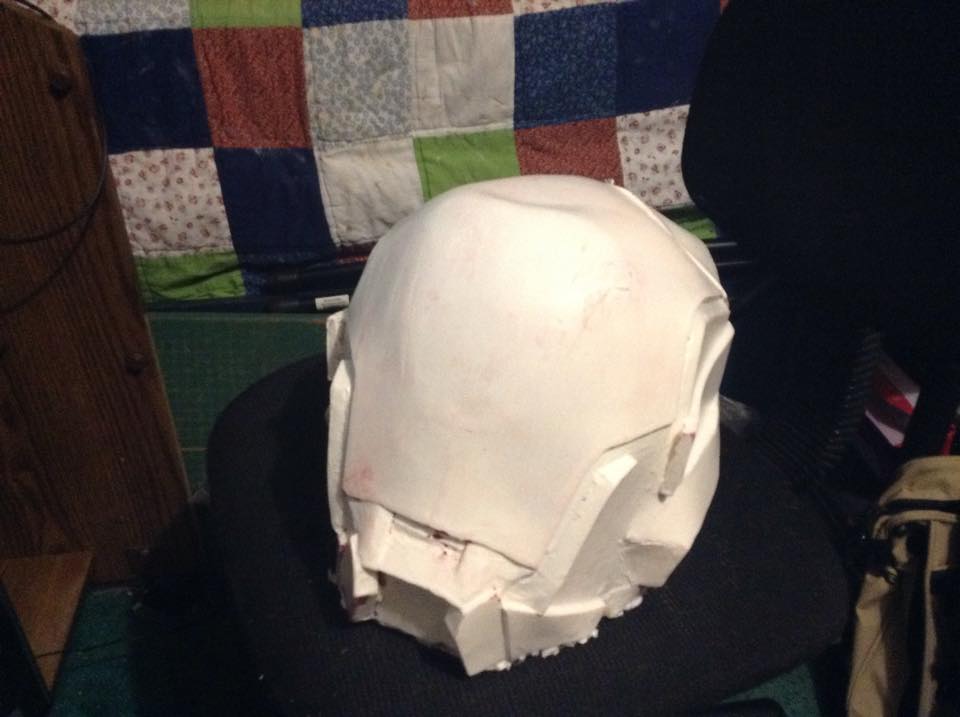
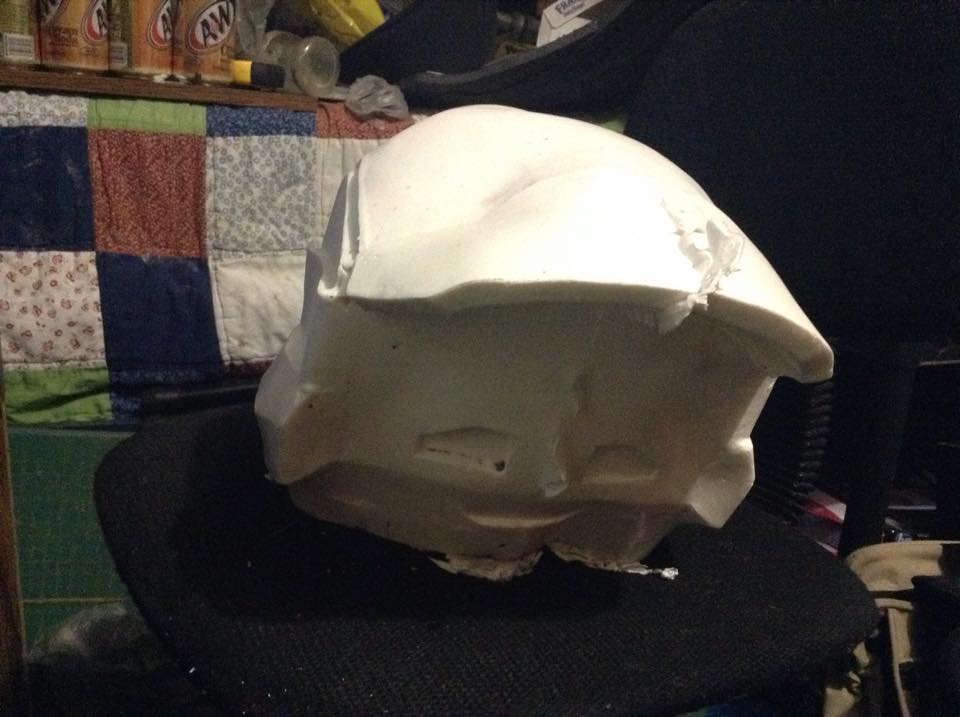
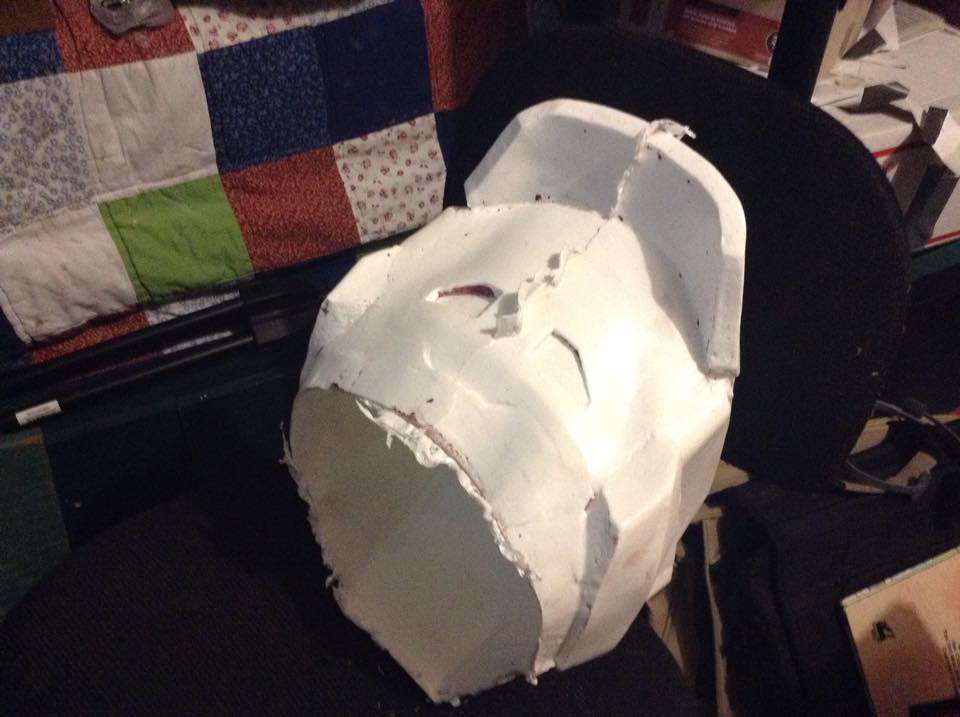
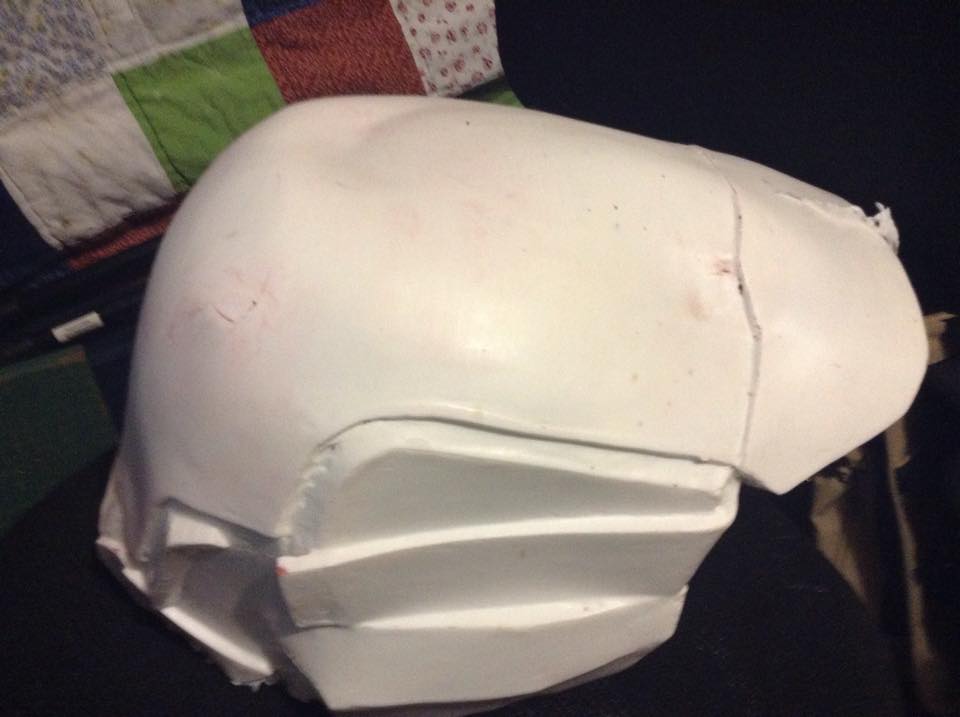
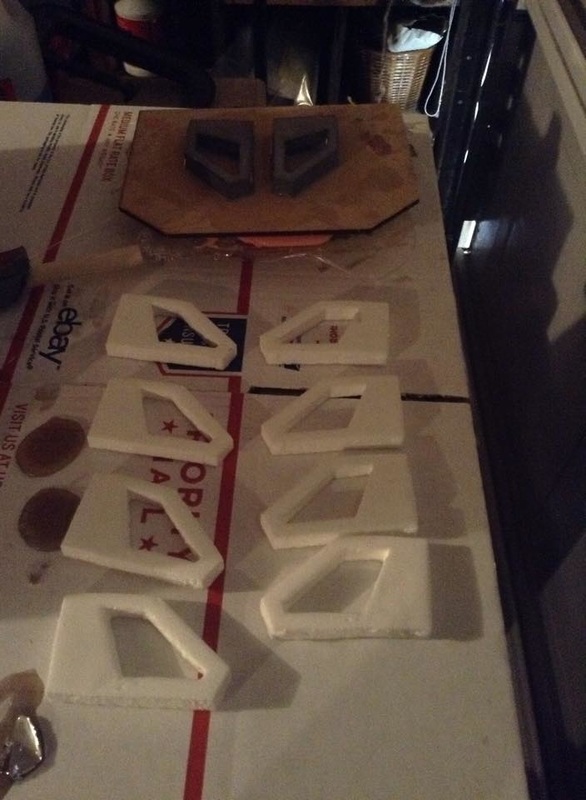
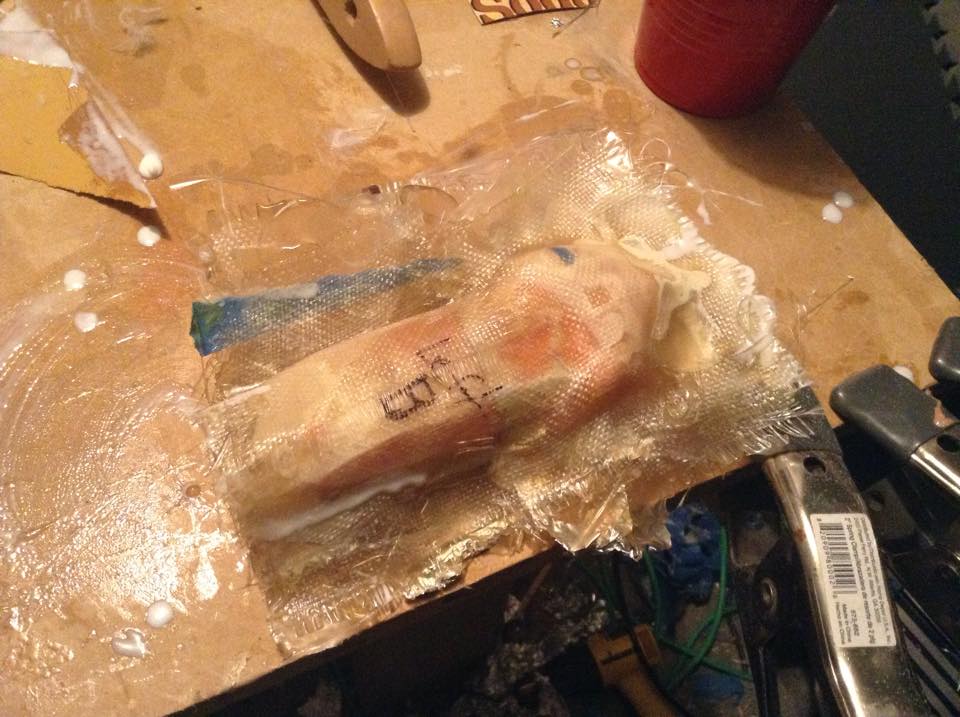
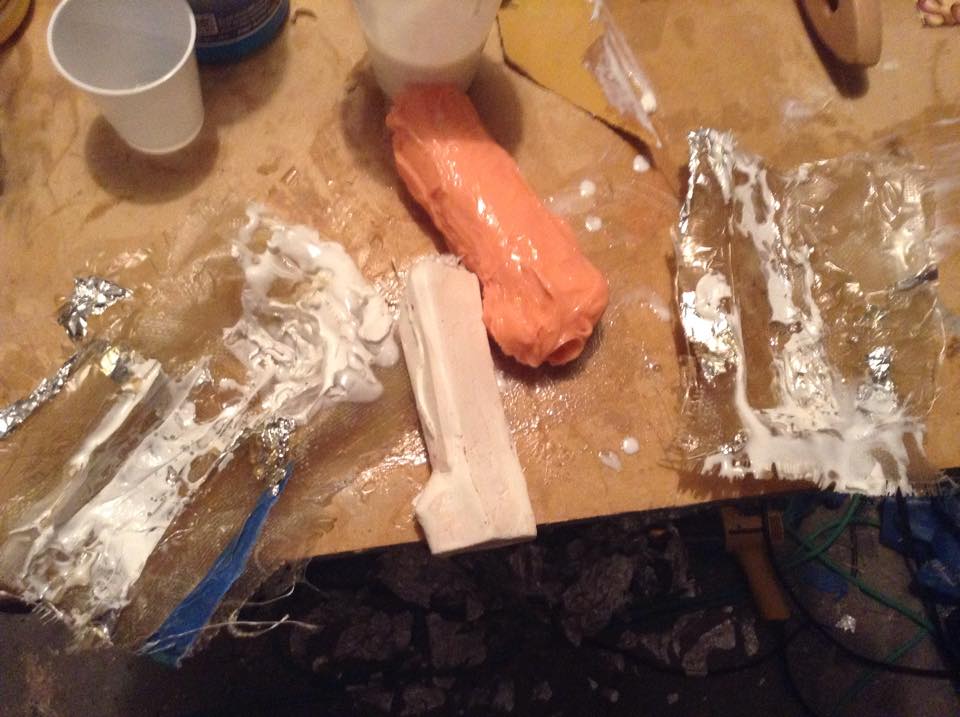
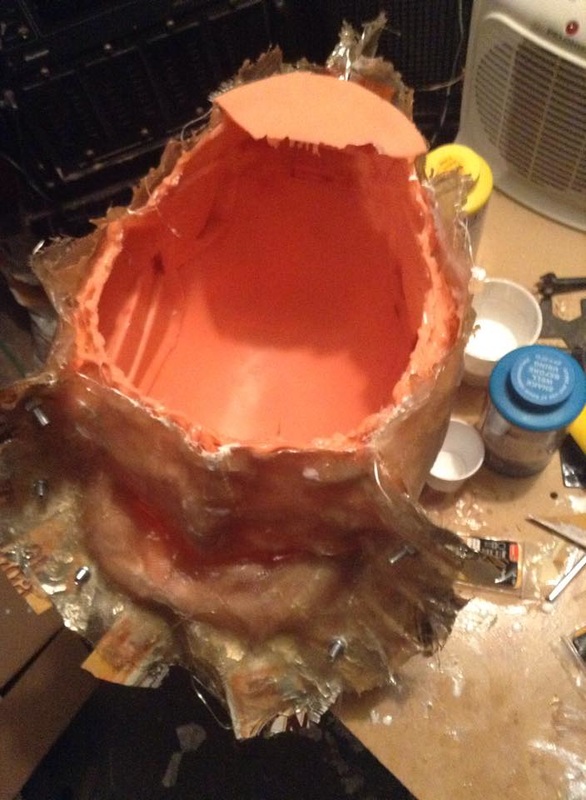
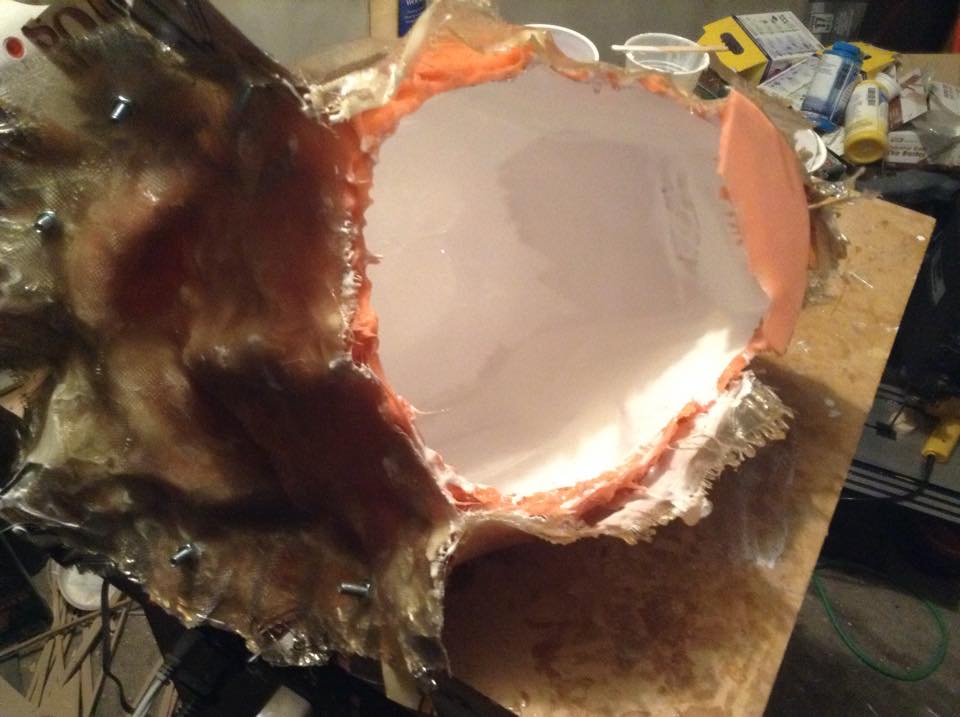
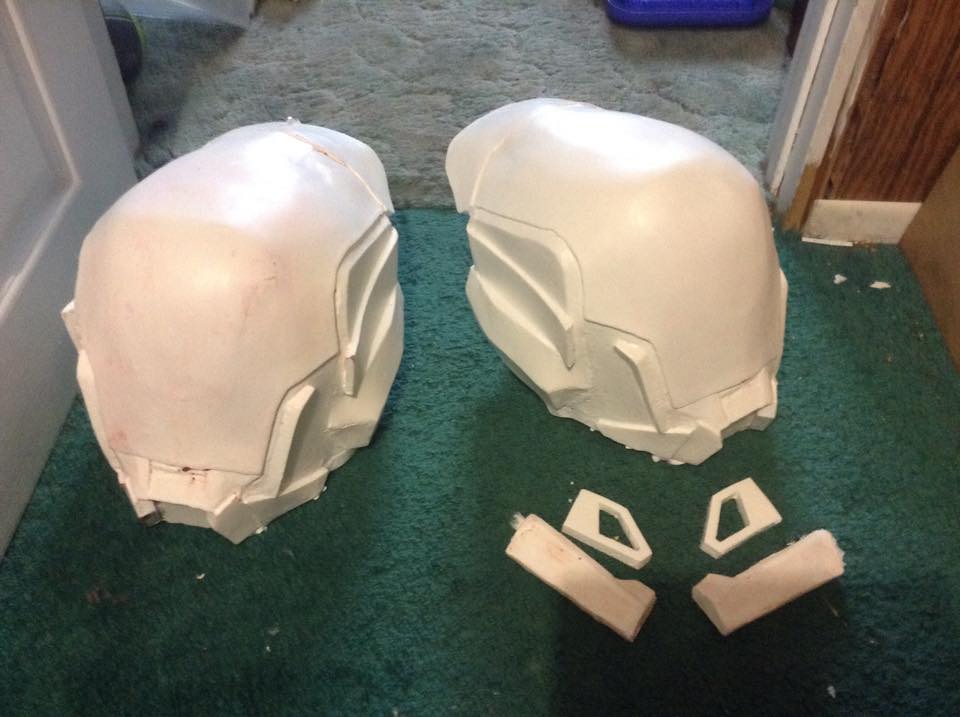
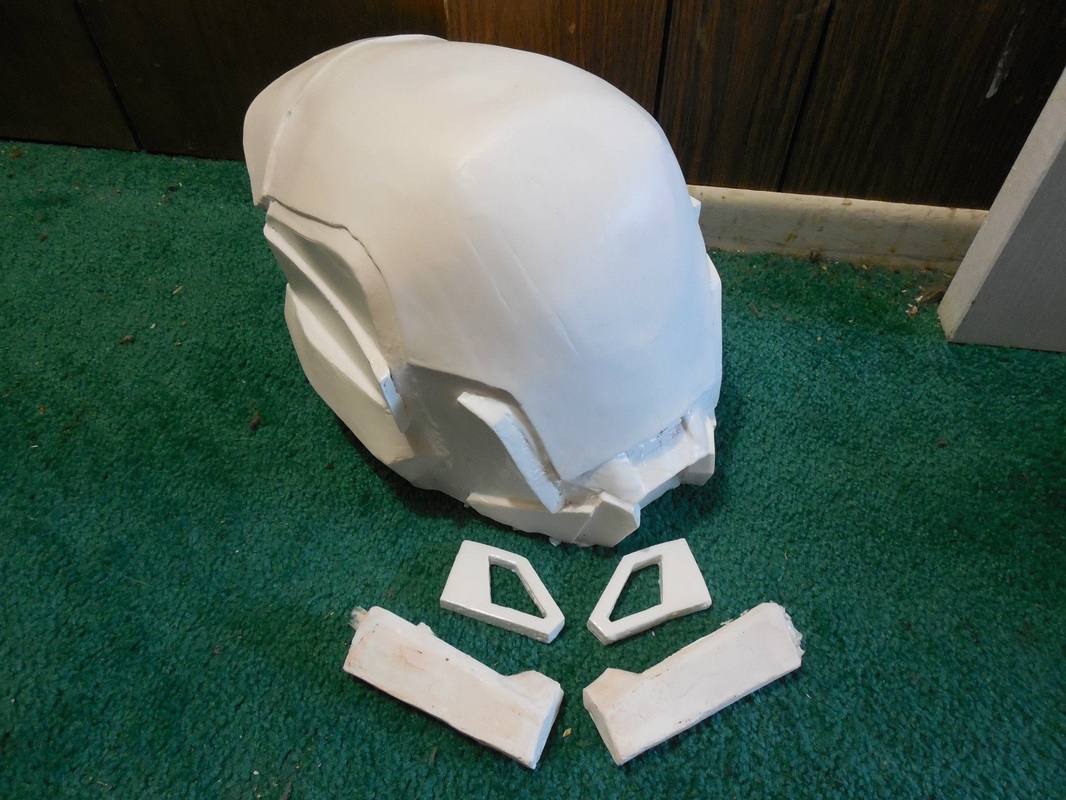
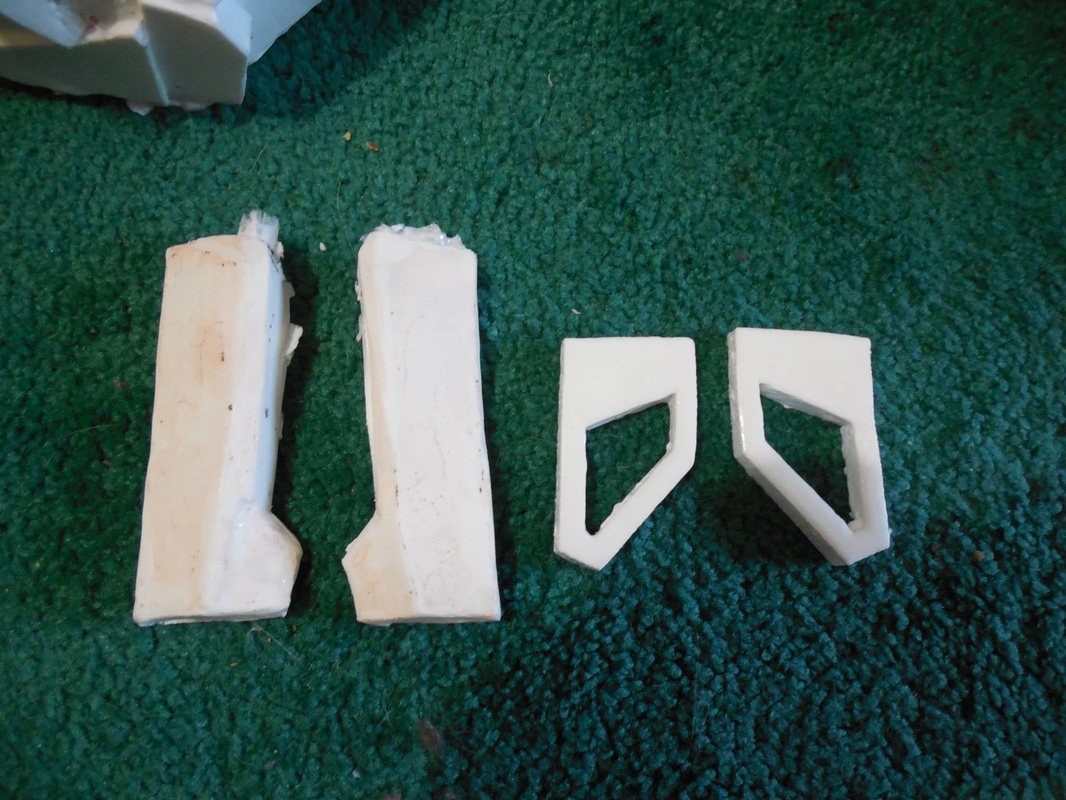
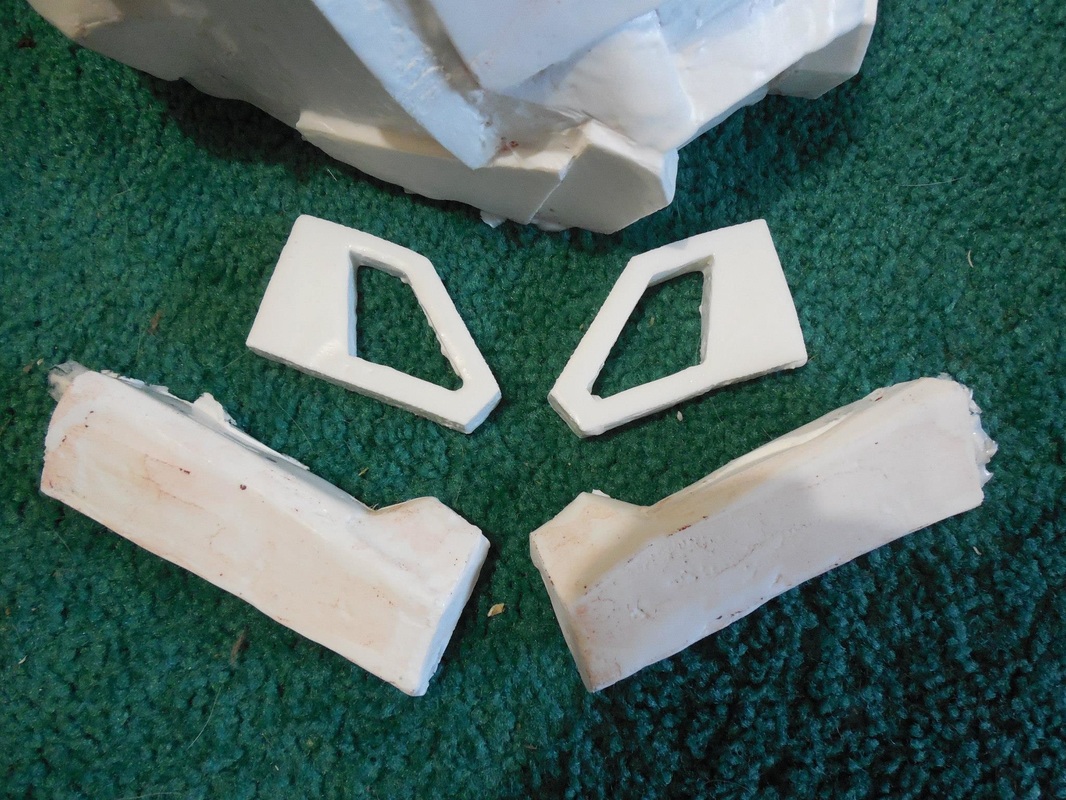
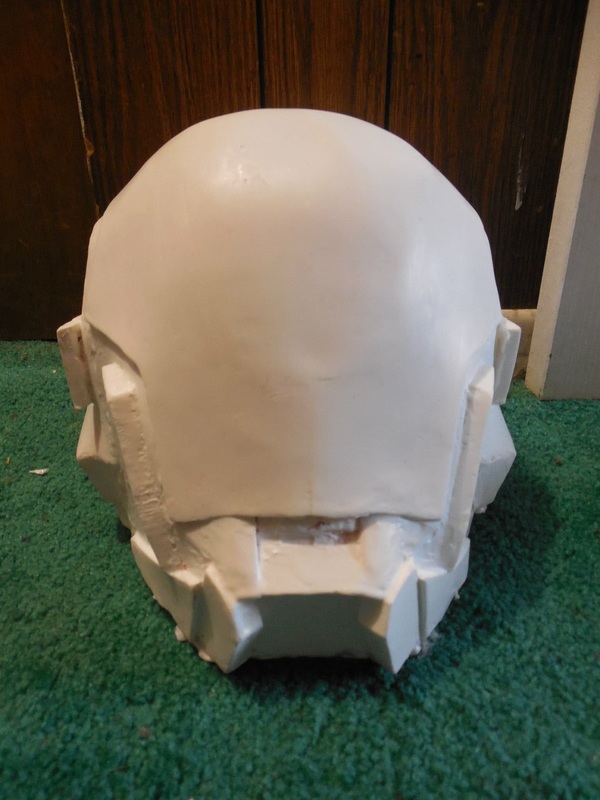
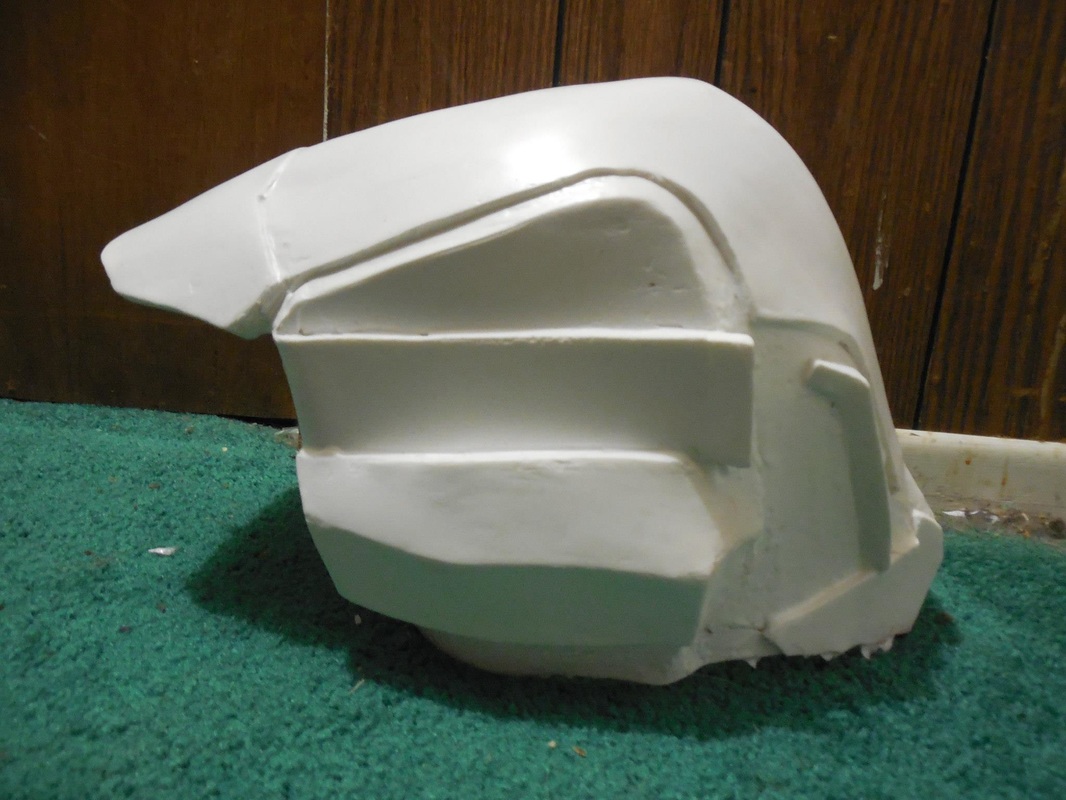
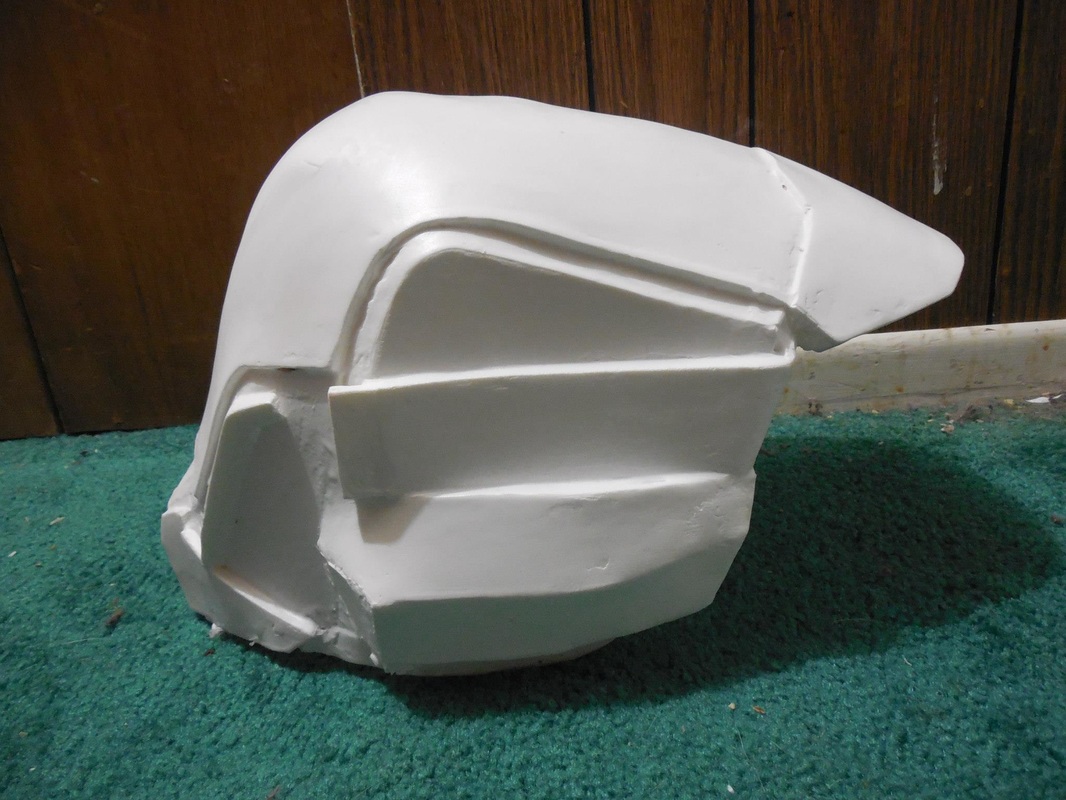
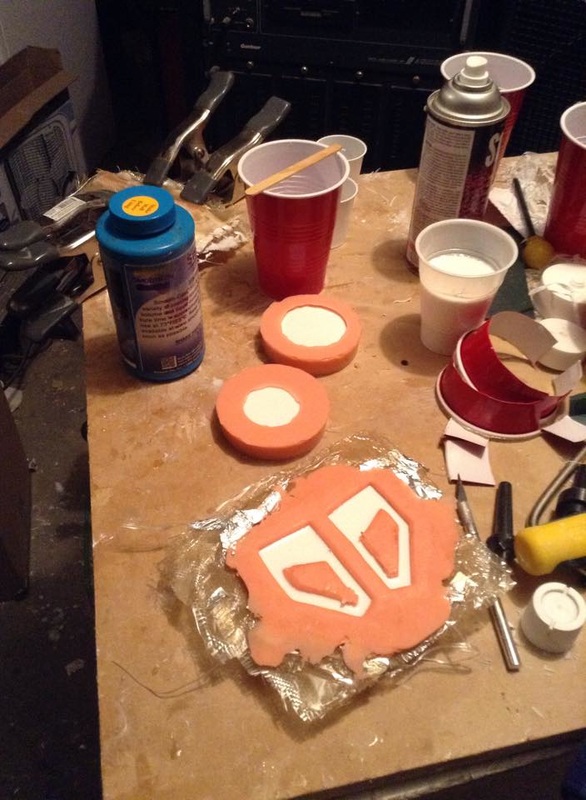
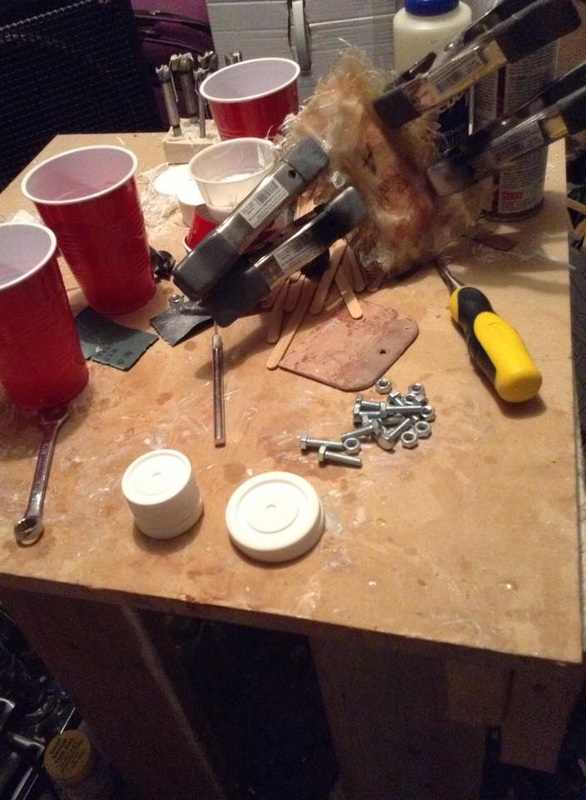
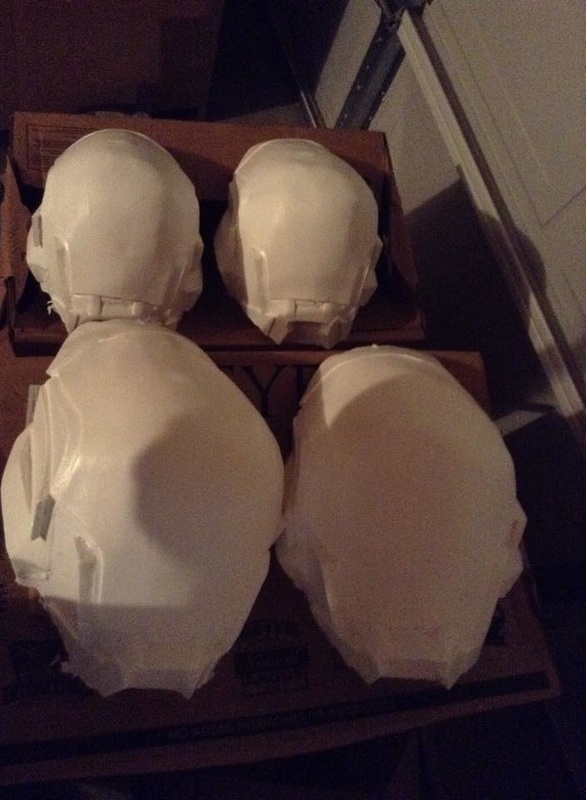
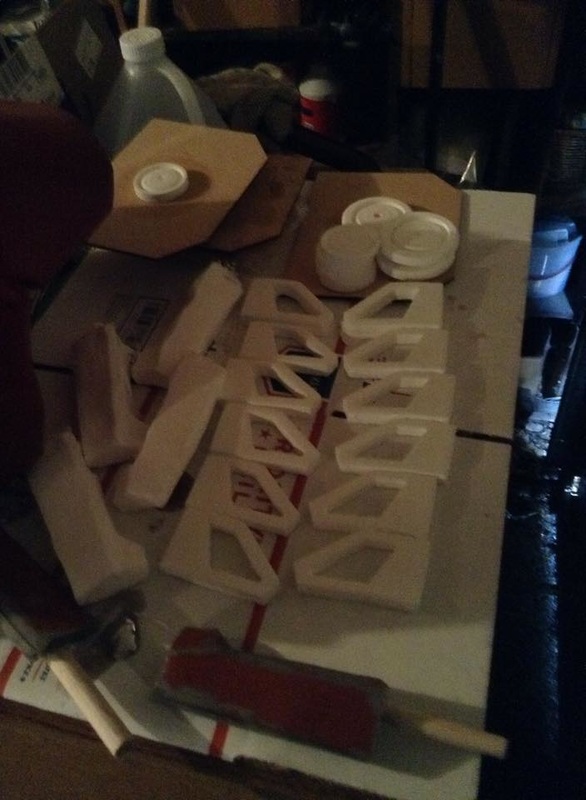
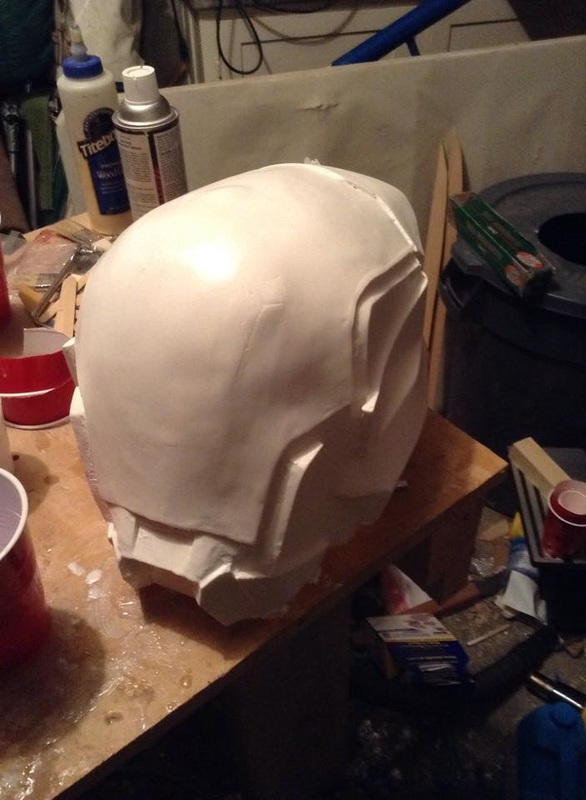
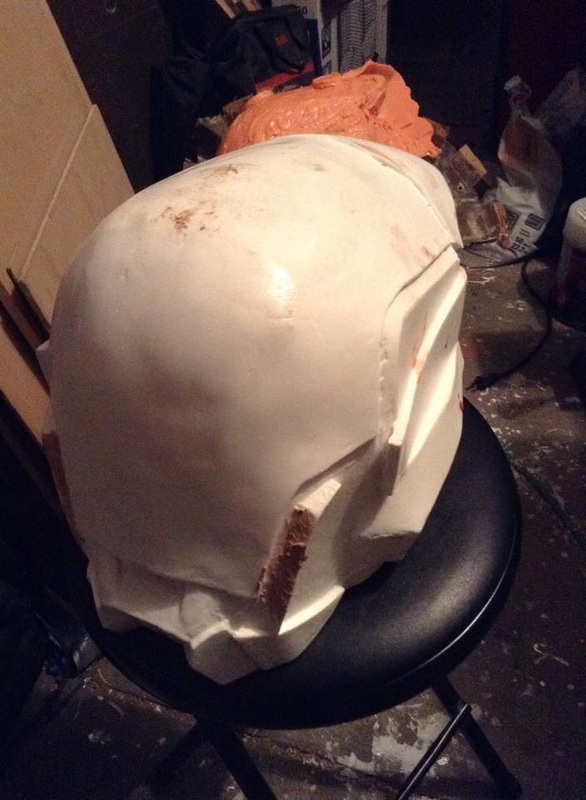
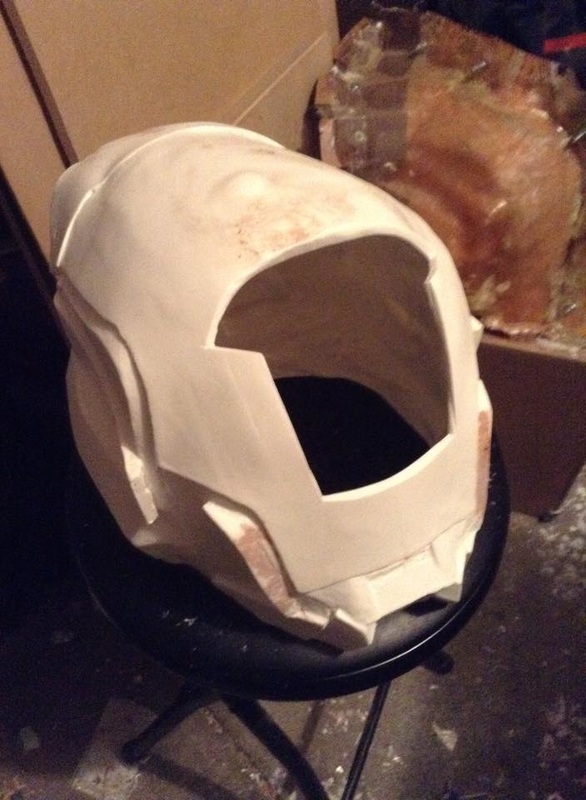
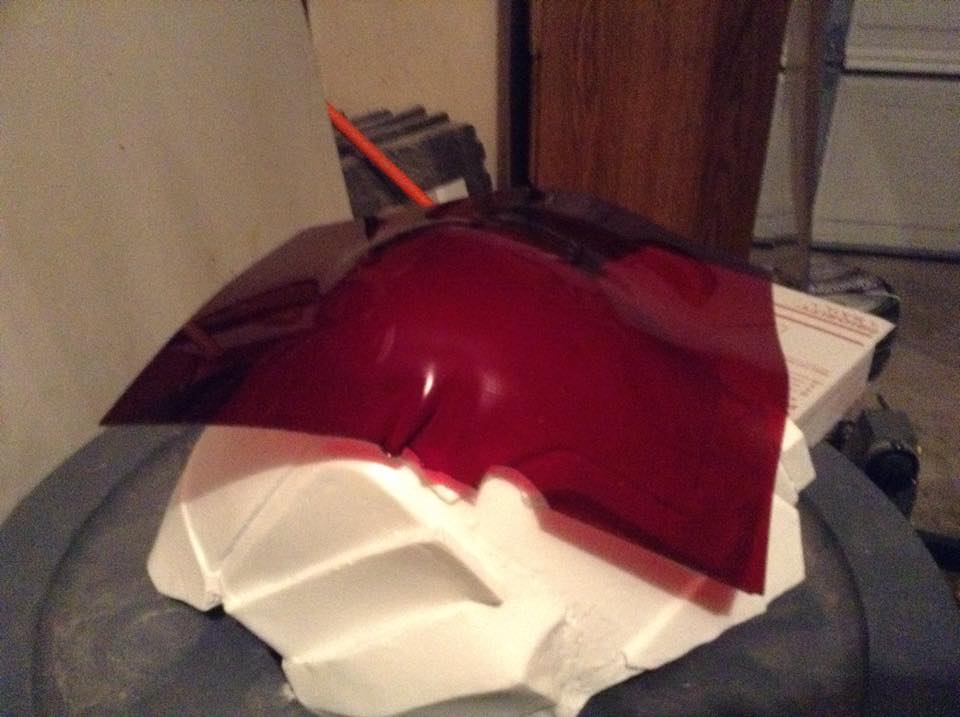
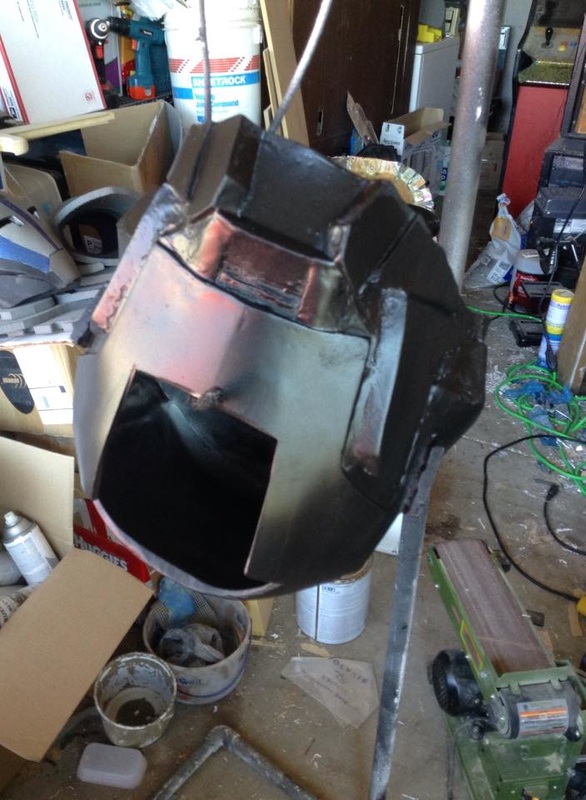
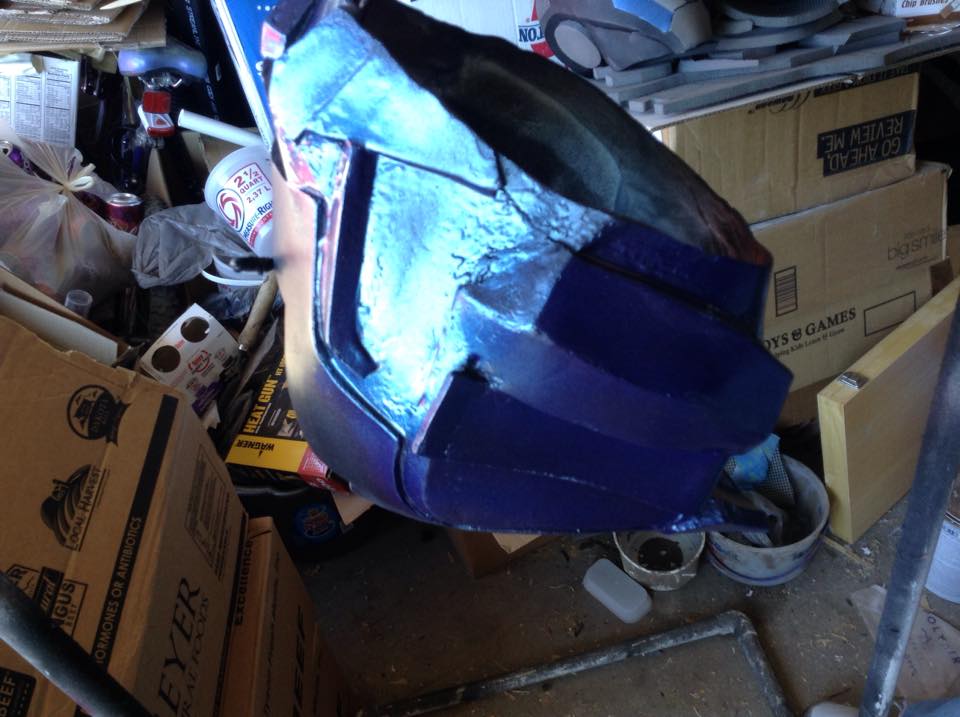
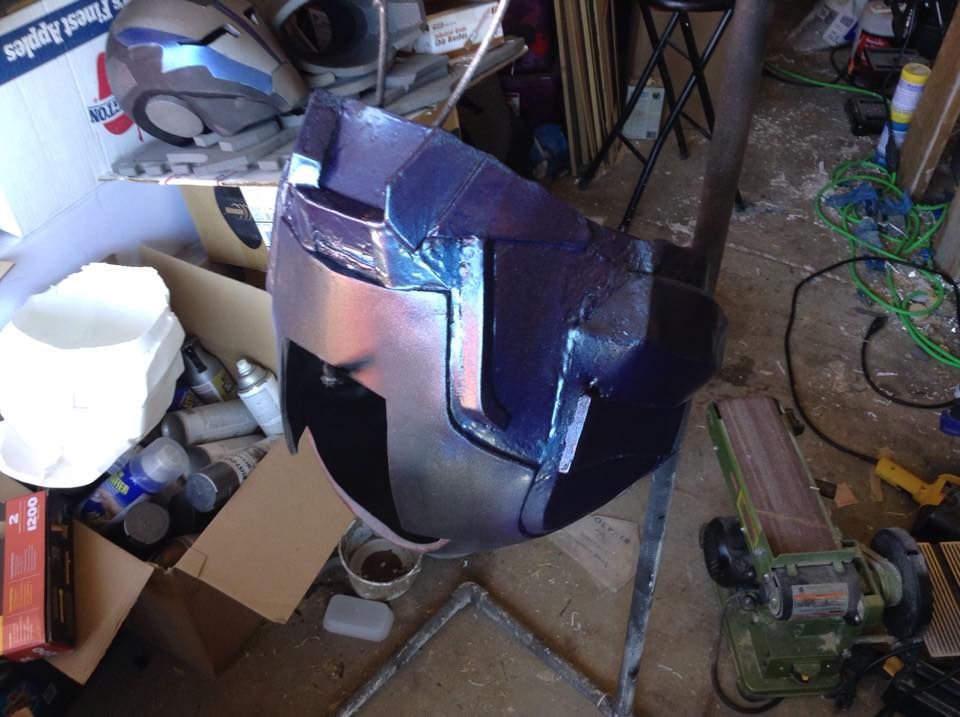
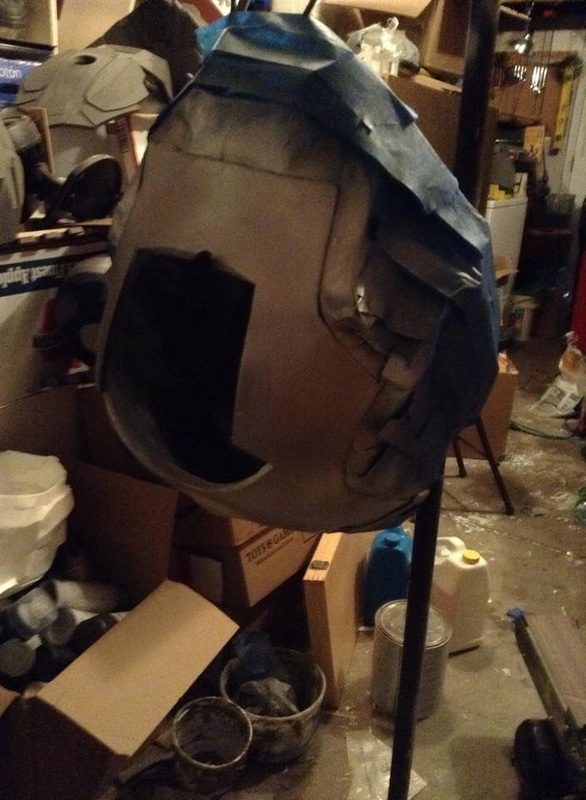
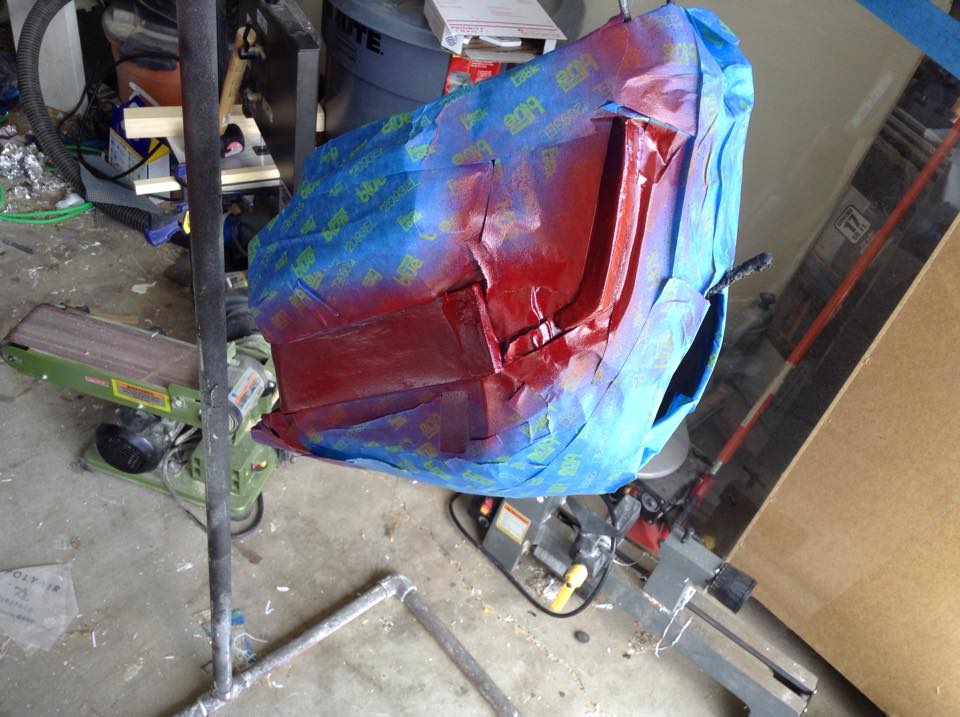
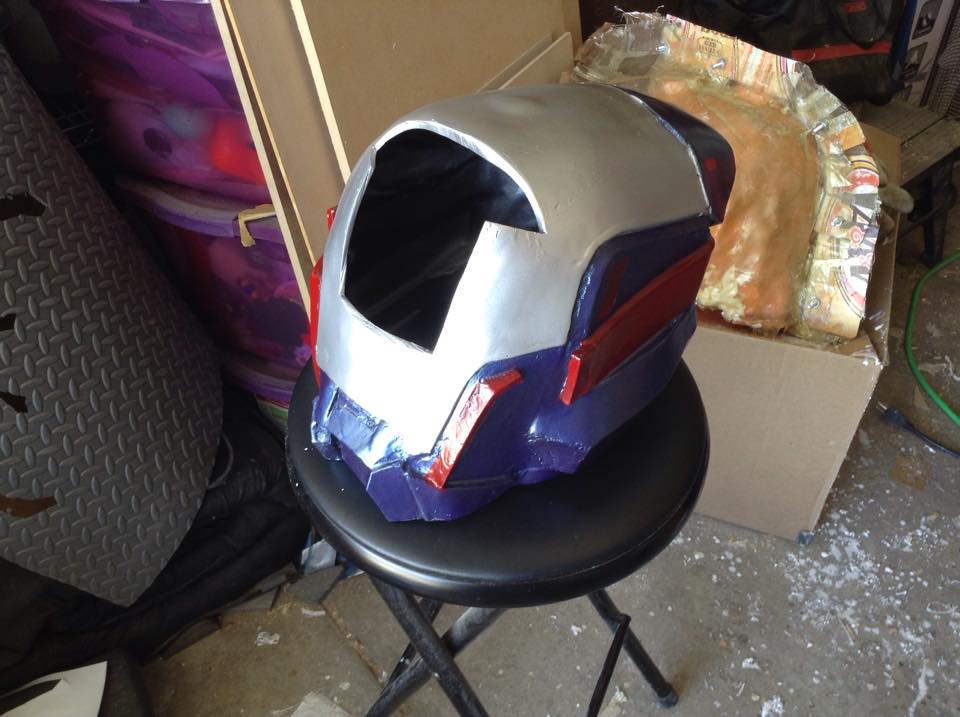
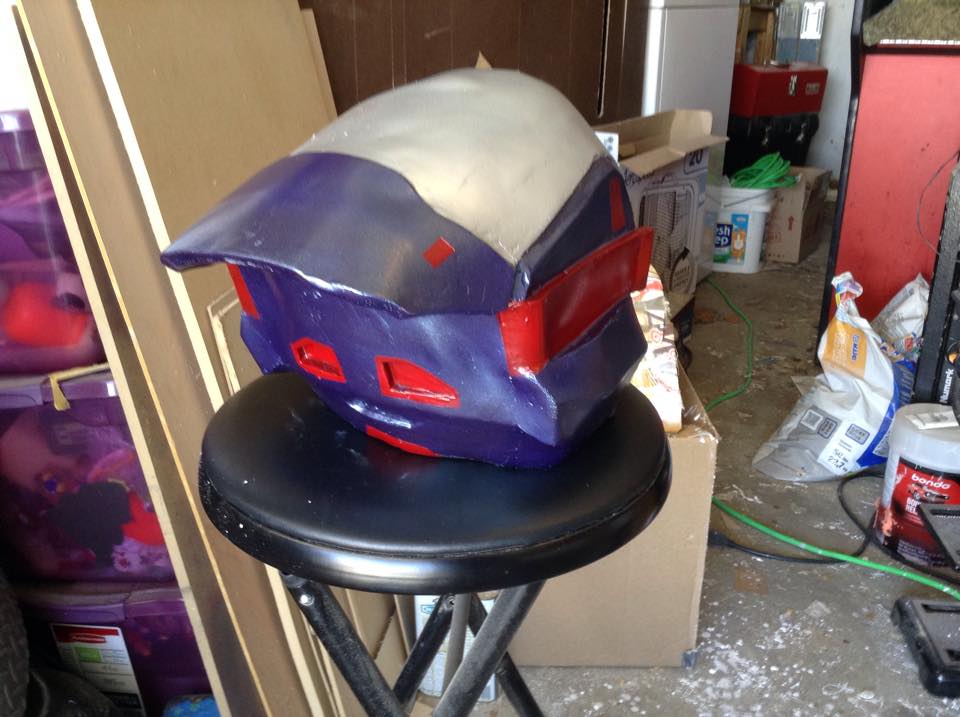
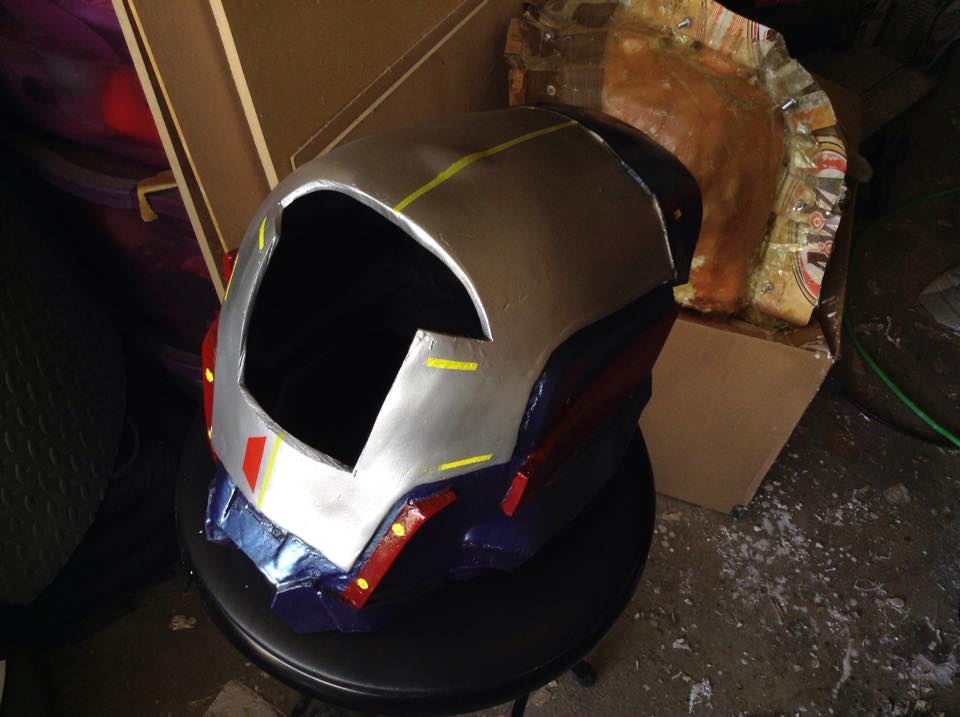
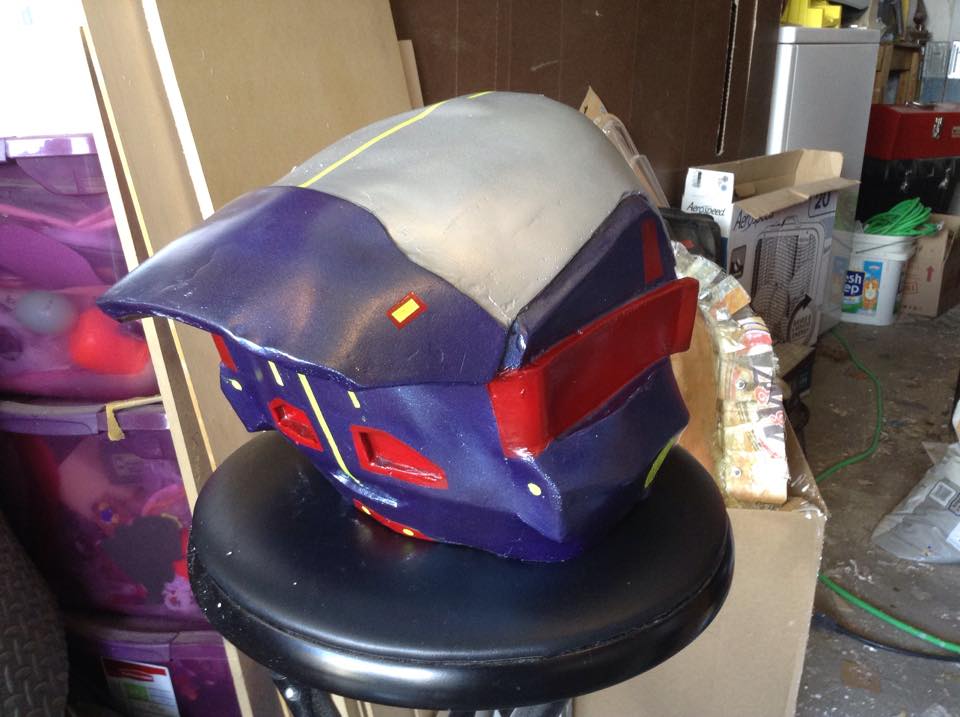
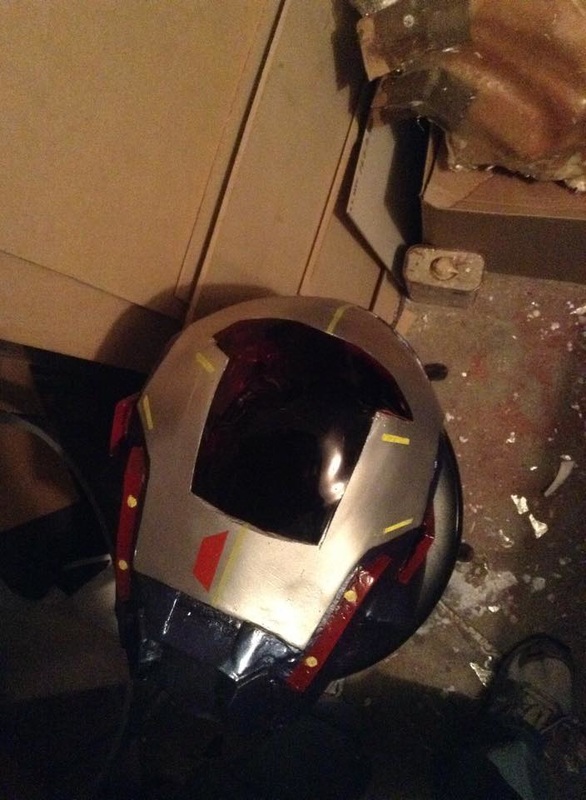
 Here we go again! For those of you that don't remember, a while before this build I had made a Titan helmet out of foam. Well, the people I made it for wanted another one, but this time opted for a full-on resin cast one. Since their deadline was kind of tight, and my sculpting/3D modeling skills are terrible at best, I opted to try out an experiment: molding and casting from floor mat foam. Initial build went basically identically to the last one, with some minor differences. I used a thinner foam for the cheek bits, so it went together more smoothly and wasn't nearly as bulky looking. Also didn't attach the buckle bits, since they didn't want them and, since much of what you can do with Destiny armors, I wanted it at least a little chance to customize. They also didn't want the cheek bits, but as this was to be a kit I wanted to give future orders from people to have those able to be attached or not as well. I left them on for now, though, since I needed to make sure they would be able to fit with minor work. Once that was done, rather than start sealing up the seams like the last one, I opted coat the whole of it in Smooth-On's Epsilon. Epsilon is a great product, and was made specifically so that companies could create a foam form (like, say, a pillow), cover it in the Epsilon, then make a mold of the now solidified piece and cast copies. Other resins eat at the foam or bubble up, but Epsilon was designed to keep the foam underneath safe without affecting the shape. It does make a hard shell, but you don't need to worry about losing your piece. It's also self-leveling, though you'll still need to sand down some of the rougher spots and drips. Afterward, you can treat it as any other mold master: start slinging the Bondo! I stuck the Bondo onto the low spots on the helmet, filled in holes, then sanded my arms off (as is wont to happen when prop making). Once that was as even as I could get it, I cut the cheeks off and did it all over again. After that, I painted the helmet in black primer, let it fully set, then started the process all over again. The paint helps give it a bit of contrast, helping your eyes see something they may not otherwise have been able to. Once that was done, I sprayed a red primer, to contrast the black and help me see it even better. Not a perfect process, as I didn't want to sand the whole way through the Epsilon and, as I was slowly learning, about the same amount of time versus cost compared to making a helmet mold master in the "conventional" manner. Once that was done though, it was time for some silicone! I used bondo to fill in all the open spots on the mouth and the cheeks, then got to work. I also picked up some fiberglass resin and some sheets of fiberglass. More on that later. For the mold, I went with Rebound 25, a brush-able mold perfect for helmets. I used an empty can of Bondo to hold the helmet steady and up off the bench, and went to town. I learned a ton in this step. Firstly, even for a sticky, brush on silicone, this stuff drips like there's no tomorrow. I swear, half of what I put on for the first two or three thin coats ended up on the bench or the floor. Easy clean up, but for a guy like me without a ton of money, it felt like I was dripping dollar bills. Once I got the registration keys on (made by pouring some of the silicone into spare cups), I also learned that I wasn't waiting quite long enough as I watched them slowly slide off. I eventually got those to stay. Lasty, I learned about the thickening agent Thi-Vex. It thickens the silicone enough so that the big thick coat(s) at the end don't drip off like the earlier coats do. Because I had used all of my Rebound to cover the dripping helmet, I had to order another pack of it - this time with the Thi-Vex - in order to cover the still-thin mold and strengthen it. With that done, finally I could move on to the really annoying bit. Researching this process from other prop makers, like Punished Props, WM Armory, and Volpin Props, is a huge help in this entire process. Specifically though, I had only fiberglassed a few things before when I attempted the T-45d power armor from Fallout, and I wanted to make sure I got this right. So, rather than just slapping the fiberglass sheet down and pouring the resin all over it, I spent a few hours cutting a bunch of two to three inch squares. This made handling it - and applying it - a ton easier. Due to the shape, I opted to make the fiberglass mothermold in 3 parts: two sides and the back. Originally I was going to do two, but realized that 3 made it easier to remove the silicone from the mold without as much risk of tearing it or smashing the casting inside. Using one of many helpful tips online, I used an empty soda can box, cut up into smaller pieces, for the mohawk that would be screwed together. If I had enough time I would have preferred to cut one out of wood or MDF, which would have been stronger, but alas I did not and had to do this on a tighter budget. It still worked though. In hindsight, I should have taken better care to do it on the cheek bits, but that's a tale for another day. All in all, did it succeed?  It did indeed! And I have to say, after having only done small molds in the past, it was really cool looking into my first large mold. On top of that, the master survived the process! 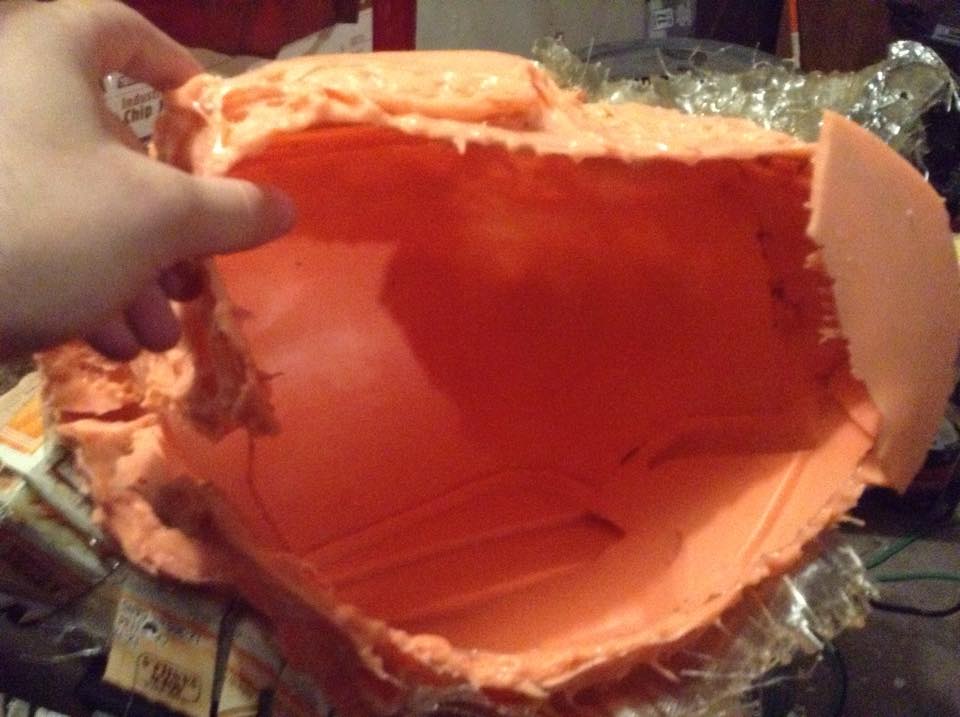 The first casting was a lesson or three on its own as well. Slush casting was a literal pain in the arms and back, which I felt for a few days since I'm an out-of-shape weakling. Also, when I reassembled everything, I didn't take proper care to line up a couple of the registrations. As you can see, because of the misaligned registrations, the first casting came out extremely warped. The smaller molds worked great - though the cheek bits had very small holes (my own dumb fault) so the resin leaked around the silicone and mucked up the mothermold. After a few castings, the cheek molds became basically useless, and I need to redo them. Thankfully, with a bit of carefully applied heat, I was mostly able to clean up the warped bits. 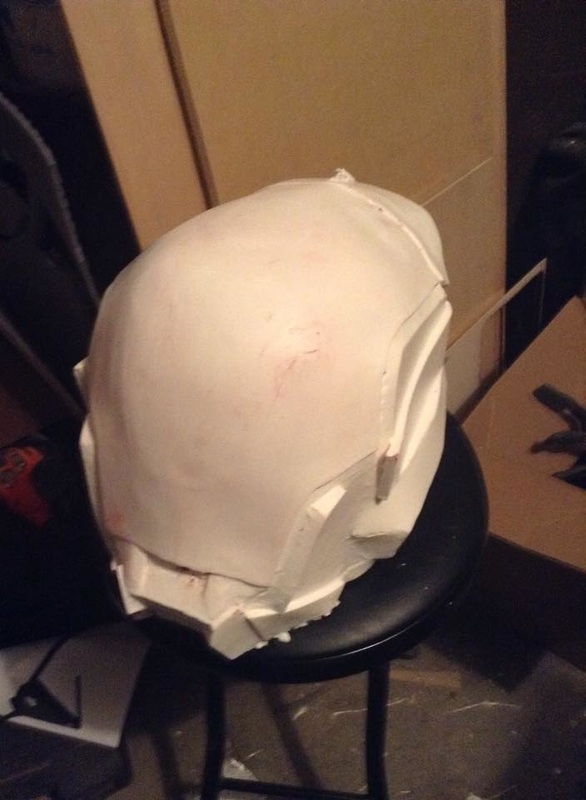 Hard to believe that's the same casting. Anyway, learning from my mistake, I properly aligned the registrations and tried again. Muuuuuuuch better. Oh - and one more thing, before we get on to the final finishing process. For the first two helmets, I used Smooth-Cast 300. For the mass-production line, I tried out Smooth-Cast 65, which is a bit more durable from what I had researched. While casting, I found it tons easier to slush than the 300, as it stuck to the walls better and cured faster (which also meant less pain on the arms). I also discovered that, unlike the 300, it doesn't stick to itself if you try to add a new batch to an already fully-cured one. 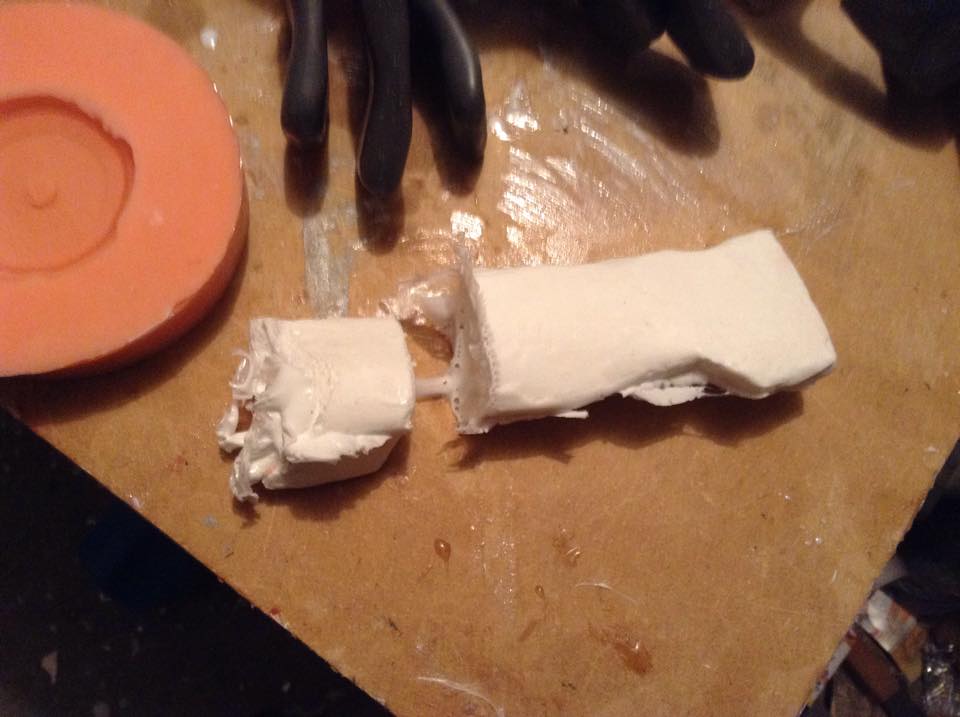 Falls right apart, so, word to the wise. Anyway, the one I finished for the client went similarly to painting up my other builds, just with a few added steps you don't normally need with the foam. It was also easier, since I didn't have to worry about putting on the cheek or buckle attachments. There were still a few spots that needed smoothing (my still as of yet untrained eye missed them apparently), so back to the bondo/sand/bondo/sand I went. Once that was smoothed out, I cut out the spot for the visor to go in. This was nerve wracking, since I didn't want to break it, though it held up just fine. Of course, then I realized I hadn't done the visor yet, so I used another casting as a base and slowly heat formed a piece of red acrylic over it. Oh, what I wouldn't give for a vacuum former...... Did a light sanding over everything, then started with a gloss black as a base. This helps the metallic colors to pop a bit better. After that came a new metallic blue from Rustoleum. Once all that set, I taped everything up and painted the outer visor a silver, and other areas a gunmetal grey. This was followed up with a nice red. After all that was done, I added the final details with red and yellow. Not the greatest color match-up, I know, but since they wanted a Red Bull color scheme, I think I did a pretty good job. Once the clear coat on that was fully set and dry, I epoxied in the visor (now cut to size) and did a quick pass for weathering. Done and done! 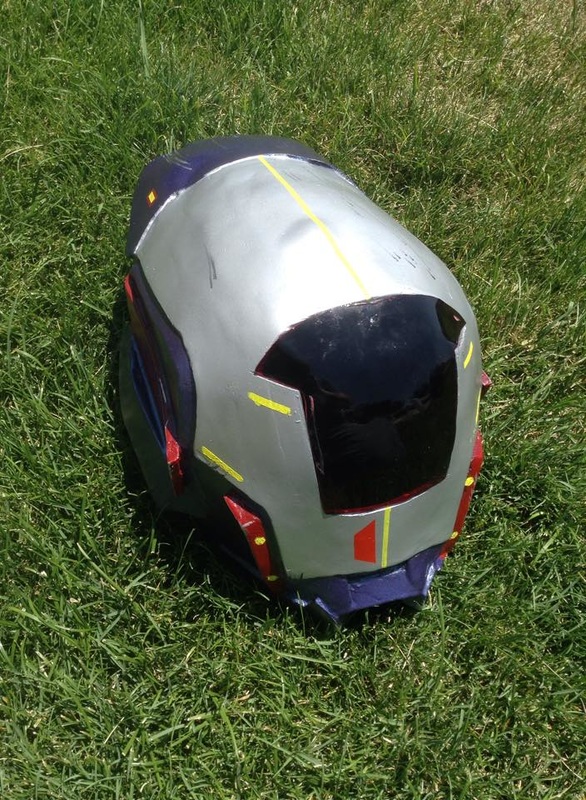 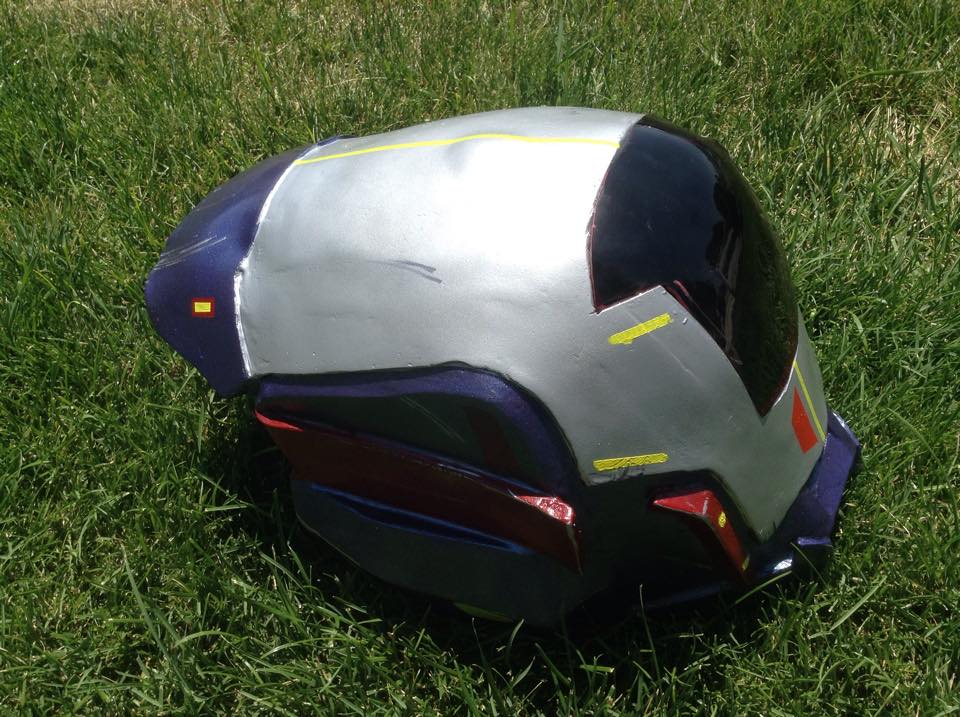 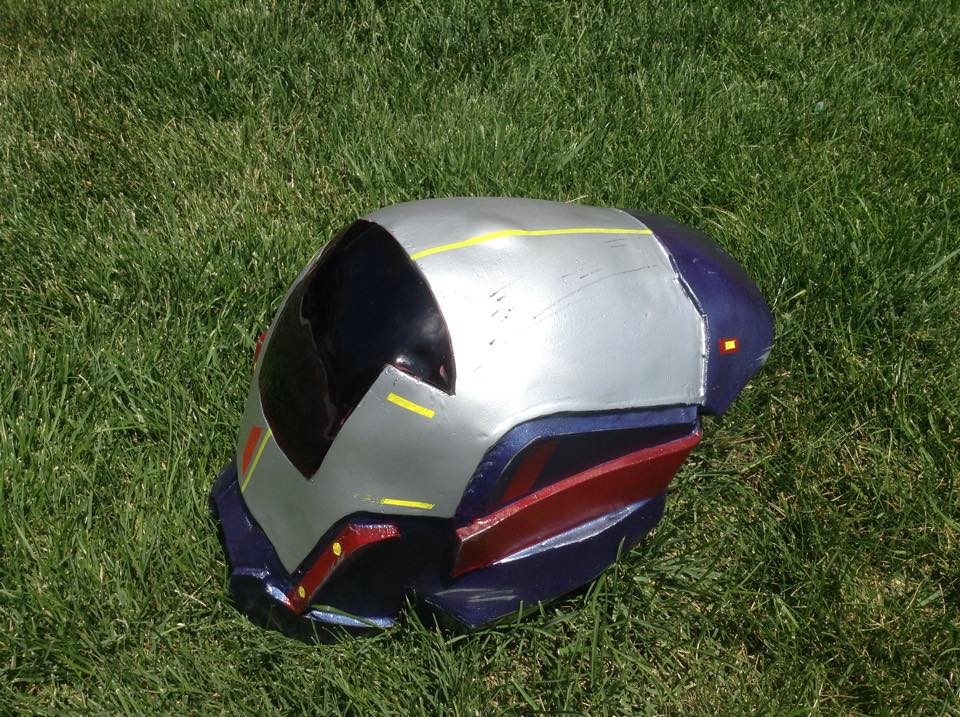 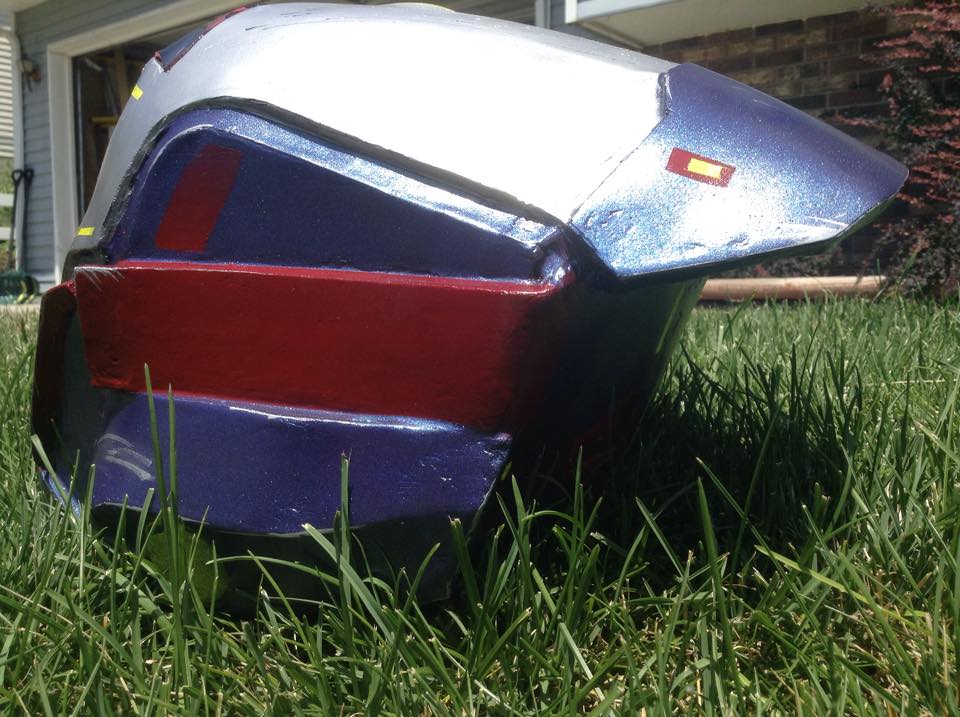 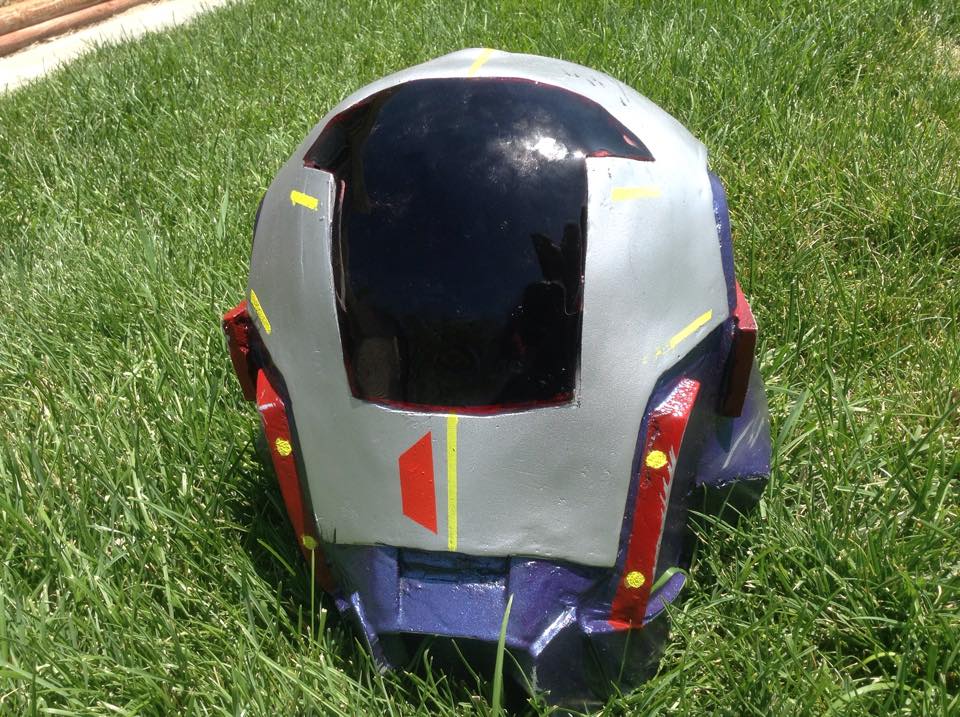 This was a learning experience every step of the way, and I hope you learned something too. Enjoy!
Want a kit of your own? Head on over to the Store!
0 Comments
Leave a Reply. |
|

 RSS Feed
