|
Well, I decided I had enough foam left over from the armor, so I might as well try to make the M8 to go with the armor and pistol I just finished. The template I used was from the same 405th thread with Ithica's armor files (and the other person that helped - forget the name *sorry*). Once again, the foam proved easy to cut: 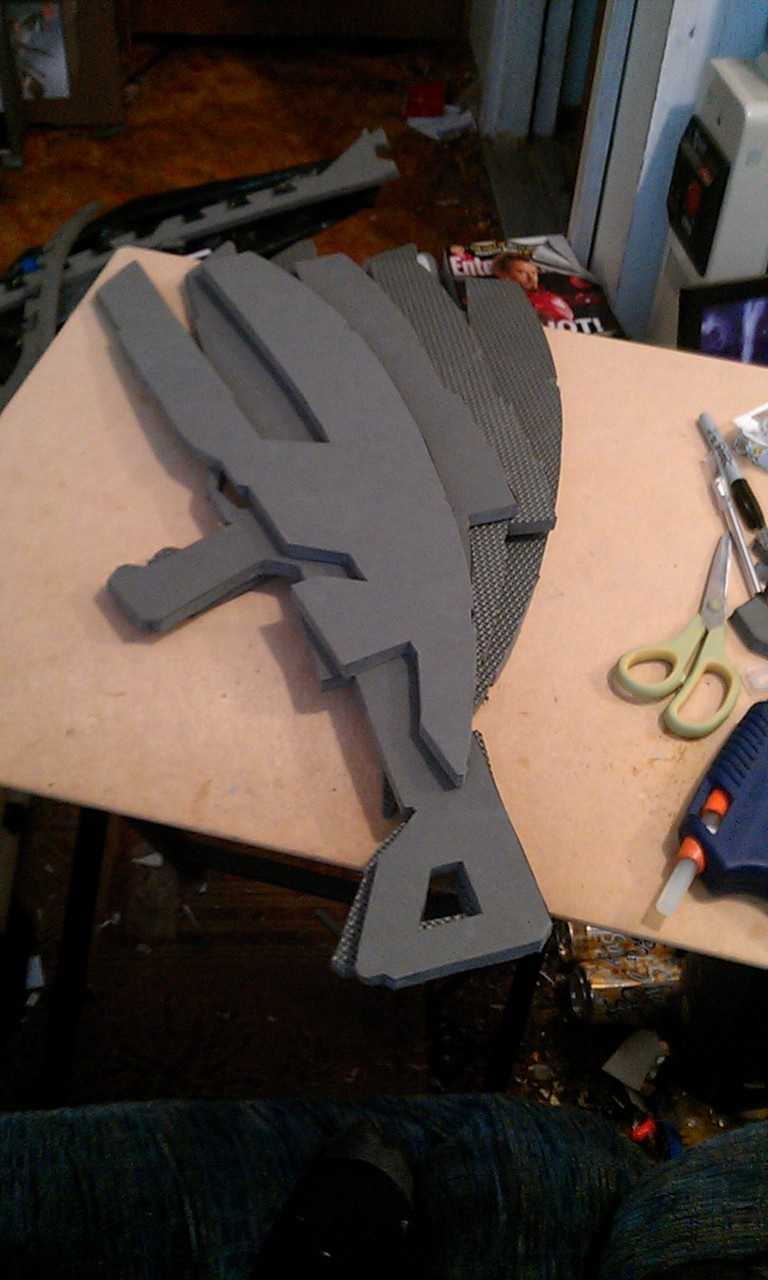
...and then semi-easy to add a stick to the middle for support and strength. This may be just a simple build for release night, but I wanted to make sure it held up in case some eager gamer bumped into it or it gets passed around and stuff. Now, just to warn you, I only have a dremel and a wood burning tool at the moment, besides my now depleted exacto blades. I need a router/table and the right bits to make this exactly how I want to. Given that, though, I am very happy with how this turned out. Anyway.... I took a sharpie (best things on the planet), drew in the detail lines, and etched them in with the burn tool. 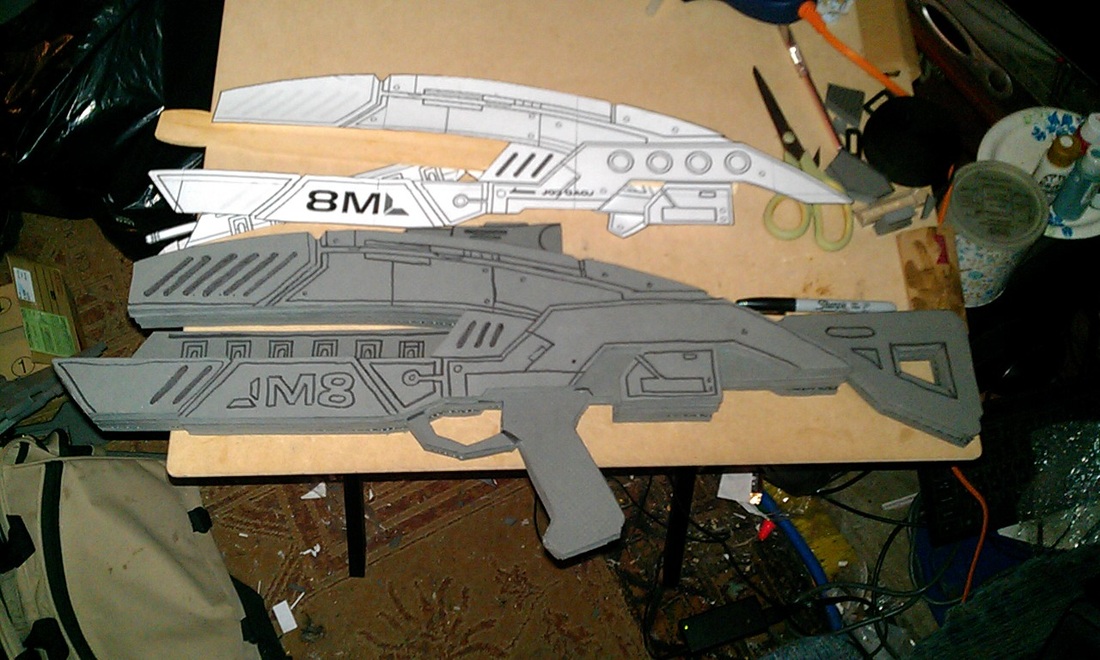
At this point, none of the four layers are secured to each other, because, with the way I build this one, there were some spots that went under the layer above, so I didn't want to burn the upper layers on accident. Here's all four connected and mostly detailed: 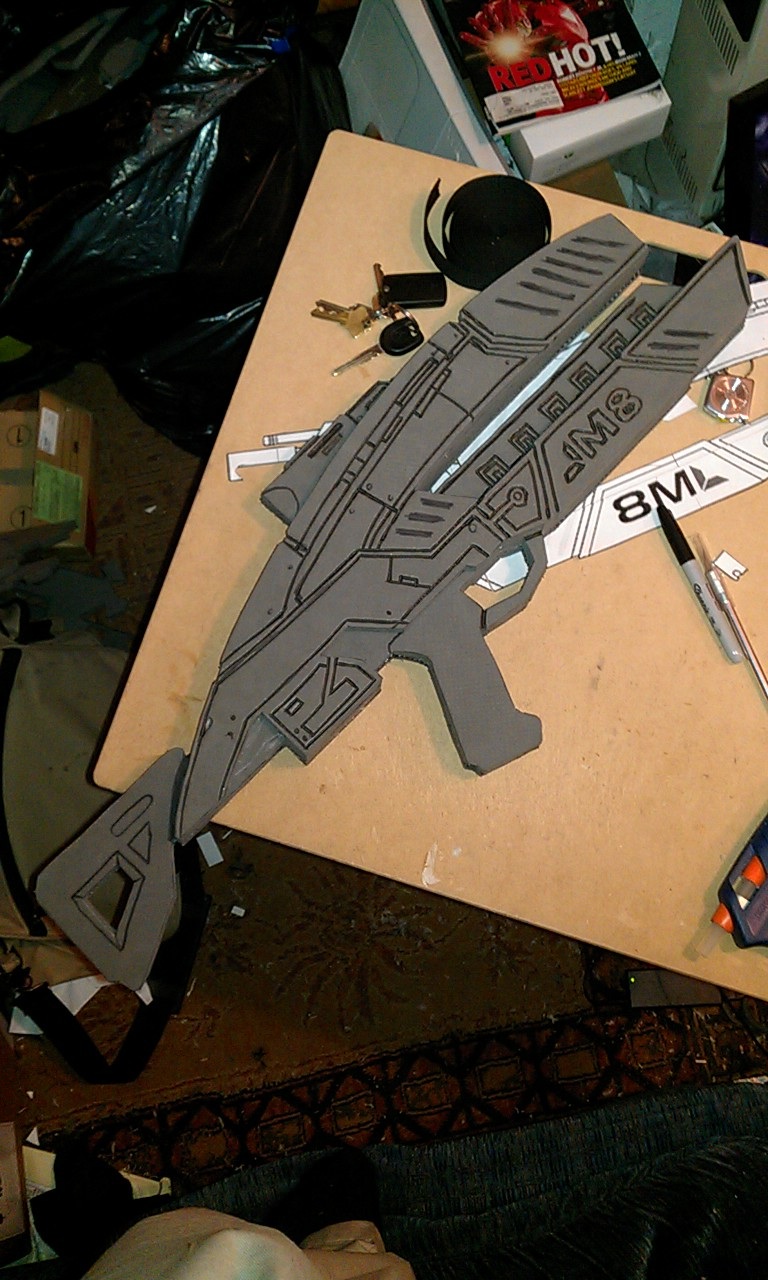
You can still see some detail marks, for the vents on the barrels and the marks on the stock. The latter was just for alignment purposes, and I didn't want to burn the vents in until I had done some rounding to the top edges. It's not a box, after all! Here's a pic of after the rounding, with a great closeup of the vents and other details. 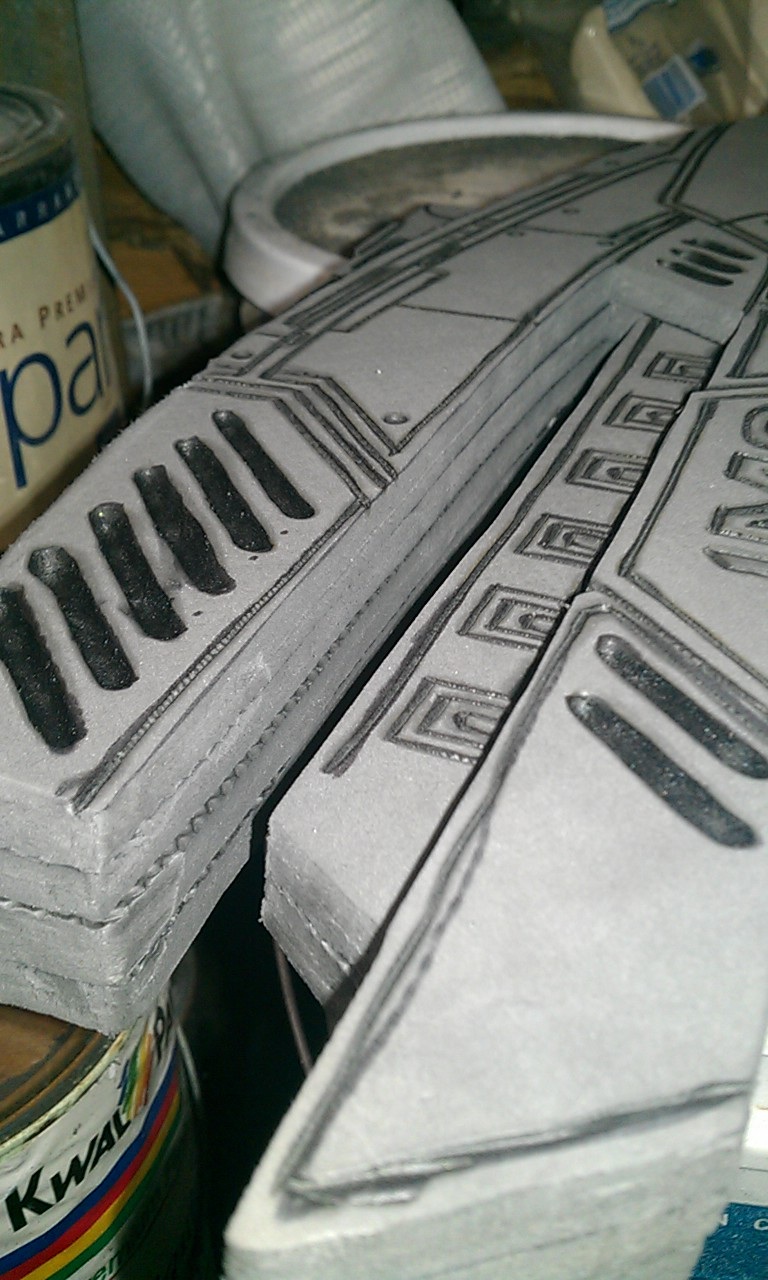
I know, I know - the layers weren't exactly the same. There wasn't much I could do to fix that, even with the dremel sanding tube. I also need a band saw or something else that can cut multiple layers. That would make the edges much smoother. No big deal though - it's not for a con. Not yet, anyway. And that, my friends, is day one! I was home sick anyway, so I figured what the hey, I might as well be productive! Next step: a bit of craft foam on the grip and stock, for a fuller, cleaner look! 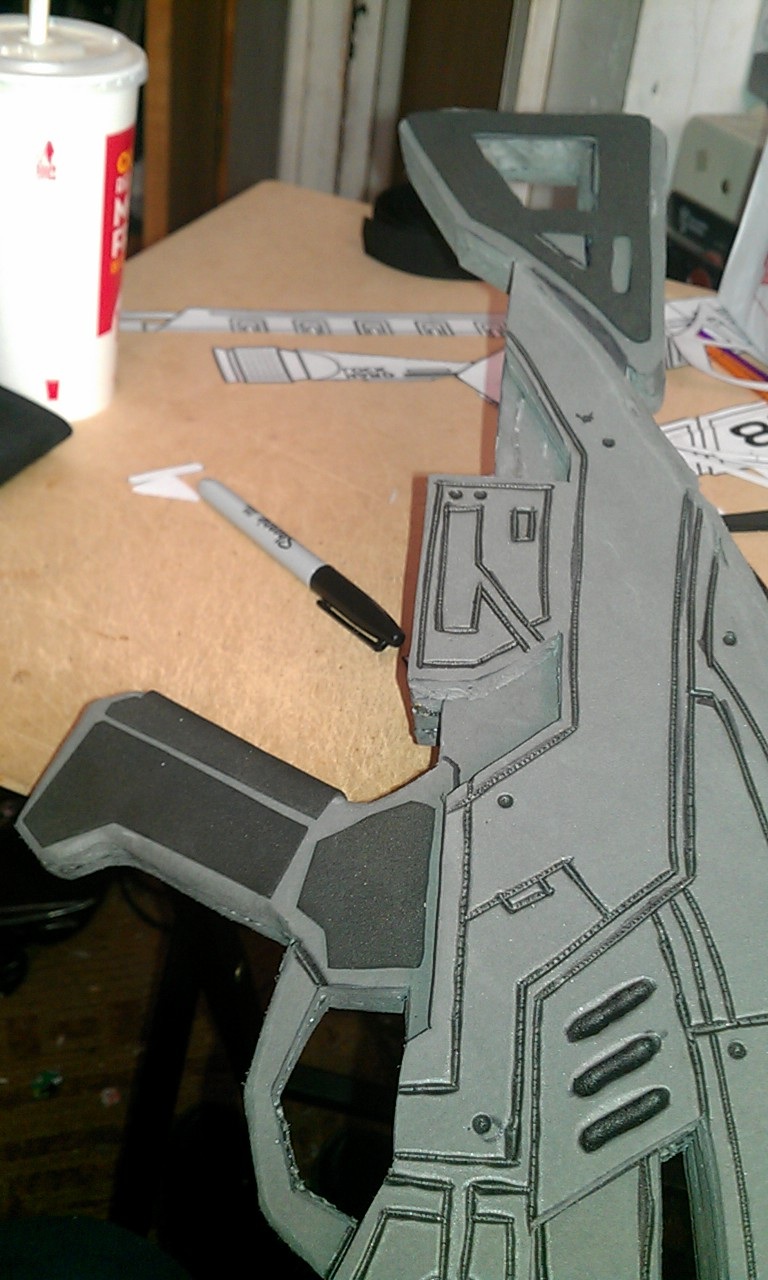
That was pretty much all I did day two, since I went back to work and as far as I knew we were totally out of cash. Taxes were set to come in that day, yet - naturally - they didn't. For all I knew, that was as far as I would be able to get on this one. Wouldn't you know it, today I found $3 in my pocket! It was left over from when I went to get some white paint for the pistol! I rushed out to Lowes and found a few things I could use for the barrels and the sight: 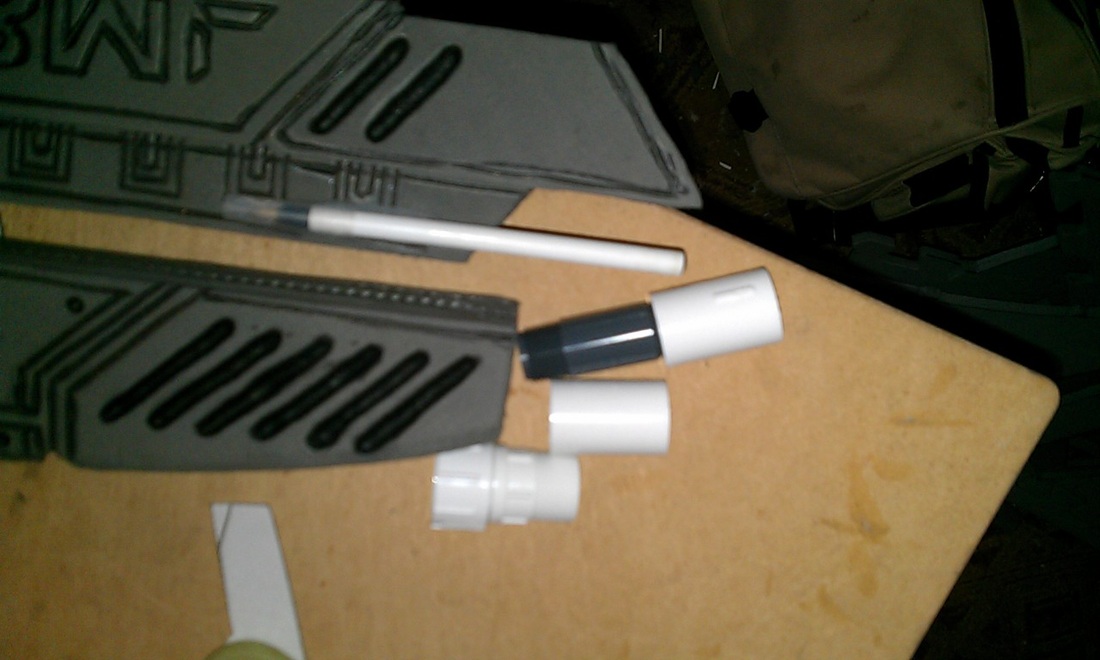
Crappy picture, but I was so excited I was able to get it done that I wanted to get right to it. I cut each to shape (with a hacksaw - did I mention I need better tools?) and started attaching them. 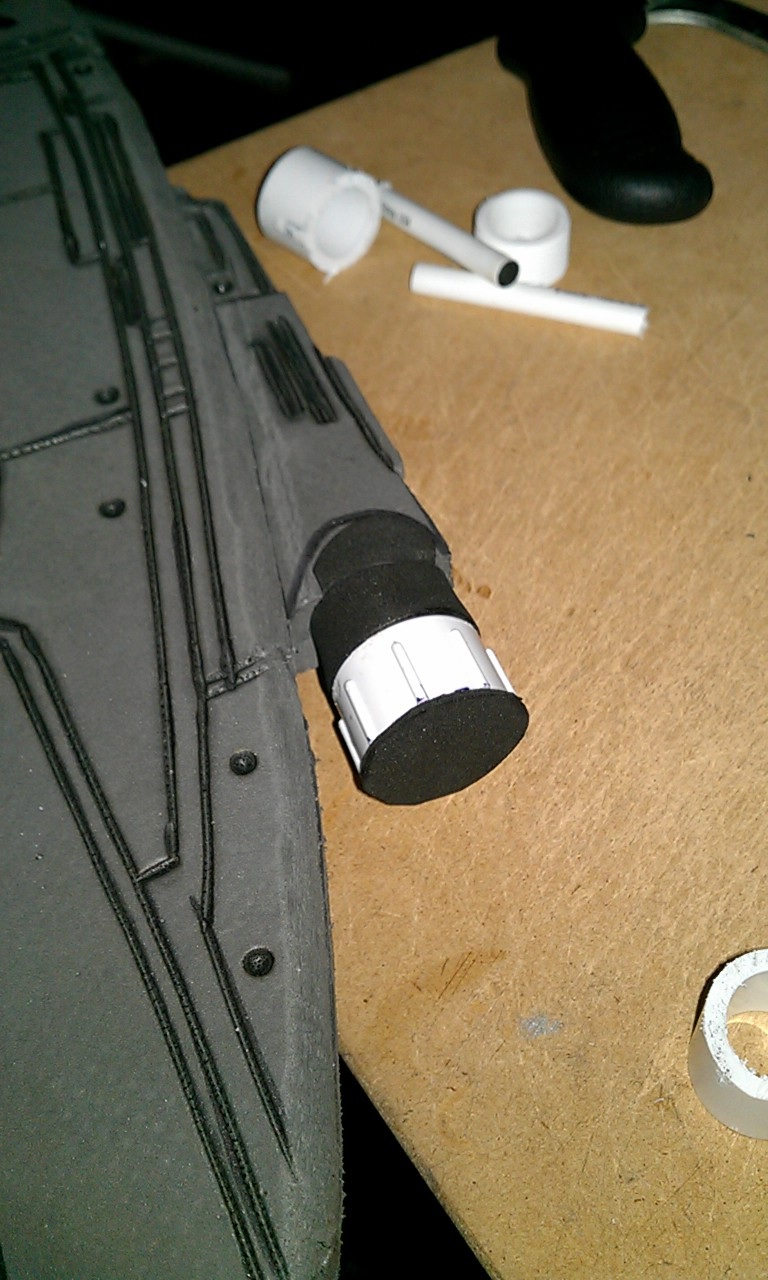
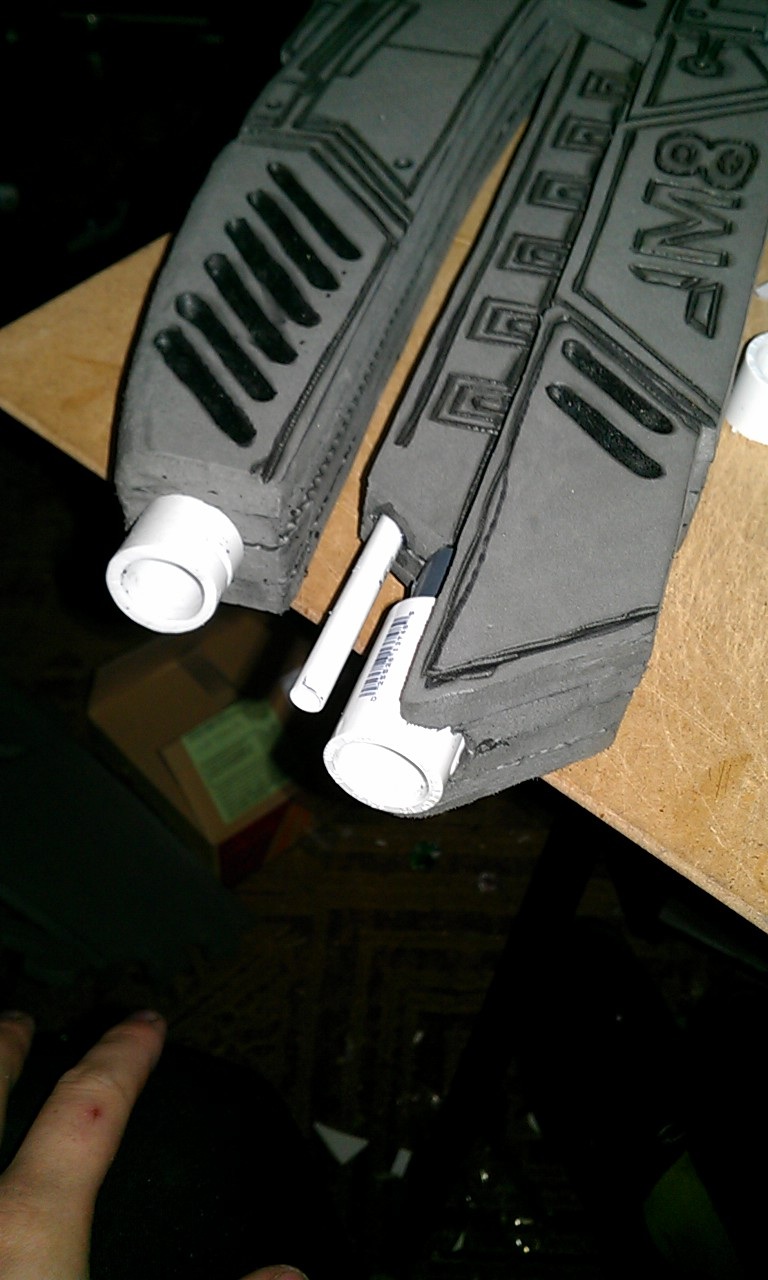
Yes, that little one is an old pen. Hey - Volpin did it, I can too. Right? ;) After all that, it was finally time to paint! Did the black areas on one side first: 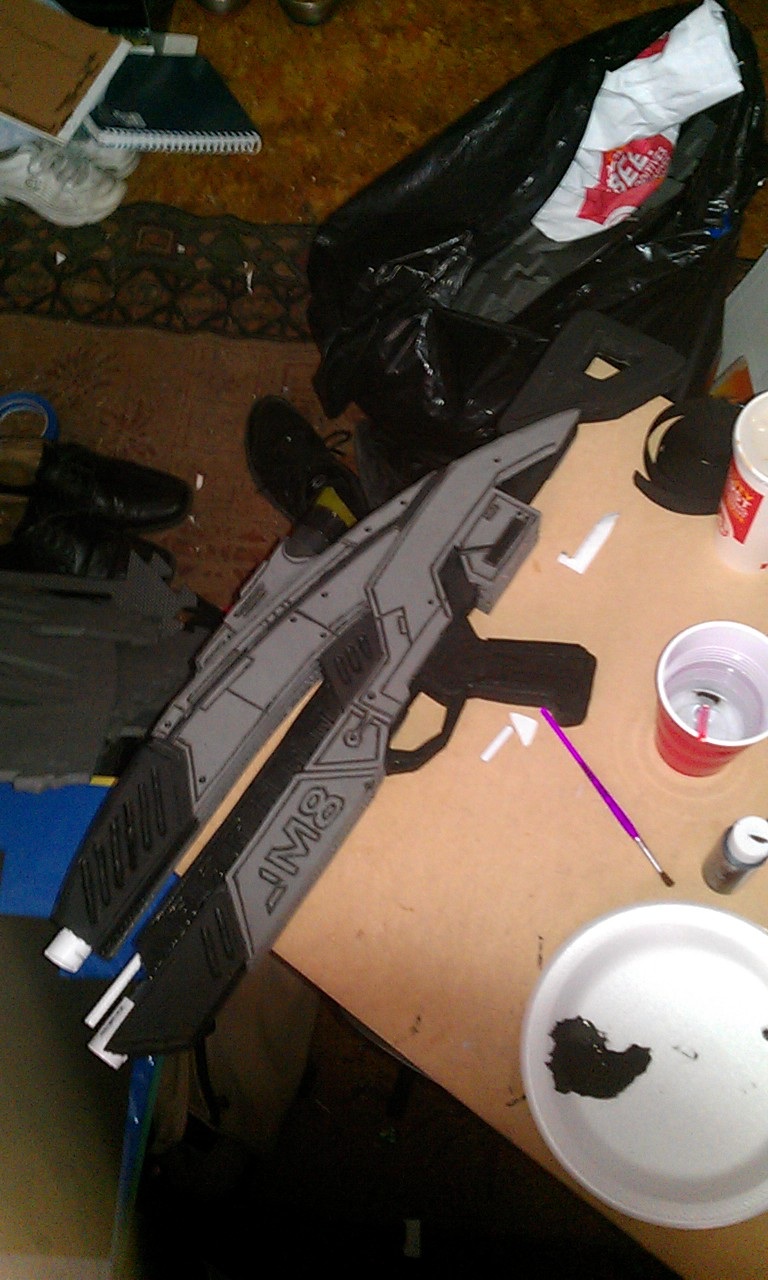
...flipped it over, did the black on the other side and the silver areas: 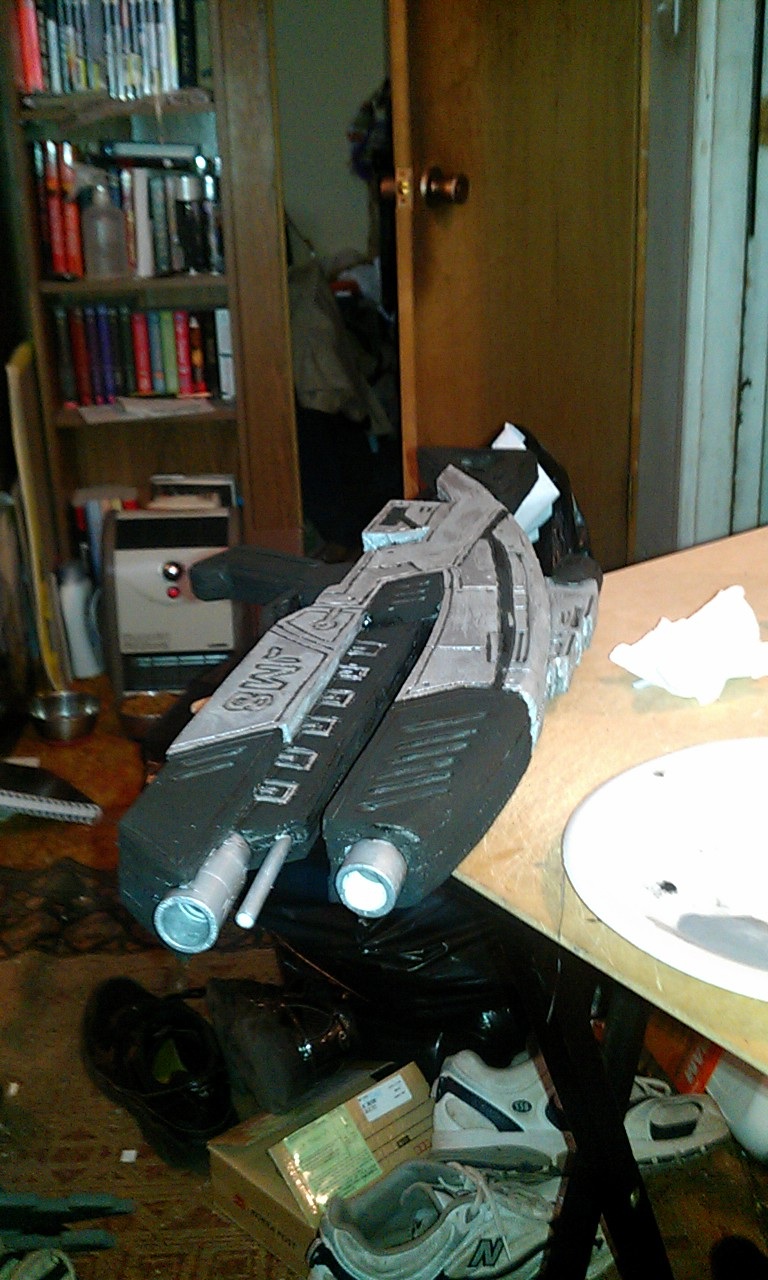
...flipped it back over, finished the silver, and did all the decals. Aaaaaand done! 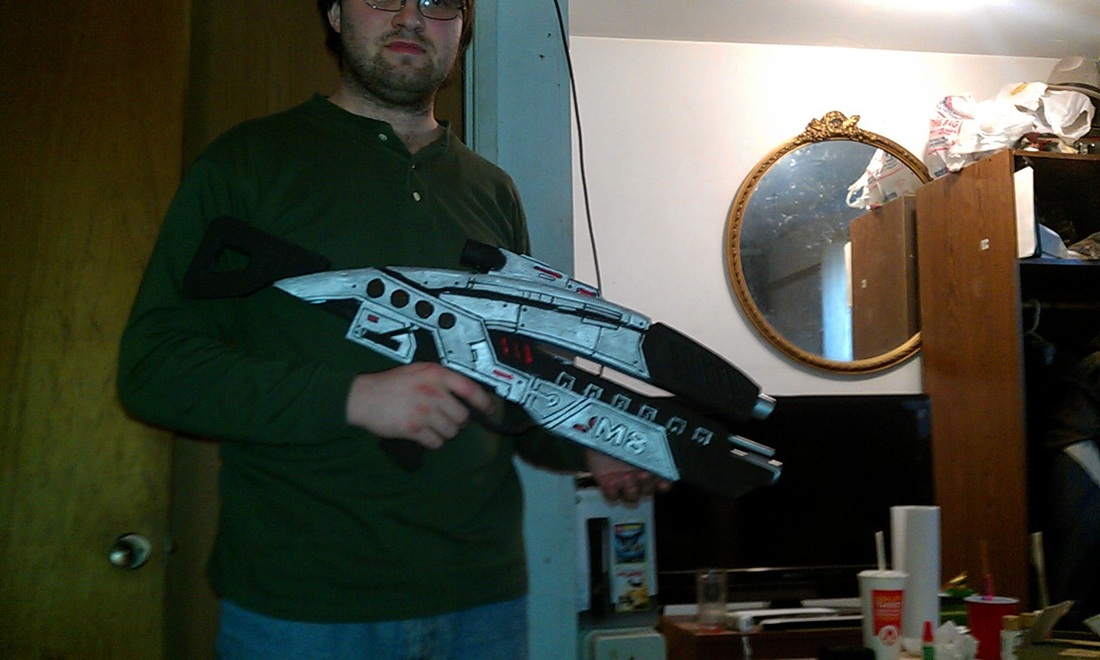
Couple of spots were still wet, hence the delicate hold I have on it above. Man! Three days, and done! For a simple, quick build, this went really well. When I have more tools and such I will make a much better quality rifle, but in all honesty, I'm very happy how this one turned out.
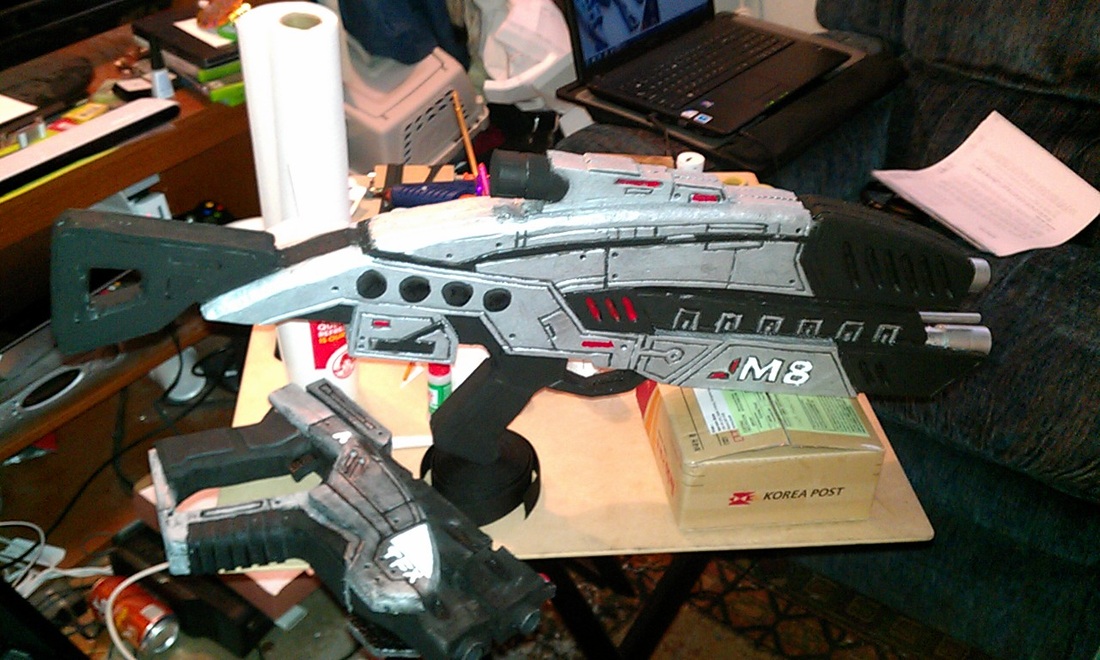
I'll have pictures with everything after the release, and I might even add a few of these to the store. Depending on the tools I can get, the price may or may not fluctuate depending on the quality. Keep an eye out!
2 Comments
5/28/2013 06:41:39 pm
I have been through the whole content of this blog which is very informative and knowledgeable stuff, So i would like to visit again. 5/28/2013 06:44:24 pm
This is a great blog, usually i don’t post comments on blogs but I would like to say that this post really forced me to do so! Leave a Reply. |
|
 RSS Feed
