|
This build has seriously turned into one of the absolute easiest builds I have ever done. It'll be hard pressed to beat it, given how despite the heavy detailing it came together in just a few days. You may also know this one by the regular version: the M-6 Carnifex. 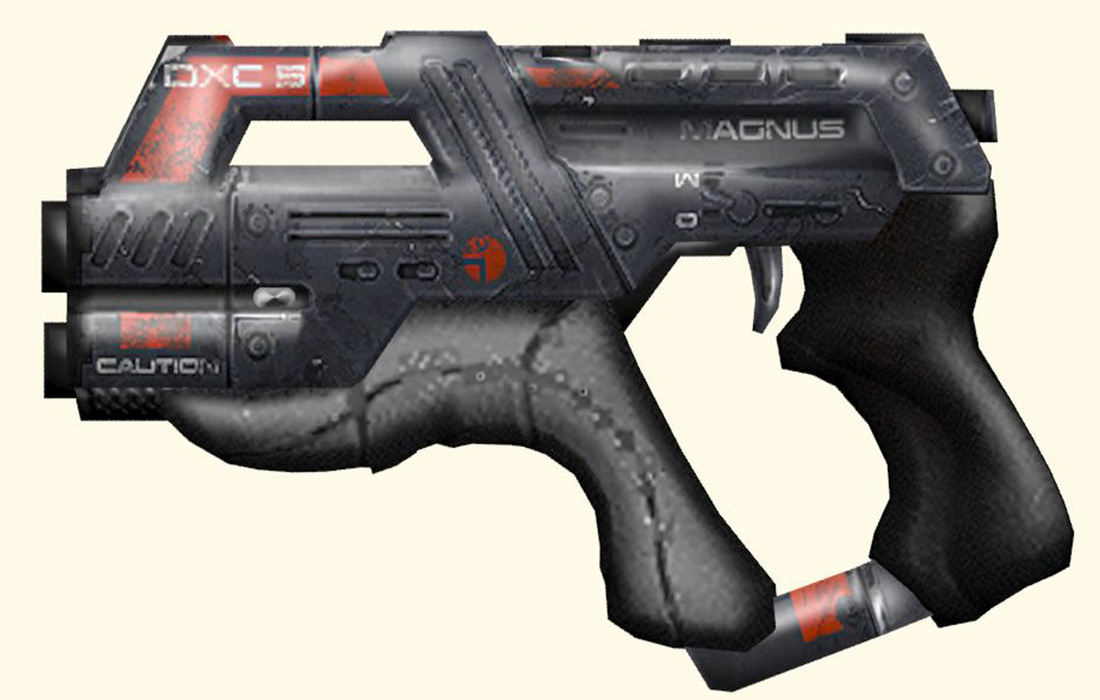
The two pistols are virtually identical, the only difference being the color and the decals. Two guns in one! Even though there are several other prop makers who have made this particular pistol, and quite a few of them made blueprints that are up for sale, I decided to take a crack at it and make my own blueprints (which, coincidentally, are up for sale). Once those were done, it was time to start cutting out the foam! I did this one in the same manner I do the M-8 Avenger: lots of puzzle pieces. 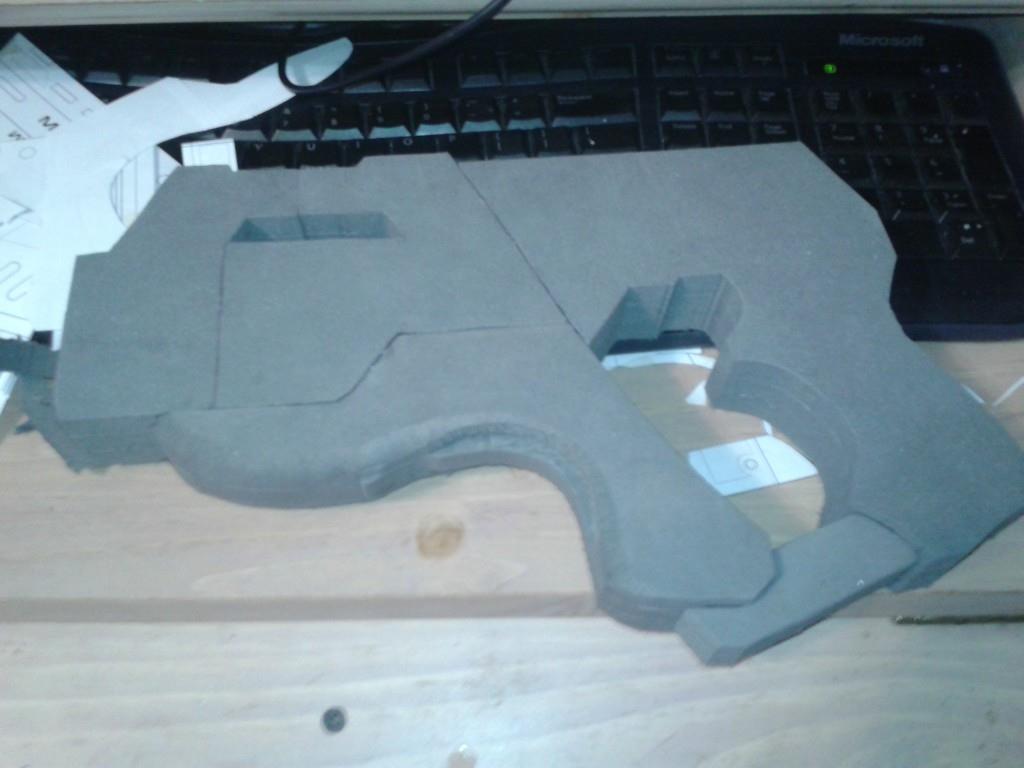
Sorry for the terrible pictures on this one - only had my phone on hand and was trying to finish it quickly. As you can see, there are five major sections. This helped quite a bit, especially in the open areas around the top and the grip portion. Once that was done, I started slinging the craft foam! 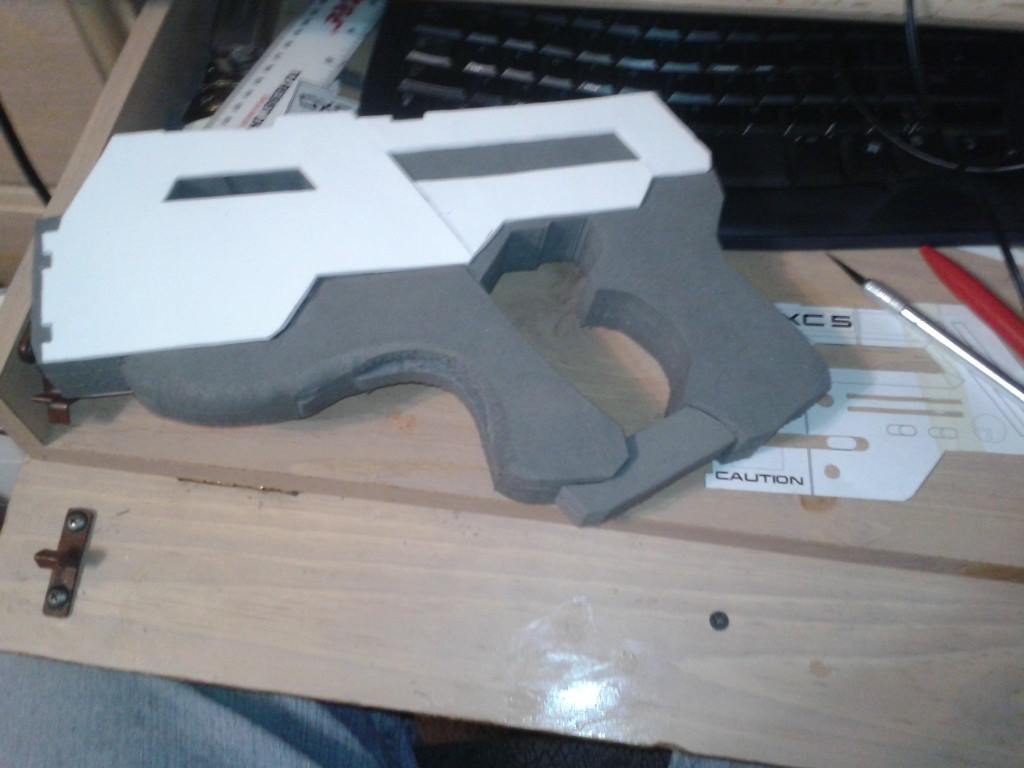
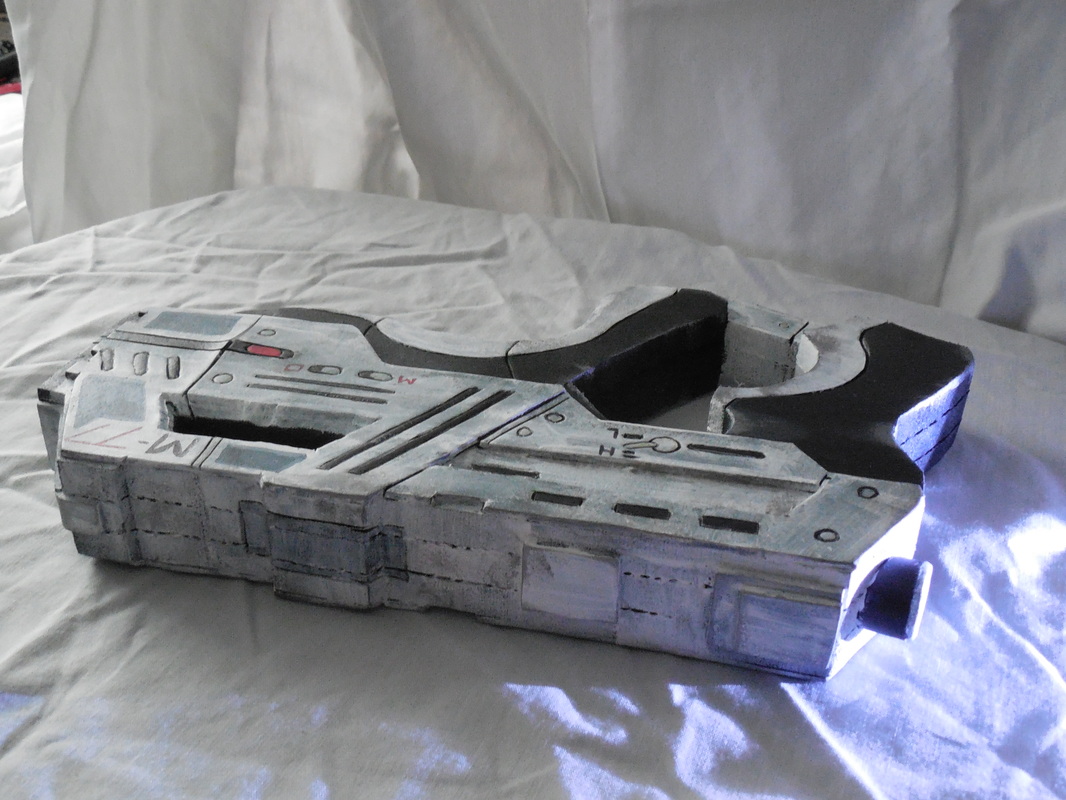
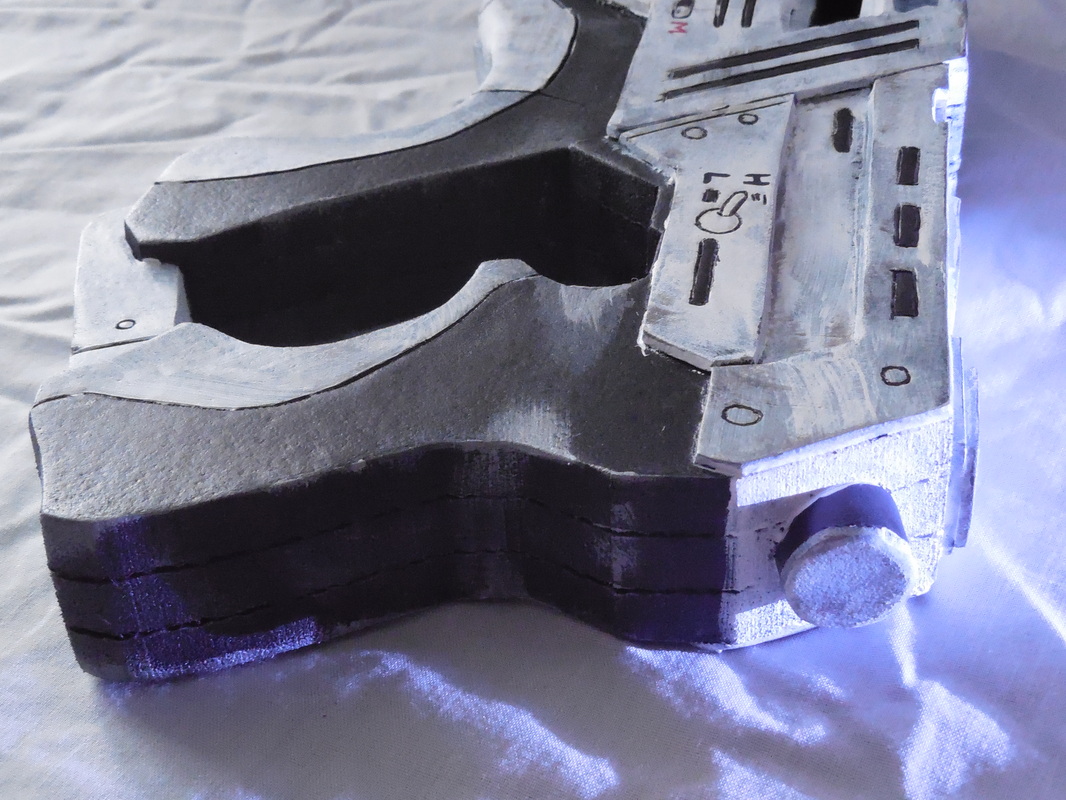
When making things out of EVA foam, craft foam is a great way to build up details. This build is no exception, with the top half and some details around the top being easily handled by adding a layer of it. Once that was done, I decided to try out something new for the details. On previous builds, I've always used a wood burning tool to etch in lines and valleys, using the dremel for deep bits. The burning tool makes a nice, thick, solid line, though sometimes it gets away from you. This time, I used a trick I learned from WM Armory: score in the lines lightly with a sharp hobby knife, then take the heat gun and go over it all. This makes a much cleaner line, with much less of a chance to slip up and burn through the wrong thing. 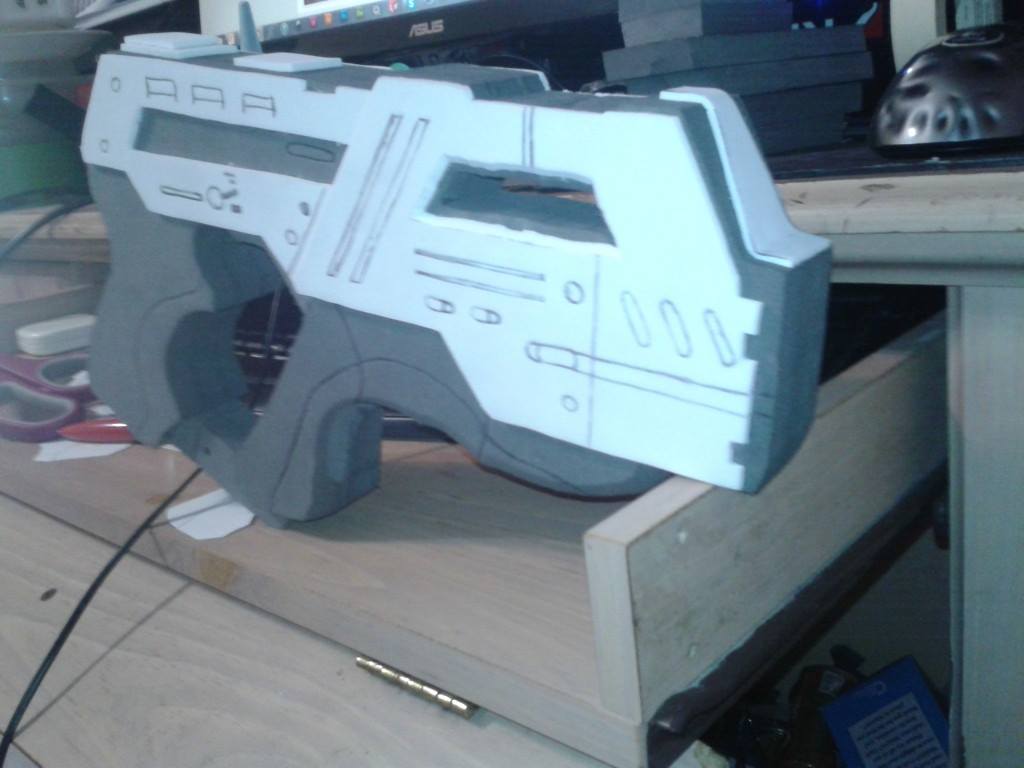
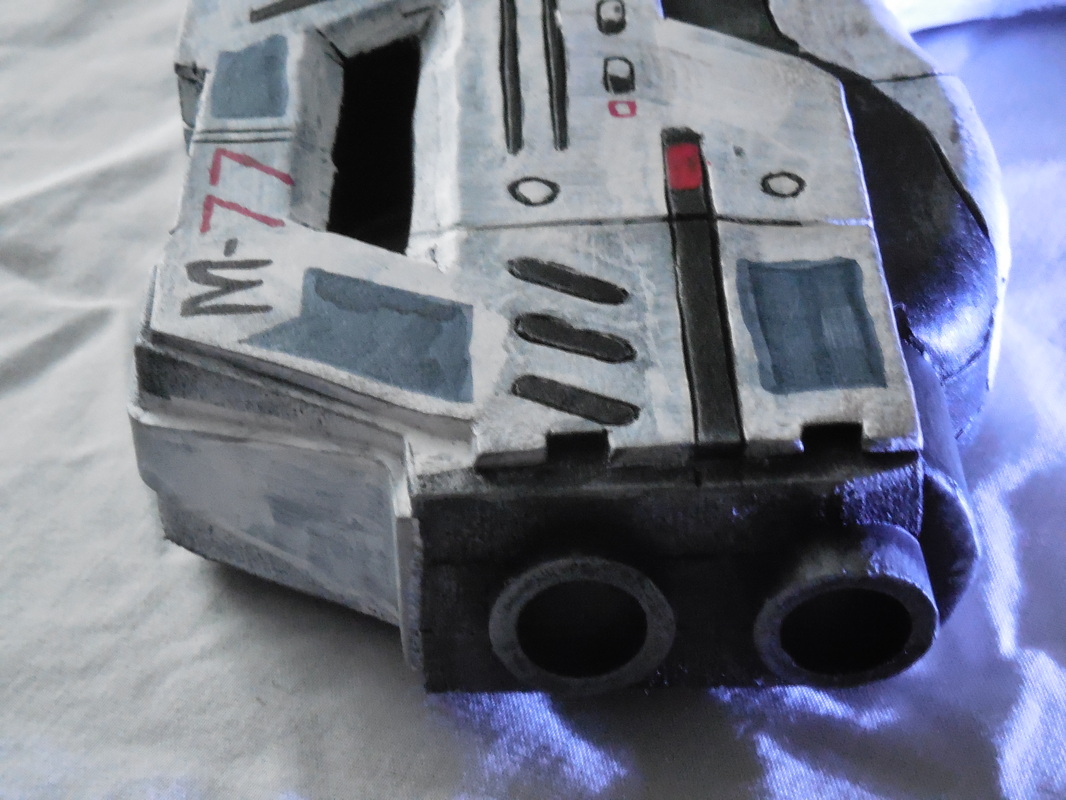
It's also really cool to watch it happen. Here's a video I shot doing the same to a section of an M-8: Now that that was done, all I had to do was add the pipe bits for the barrels, the base of the front, and the thermal clip in the back, and it was ready to paint! 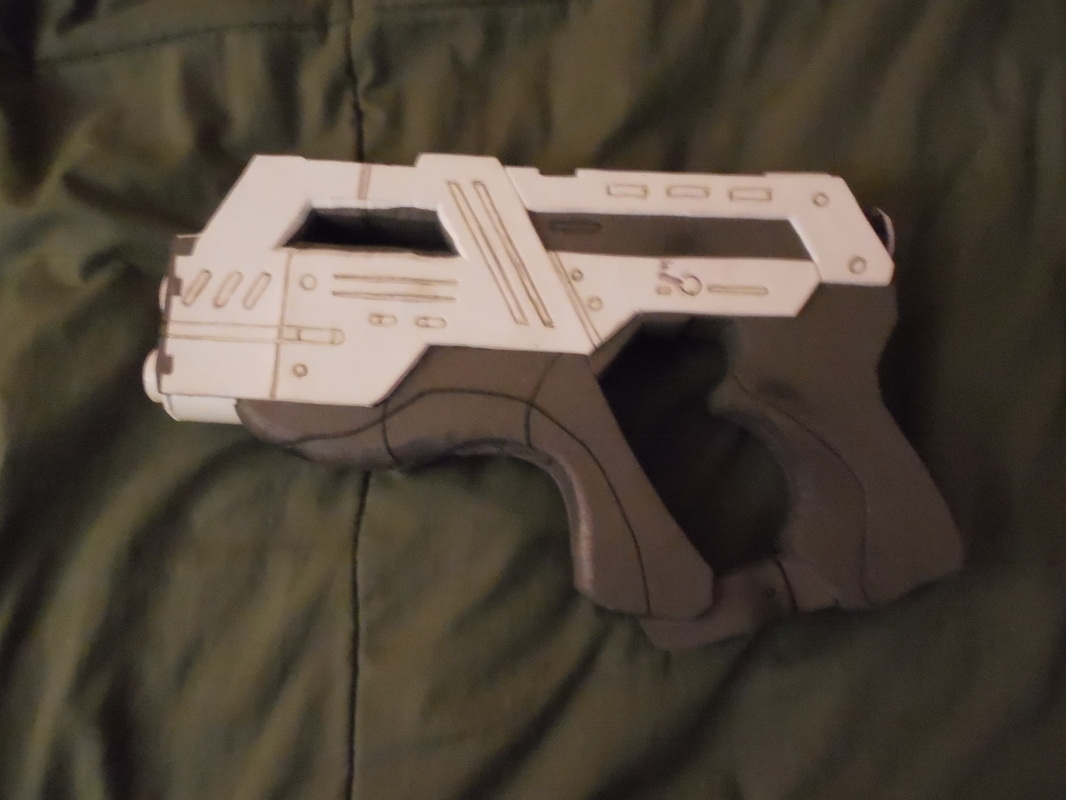
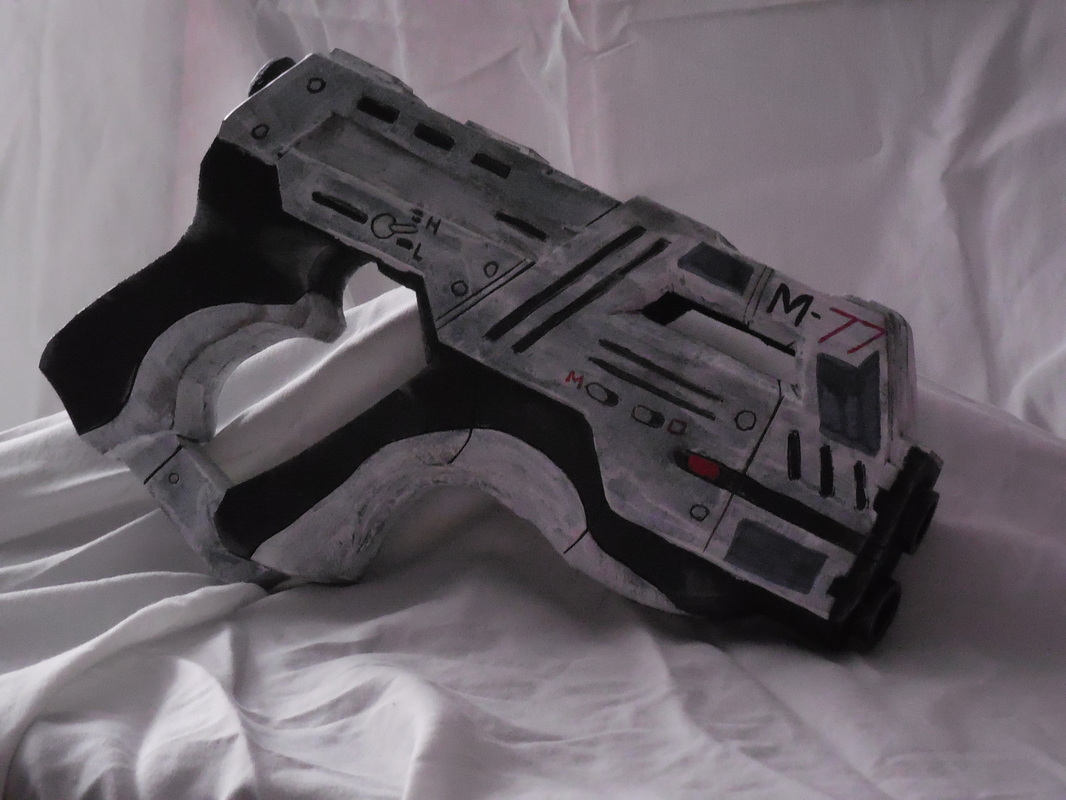
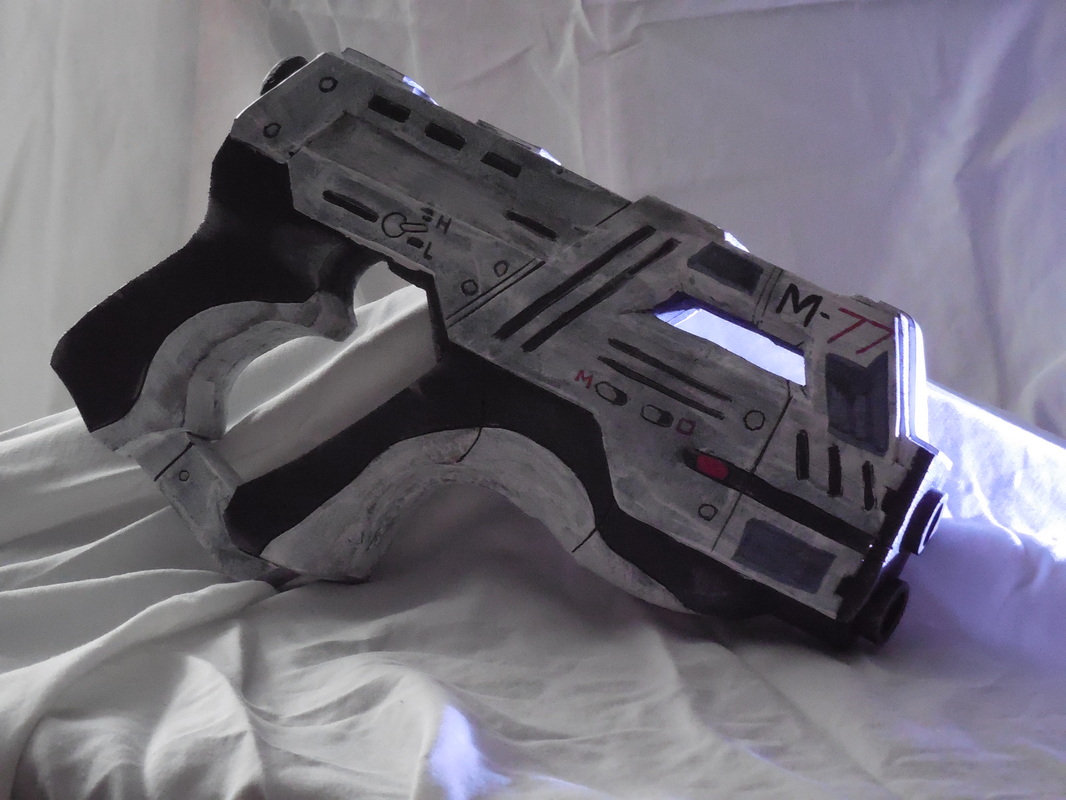
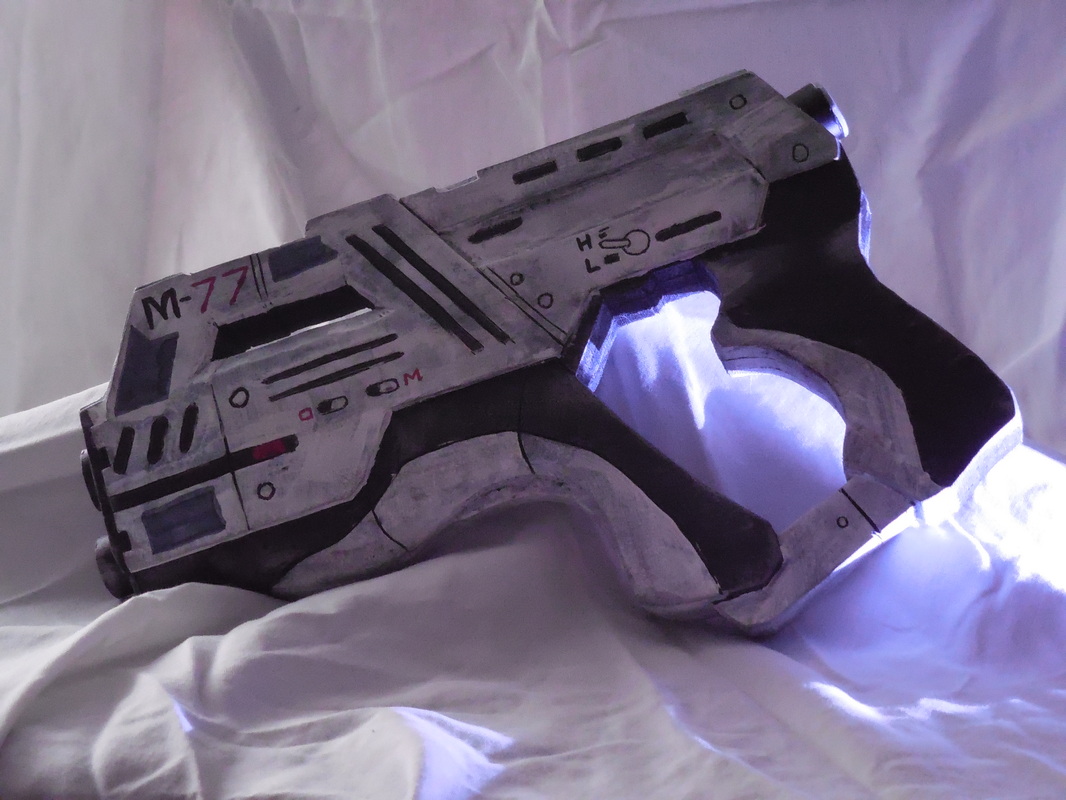
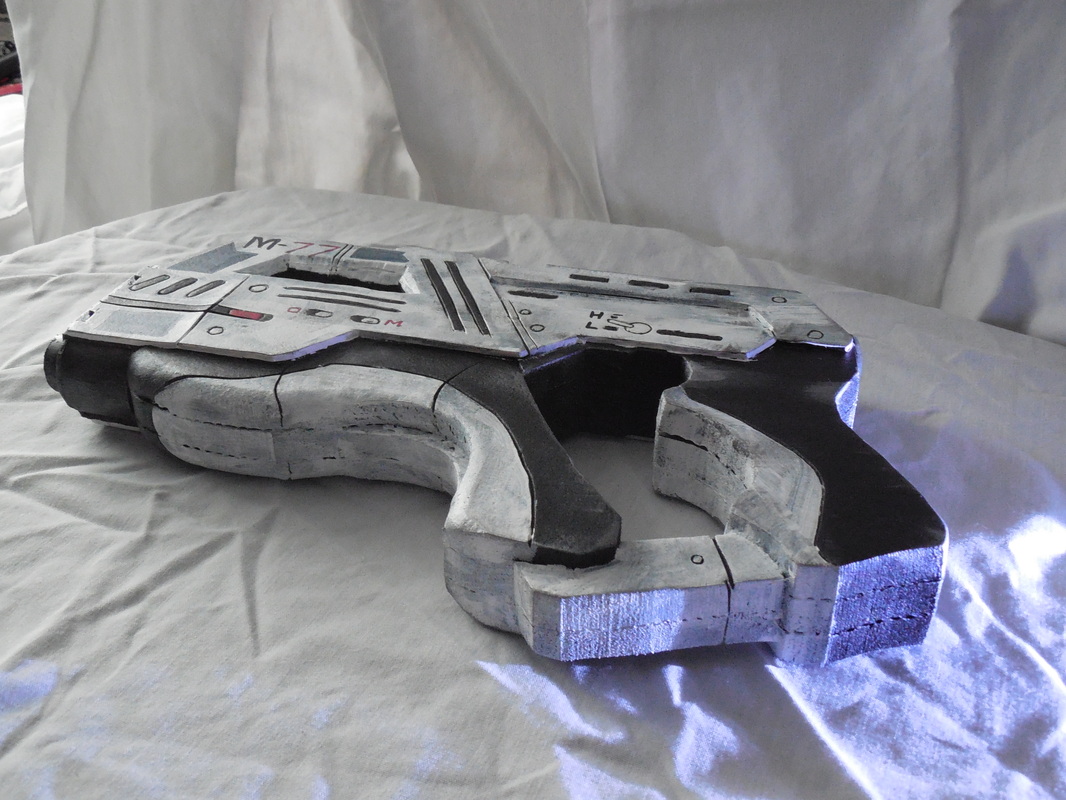
The top bit is cleaner than it looks, just had some issues with the craft foam. It looks better after the standard plasti dip, as do all the etched lines: 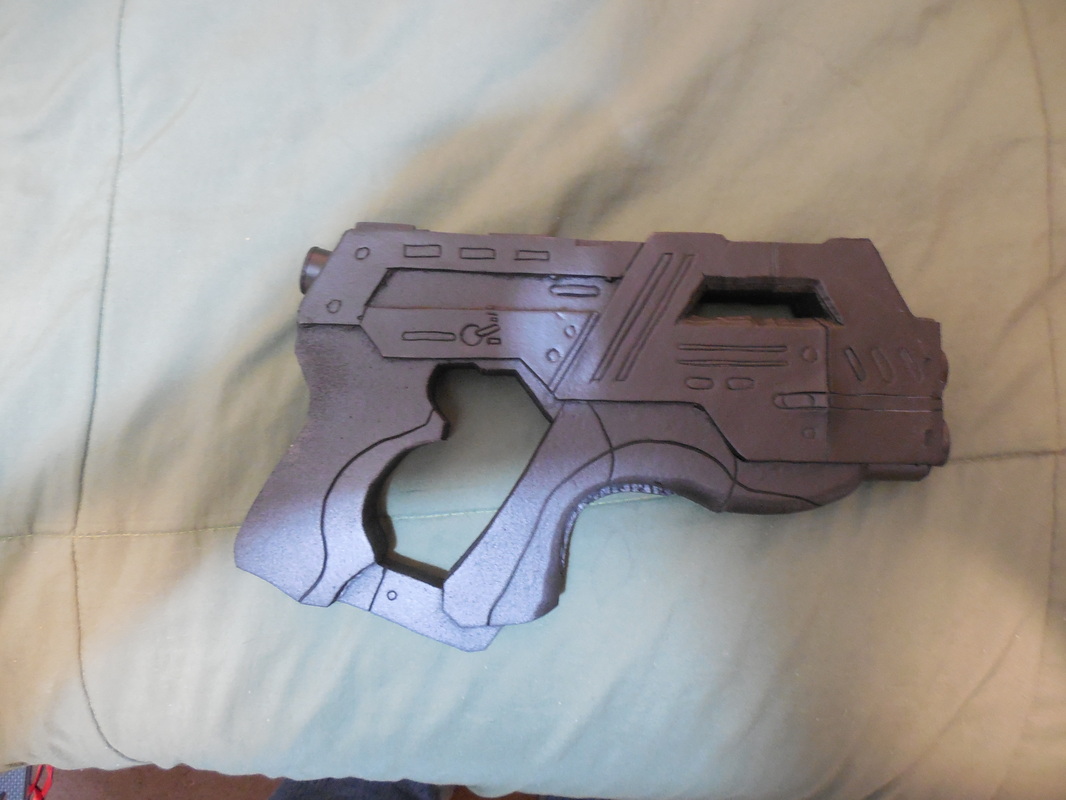
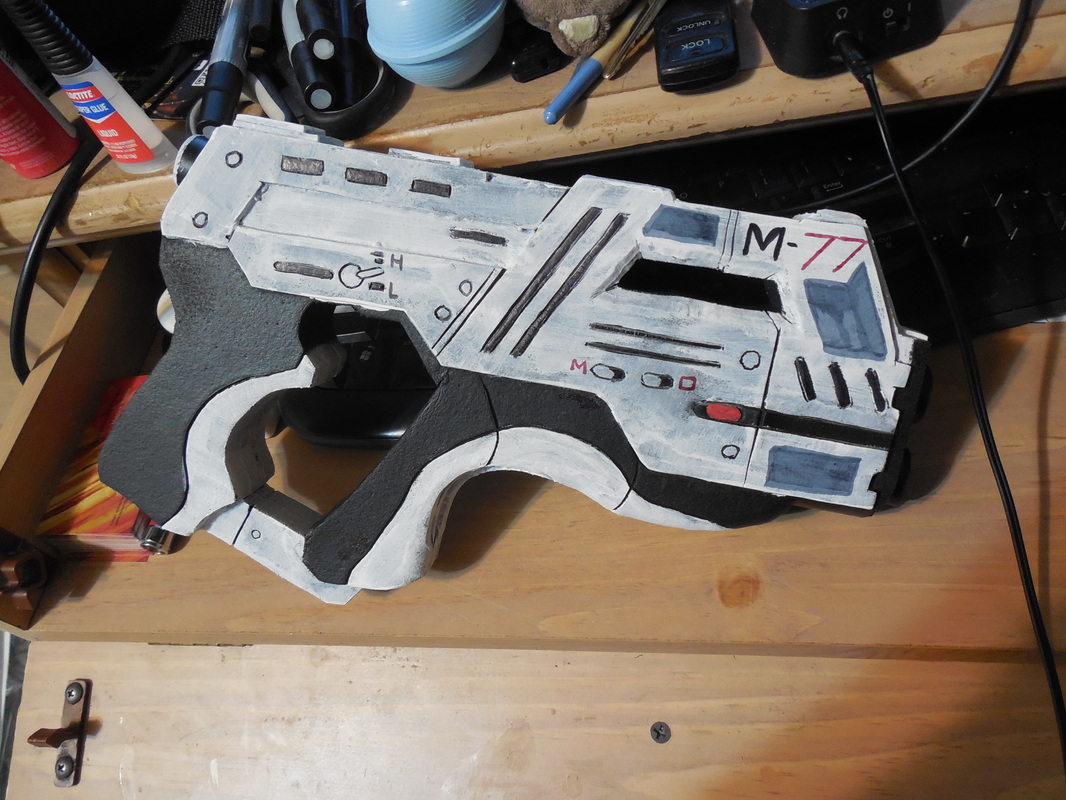
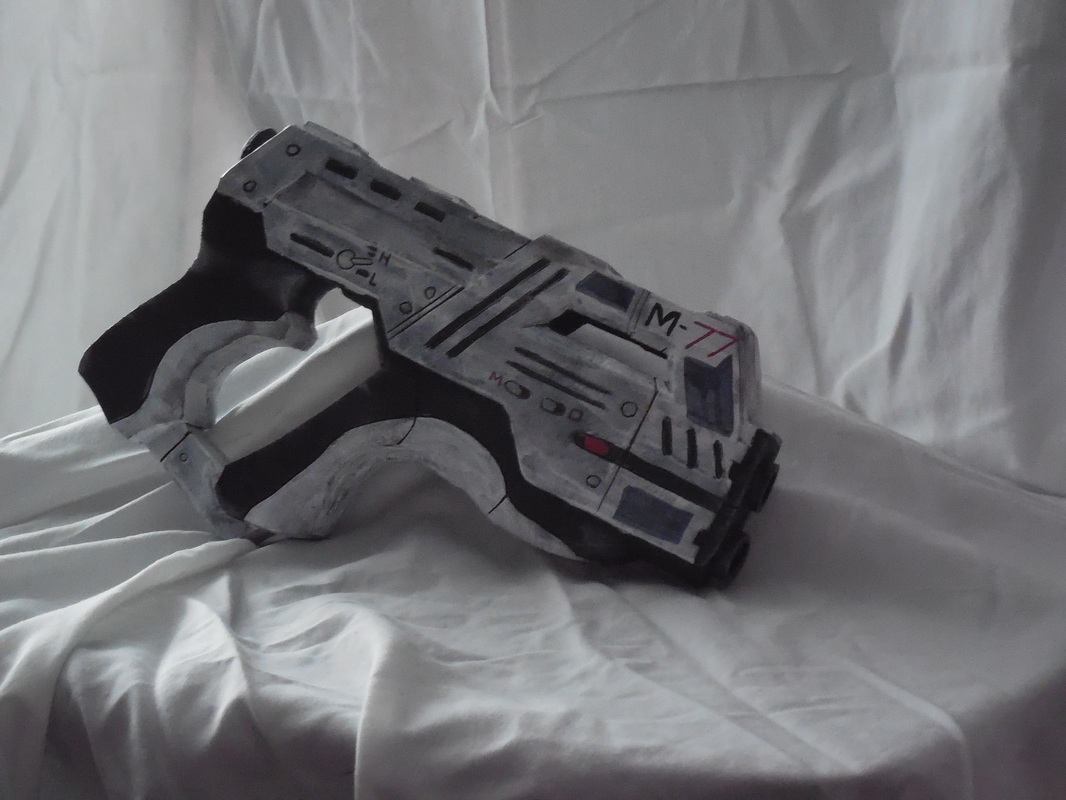
I don't have any pictures of the rest of the painting process, but everything I painted by hand. No vinyls again, so the decals are by hand as well. All things considered, though, for such a fast build I'm really happy with how it all came out! Some final shots of the Paladin, quick shots in bad lighting: I also have some shots of the customer who ordered it, who looks absolutely awesome in her Kasumi outfit! You should check it out, over in the Customer Appreciation section of the Photo Gallery!
0 Comments
Leave a Reply. |
|
 RSS Feed
