|
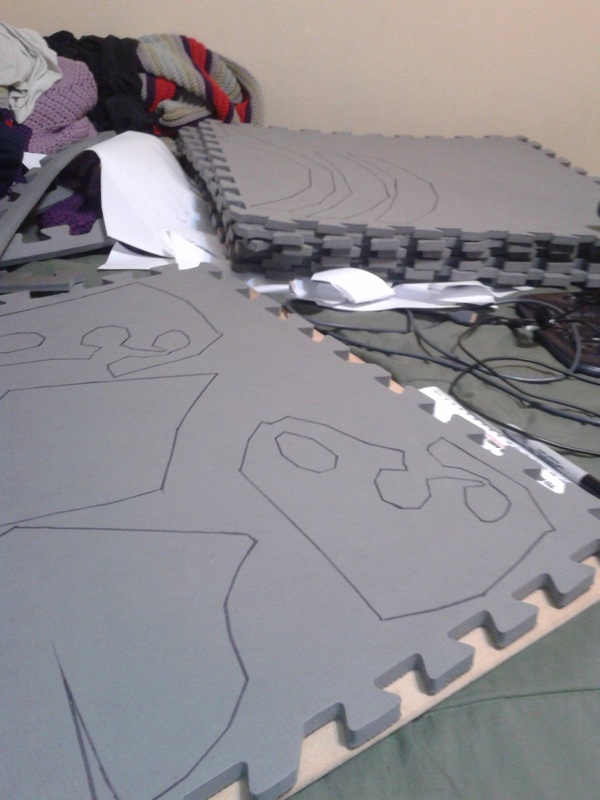
Oh boy. My first attempt at something massive. I'm daunted even writing this write-up about it. First, let me show you my inspiration for this massive thing. This is the giant robot that YouTube and WIRED Magazine got together with the Stan Winston School and Legacy Effects to make for San Diego Comic Con 2013. Whew. Did I get all those links? Okay. Anyway, what they wanted was a huge cosplay to bring to SDCC and show the world why practical effects are still a viable option. When I saw it, I said simply, "I'm-a make one!" This is one of the few times I've really absolutely had to make something, with the last big one being my first set of N7 armor for the ME3 release. This time, just like then, I immediately had a reason for it. My local convention, Anime Banzai, has a certain theme every year, and this year it was giant robots and mechs. So, I thought, what better way to fit the theme than with a giant friggin' robot? First up came the research. Lucky for me, SWS has a YouTube channel where they share a lot of great information. Right after SDCC YouTube held Geek Week, and every day of that week Stan Winston School shared a five to ten minute clip of the process they went through to make theirs. This made it a lot easier for me, since I wanted to make one that was similar enough to theirs, though maybe with less electronics and stuff. I also learned that while it only took them a month, they had over twenty people working on it. I had about two months to build, and just little ol' me. Undaunted, I set forth! 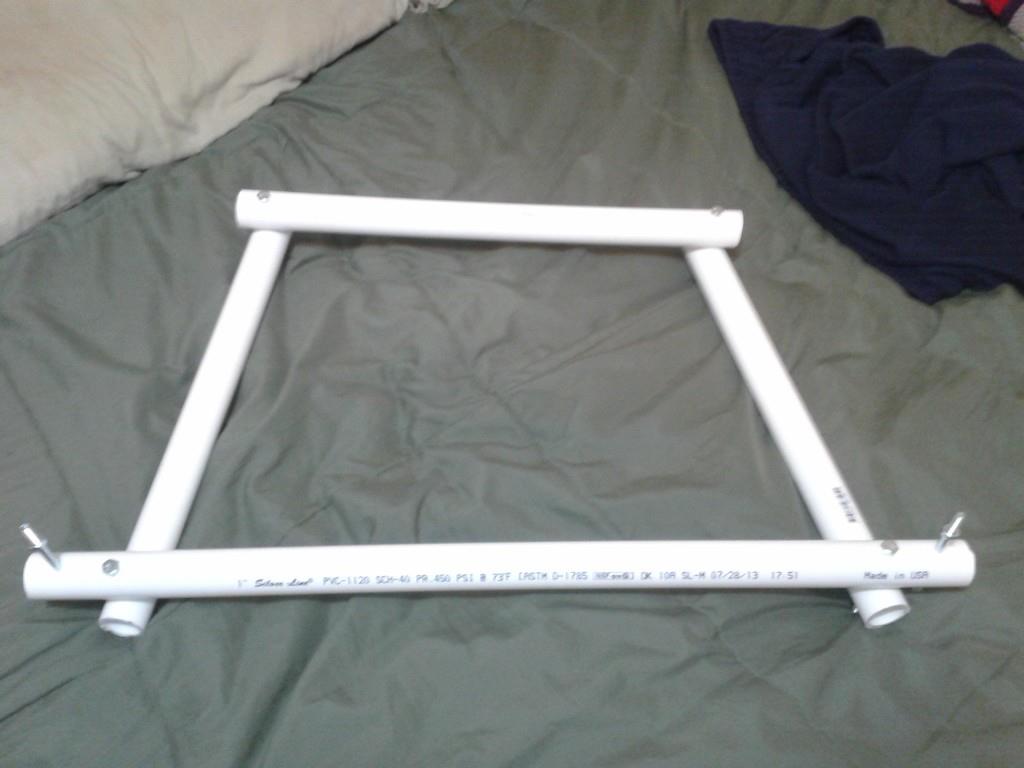
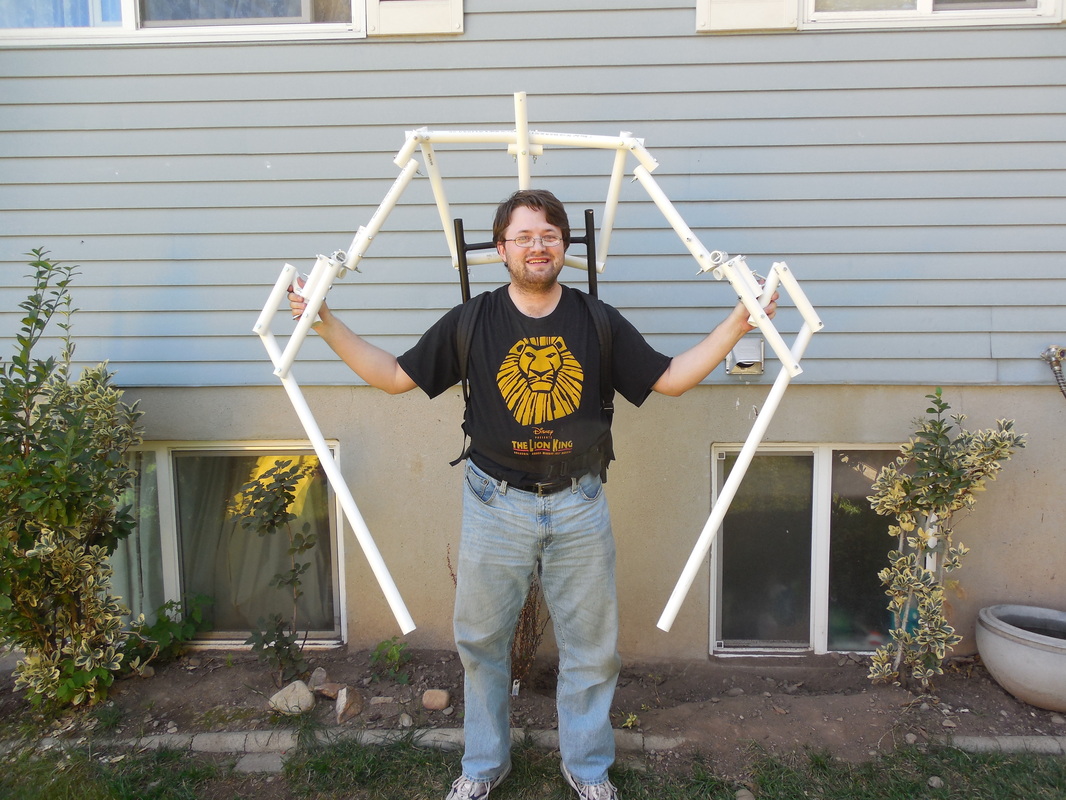
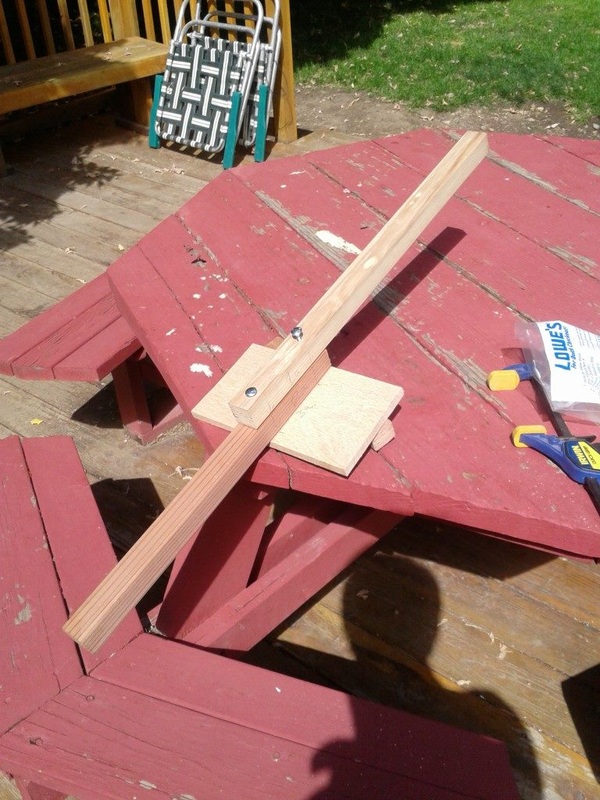
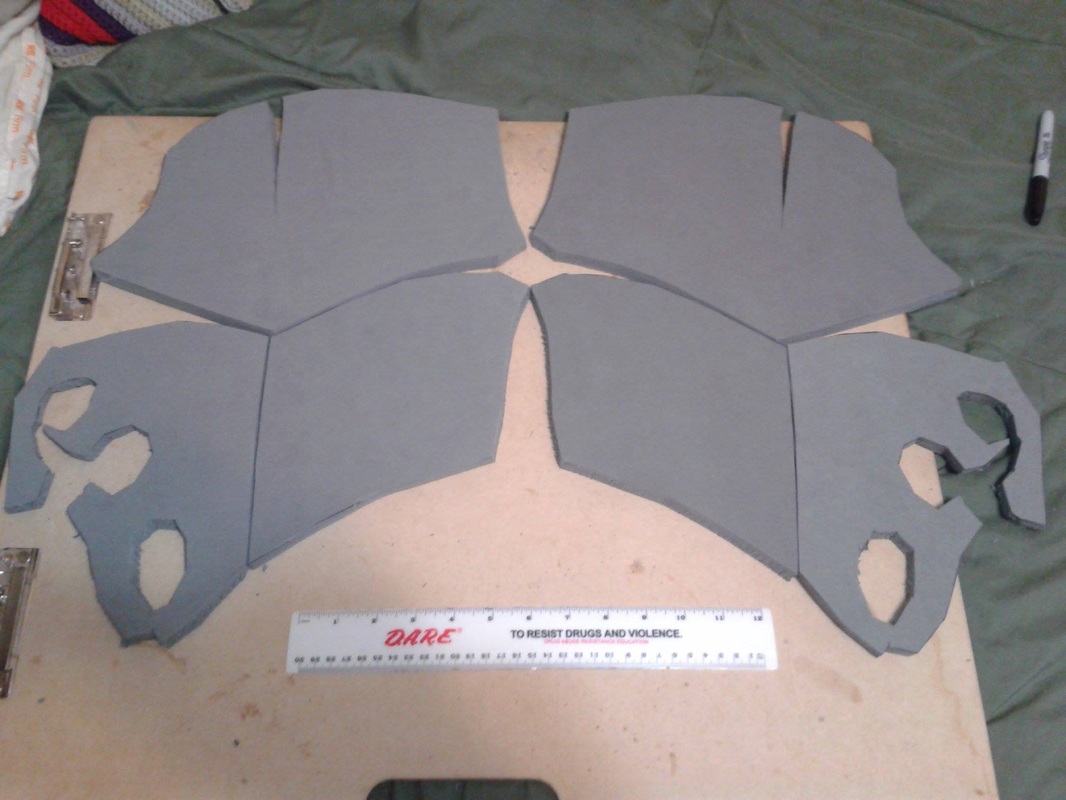
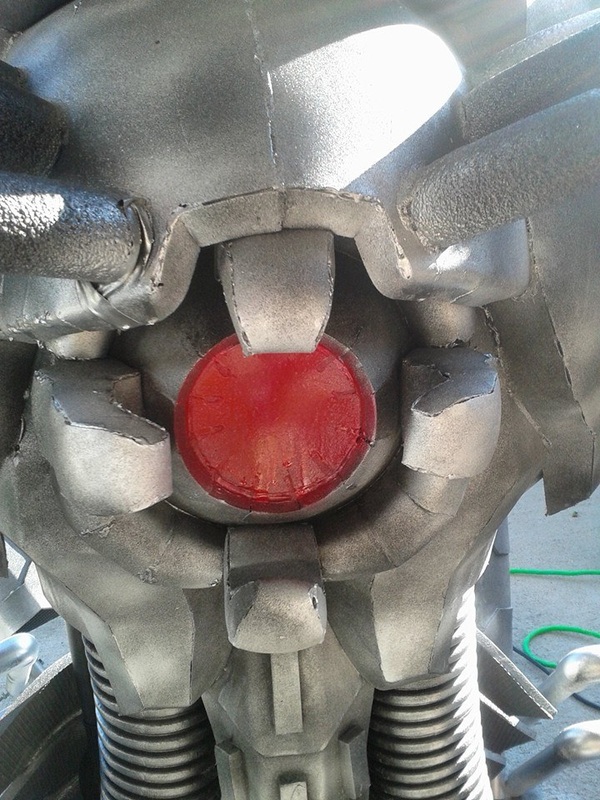
Right away I thought I had a problem, as this was the back and I initially thought it would need to fold forward a bit as I stretched with it. Turned out later to be more of a hindrance, but I was doing this on the fly. 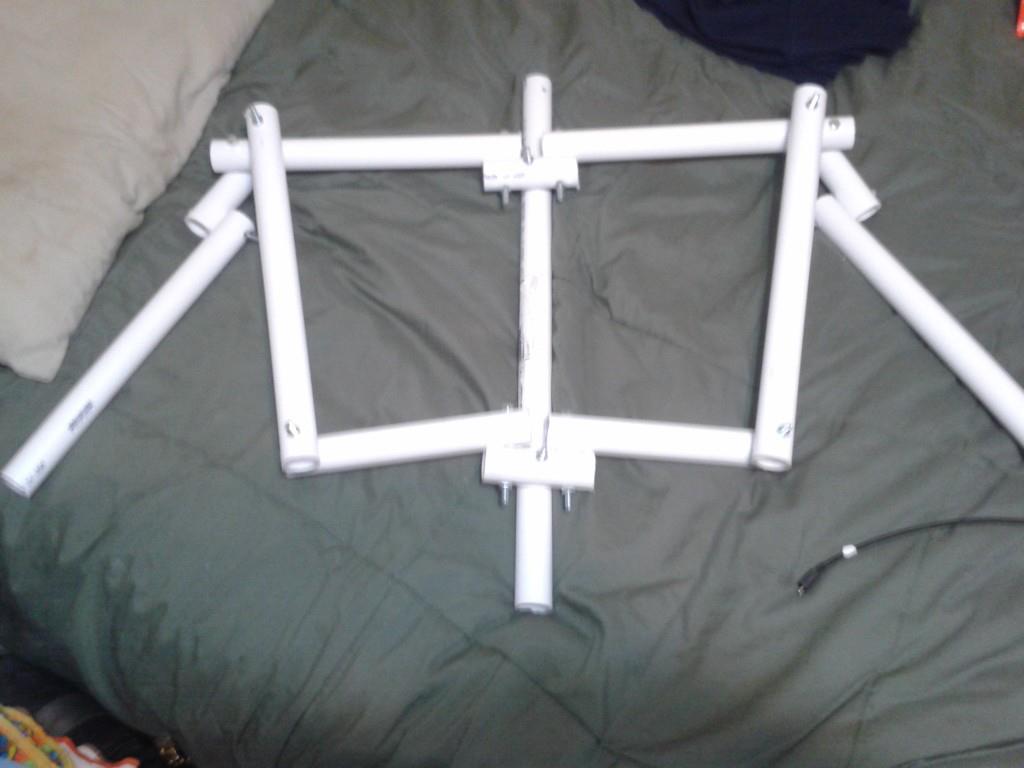
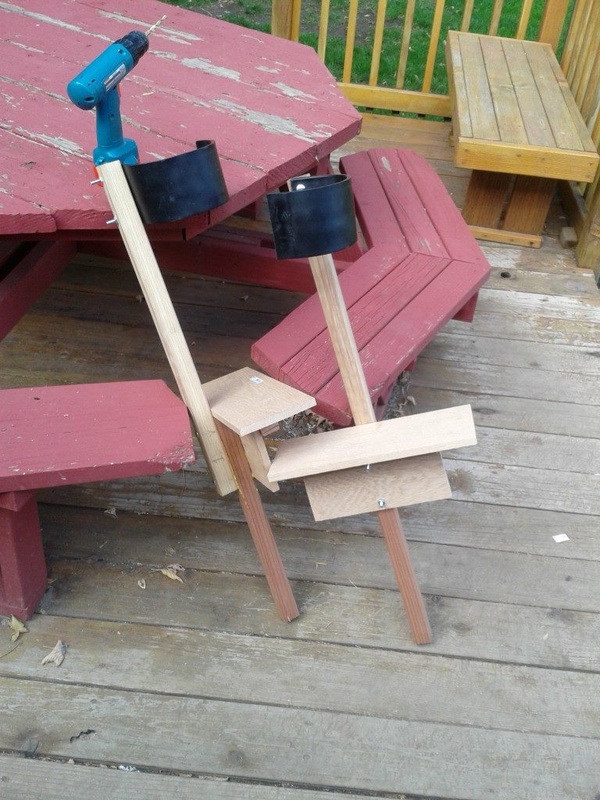
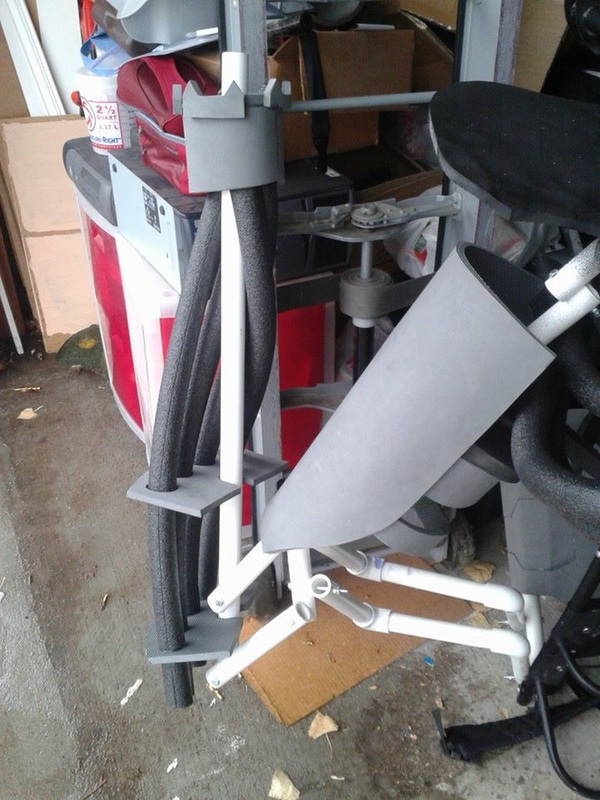
Put in a bar for the spine support and added an extra pipe at the top and bottom. This would allow for flexing of the back. I also initially had the shoulder bits at the top directly attached to the arm, until I realized they not only needed up and down movement but forward and reverse movement as well. 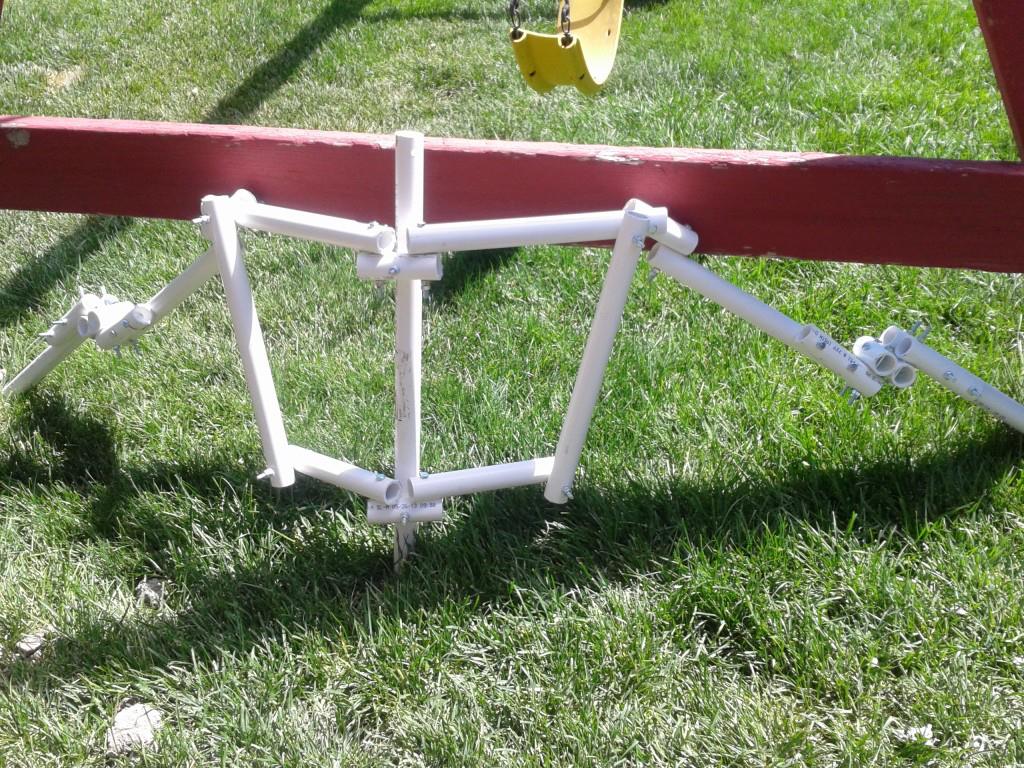
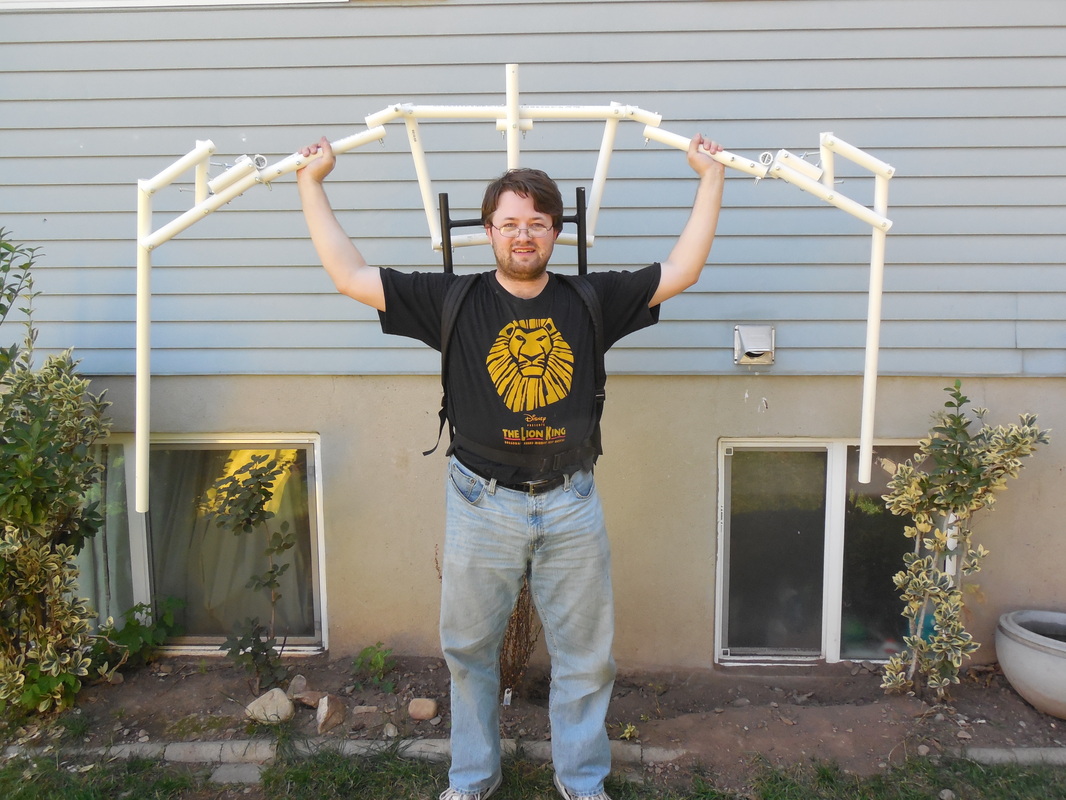
I had to start working outside here, since it was already way too big for the room I work in (back in my parent's house, very little room for anything unfortunately). The twisting motion for the arms was a pain to figure out, and quite a bit bulkier than I had wanted, but again it worked and I had to stick with it. 
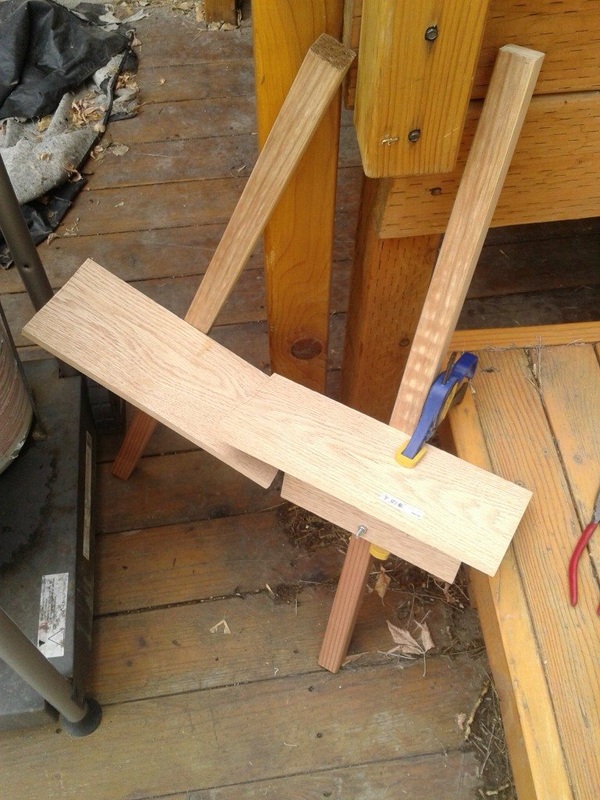
The elbow joint was easier, and demonstrates how the whole thing will work: a bunch of parallelograms! Keeps everything even, and makes movement 1:1 (hopefully). Now that the upper, massive arms were laid out and attached, it was time to secure it to me and start working on my arms, which would power them. 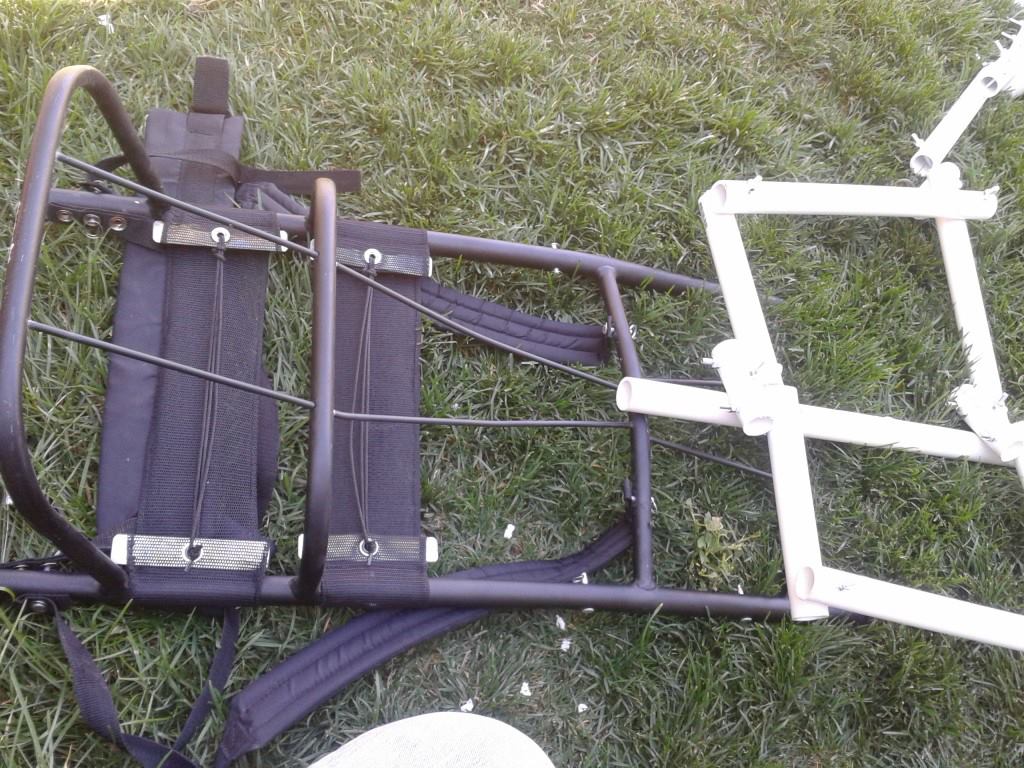
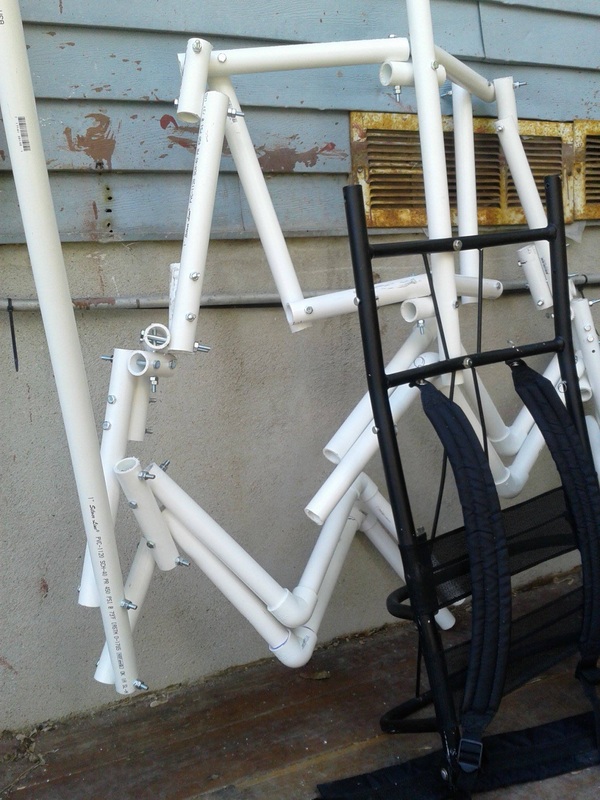
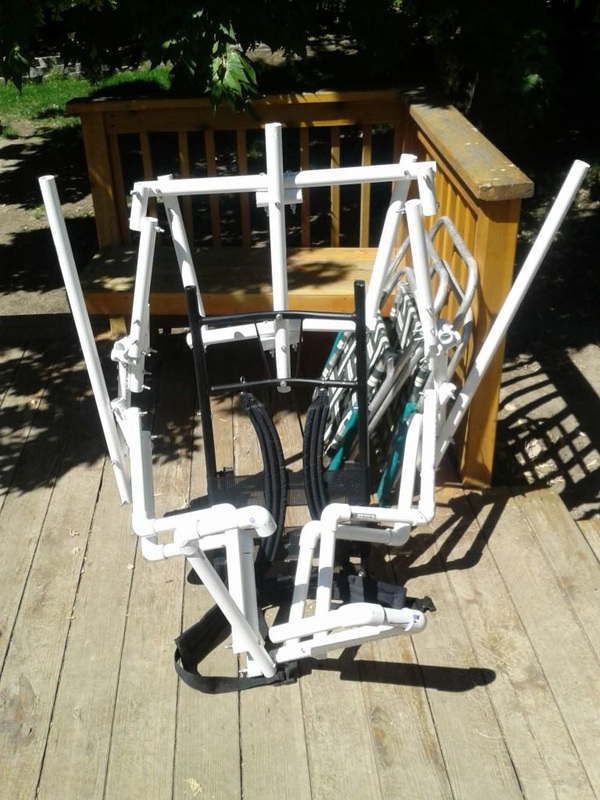
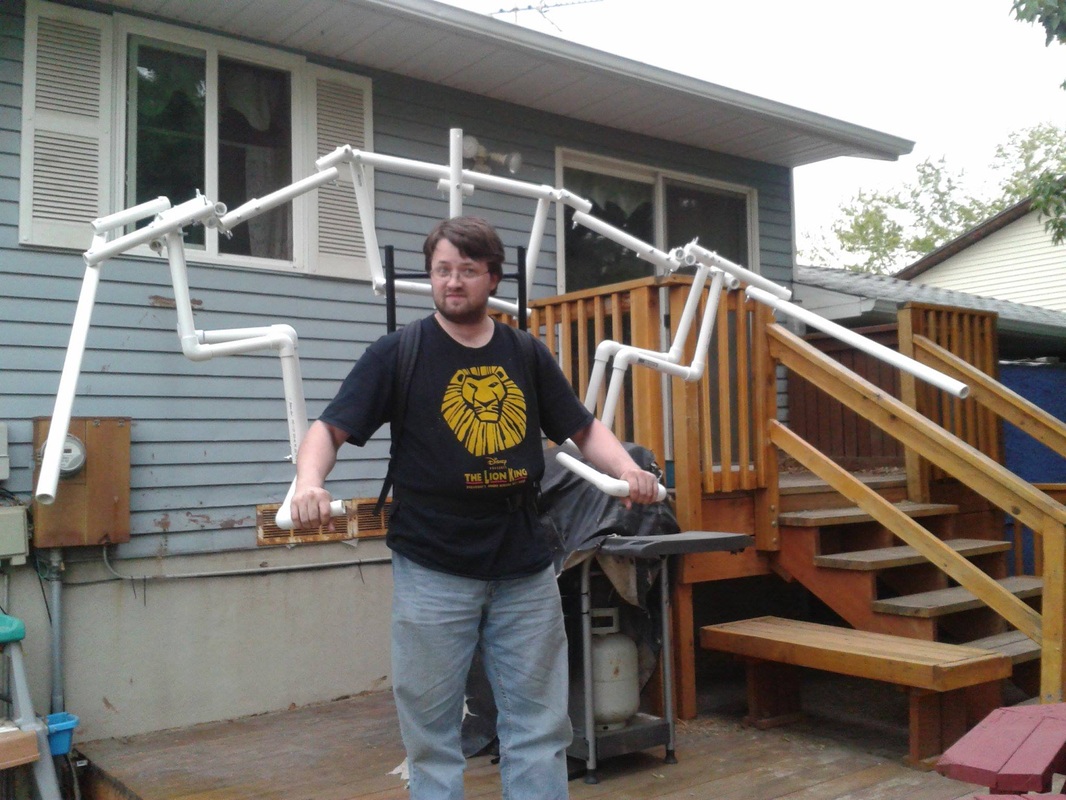
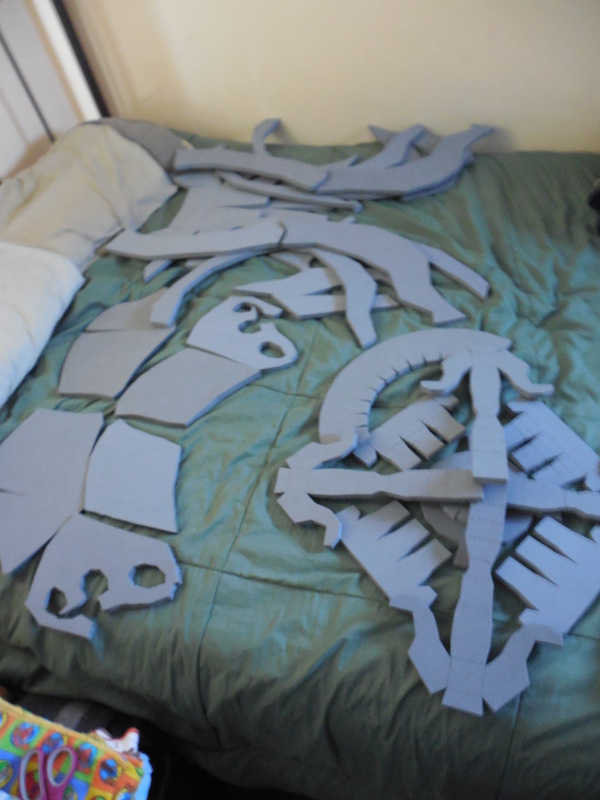
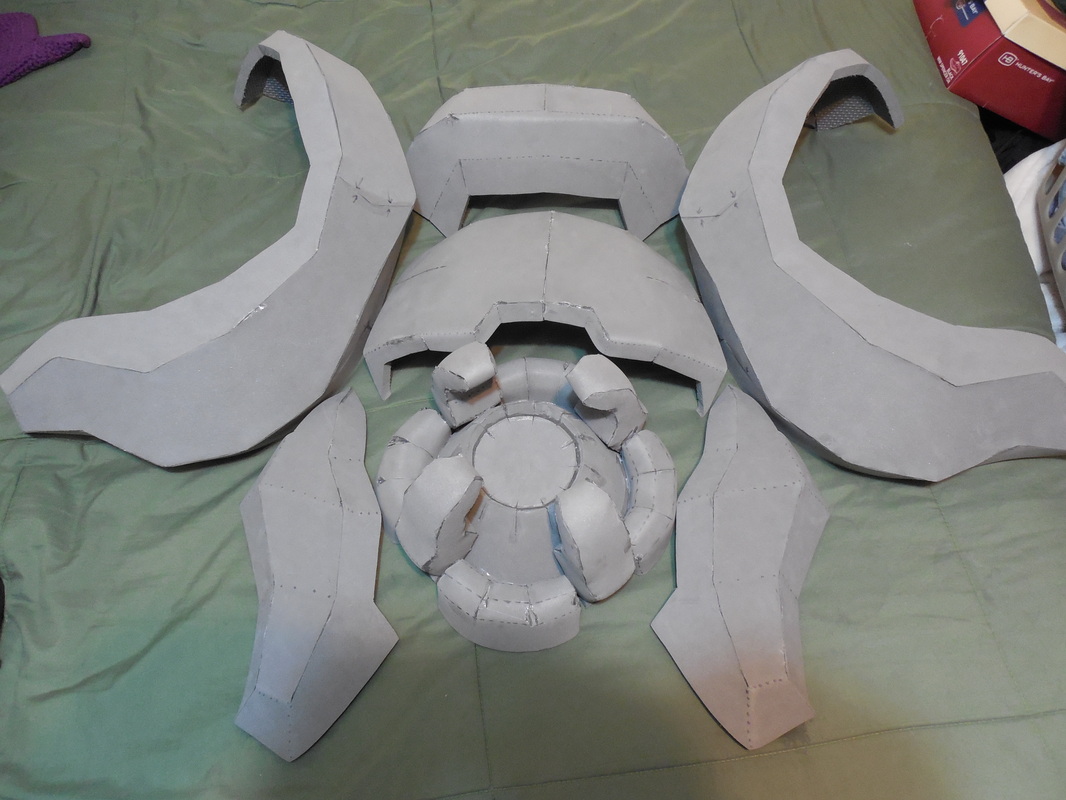
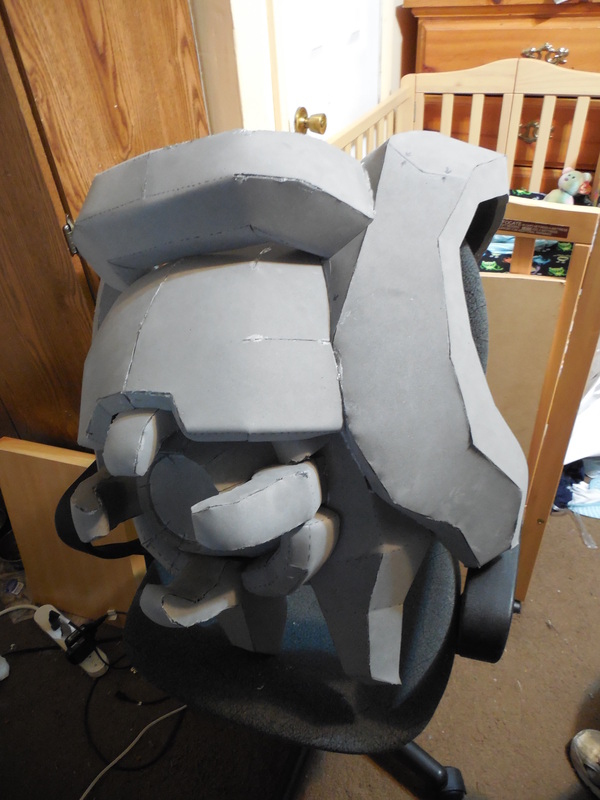
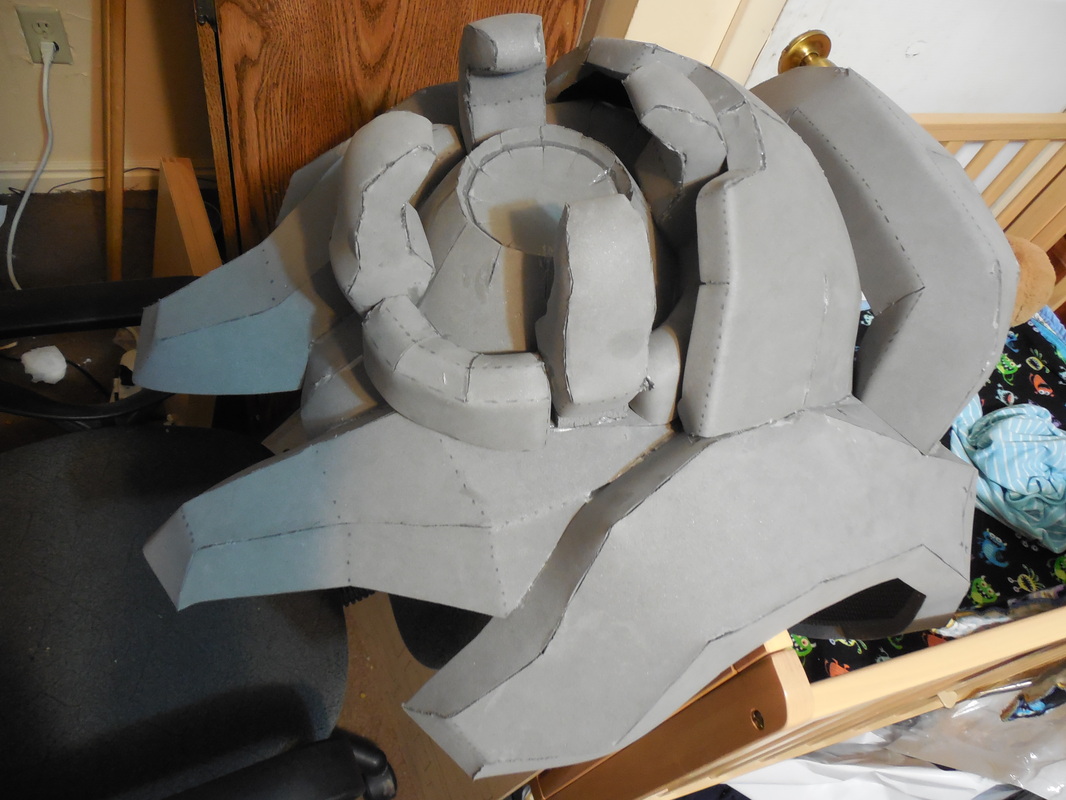
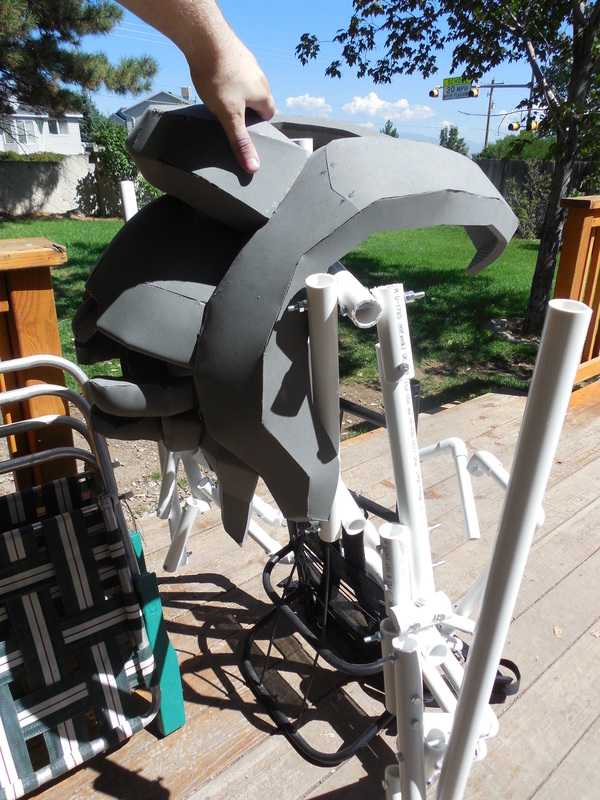
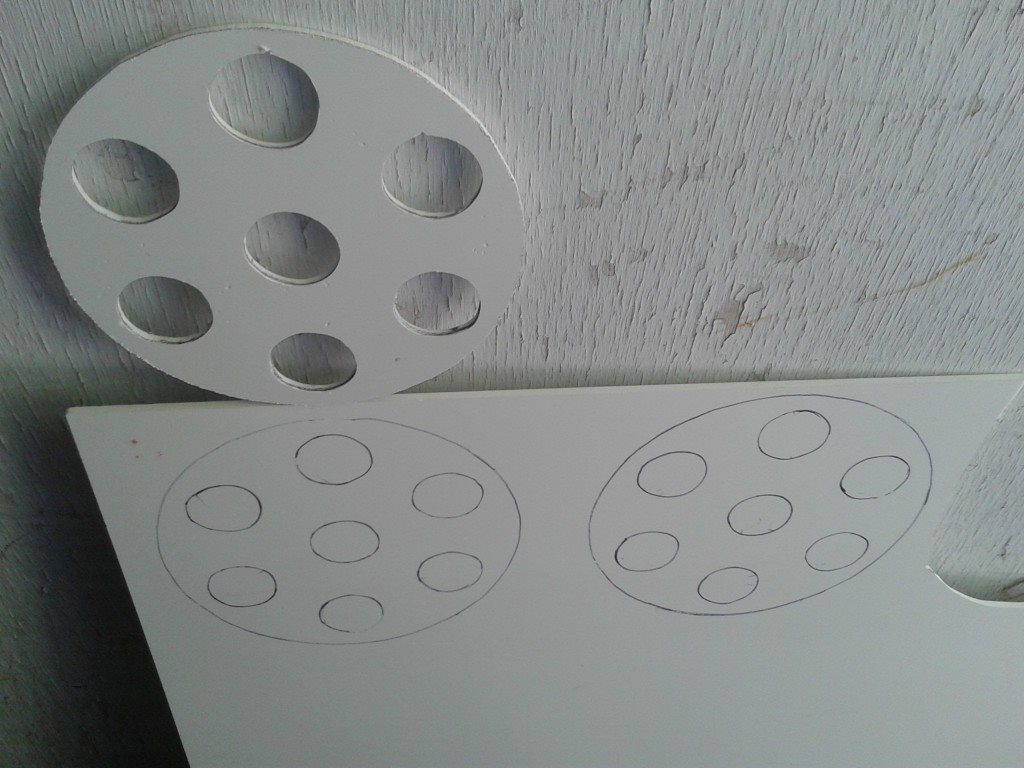
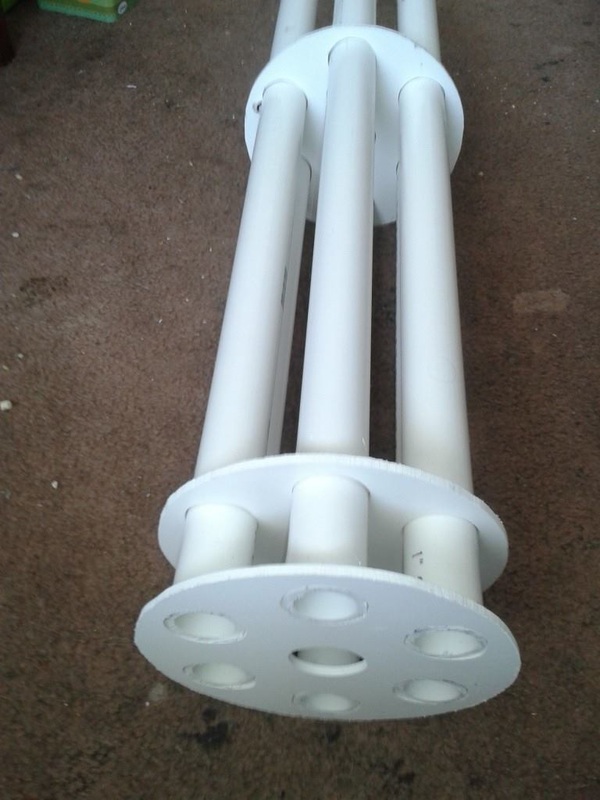
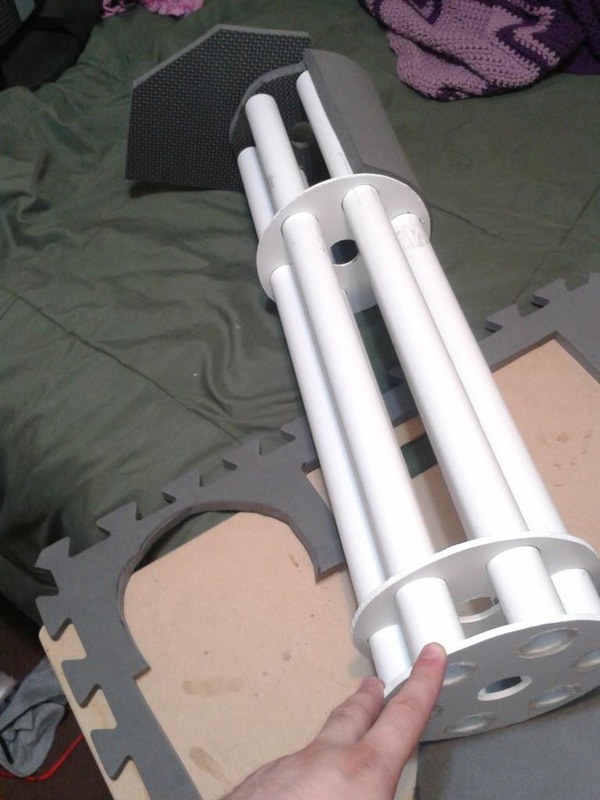
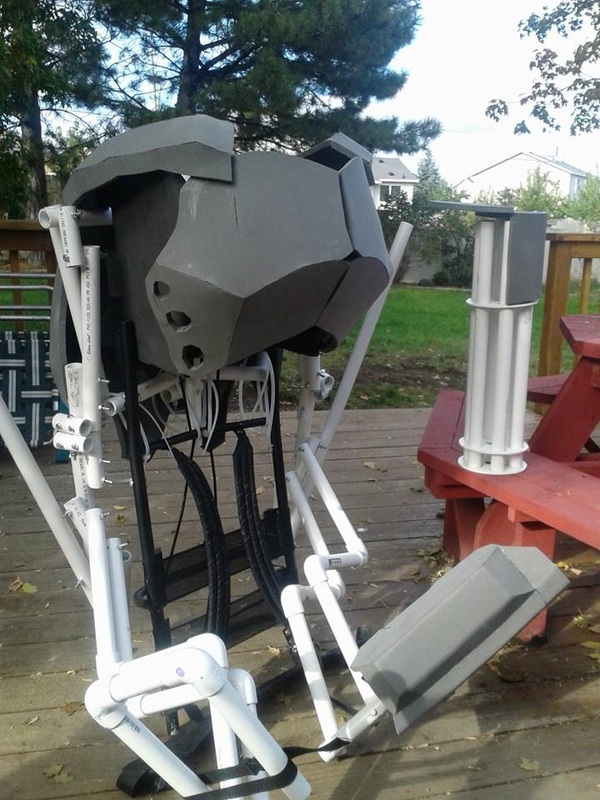
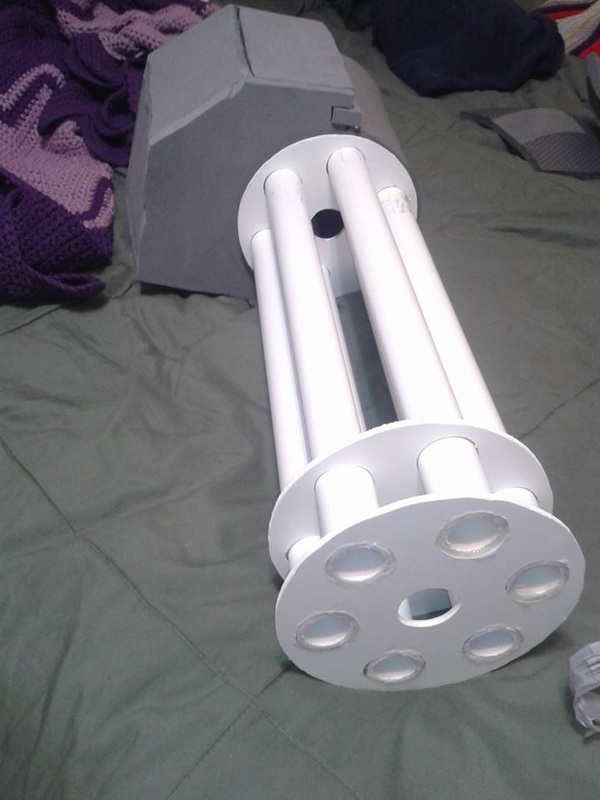
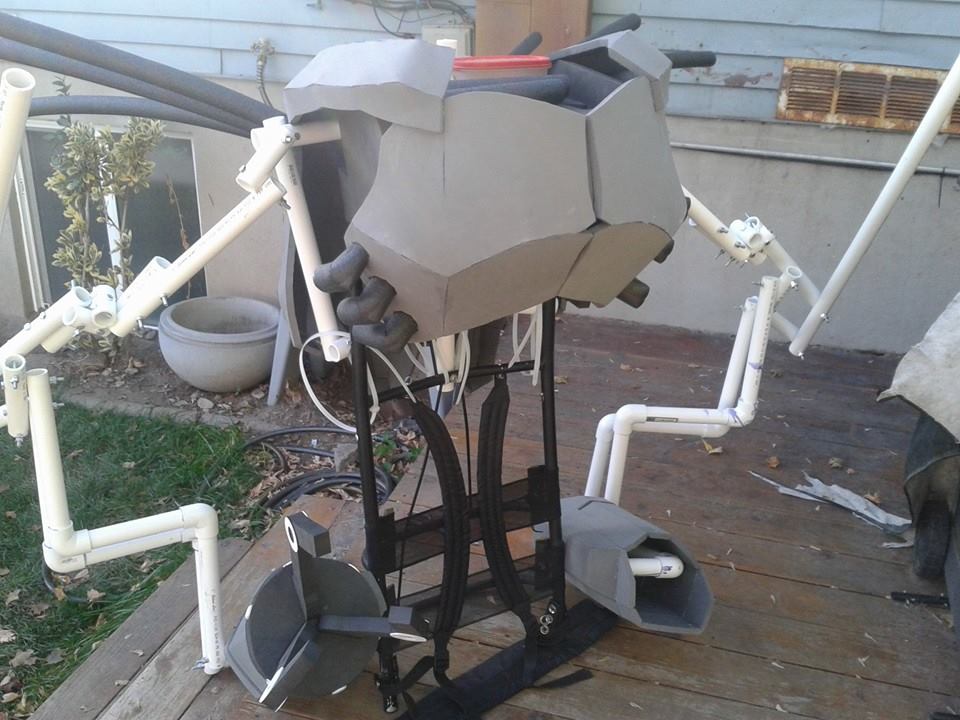
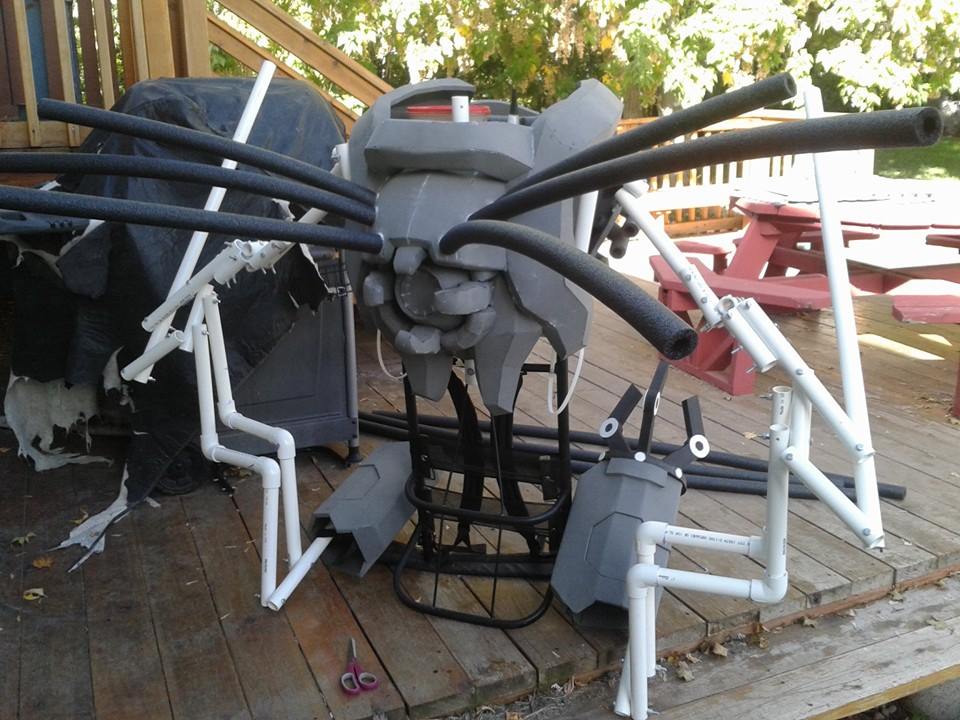
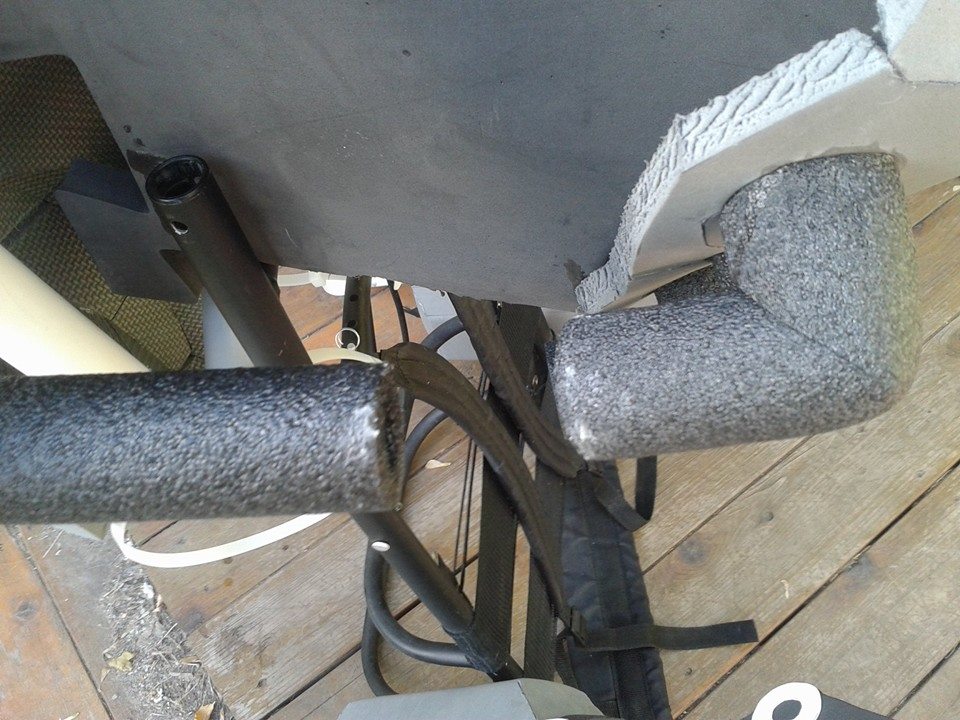
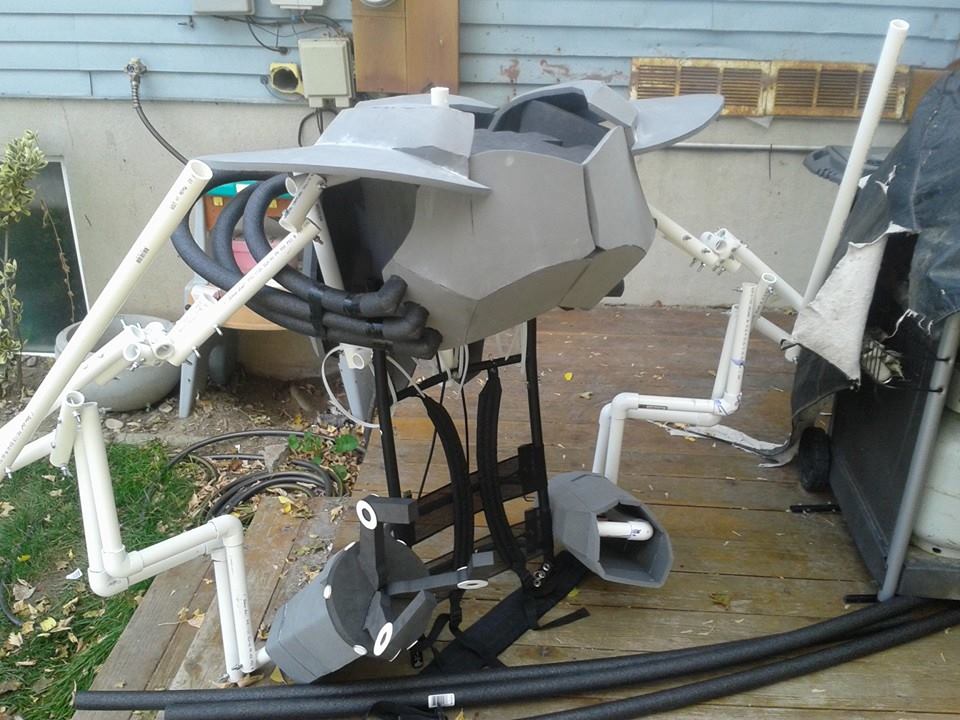
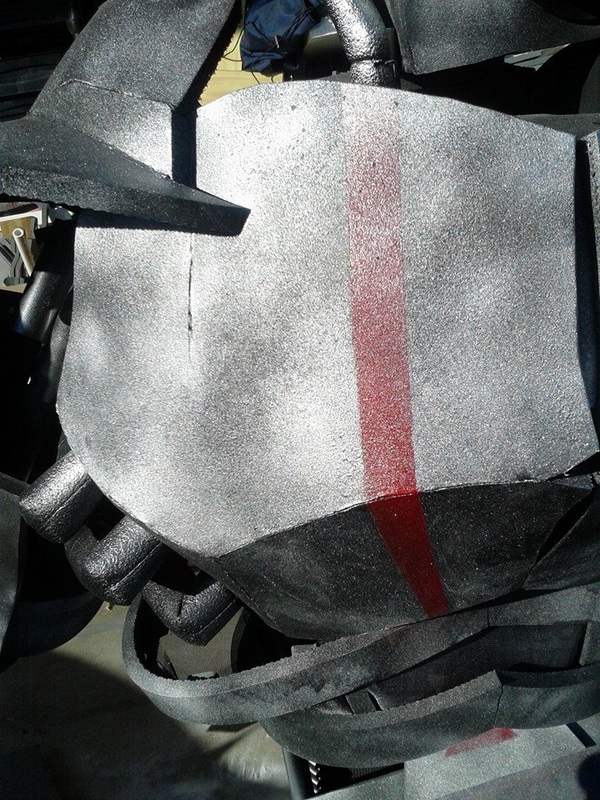
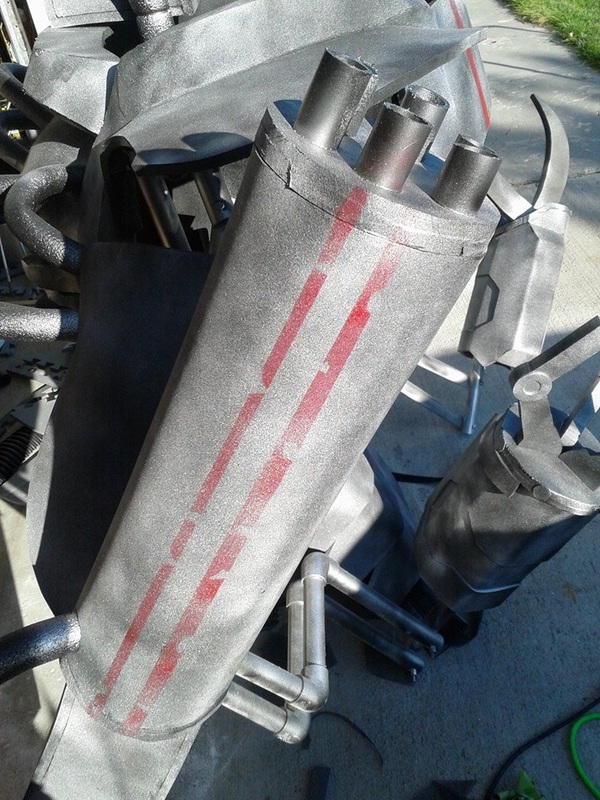
This was an idea my minion gave me. I was trying to figure out how to strap the frame to me in such a way that was both comfortable and strong. I had an old frame backpack that I hadn't used in years, which he suggested I used, so after making a few holes and screwing in some more bolts, it worked perfectly! This thing was already massive, and that was just the frame! I intended to also be on 18" stilts, but we'll get to that. For now, I had to have a way to move the massive arms. That meant attaching more pipes and making some handles. I connected two pipes to the back section of the elbows, then had to corner them each to the right distance so that it would line up properly. Again, flying by the seat of my pants, but it did what I wanted it to. Of course, this was where I started noticing problems with the back section, as shown in my first test video. Clicking, clacking, and a smack to the back of the head. Did some more work on the frame to clean up the movement, threw a couple straps on the arm handles to make it easier to control, and used industrial zip ties to hold down the back, then started to work on the stilts. For those interested, you can find the plans I followed here. Of course, I'd never used stilts like this before, and I discovered that you can't stand still very easily at all. What I wanted was these: drywall stilts that are adjustable and relatively easy to use, but they were well out of budget. I ended up scrapping the idea, though I still have the stilts. Anyway, when I scrapped that idea I started on the actual body of the robot. Thankfully as I went I determined stilts wouldn't have been a good idea anyway. First up was the upper back. This started as an amalgamation of several objects, which came together into the nice, large reactor powerstation. I really like how this part turned out. A great lesson was learned here as well, which will help with future foam projects. A while back a good friend of mine suggested filling seams with superglue, then powdering baking soda over that. This bubbles for a little bit, then turns hard as a rock, which fills the seam and can be sanded down smooth. I decided to try it out on several areas of the robot and, wouldn't you know, it worked like a charm! I'll definitely be using this technique in the future. Of course, with the robot, I left the solid mass on in places to look like a weld seam. All in the details! The chest was a lot simpler, but still had some sections on it I had plans for (namely the large holes you see). I also started throwing together the large right arm, in the form of a gatling, as well as starting the covers for the smaller arms. The gatling is made of 1/4" styrene circles, and six PVC pipes, which is not a good plan. I'll get to that in a bit though. Wearable progress thus far, and another test video! As you can see, the chest ended up being a lot higher than I intended, due to the frame backpack. My arms were supposed to be about where my head is on the thing, and the height of the chest is supposed to be there after I have the stilts on. Right here is about when I decided to forego the stilts, as it would have been way too unwieldy. Oh well! Finished up the large gatling and one of the smaller arms. Then came the fun part: attaching it all and filling out the details! For this section I used pipe insulation foam. Bendable, easily cut, and really adds to the ambiance. Unfortunately I found out I didn't have the right kind of glue to attach these, so I ended up using electrical tape to attach the hose to the corner, then more to keep them out of the way of the arms. The corners worked well in the holds of the chest, and I cut out more holes in the back for the long hoses, so that they wouldn't break off on a whim. I also threw on some basic shoulders, to help build it out and cover some of the framework. Then it came time to attach the gatling, and the problems started. The gatling fit exactly where I wanted it to, but it made the arm too heavy. I could lift it, but I couldn't move it up and down very well. In fact, the arm frame nearly broke, even after trying to add counterweight, and has been slightly bent downward ever since. Had to take it off the arm entirely. All was not lost yet, though, and after suggestions from many of my Facebook followers, I moved it to a more prominent position! 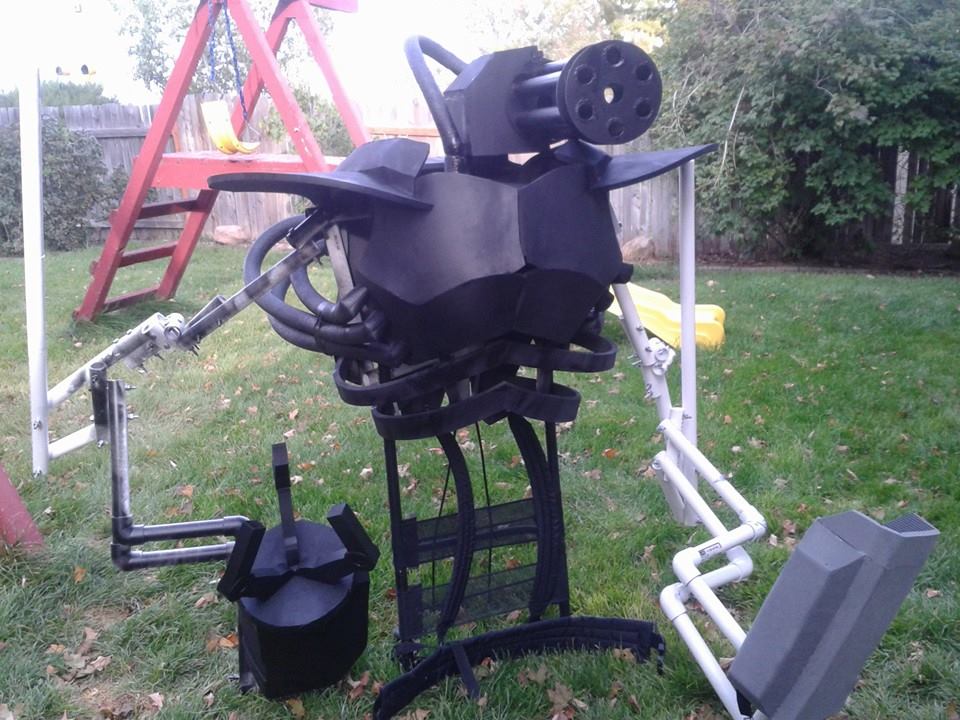
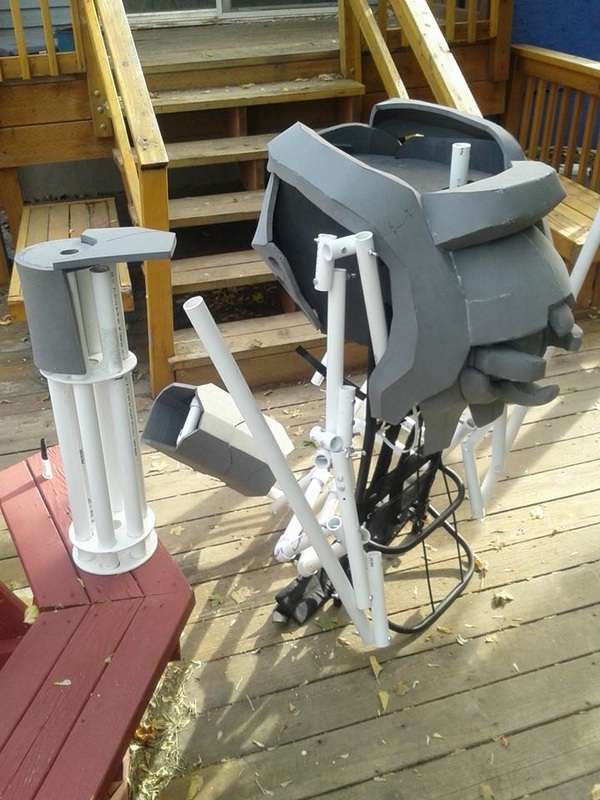
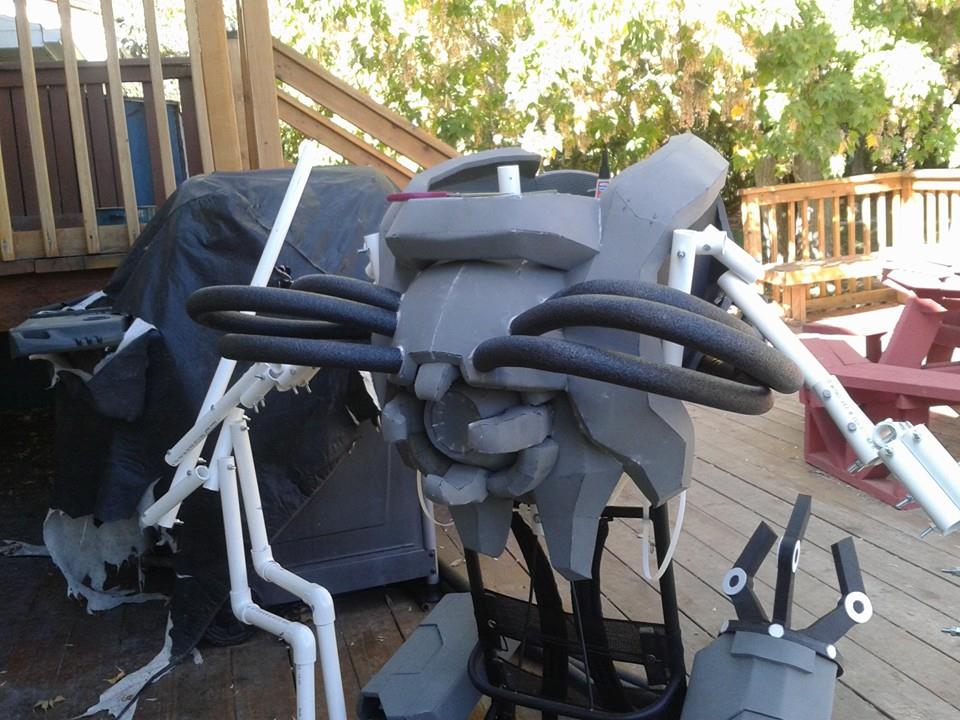
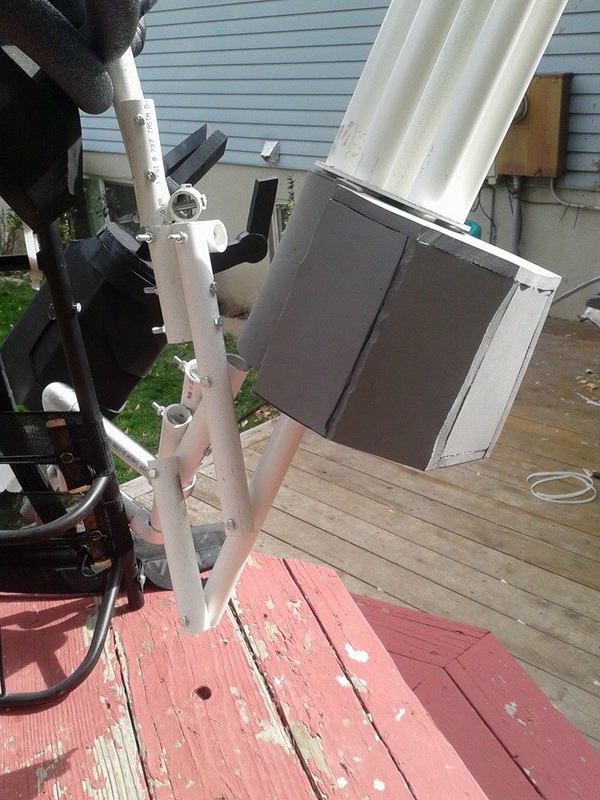
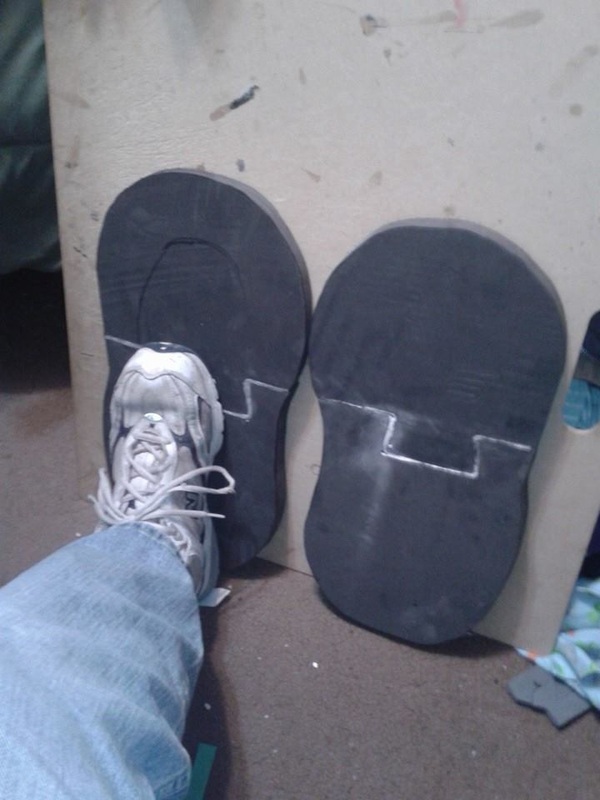
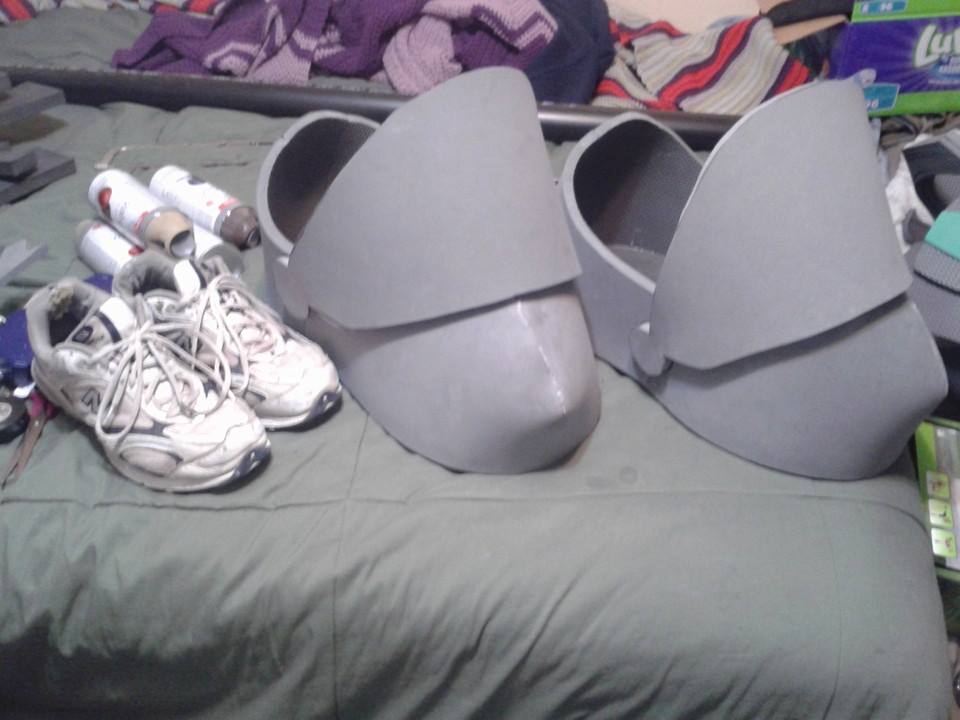
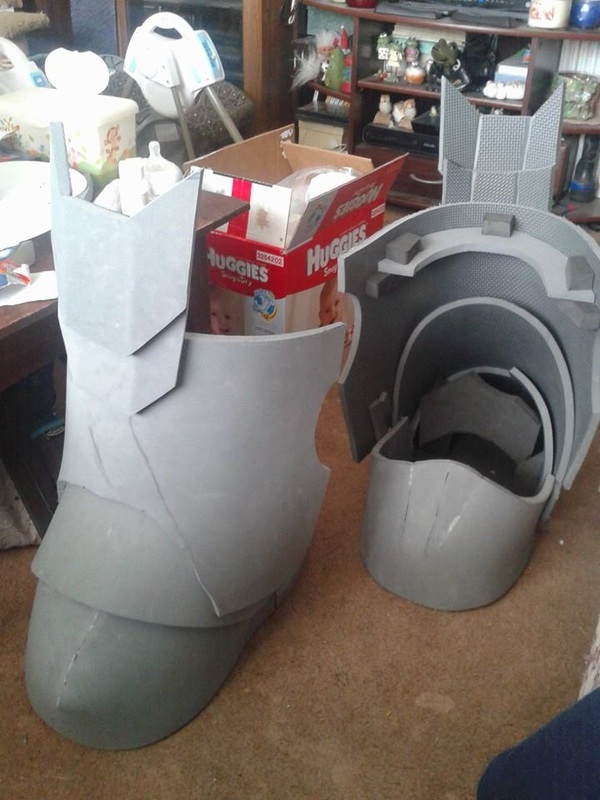
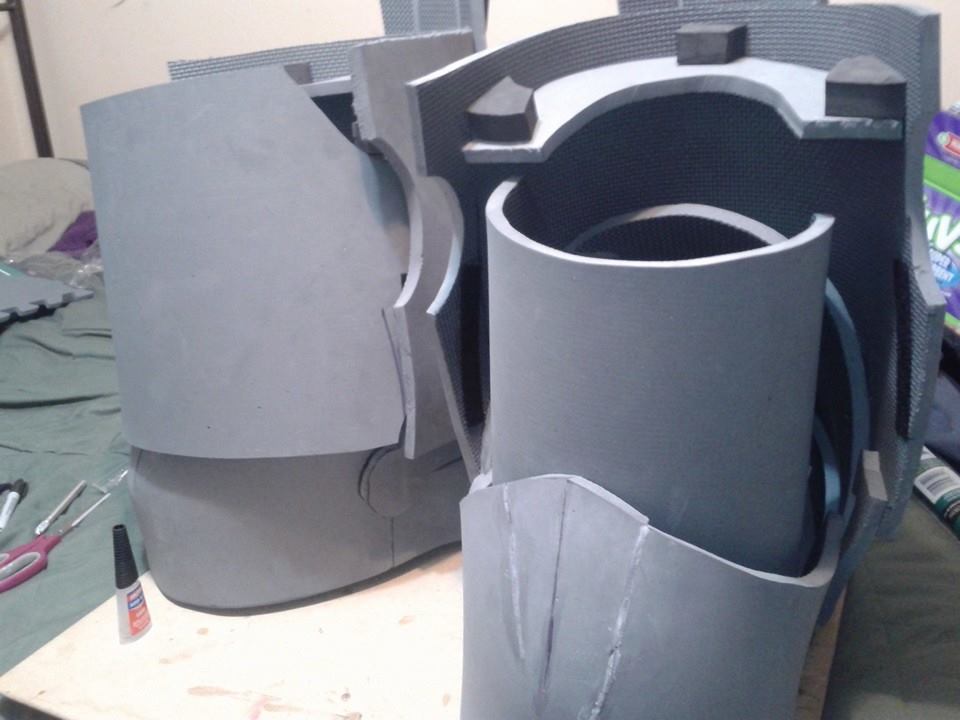
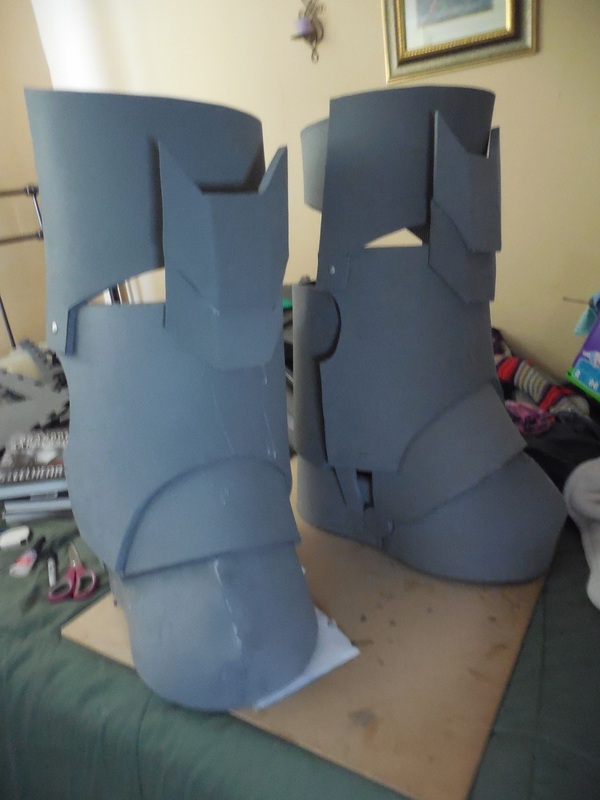
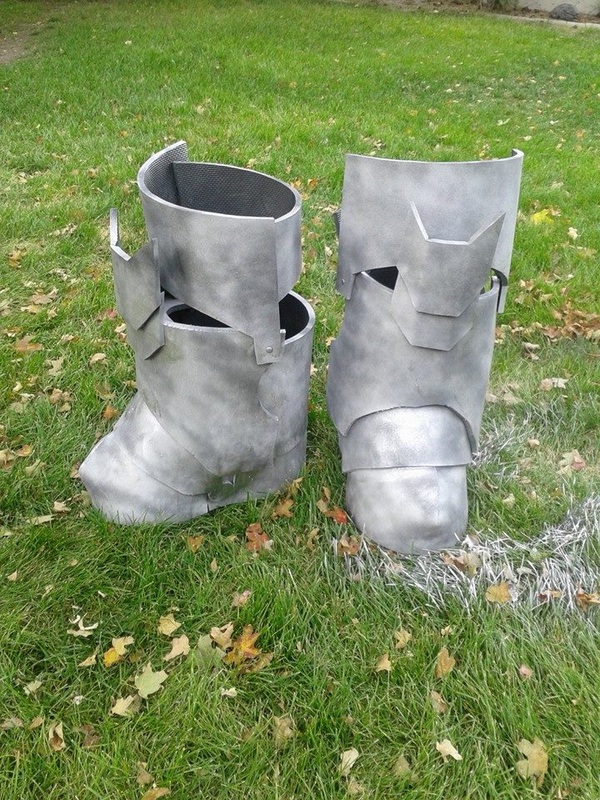
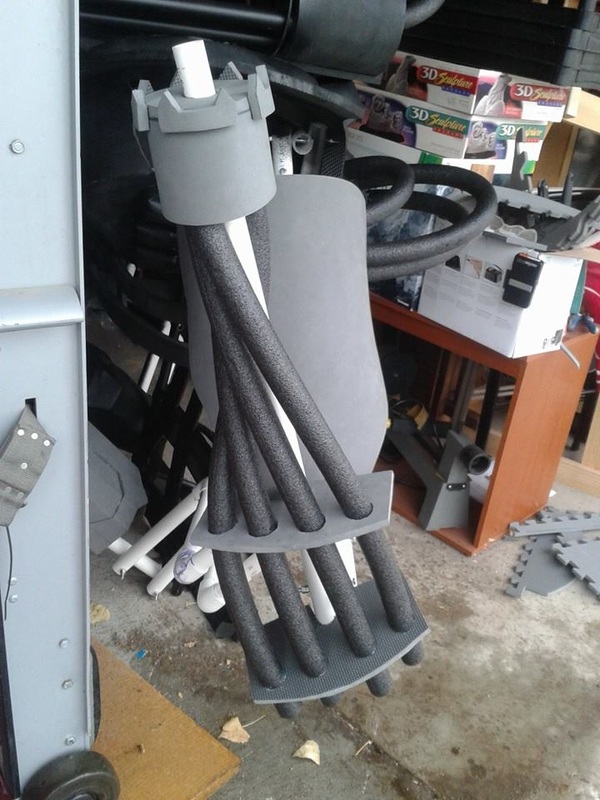
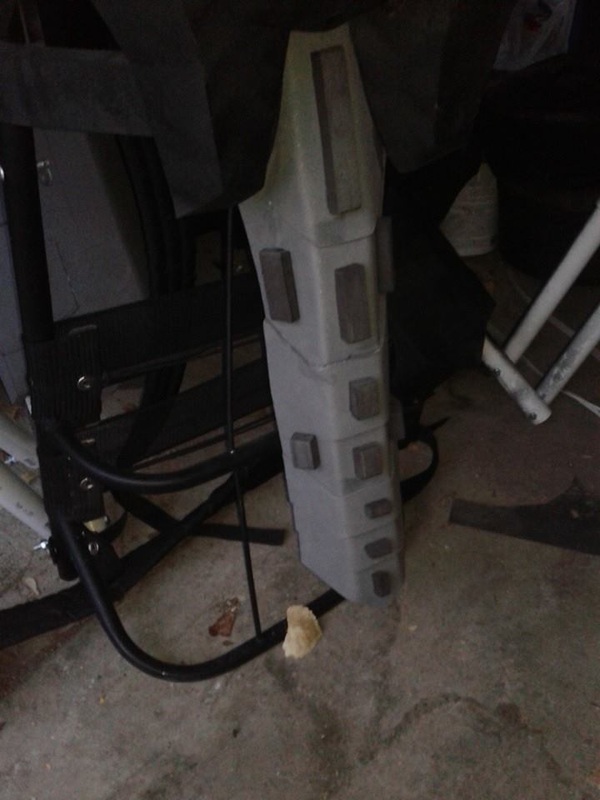
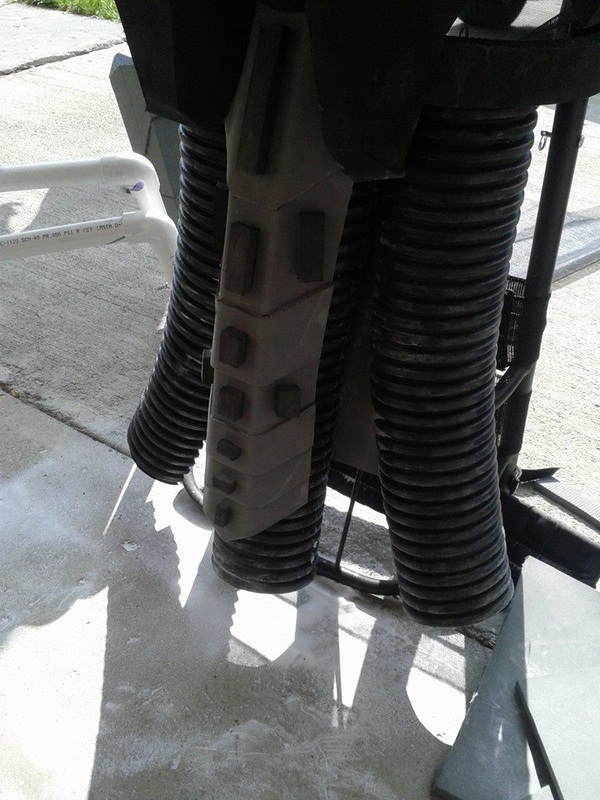
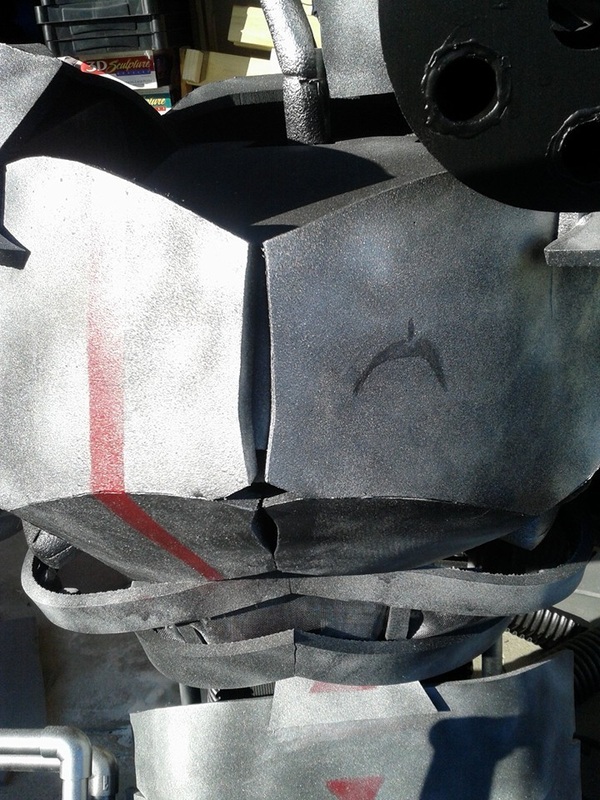
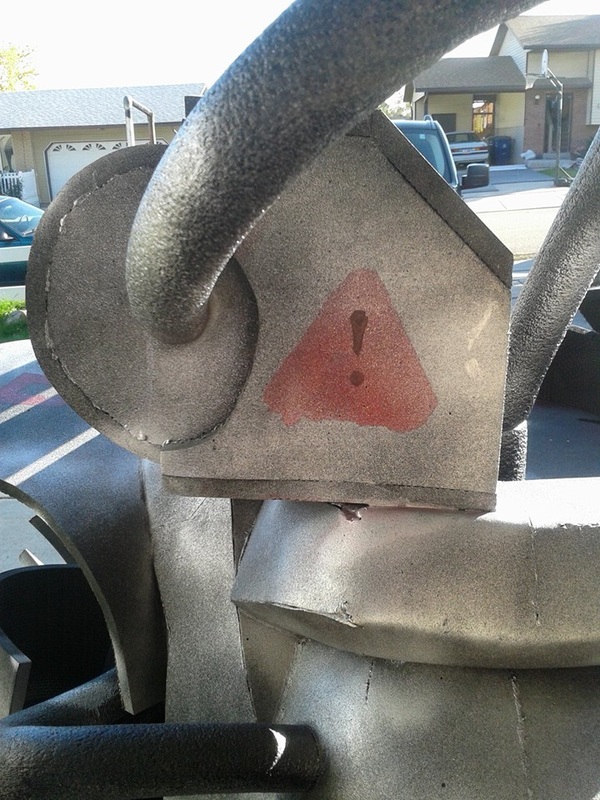
I still had to figure out what to do with the arm, but this helped me figure out what to do with the spine support pipe that had been sticking out like a sore thumb on top. You can also see that I have added some rib-like pieces, to help cover my head a bit to add to the illusion. Test vid of silliness, go! Moar claws! :D Getting down to the wire, so unfortunately from this point on I had to take a few shortcuts. What you've seen so far, in its entirety, is (in my opinion) the only really great looking portion. Not that the rest is bad - it's just obviously rushed from here on. A few other problems cropped up too, so there's that. Anyway, two weeks to go, so I pushed out the legs. They're more like massive boots, naturally, but I added a bit to the top. I used 1" thick EVA foam, to make it more comfortable to walk on, then built up from there. I did build up some supports that I could slip my shoes into and still walk with, which you can kind of see in the third picture. I also built up walls in the back that could be removed via velcro, to again make it easier to get in and out. (Later on I just removed the velcro and glued it, since it was easier and faster to just lift my feet straight into it. That and the velcro didn't stay on too well.) For the top bit, above the knee, I made a taller section to help cover the upper legs. This also had a velcroed back section (which was also eventually glued straight on) and a pair of chicago screws to make it easier for me to move around in. Once all that was done, it went straight into the plasti dip, then sprayed with Krylon Metallic Silver with an overspray of Metallic Black, to give it a worn, aged look. This became the overall scheme of the robot. Then came the large arms, with a different sort of minigun on the right and a laser-like contraption on the left. I actually kinda like how the laser thing turned out. I also threw on a curved portion over the bicep section to cover up the massive connection that was the rotation bit. The power went out as I was starting work on the lower back, to cover up the massive rear side of the frame backpack. It was late when I started, but thanks to the outage I had to finish it up the next day, which was about a week before the convention. Grrr. Luckily I was able to use some more of the corrugated pipe I had (only came in six foot lengths, and the Wall Safe barely needed eight inches). It didn't cover it all the way, but it worked and, again, I liked it. I also threw in some plastic mesh for screen doors and windows into the rib area, to again cover up my head better but still allow me to see out. 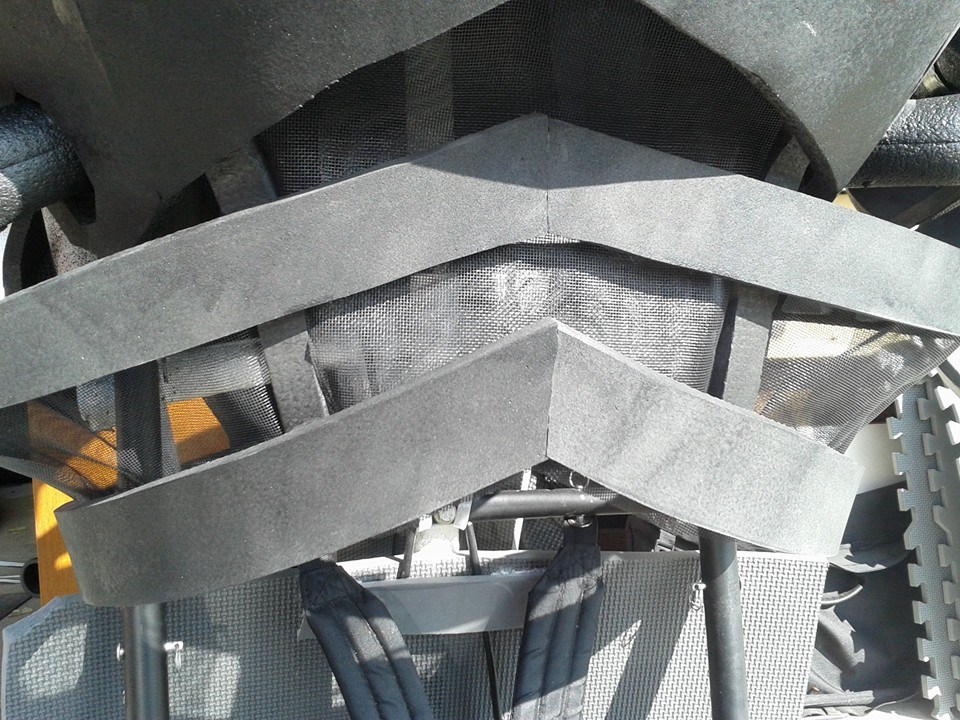
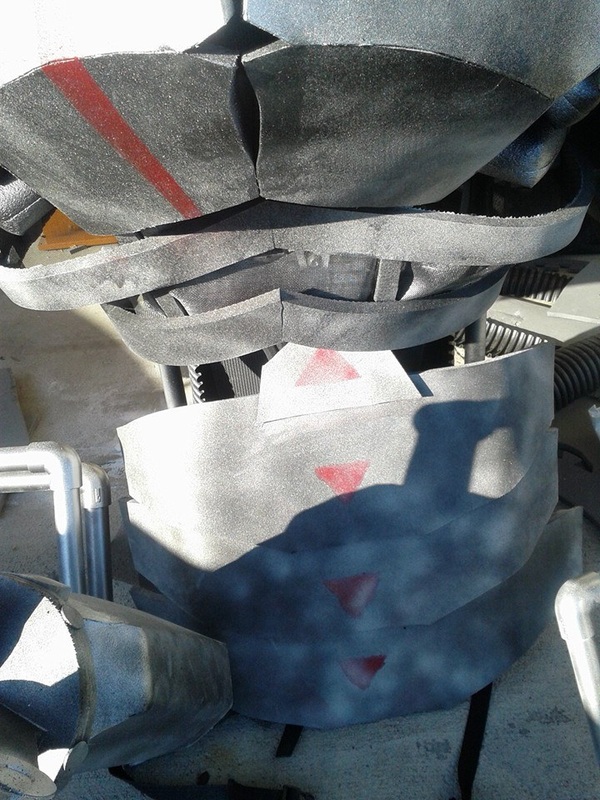
Threw together a quick ab cover, finished up the small left arm's claws, and all but the head was assembled! 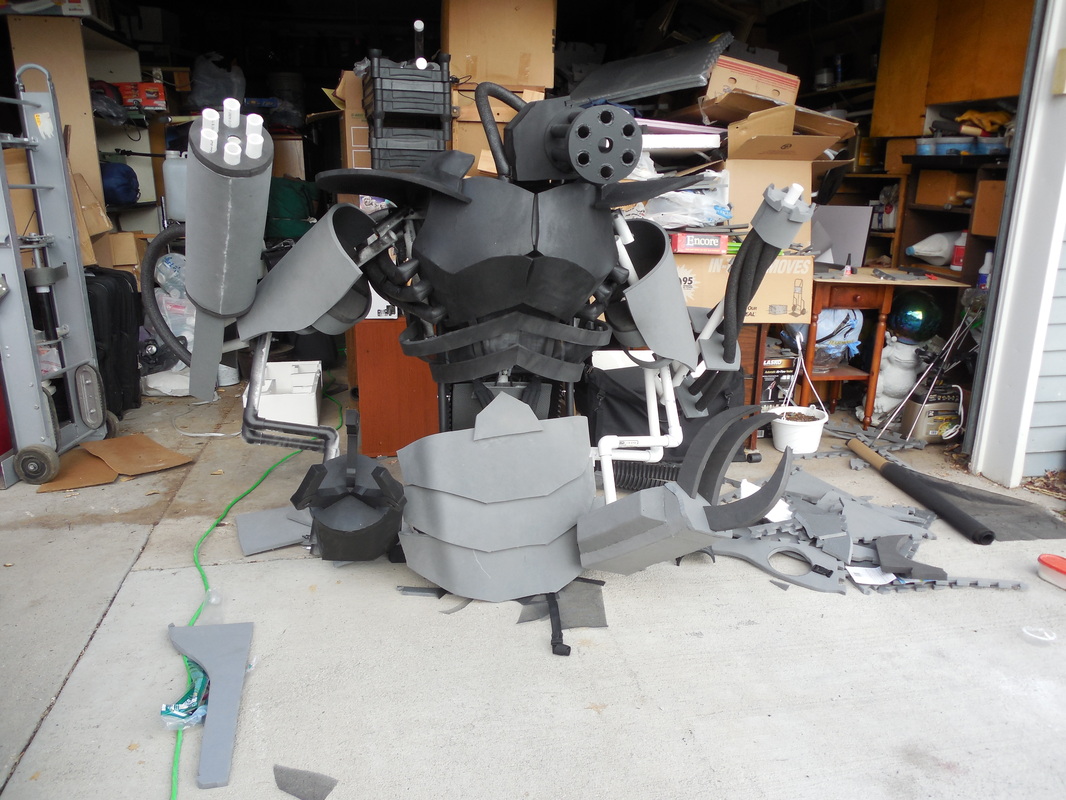
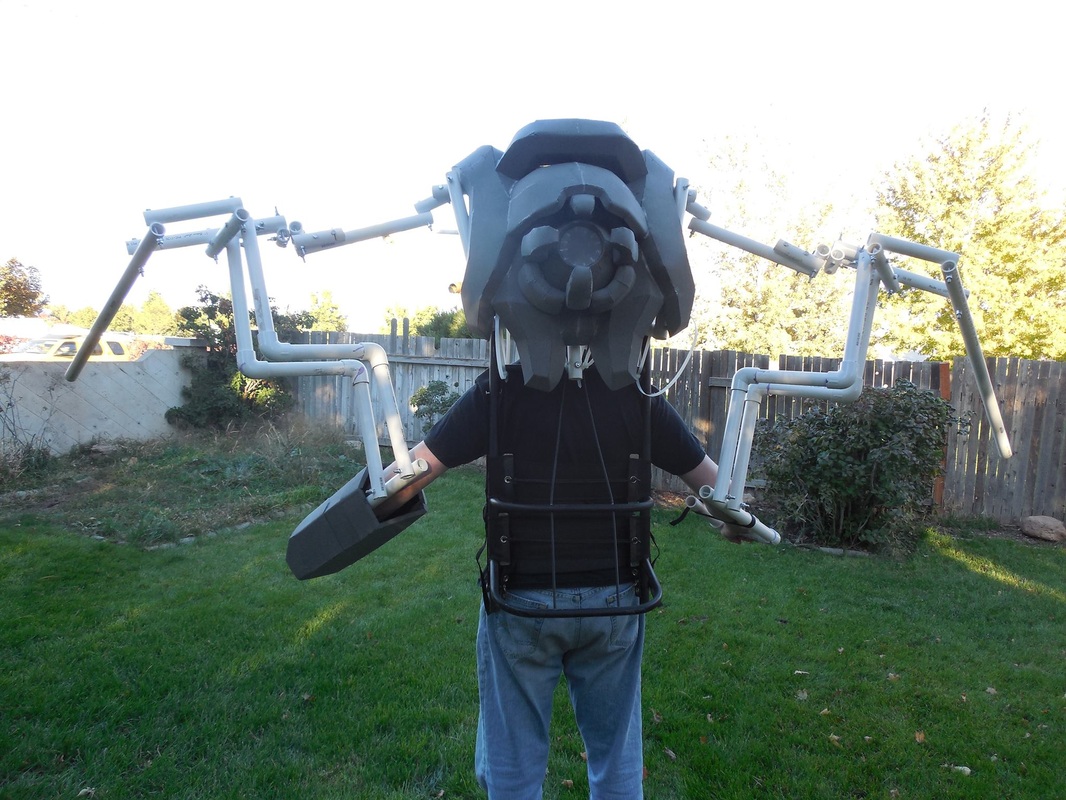
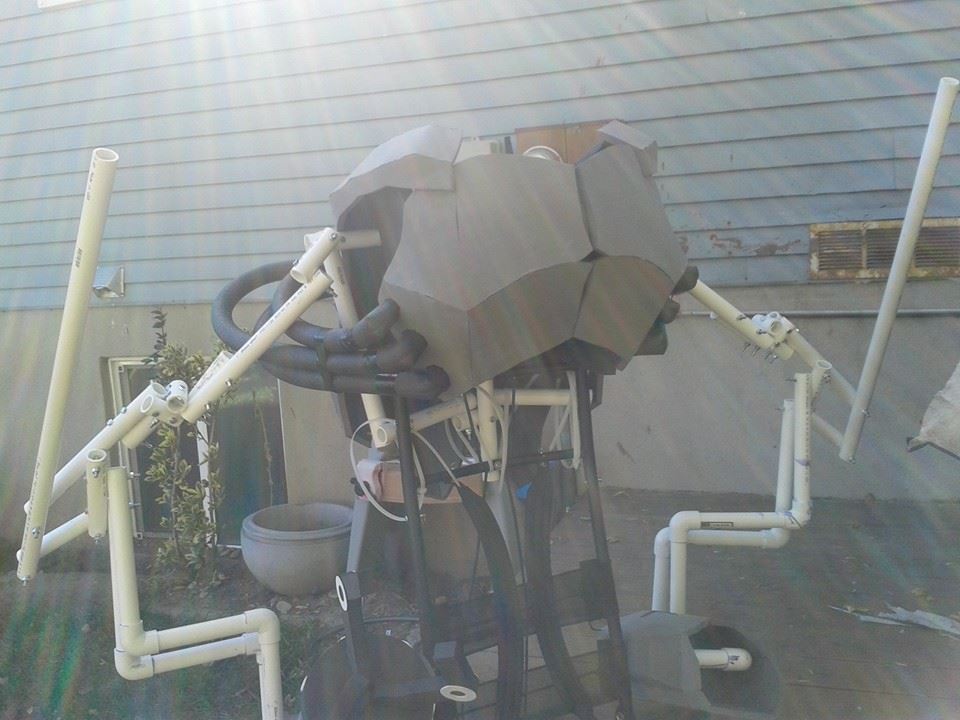
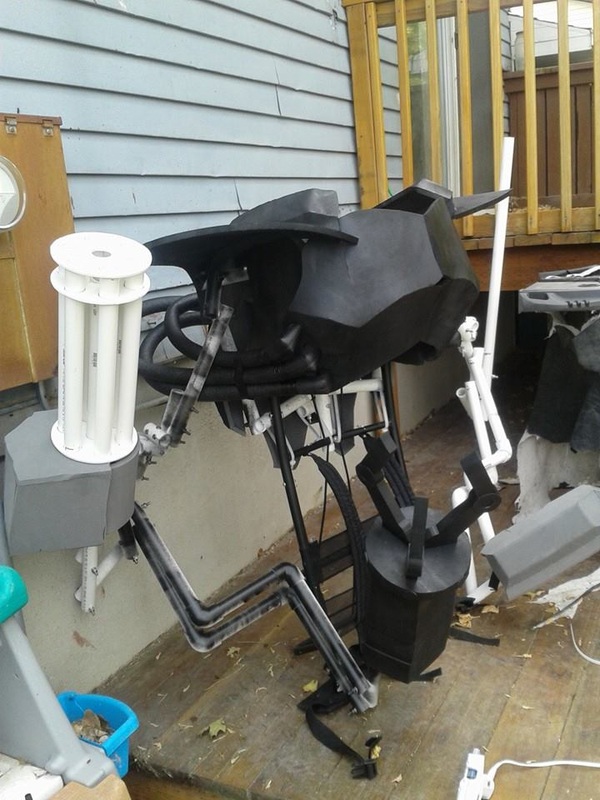
This is the final video I have of it, pretty much fully assembled, which also shows the back. I've got other videos which I'll share later, but here's mine: Still no head, but shortly after this video I had it all painted and ready for detailing. 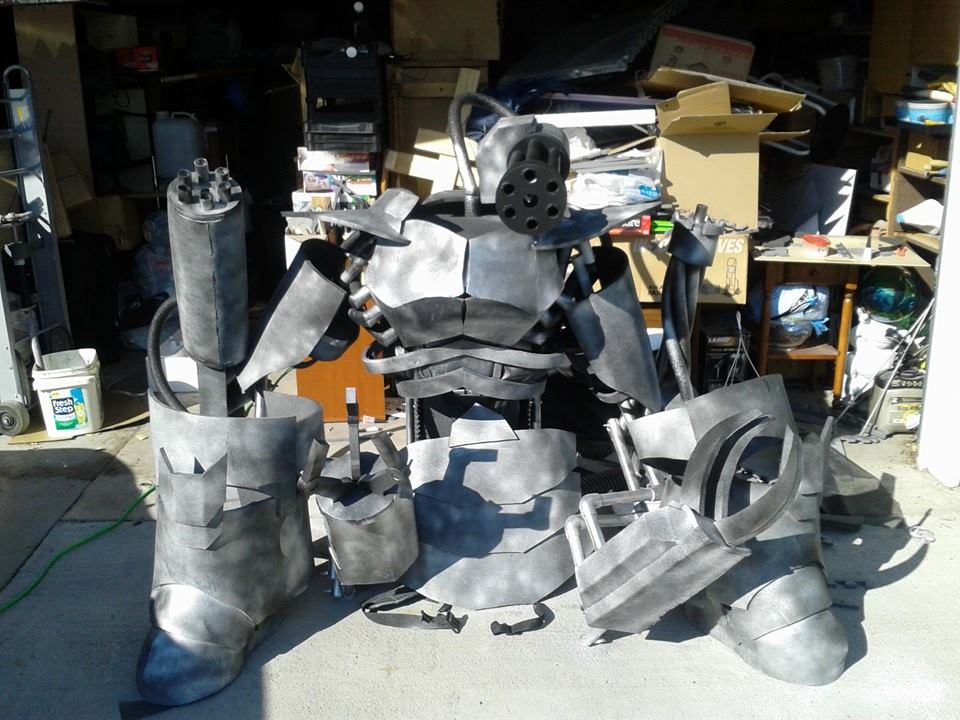
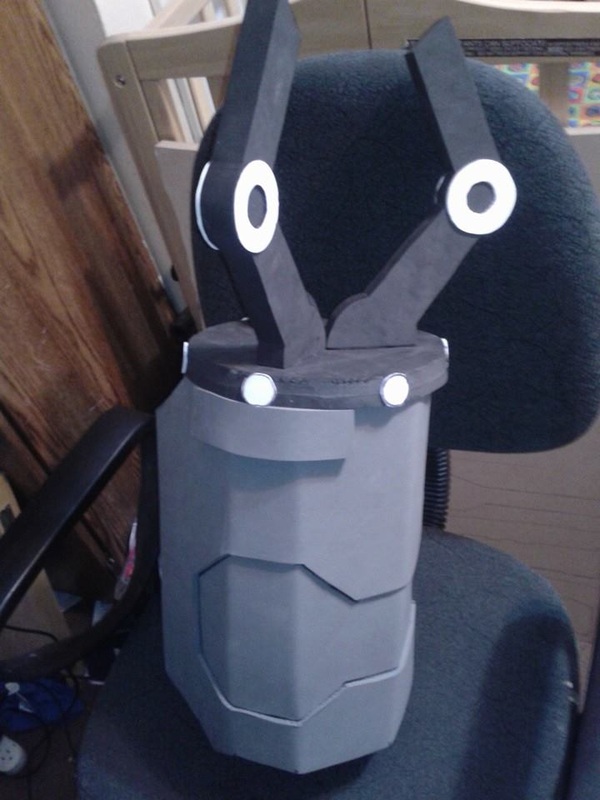
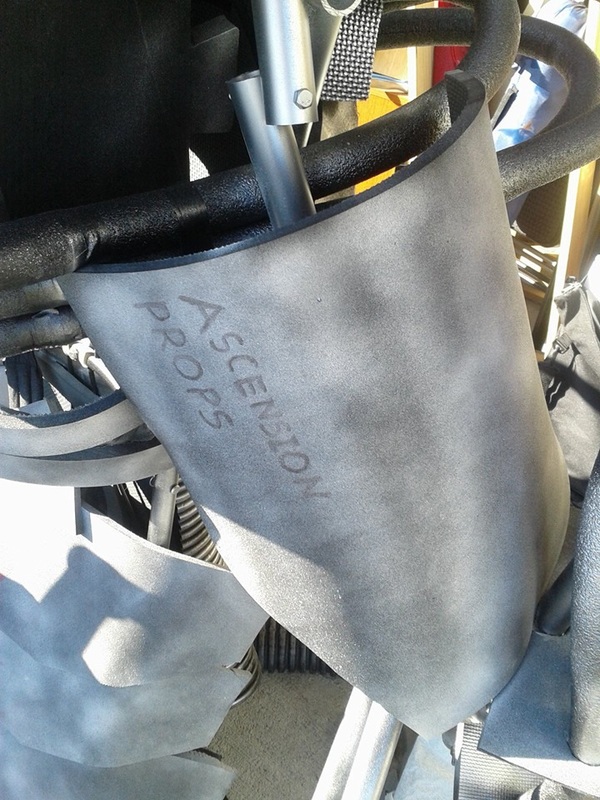
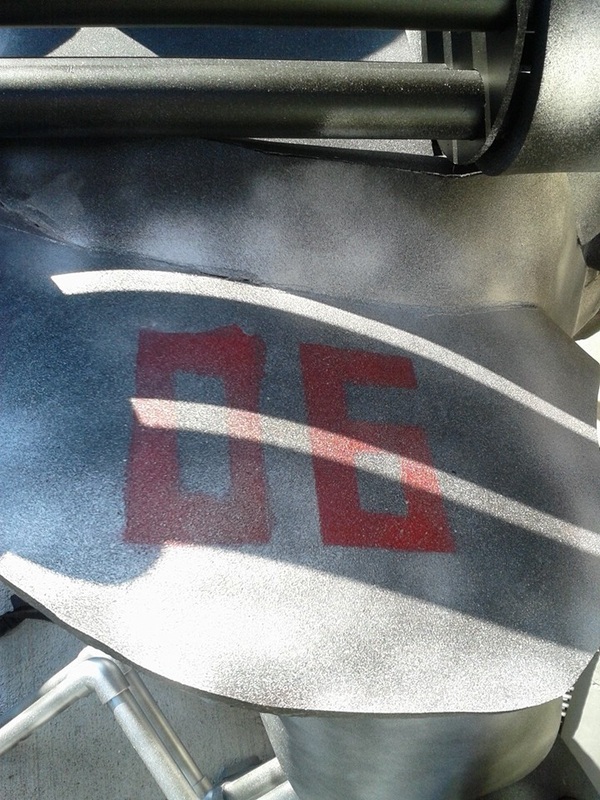
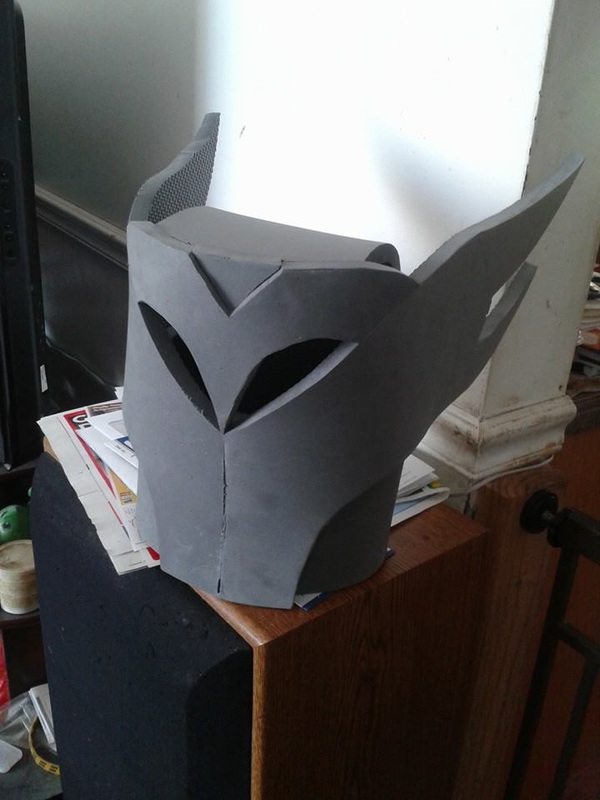
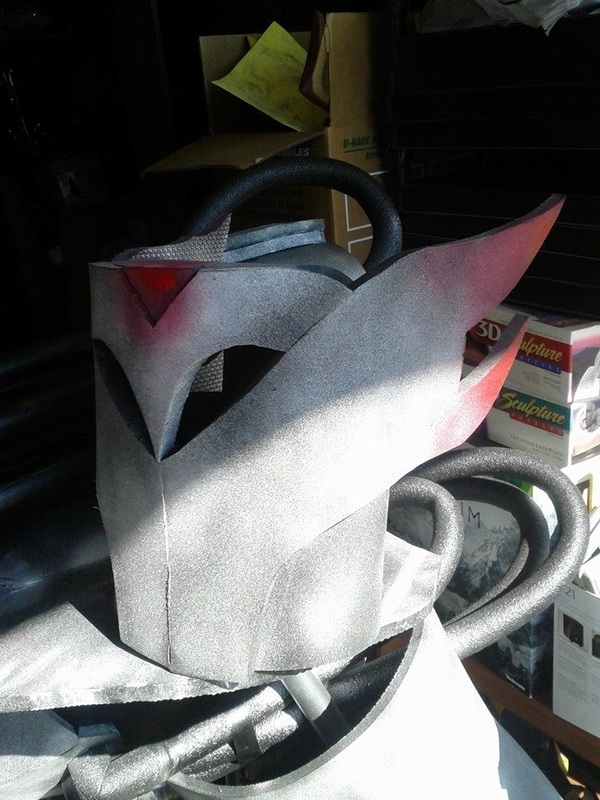
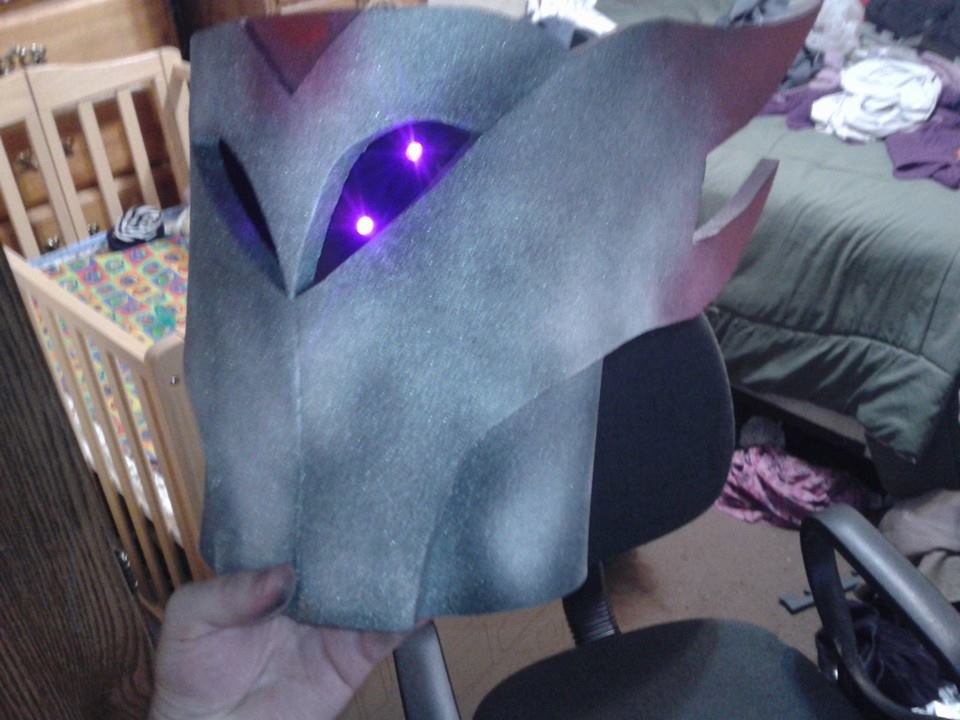
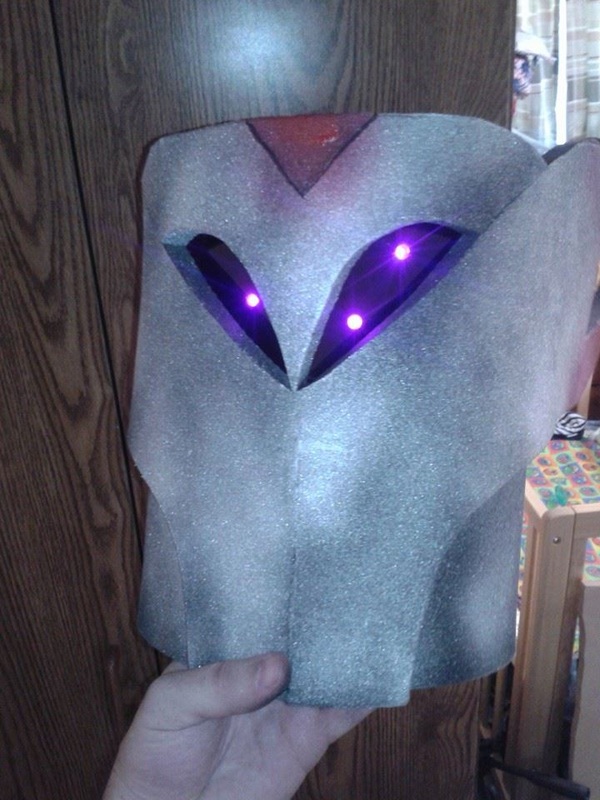
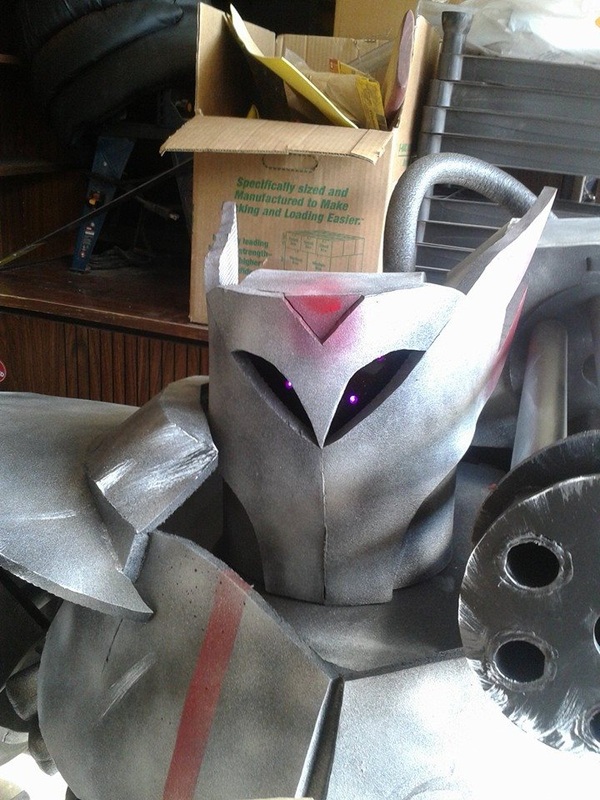
Home stretch! Threw a bunch of tape around, marking off areas, including some that wouldn't be easily seen (like a giant 06 on the upper part of the left shoulder). I've always been under the belief that the most important details are the ones no one will ever see, which helps me remember to hit everywhere with something: weathering, decals, small parts, whatever. Then came the head. This one came out of nowhere - no design, no idea, nothing. The eyes are made from scrap acrylic from the Tali helmet, with LEDs glued in to the back. In hindsight, the eyes look a bit derpy, and I should have put the two LEDs on the same line or next to each other. Oh well! What's done is done. I finally threw on a few layers of weathering, with a bit of brown, white, black, and some bits of a darker silver here and there to really make things pop. With that, the robot was complete! Out of nowhere, one of the convention heads contacted me to see if I'd be willing to come be on a live news broadcast promoting the convention, so I said yes! That got me really excited, though unfortunately this caused some problems with the robot due to the transportation. Unfortunately, all they had was a pickup truck, and the tie-down web I borrowed from my father squished down the gatling (once again, always the gatling) and tore off the pipe going from it to the upper pipe. A few other spots got squished or tore a little, which needed repair afterward. Grrr. Here's the link to the news broadcast, though! http://www.4utah.com/story/convention-promotes-japanese-anime-and-culture/d/story/LV9EJRJhyU-PhqKhe2KBCQ It was still really cool and a lot of fun, and there was even a point where they were talking to one of the staff and it zoomed in for a great shot of my shop name! It was cool. Anyway, got home, fixed the damaged areas, removed the gatling for the final and ultimate time, moved the head back to center, and the robot ended in its final form. With nearly a week to spare! 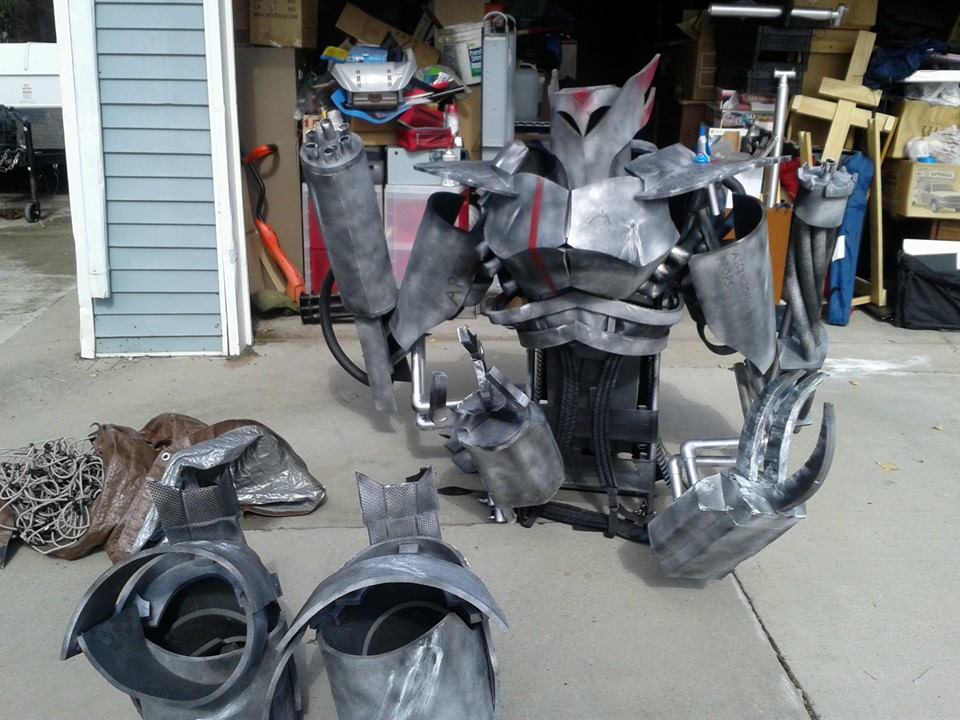
Had a blast at Anime Banzai, though I was pretty much entirely in my robot. Wore it for about two hour stints, and rested just as long, just so I wouldn't kill myself. Here's a few pics I really liked from the event, with more that can be found on my Facebook page as well as in the Photo Gallery! Hope you guys enjoyed this (rather long) build! 
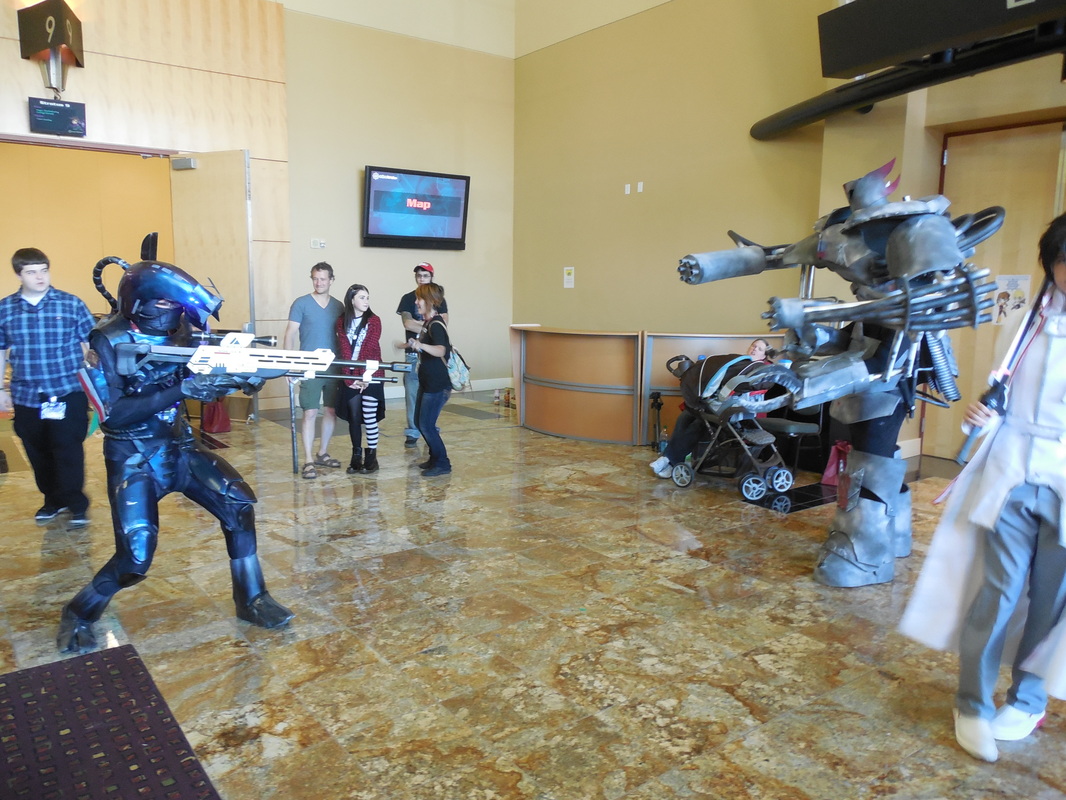
Legion! (Zach, from Quantum Entanglement Props)
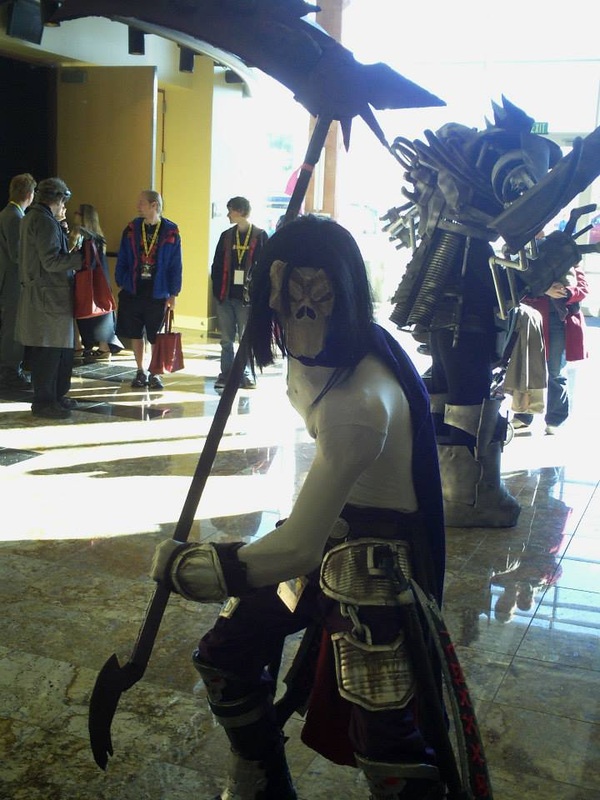
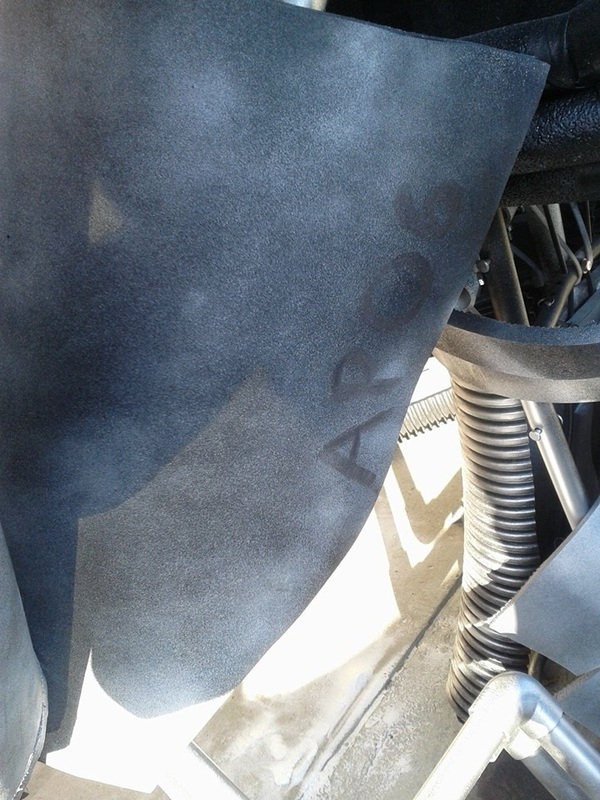
Only actual live shot of the back I have....
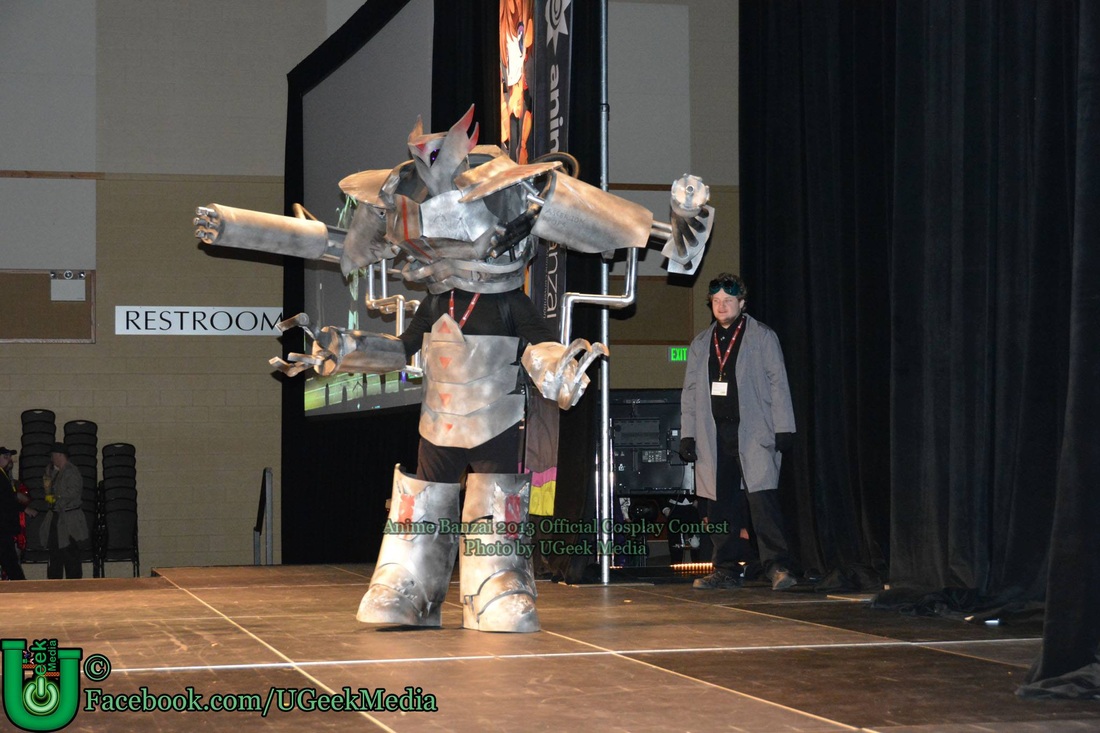
Cosplay Contest live on stage! (Brother in background as my handler)
4 Comments
potatoes
5/26/2014 05:00:05 pm
nice job dude. was most of the foam you used those mats that you carved?
Thomas
5/28/2014 05:36:00 pm
Thanks for putting this out here, I was wanting to build one and your framework really helped. Leave a Reply. |
|


 RSS Feed
